
How to Use Adafruit Arcade Bonnet: Examples, Pinouts, and Specs
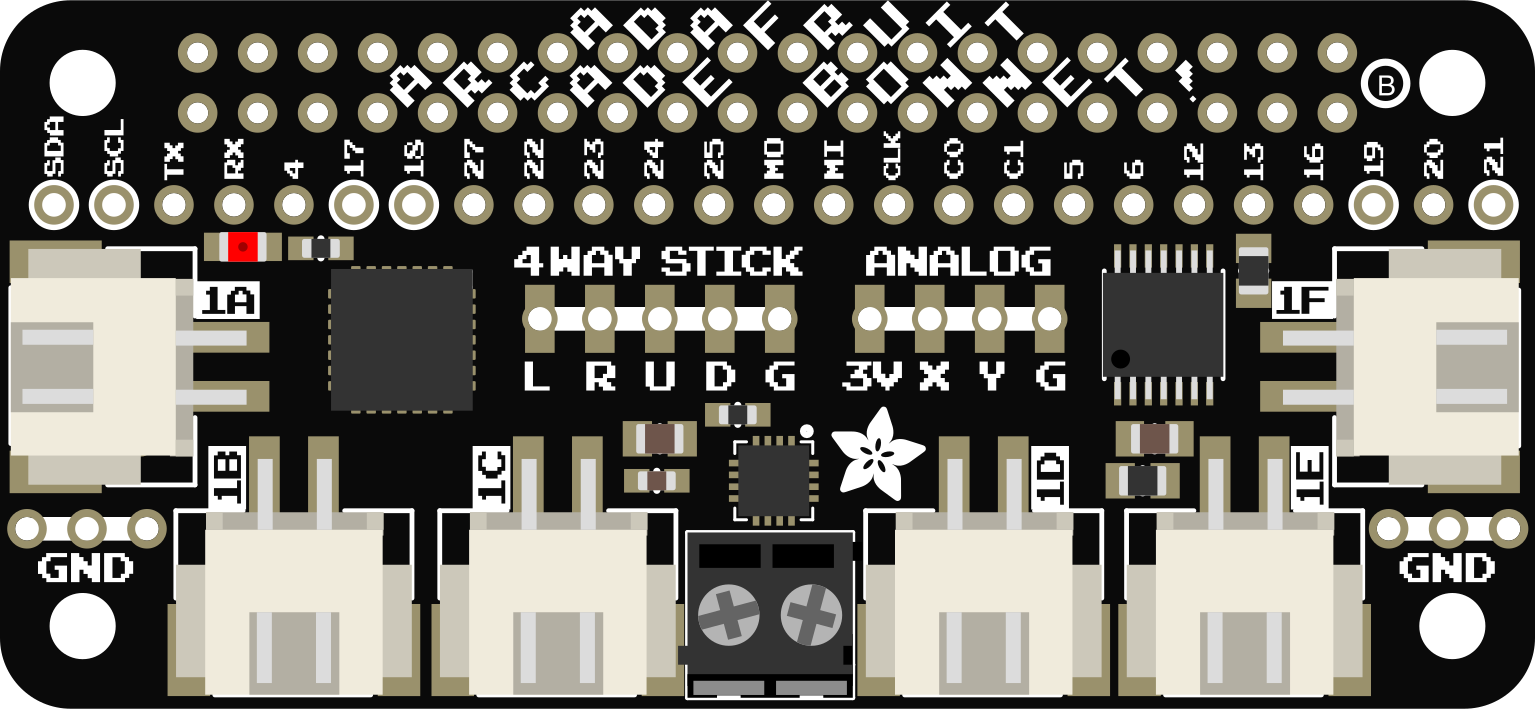
 Design with Adafruit Arcade Bonnet in Cirkit Designer
Introduction
The Adafruit Arcade Bonnet (Manufacturer Part ID: 3422) is a compact add-on board designed for Raspberry Pi. It simplifies the process of connecting arcade-style controls, such as buttons, joysticks, and displays, making it an ideal solution for retro gaming projects. This board is perfect for hobbyists and developers looking to create custom arcade machines or gaming setups with minimal wiring and configuration.
Explore Projects Built with Adafruit Arcade Bonnet
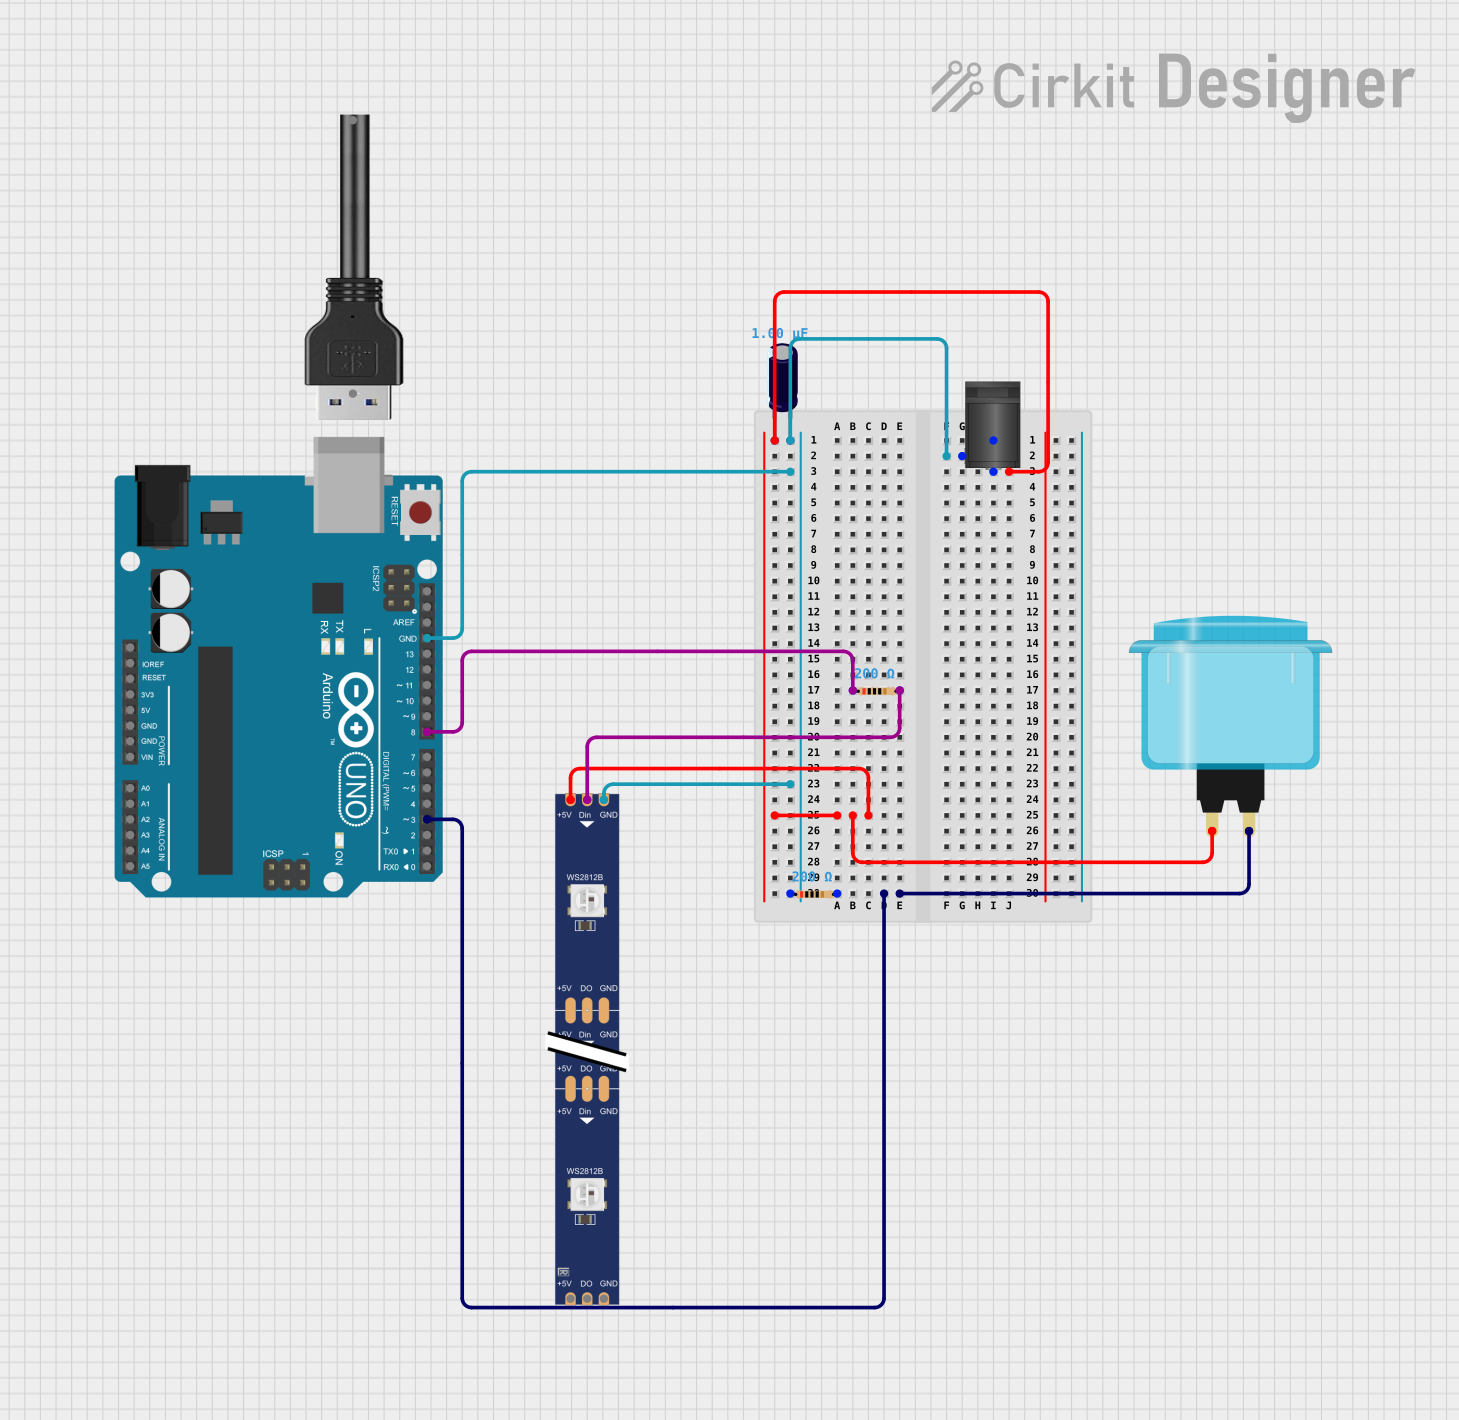 Open Project in Cirkit Designer
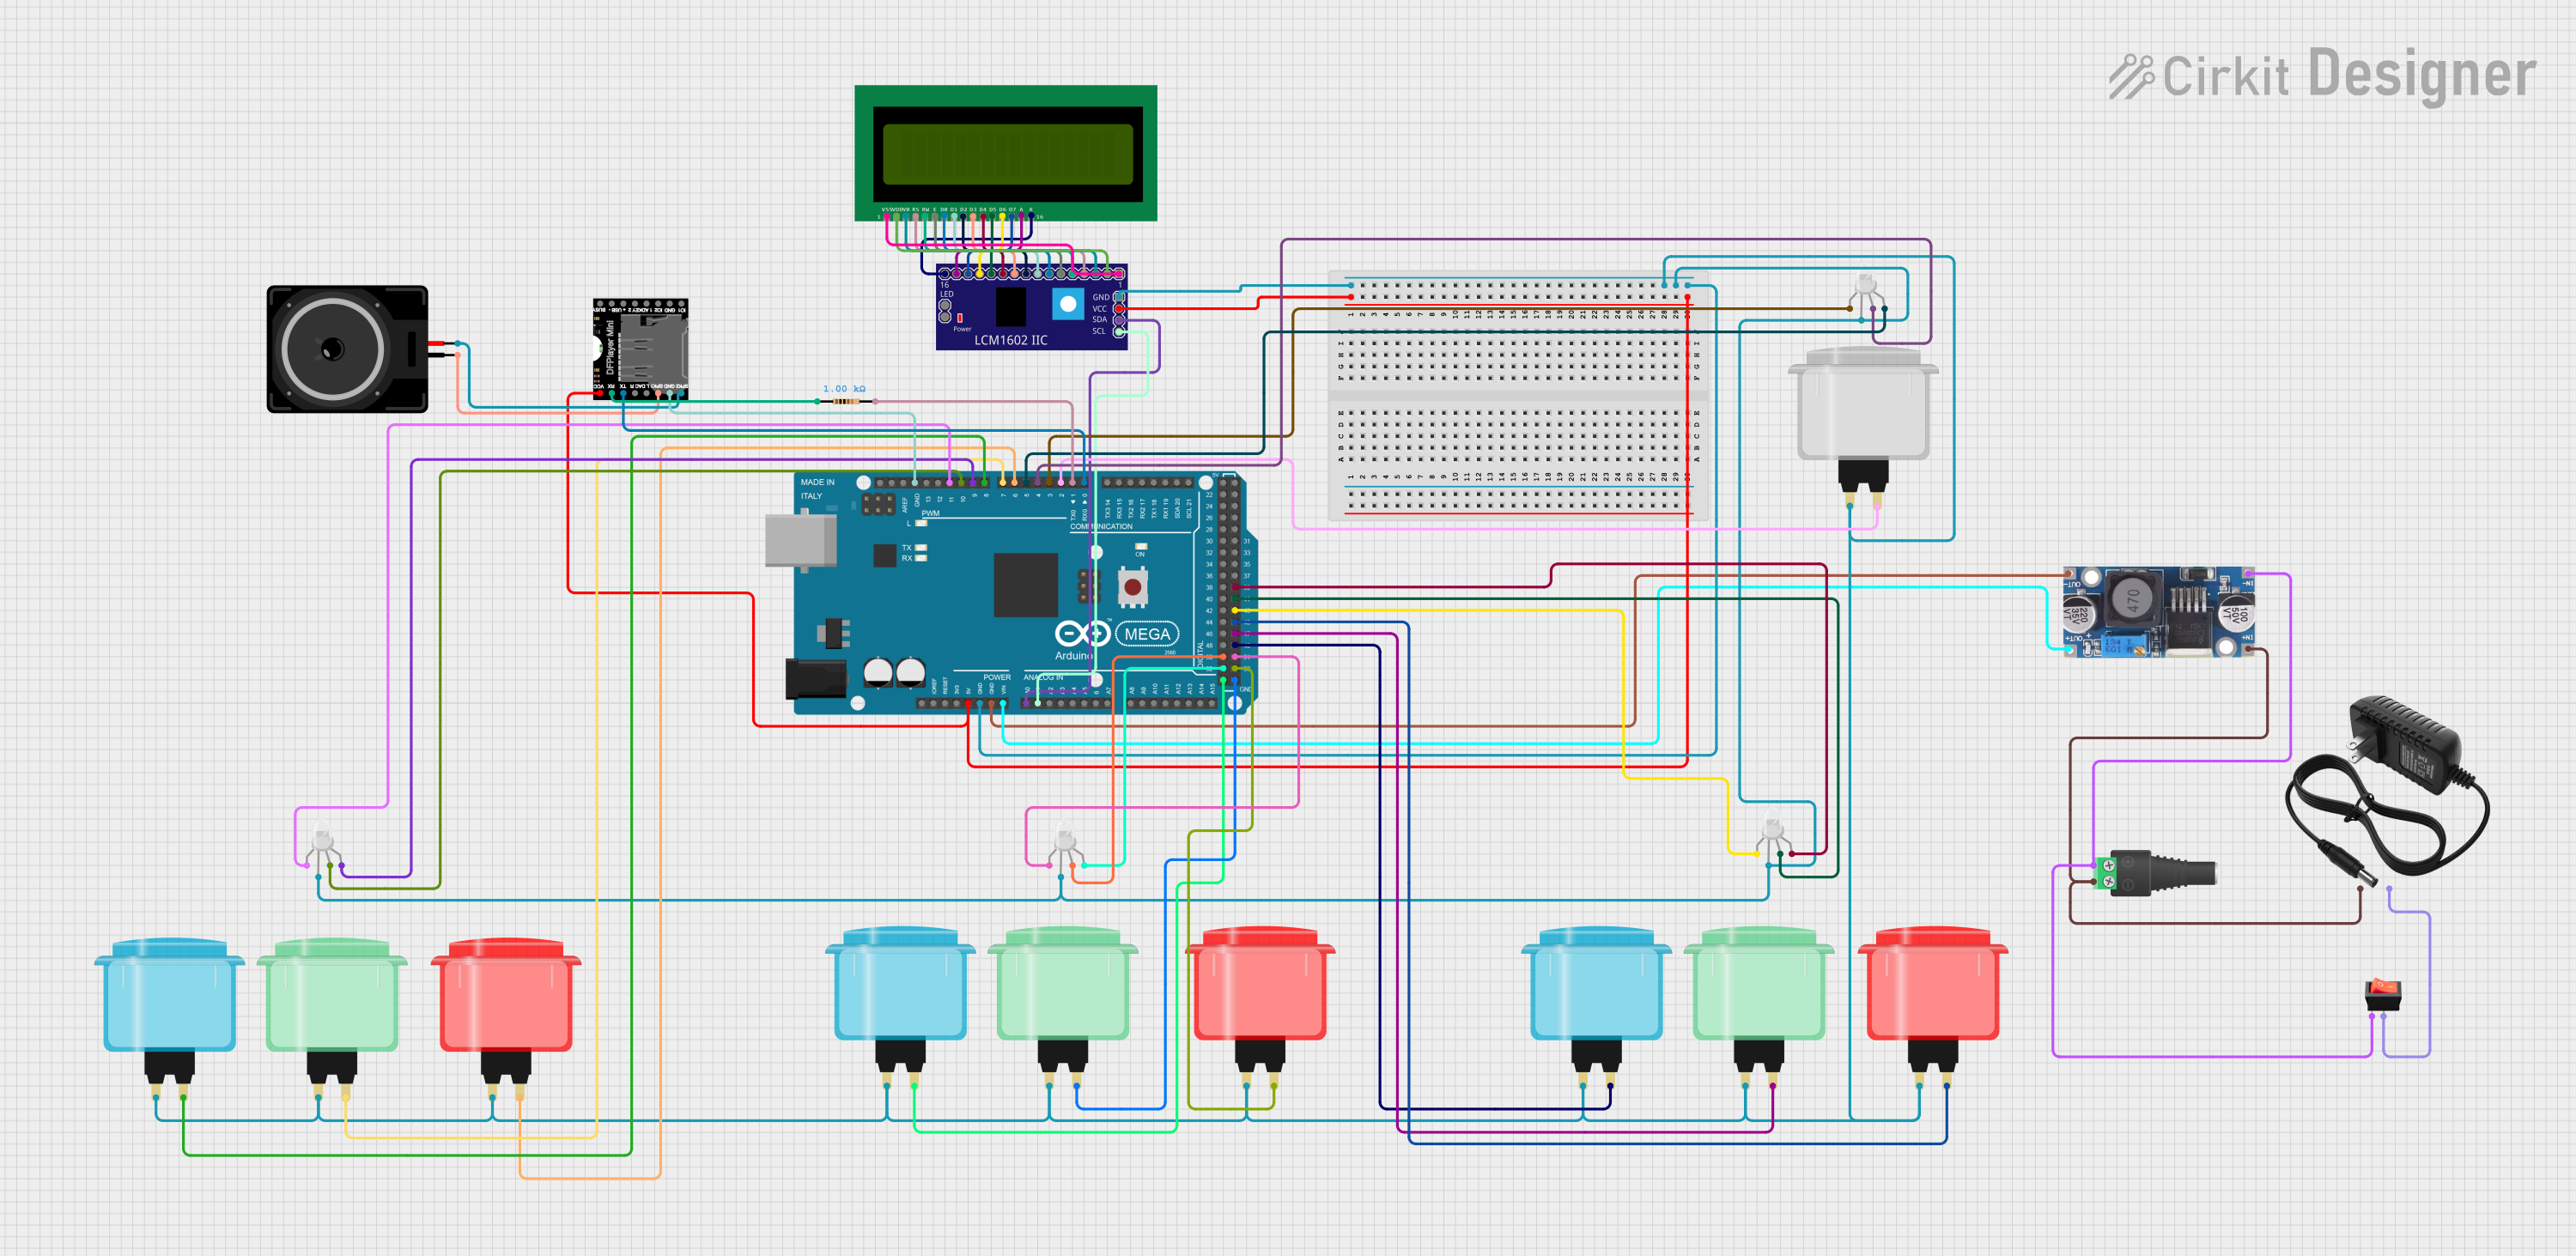 Open Project in Cirkit Designer
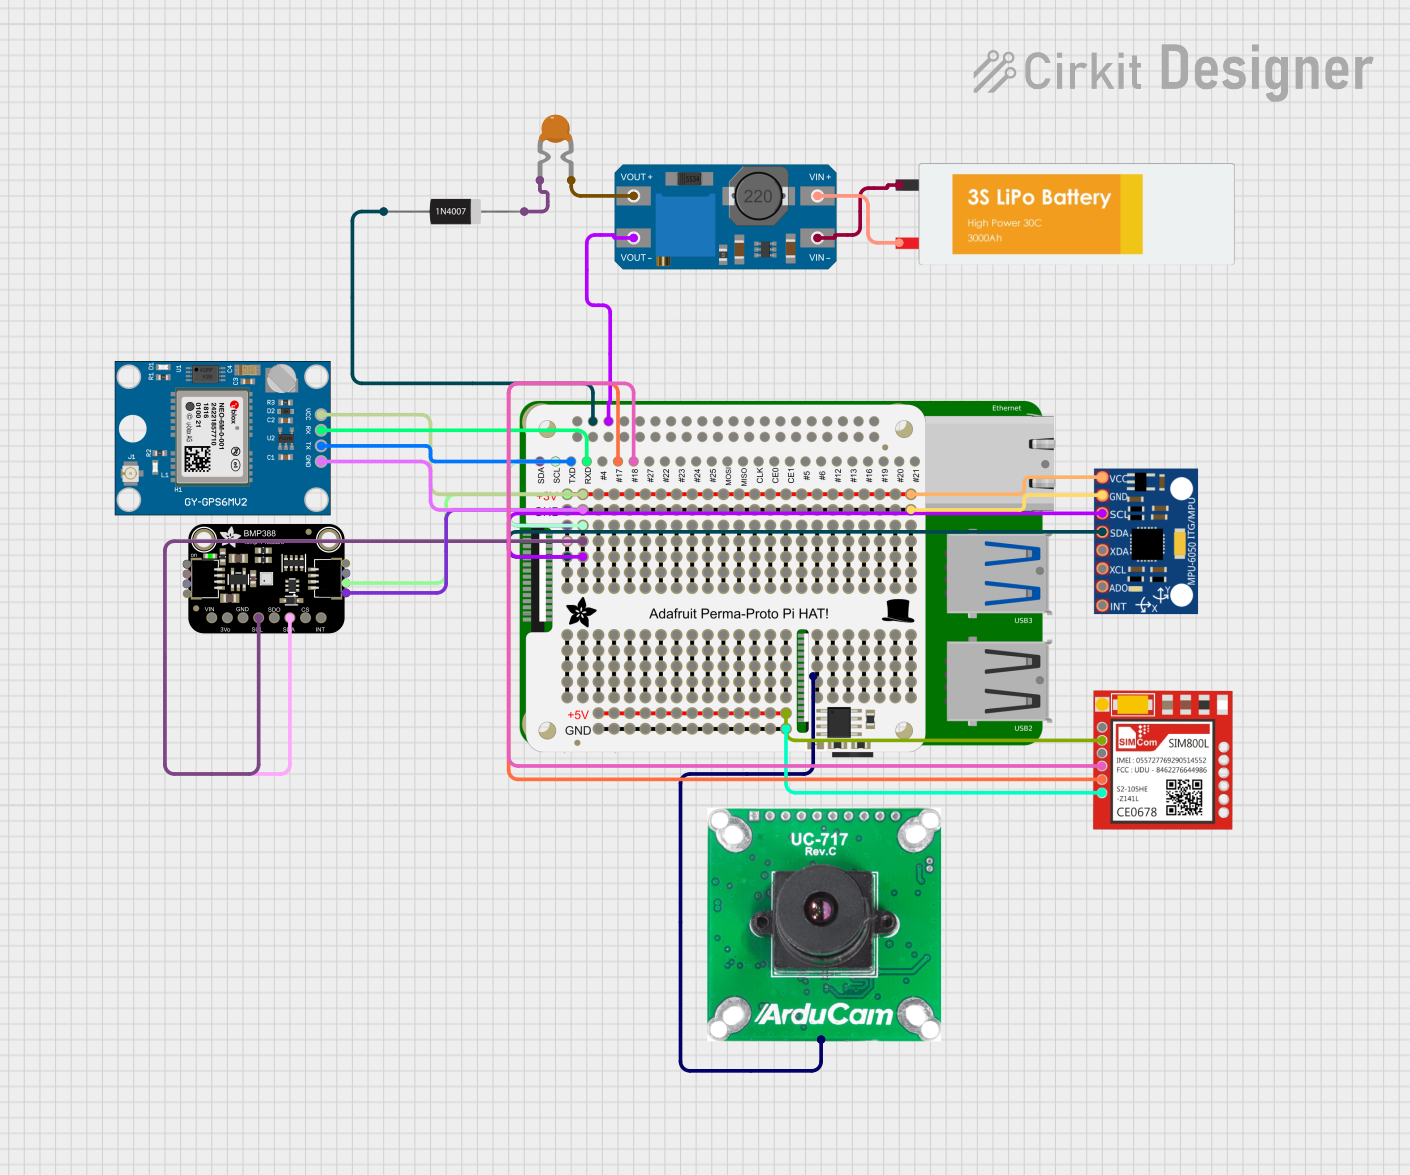 Open Project in Cirkit Designer
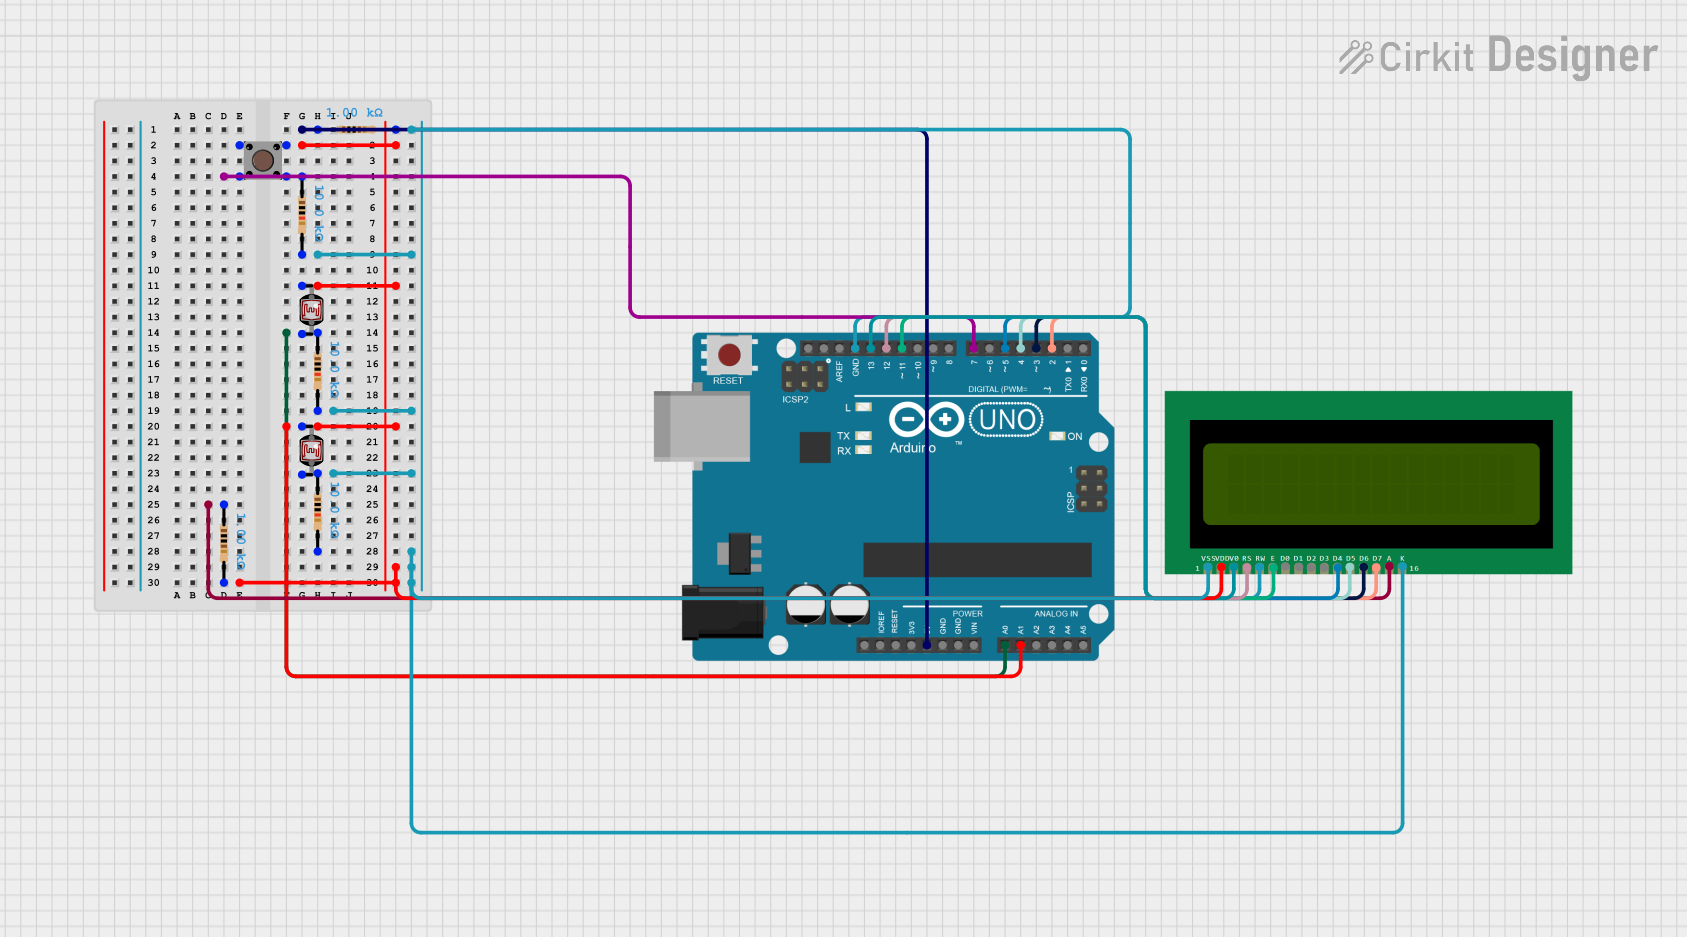 Open Project in Cirkit Designer
Explore Projects Built with Adafruit Arcade Bonnet
Open Project in Cirkit DesignerOpen Project in Cirkit DesignerOpen Project in Cirkit DesignerOpen Project in Cirkit DesignerCommon Applications and Use Cases
- Building retro gaming consoles using Raspberry Pi.
- Creating custom arcade cabinets with joystick and button inputs.
- Prototyping gaming projects with minimal soldering and wiring.
- Educational projects to learn about input devices and Raspberry Pi GPIO.
Technical Specifications
The Adafruit Arcade Bonnet is designed to work seamlessly with Raspberry Pi models that have a 40-pin GPIO header. Below are the key technical details:
Key Specifications
| Parameter | Value |
|---|---|
| Manufacturer | Adafruit |
| Part ID | 3422 |
| Compatible Boards | Raspberry Pi (40-pin GPIO models) |
| Input Voltage | 3.3V (via Raspberry Pi GPIO) |
| Supported Inputs | Up to 12 buttons, 1 joystick |
| Communication Protocol | GPIO |
| Dimensions | 65mm x 30mm x 8mm |
| Mounting | Fits directly on Raspberry Pi GPIO header |
Pin Configuration and Descriptions
The Arcade Bonnet connects directly to the Raspberry Pi GPIO header. Below is the pin configuration for the button and joystick inputs:
| Pin Number | GPIO Pin | Function | Description |
|---|---|---|---|
| 1 | GPIO 4 | Joystick Up | Connects to the "Up" direction pin |
| 2 | GPIO 17 | Joystick Down | Connects to the "Down" direction pin |
| 3 | GPIO 27 | Joystick Left | Connects to the "Left" direction pin |
| 4 | GPIO 22 | Joystick Right | Connects to the "Right" direction pin |
| 5 | GPIO 5 | Button 1 | First action button |
| 6 | GPIO 6 | Button 2 | Second action button |
| 7 | GPIO 13 | Button 3 | Third action button |
| 8 | GPIO 19 | Button 4 | Fourth action button |
| 9 | GPIO 26 | Button 5 | Fifth action button |
| 10 | GPIO 21 | Button 6 | Sixth action button |
Usage Instructions
How to Use the Adafruit Arcade Bonnet
Hardware Setup:
- Align the Arcade Bonnet with the 40-pin GPIO header on your Raspberry Pi.
- Press the Bonnet firmly onto the GPIO header to ensure a secure connection.
- Connect your arcade buttons and joystick to the labeled screw terminals or JST connectors on the Bonnet.
Software Setup:
- Install the required software libraries on your Raspberry Pi. Adafruit provides a Python library for configuring and using the Arcade Bonnet.
- Update your Raspberry Pi's package manager:
sudo apt update sudo apt upgrade - Install the Adafruit Blinka library (required for GPIO control):
pip3 install adafruit-blinka - Clone the Arcade Bonnet configuration repository:
git clone https://github.com/adafruit/Adafruit_Arcade_Bonnet.git
cd Adafruit_Arcade_Bonnet
Testing the Inputs:
- Run the provided Python script to test the joystick and button inputs:
import RPi.GPIO as GPIO
import time

# Define GPIO pins for joystick directions
joystick_pins = {
    "up": 4,
    "down": 17,
    "left": 27,
    "right": 22
}

# Define GPIO pins for buttons
button_pins = [5, 6, 13, 19, 26, 21]

# Setup GPIO
GPIO.setmode(GPIO.BCM)
for pin in joystick_pins.values():
    GPIO.setup(pin, GPIO.IN, pull_up_down=GPIO.PUD_UP)
for pin in button_pins:
    GPIO.setup(pin, GPIO.IN, pull_up_down=GPIO.PUD_UP)

print("Press any button or move the joystick...")

try:
    while True:
        for direction, pin in joystick_pins.items():
            if not GPIO.input(pin):
                print(f"Joystick moved: {direction}")
        for i, pin in enumerate(button_pins):
            if not GPIO.input(pin):
                print(f"Button {i + 1} pressed")
        time.sleep(0.1)
except KeyboardInterrupt:
    print("Exiting...")
finally:
    GPIO.cleanup()
- Run the provided Python script to test the joystick and button inputs:
Important Considerations and Best Practices
- Ensure that your Raspberry Pi is powered off before attaching or detaching the Arcade Bonnet.
- Use the correct GPIO pin mappings as per the documentation to avoid misconfigurations.
- Avoid applying excessive force when connecting the Bonnet to the GPIO header.
- Use properly rated arcade buttons and joysticks to ensure compatibility and durability.
Troubleshooting and FAQs
Common Issues and Solutions
The Arcade Bonnet is not detected by the Raspberry Pi:
- Ensure the Bonnet is securely connected to the GPIO header.
- Verify that the Raspberry Pi is powered on and functioning correctly.
- Check for any bent or damaged GPIO pins.
Buttons or joystick inputs are not registering:
- Confirm that the buttons and joystick are properly connected to the Bonnet.
- Use a multimeter to check for continuity in the button and joystick wiring.
- Ensure the GPIO pins are configured correctly in your software.
Python script throws an error:
- Verify that the required libraries (e.g.,
RPi.GPIO,adafruit-blinka) are installed. - Check for typos or incorrect pin mappings in your script.
- Verify that the required libraries (e.g.,
FAQs
Q: Can I use the Arcade Bonnet with other microcontrollers?
A: The Arcade Bonnet is specifically designed for Raspberry Pi with a 40-pin GPIO header. It is not directly compatible with other microcontrollers like Arduino.
Q: How many buttons can I connect to the Arcade Bonnet?
A: You can connect up to 12 buttons and 1 joystick to the Arcade Bonnet.
Q: Does the Arcade Bonnet support analog joysticks?
A: No, the Arcade Bonnet is designed for digital joysticks with discrete directional inputs.
Q: Can I use the Arcade Bonnet for non-gaming projects?
A: Yes, the Bonnet can be used for any project requiring multiple button inputs, such as control panels or interactive displays.