
How to Use TMC2209 MOTOR DRIVER(V 2.0): Examples, Pinouts, and Specs
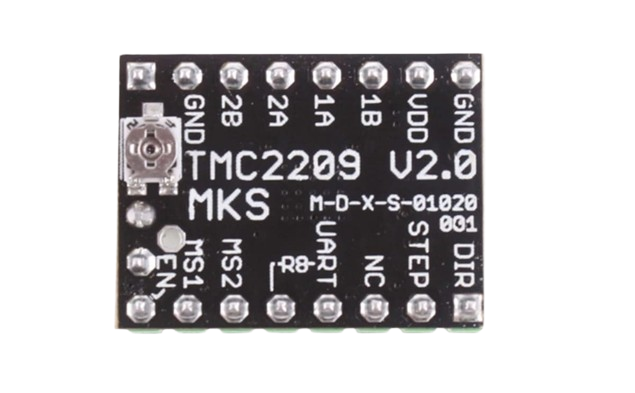
 Design with TMC2209 MOTOR DRIVER(V 2.0) in Cirkit Designer
Introduction
The TMC2209 MOTOR DRIVER (V 2.0), manufactured by MakerBase (MKS), is a high-performance stepper motor driver designed for precision motion control in applications such as 3D printers, CNC machines, and robotics. This driver is known for its silent operation, advanced microstepping capabilities, and high efficiency. It supports up to 2A of current per phase and features UART communication for easy configuration and real-time monitoring.
Explore Projects Built with TMC2209 MOTOR DRIVER(V 2.0)
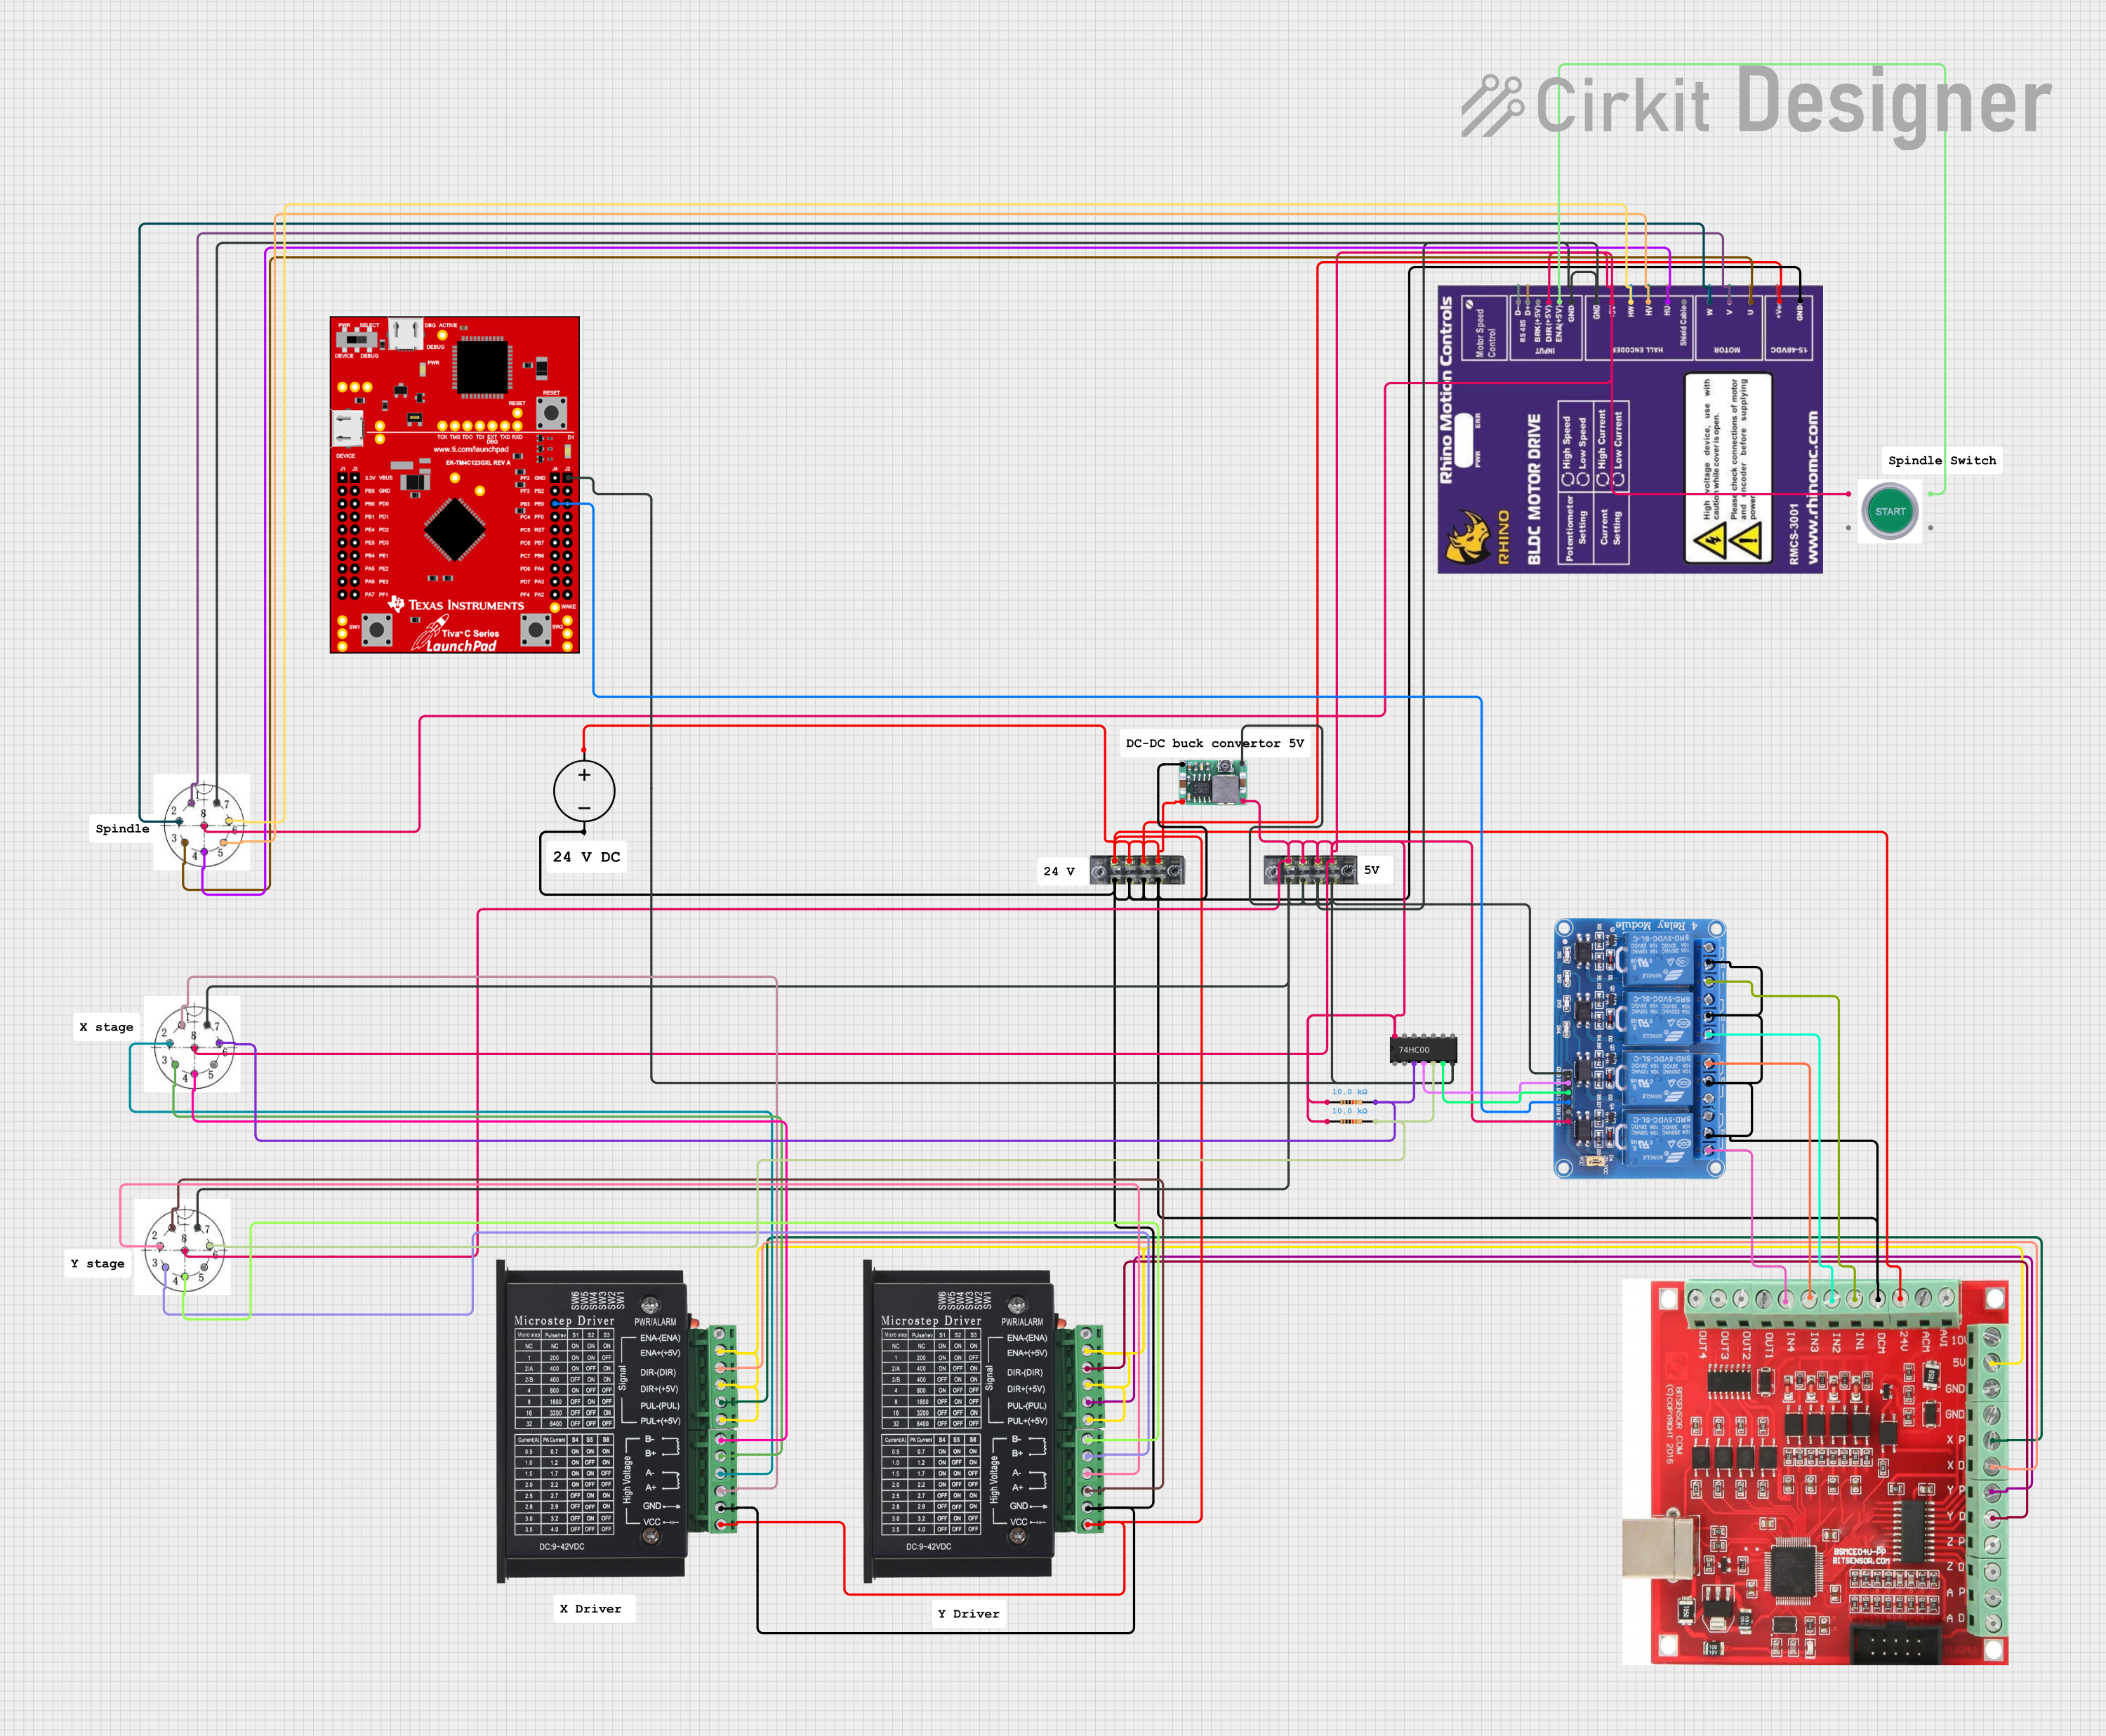 Open Project in Cirkit Designer
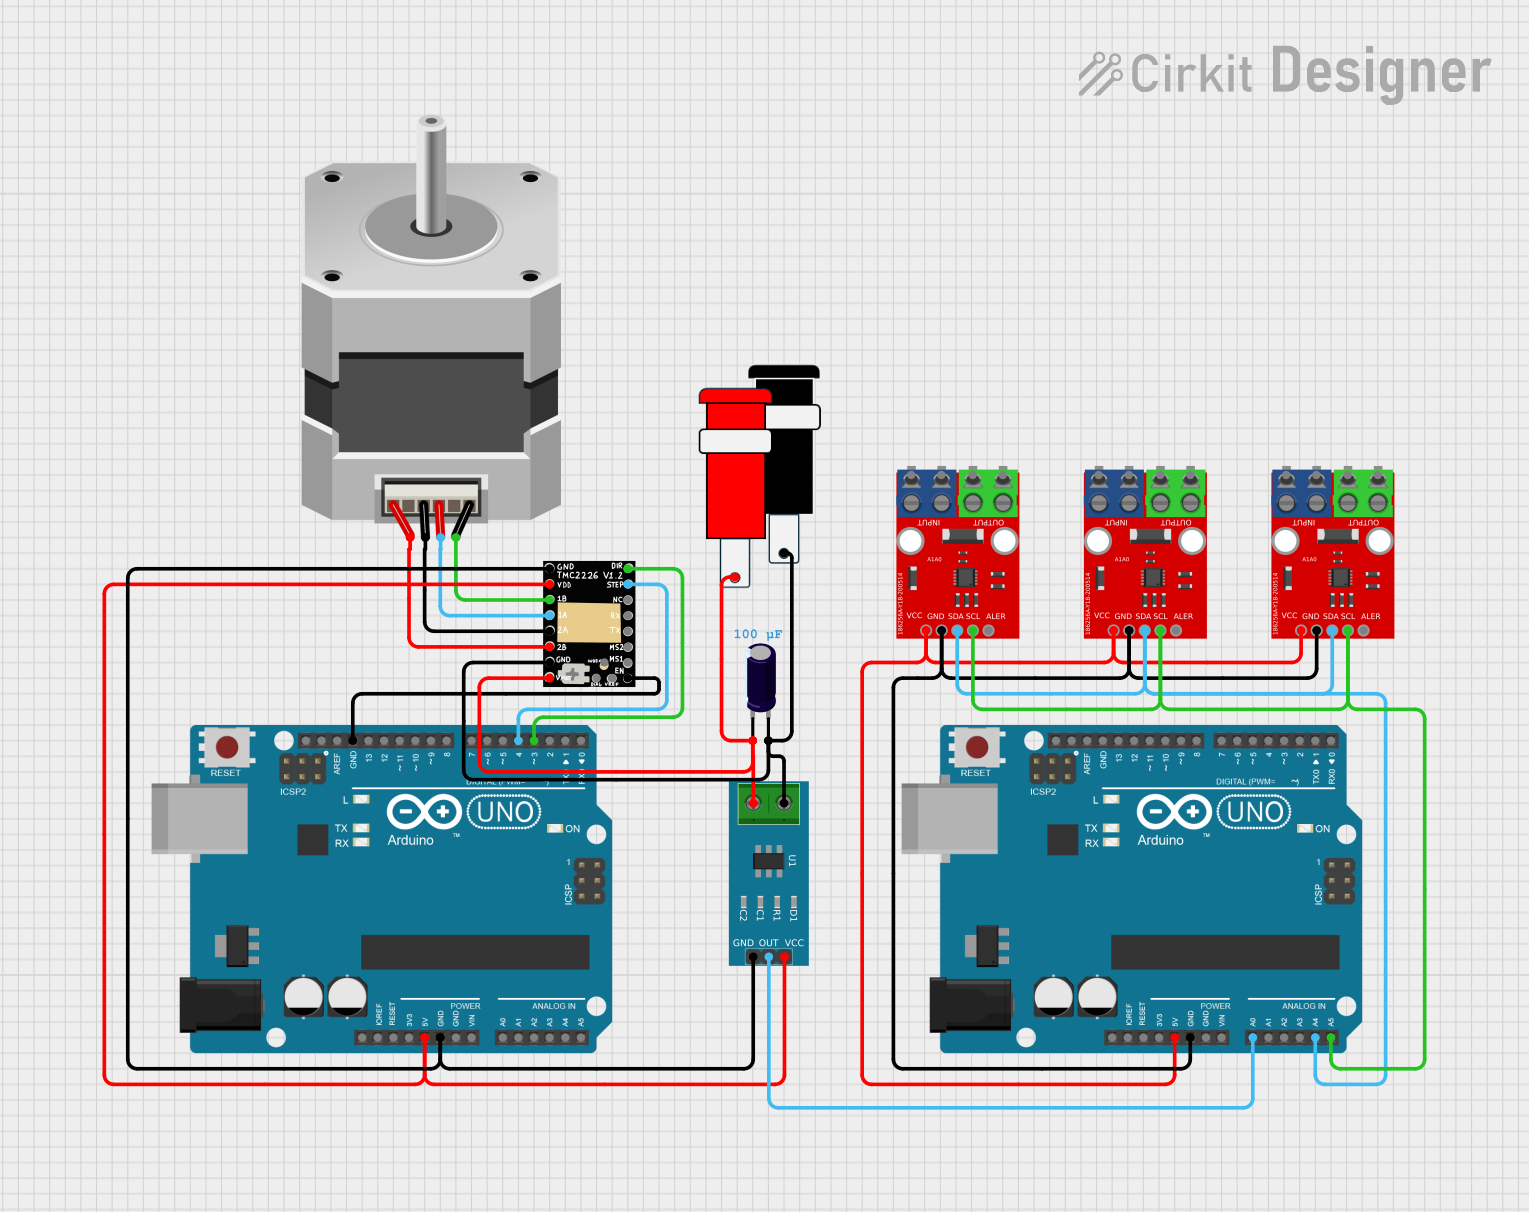 Open Project in Cirkit Designer
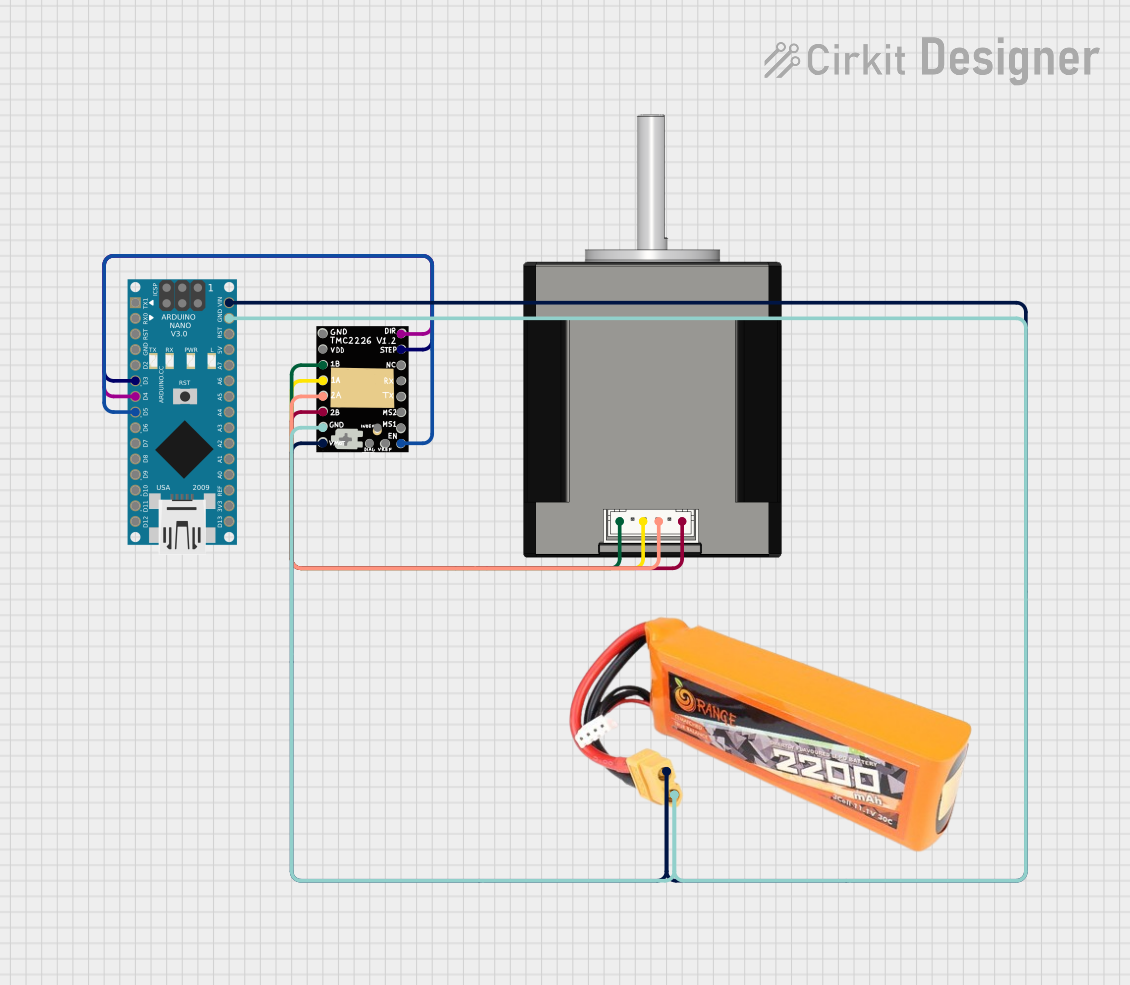 Open Project in Cirkit Designer
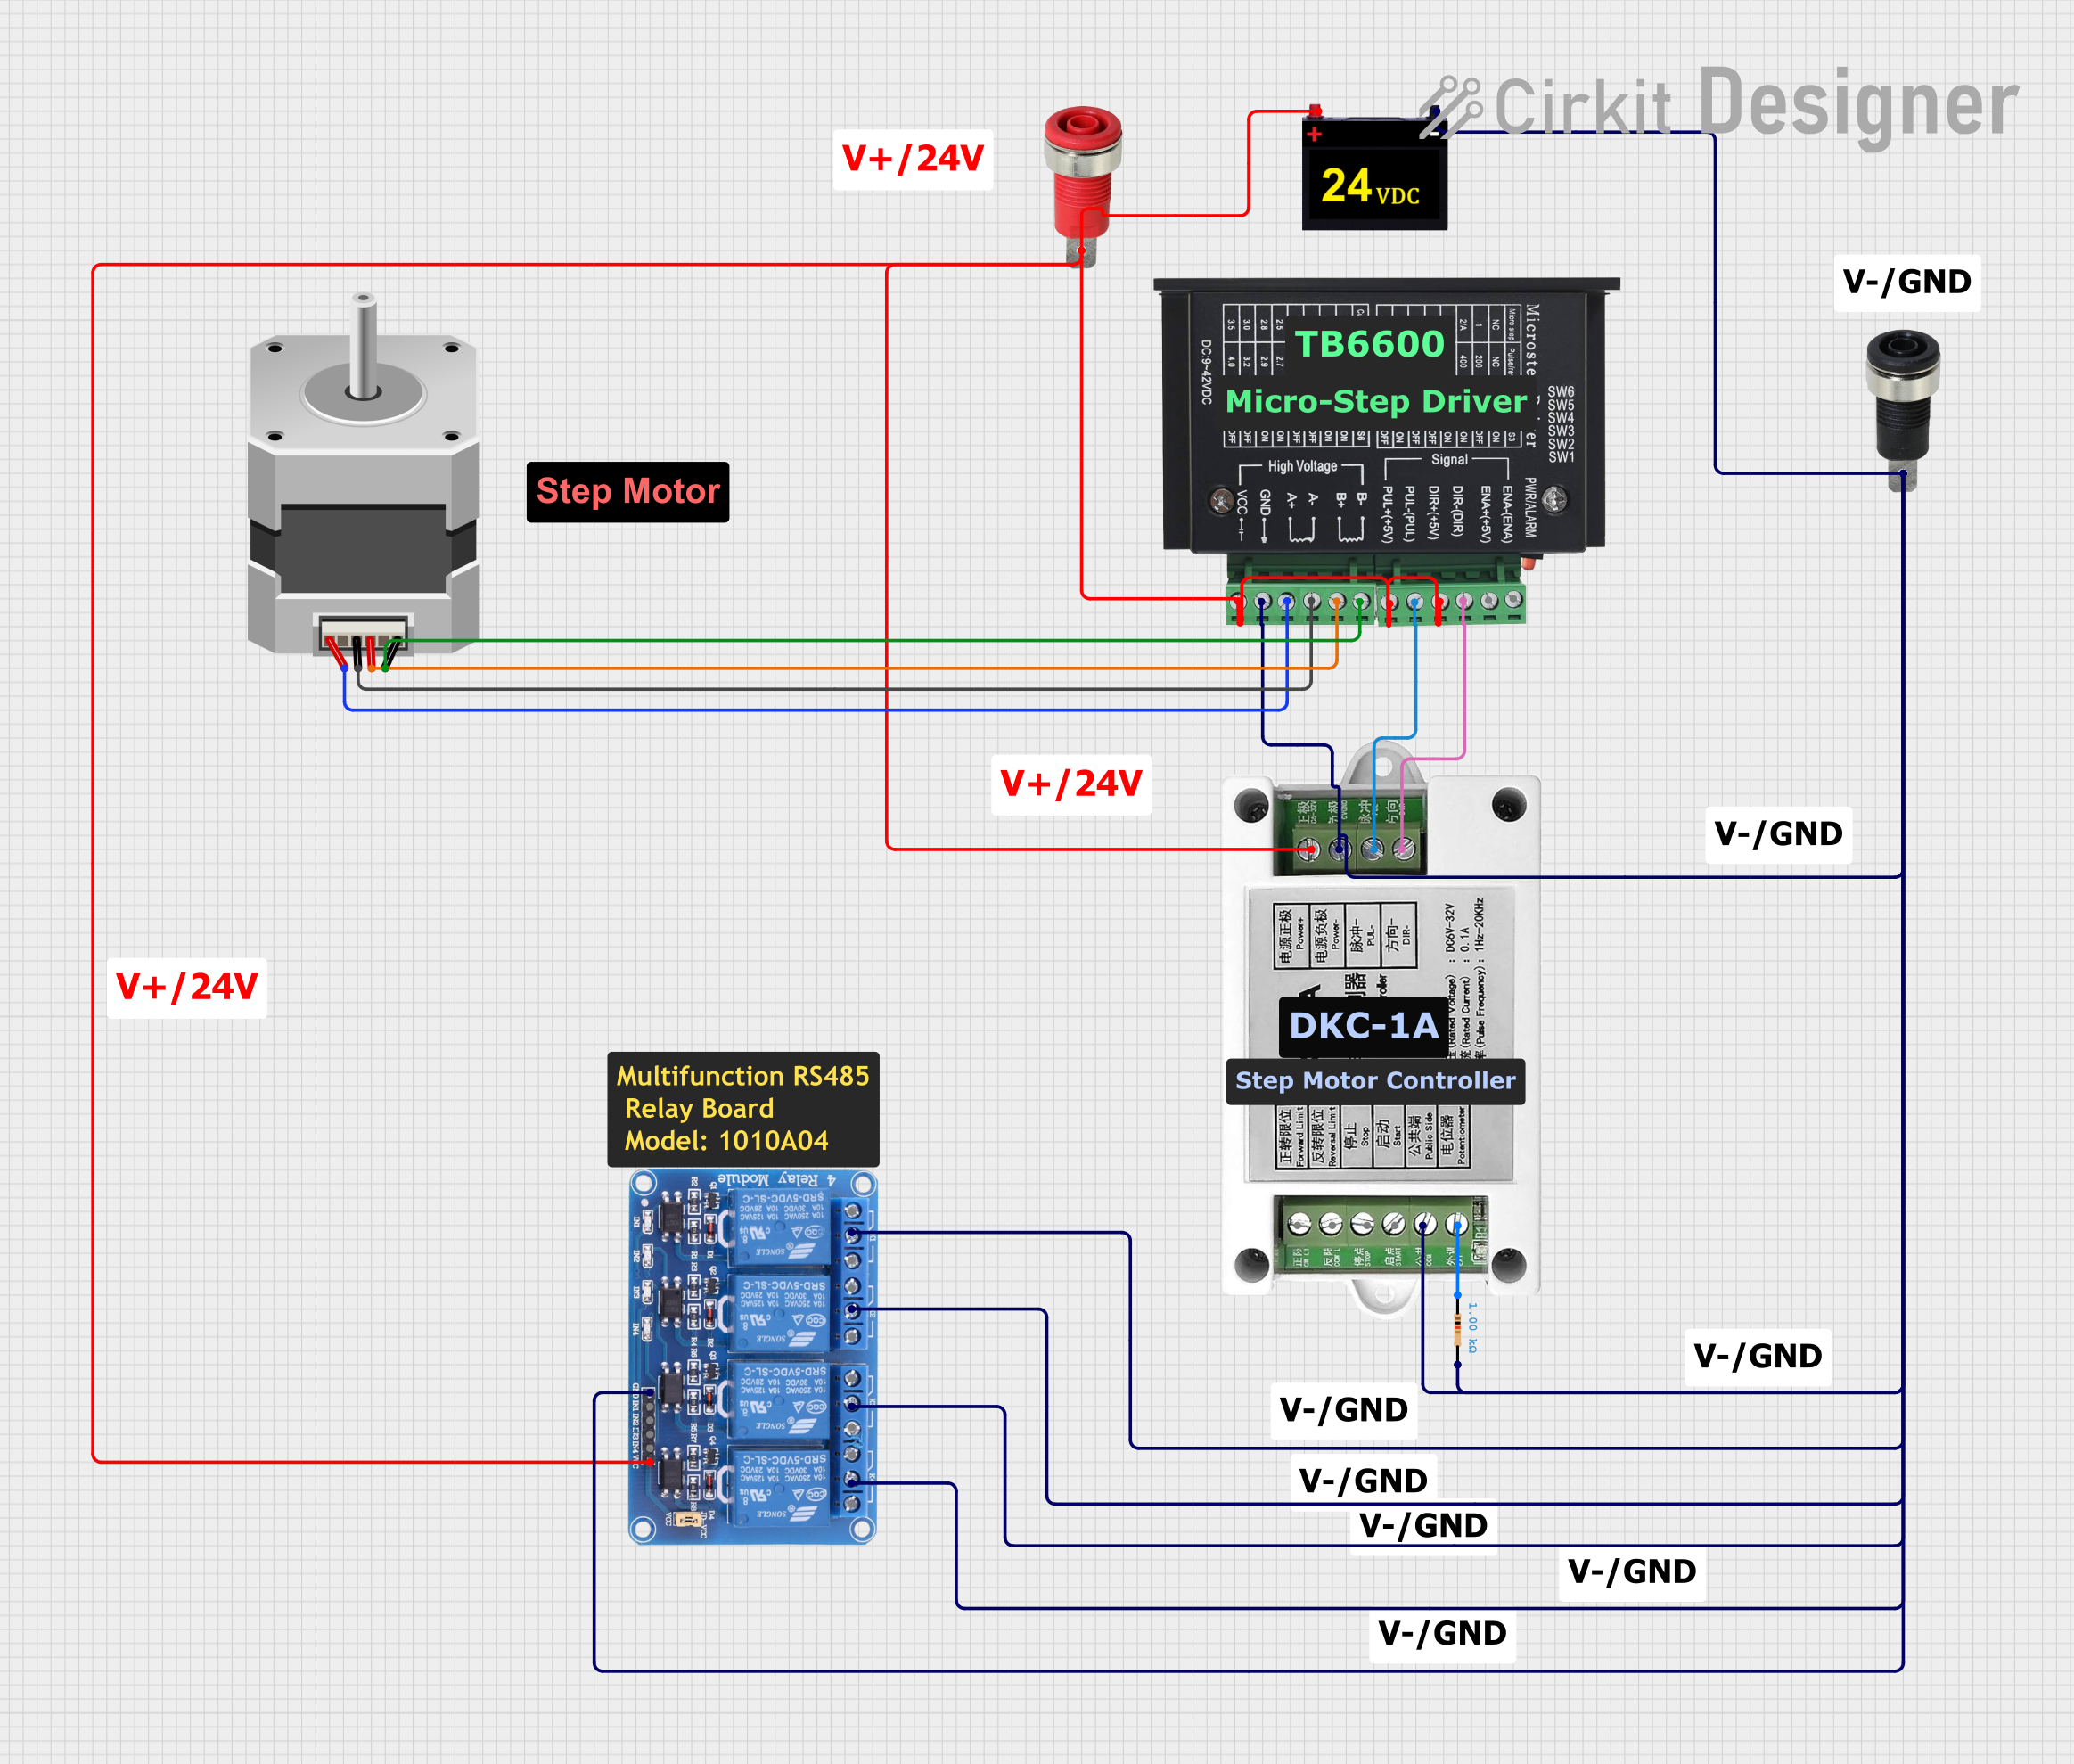 Open Project in Cirkit Designer
Explore Projects Built with TMC2209 MOTOR DRIVER(V 2.0)
Open Project in Cirkit DesignerOpen Project in Cirkit DesignerOpen Project in Cirkit DesignerOpen Project in Cirkit DesignerCommon Applications
- 3D printers for precise and quiet stepper motor control
- CNC machines requiring smooth motion and high torque
- Robotics and automation systems
- Any application requiring silent and efficient stepper motor operation
Technical Specifications
Key Technical Details
| Parameter | Value |
|---|---|
| Supply Voltage (V_M) | 4.75V to 29V |
| Logic Voltage (V_IO) | 3.3V or 5V |
| Maximum Motor Current | 2A RMS (2.8A peak) per phase |
| Microstepping | Up to 256 microsteps per full step |
| Communication Interface | UART |
| Operating Temperature | -40°C to +125°C |
| Features | StealthChop2, SpreadCycle, CoolStep, StallGuard4 |
Pin Configuration and Descriptions
The TMC2209 module typically comes with a 16-pin header. Below is the pinout and description:
| Pin Name | Description |
|---|---|
| GND | Ground connection |
| V_M | Motor power supply (4.75V to 29V) |
| V_IO | Logic voltage input (3.3V or 5V) |
| EN | Enable pin (active low, enables the driver when pulled low) |
| DIR | Direction control input |
| STEP | Step pulse input |
| UART_TX | UART transmit pin for communication |
| UART_RX | UART receive pin for communication |
| MS1, MS2 | Microstepping resolution selection pins |
| DIAG | Diagnostic output (e.g., for StallGuard4) |
| INDEX | Index signal output |
| A1, A2, B1, B2 | Motor coil connections (A1/A2 for one coil, B1/B2 for the other coil) |
| NC | Not connected |
Usage Instructions
How to Use the TMC2209 in a Circuit
- Power Supply: Connect the motor power supply (V_M) to a voltage source between 4.75V and 29V. Ensure the power supply can handle the current requirements of your stepper motor.
- Logic Voltage: Connect the V_IO pin to the logic voltage of your microcontroller (3.3V or 5V).
- Motor Connections: Connect the stepper motor coils to the A1, A2, B1, and B2 pins. Ensure the wiring matches the motor datasheet.
- Control Pins:
- Use the STEP pin to send step pulses to the driver.
- Use the DIR pin to control the direction of the motor.
- Pull the EN pin low to enable the driver.
- UART Communication: Connect the UART_TX and UART_RX pins to your microcontroller for advanced configuration and monitoring.
- Microstepping: Configure the MS1 and MS2 pins or use UART to set the desired microstepping resolution.
Important Considerations
- Cooling: The TMC2209 can handle up to 2A RMS, but proper cooling (e.g., heatsinks or fans) is recommended for high-current applications.
- StealthChop2 Mode: Use this mode for silent operation, ideal for 3D printing.
- SpreadCycle Mode: Use this mode for higher torque and faster motion.
- StallGuard4: This feature allows for sensorless homing and stall detection.
- UART Configuration: Use UART to fine-tune parameters such as current limits, microstepping, and diagnostics.
Example Code for Arduino UNO
Below is an example of how to control the TMC2209 using an Arduino UNO:
#include <TMCStepper.h> // Include the TMCStepper library

#define EN_PIN 8       // Enable pin
#define DIR_PIN 5      // Direction pin
#define STEP_PIN 6     // Step pin
#define SERIAL_PORT Serial // UART communication port
#define DRIVER_ADDRESS 0b00 // TMC2209 address (set via jumpers)

// Define motor current (in milliamps)
#define R_SENSE 0.11f // Sense resistor value
TMC2209Stepper driver(&SERIAL_PORT, R_SENSE, DRIVER_ADDRESS);

void setup() {
  pinMode(EN_PIN, OUTPUT);
  pinMode(DIR_PIN, OUTPUT);
  pinMode(STEP_PIN, OUTPUT);

  digitalWrite(EN_PIN, LOW); // Enable the driver

  SERIAL_PORT.begin(115200); // Initialize UART communication
  driver.begin();            // Initialize the driver
  driver.toff(5);            // Enable driver in SpreadCycle mode
  driver.rms_current(1000);  // Set motor current to 1000mA
  driver.microsteps(16);     // Set microstepping to 1/16
}

void loop() {
  digitalWrite(DIR_PIN, HIGH); // Set direction
  for (int i = 0; i < 200; i++) {
    digitalWrite(STEP_PIN, HIGH); // Step pulse
    delayMicroseconds(1000);      // Delay for motor speed
    digitalWrite(STEP_PIN, LOW);
    delayMicroseconds(1000);
  }
  delay(1000); // Wait before reversing direction

  digitalWrite(DIR_PIN, LOW); // Reverse direction
  for (int i = 0; i < 200; i++) {
    digitalWrite(STEP_PIN, HIGH);
    delayMicroseconds(1000);
    digitalWrite(STEP_PIN, LOW);
    delayMicroseconds(1000);
  }
  delay(1000);
}
Troubleshooting and FAQs
Common Issues and Solutions
Motor Not Moving:
- Ensure the EN pin is pulled low to enable the driver.
- Verify the STEP and DIR signals are being sent correctly.
- Check motor coil connections (A1, A2, B1, B2).
Overheating:
- Use a heatsink or fan to cool the driver.
- Reduce the motor current using UART or by adjusting the potentiometer (if available).
No UART Communication:
- Ensure the UART_TX and UART_RX pins are correctly connected to the microcontroller.
- Verify the UART baud rate matches the driver configuration (default: 115200).
Motor Vibrates but Does Not Rotate:
- Check the microstepping configuration (MS1, MS2, or UART settings).
- Verify the motor wiring matches the datasheet.
FAQs
Can I use the TMC2209 without UART? Yes, the TMC2209 can operate in standalone mode using the MS1 and MS2 pins for microstepping configuration.
What is the maximum microstepping resolution? The TMC2209 supports up to 256 microsteps per full step.
How do I enable silent operation? Use the StealthChop2 mode, which is enabled by default in most configurations.
Can the TMC2209 detect motor stalls? Yes, the StallGuard4 feature allows for sensorless stall detection and homing.
This concludes the documentation for the TMC2209 MOTOR DRIVER (V 2.0). For further assistance, refer to the official MakerBase (MKS) datasheet or contact technical support.