How to Use Laser Diode: Examples, Pinouts, and Specs
Introduction
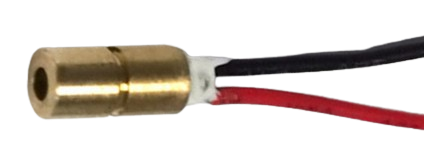
A laser diode is a semiconductor device that emits coherent light when an electric current passes through it. Unlike traditional LEDs, laser diodes produce highly focused and monochromatic light, making them ideal for precision applications. They are widely used in optical communication systems, laser pointers, barcode scanners, medical devices, and industrial cutting tools.
Laser diodes are valued for their compact size, efficiency, and ability to generate high-intensity light. However, they require careful handling and proper circuit design to ensure safe and reliable operation.
Explore Projects Built with Laser Diode

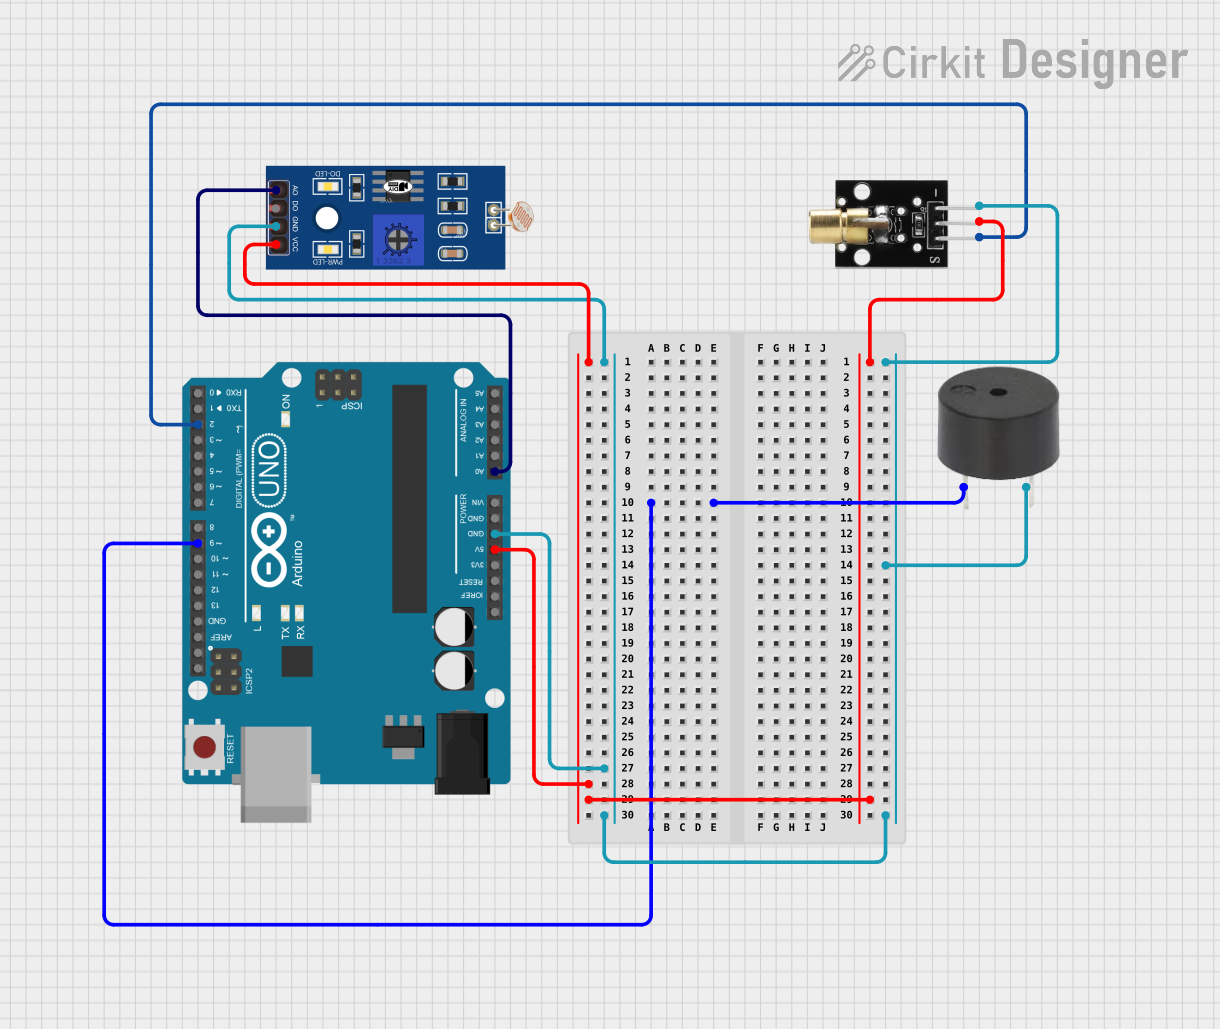
Explore Projects Built with Laser Diode
Technical Specifications
Below are the general technical specifications for a typical laser diode. Note that specific values may vary depending on the model and manufacturer.
Key Specifications
- Operating Voltage: 2.0V to 5.0V (varies by model)
- Operating Current: 20mA to 200mA (depending on power output)
- Wavelength: 400nm to 1550nm (visible, infrared, or ultraviolet light)
- Output Power: 1mW to 5W (depending on application)
- Beam Divergence: Typically 5° to 30°
- Lifespan: 10,000 to 50,000 hours (under proper conditions)
Pin Configuration and Descriptions
Laser diodes typically have three pins: Anode, Cathode, and Photodiode (optional). Below is a table describing the pin configuration:
| Pin Number | Name | Description |
|---|---|---|
| 1 | Anode (+) | Positive terminal; connect to the positive side of the power supply. |
| 2 | Cathode (-) | Negative terminal; connect to the ground or negative side of the power supply. |
| 3 | Photodiode | (Optional) Used for feedback to monitor and stabilize the laser output. |
Note: Always refer to the datasheet of your specific laser diode model for exact pinout and ratings.
Usage Instructions
How to Use the Laser Diode in a Circuit
- Power Supply: Use a constant current source to drive the laser diode. This prevents damage caused by current spikes.
- Current Limiting: Add a resistor or a current-limiting circuit to ensure the diode operates within its rated current range.
- Heat Management: Use a heatsink or cooling mechanism to dissipate heat, especially for high-power laser diodes.
- Polarity: Ensure correct polarity when connecting the laser diode. Reversing the polarity can permanently damage the component.
- Safety Precautions: Avoid direct eye exposure to the laser beam. Use protective eyewear if necessary.
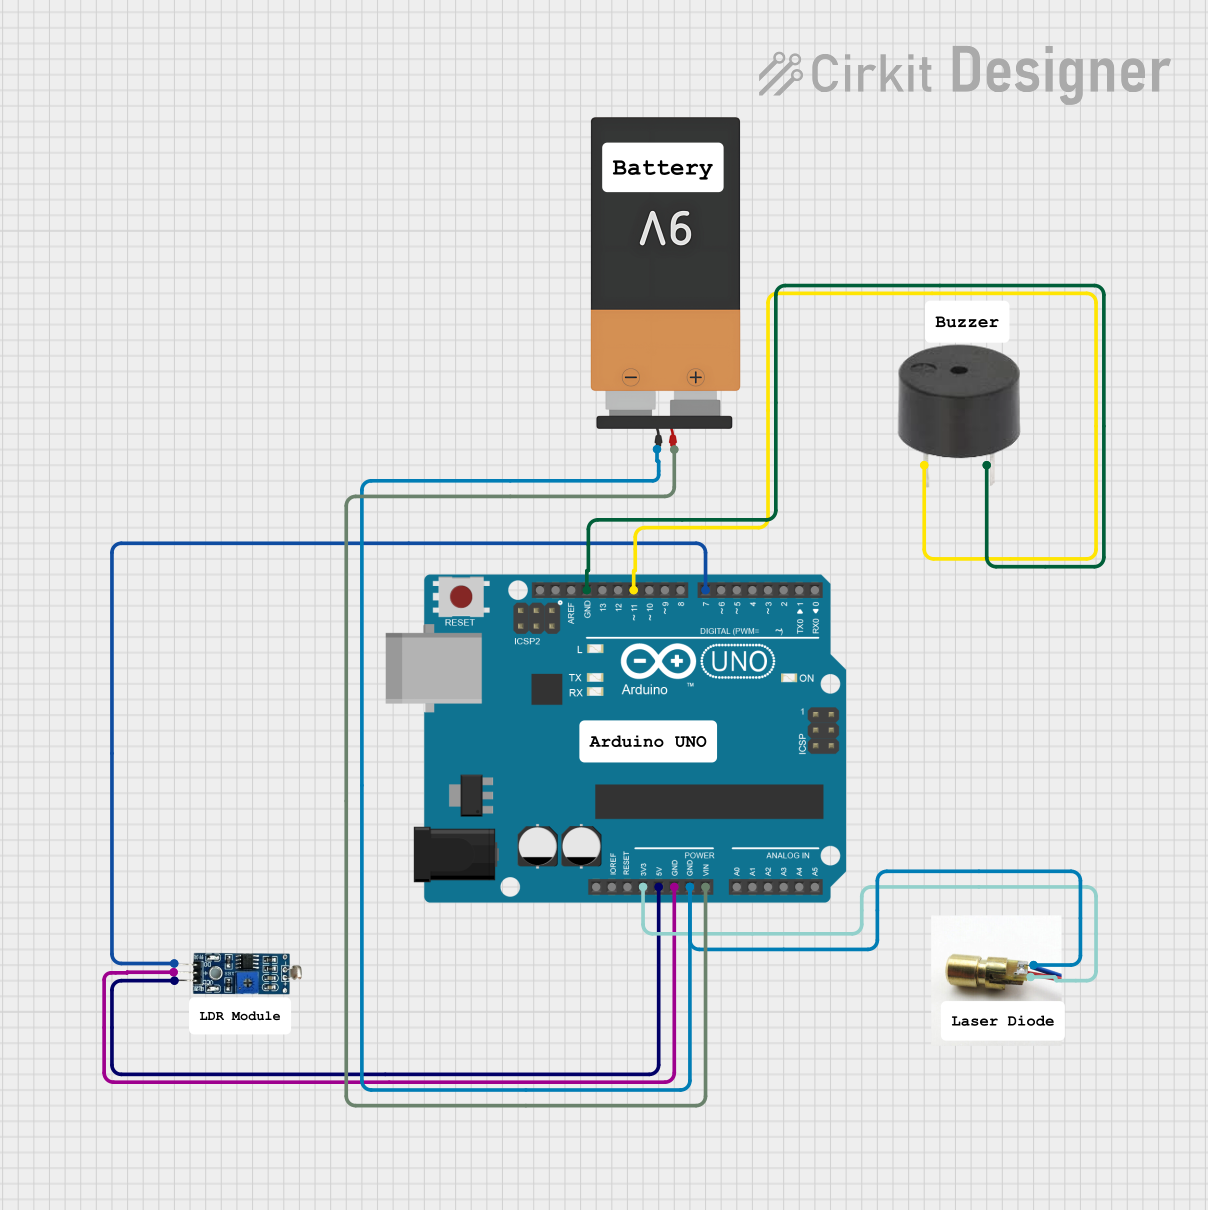
Example Circuit with Arduino UNO
Below is an example of how to control a laser diode using an Arduino UNO and a transistor for current regulation.
Circuit Components
- Laser Diode
- NPN Transistor (e.g., 2N2222)
- 1kΩ Resistor
- 10Ω Resistor
- Arduino UNO
- Power Supply (e.g., 5V)
Circuit Diagram
Arduino Pin 9 ----> 1kΩ Resistor ----> Base of NPN Transistor
Emitter of NPN Transistor ----> Ground
Collector of NPN Transistor ----> Laser Diode Anode (+)
Laser Diode Cathode (-) ----> 10Ω Resistor ----> Ground
Arduino Code
// Laser Diode Control with Arduino UNO
// This code demonstrates how to turn a laser diode on and off using PWM.

const int laserPin = 9; // Pin connected to the transistor base

void setup() {
  pinMode(laserPin, OUTPUT); // Set the laser control pin as output
}

void loop() {
  analogWrite(laserPin, 128); // Set laser brightness to 50% (PWM value: 128)
  delay(1000); // Keep the laser on for 1 second

  analogWrite(laserPin, 0); // Turn off the laser
  delay(1000); // Keep the laser off for 1 second
}
Important: Ensure the laser diode is connected to a proper current-limiting circuit to avoid damage.
Best Practices
- Always operate the laser diode within its specified voltage and current limits.
- Use a driver circuit designed specifically for laser diodes to ensure stable operation.
- Avoid electrostatic discharge (ESD) by handling the diode in an ESD-safe environment.
- Store the laser diode in a dry, dust-free environment when not in use.
Troubleshooting and FAQs
Common Issues and Solutions
Laser Diode Not Emitting Light
- Cause: Incorrect polarity or insufficient current.
- Solution: Verify the connections and ensure the power supply provides the required current.
Laser Output is Dim
- Cause: Insufficient current or degraded diode.
- Solution: Check the current-limiting resistor and ensure the diode is not damaged.
Laser Diode Overheating
- Cause: Excessive current or inadequate heat dissipation.
- Solution: Reduce the current and add a heatsink or cooling fan.
Laser Flickering
- Cause: Unstable power supply or poor connections.
- Solution: Use a regulated power supply and check all connections.
FAQs
Q: Can I connect a laser diode directly to a battery?
A: No, connecting directly to a battery can cause current spikes that may damage the diode. Always use a current-limiting circuit.Q: How do I choose the right laser diode for my application?
A: Consider the required wavelength, power output, and beam characteristics for your specific use case.Q: Is it safe to use a laser diode without protective eyewear?
A: No, even low-power laser diodes can cause eye damage. Always use appropriate safety measures.
By following this documentation, you can safely and effectively use a laser diode in your projects. Always consult the datasheet for your specific model to ensure proper operation.