Cirkit Designer Logo
Cirkit Designer
Your all-in-one circuit design IDE
Home / 
Component Documentation

How to Use Wind Vane: Examples, Pinouts, and Specs

Image of Wind Vane
Cirkit Designer LogoDesign with Wind Vane in Cirkit Designer

Introduction

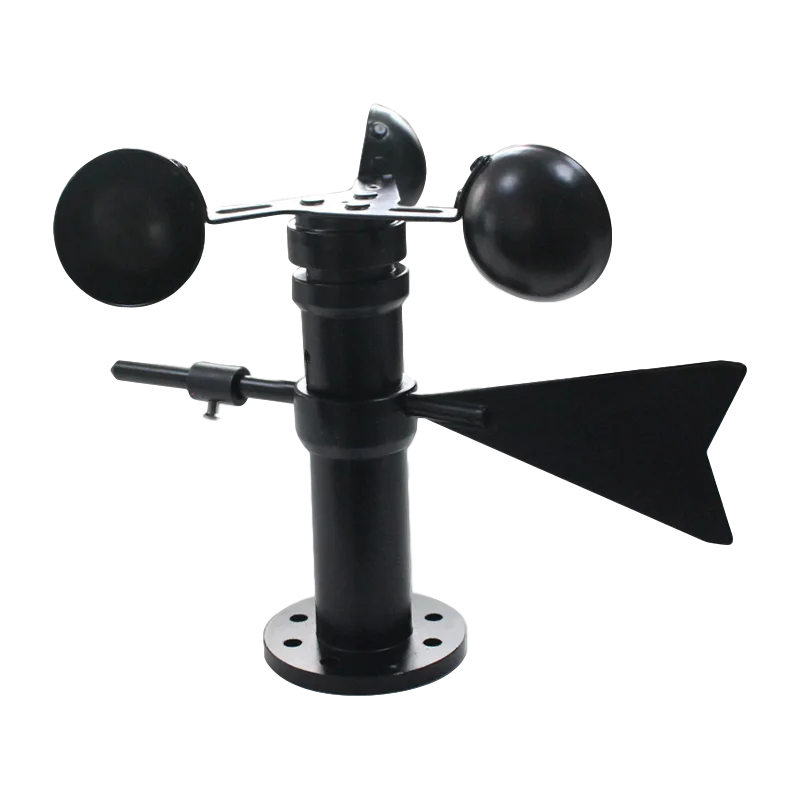
A wind vane, also known as a weather vane or wind direction sensor, is an instrument used to determine the direction from which the wind is blowing. It typically consists of a rotating pointer that aligns itself with the wind's direction. Wind vanes are commonly used in meteorological stations, on boats, at airports, and by weather enthusiasts to measure wind direction, which is a critical parameter in weather forecasting and analysis.

Explore Projects Built with Wind Vane

Use Cirkit Designer to design, explore, and prototype these projects online. Some projects support real-time simulation. Click "Open Project" to start designing instantly!
LoRa-Enabled Wind Direction Monitoring System with TTGO LoRa32
Image of Proyek Angin: A project utilizing Wind Vane in a practical application
This circuit measures wind direction using a Wind Vane and a WindDirectionSensor, and transmits the data via a TTGO LoRa32 microcontroller. The Wind Vane and WindDirectionSensor are powered by the TTGO LoRa32, which also reads the sensor data and sends it wirelessly.
Cirkit Designer LogoOpen Project in Cirkit Designer
Arduino-Based Vibration, RPM, and Wind Speed Monitoring System with MPU9250 and Sensors
Image of getrajahsjsbcsfbsk: A project utilizing Wind Vane in a practical application
This circuit uses an Arduino UNO to measure vibration, blade RPM, and wind speed. It interfaces with an MPU-9250 sensor via I2C for vibration data, a proximity sensor on pin D2 for blade RPM, and an anemometer on pin D3 for wind speed. The Arduino reads data from these sensors and outputs the results to the Serial Monitor.
Cirkit Designer LogoOpen Project in Cirkit Designer
Arduino-Based Renewable Energy Monitoring System with LCD Display
Image of Circuit diagram: A project utilizing Wind Vane in a practical application
This circuit integrates a wind turbine and a solar panel to charge a 12V battery through two charge controllers, with voltage monitoring via sensors connected to an Arduino UNO. The Arduino processes the sensor data and displays it on a 16x2 I2C LCD, while a buck converter and a 7805 regulator provide stable power to a fan and other components.
Cirkit Designer LogoOpen Project in Cirkit Designer
Arduino Nano-Based Anemometer with LCD Display
Image of Wind Speed Meter: A project utilizing Wind Vane in a practical application
This circuit features an Arduino Nano interfaced with an LCD display, an IR sensor, a dual op-amp LM358, and two trimmer potentiometers. The Arduino is programmed as an anemometer to measure wind speed and direction, displaying the results on the LCD. The IR sensor's output is conditioned by the LM358, and the potentiometers are likely used for setting thresholds or calibration.
Cirkit Designer LogoOpen Project in Cirkit Designer

Explore Projects Built with Wind Vane

Use Cirkit Designer to design, explore, and prototype these projects online. Some projects support real-time simulation. Click "Open Project" to start designing instantly!
Image of Proyek Angin: A project utilizing Wind Vane in a practical application
LoRa-Enabled Wind Direction Monitoring System with TTGO LoRa32
This circuit measures wind direction using a Wind Vane and a WindDirectionSensor, and transmits the data via a TTGO LoRa32 microcontroller. The Wind Vane and WindDirectionSensor are powered by the TTGO LoRa32, which also reads the sensor data and sends it wirelessly.
Cirkit Designer LogoOpen Project in Cirkit Designer
Image of getrajahsjsbcsfbsk: A project utilizing Wind Vane in a practical application
Arduino-Based Vibration, RPM, and Wind Speed Monitoring System with MPU9250 and Sensors
This circuit uses an Arduino UNO to measure vibration, blade RPM, and wind speed. It interfaces with an MPU-9250 sensor via I2C for vibration data, a proximity sensor on pin D2 for blade RPM, and an anemometer on pin D3 for wind speed. The Arduino reads data from these sensors and outputs the results to the Serial Monitor.
Cirkit Designer LogoOpen Project in Cirkit Designer
Image of Circuit diagram: A project utilizing Wind Vane in a practical application
Arduino-Based Renewable Energy Monitoring System with LCD Display
This circuit integrates a wind turbine and a solar panel to charge a 12V battery through two charge controllers, with voltage monitoring via sensors connected to an Arduino UNO. The Arduino processes the sensor data and displays it on a 16x2 I2C LCD, while a buck converter and a 7805 regulator provide stable power to a fan and other components.
Cirkit Designer LogoOpen Project in Cirkit Designer
Image of Wind Speed Meter: A project utilizing Wind Vane in a practical application
Arduino Nano-Based Anemometer with LCD Display
This circuit features an Arduino Nano interfaced with an LCD display, an IR sensor, a dual op-amp LM358, and two trimmer potentiometers. The Arduino is programmed as an anemometer to measure wind speed and direction, displaying the results on the LCD. The IR sensor's output is conditioned by the LM358, and the potentiometers are likely used for setting thresholds or calibration.
Cirkit Designer LogoOpen Project in Cirkit Designer

Common Applications and Use Cases

  • Meteorological data collection
  • Aviation for assessing wind direction on runways
  • Sailing to optimize sail orientation
  • Agriculture for irrigation planning
  • Environmental monitoring

Technical Specifications

Key Technical Details

  • Voltage: Typically 5V for digital wind vanes
  • Current: Varies depending on the model, usually in the mA range
  • Output: Analog voltage corresponding to wind direction or digital signal for more advanced models

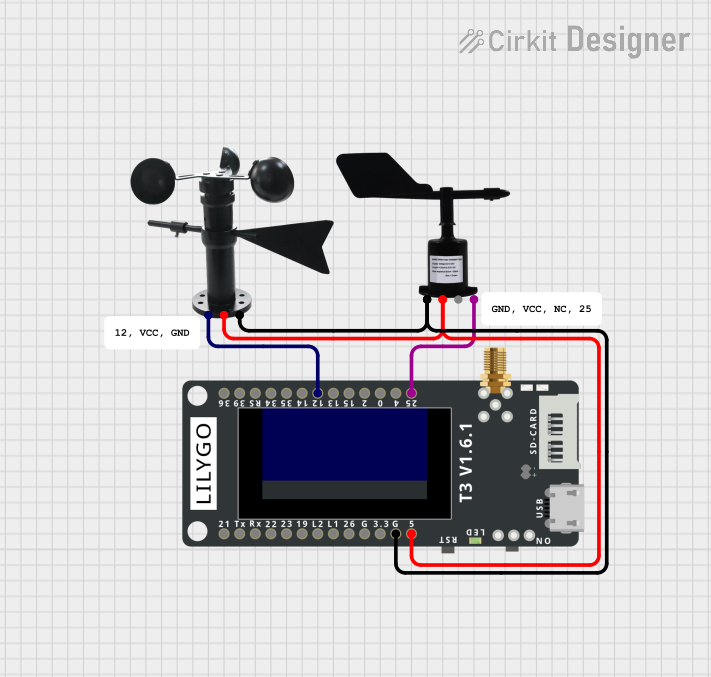
Pin Configuration and Descriptions

Pin Number Description Notes
1 VCC Connect to 5V power supply
2 Signal Output Analog or digital wind direction
3 Ground Connect to system ground

Usage Instructions

How to Use the Component in a Circuit

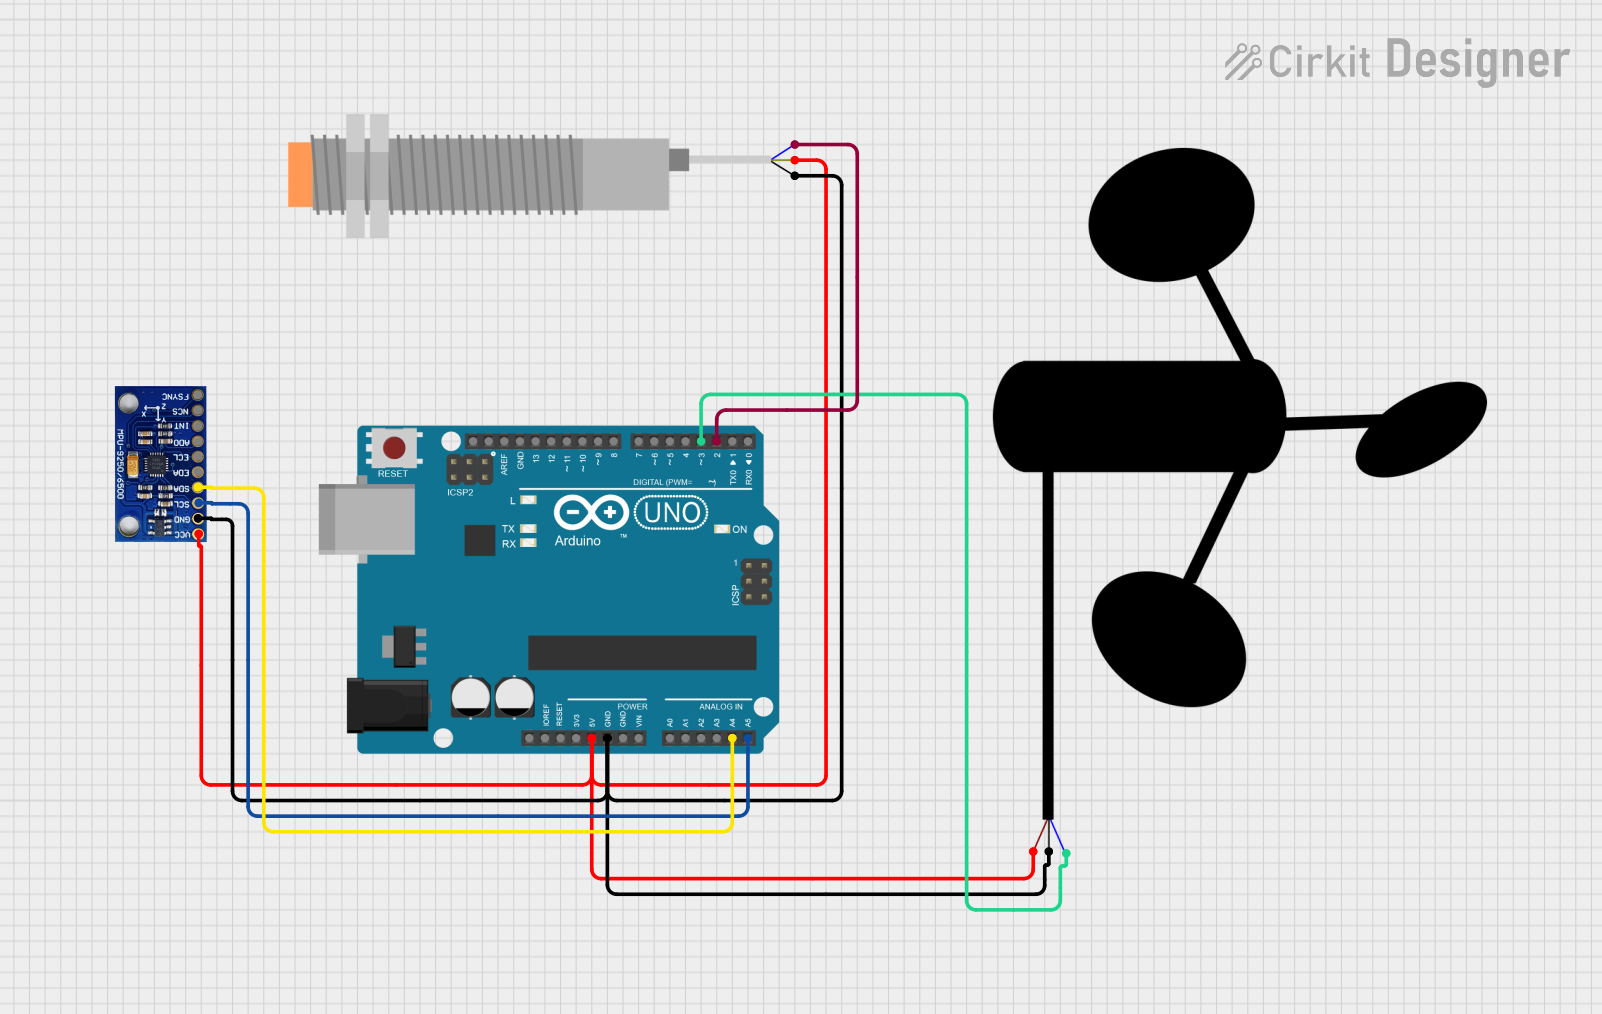
  1. Power Connection: Connect the VCC pin to a 5V power supply and the Ground pin to the common ground in your circuit.
  2. Signal Reading: Connect the Signal Output pin to an analog input on your microcontroller (e.g., Arduino) to read the wind direction.
  3. Mounting: Ensure the wind vane is mounted at an appropriate height and location, free from obstructions that could affect wind flow.

Important Considerations and Best Practices

  • Calibration: Calibrate the wind vane to ensure accurate readings. This may involve adjusting the sensor's orientation to align with known wind directions.
  • Debounce: Implement software debouncing to account for fluctuations in the sensor's output due to turbulent wind.
  • Weatherproofing: Ensure the wind vane is weatherproof and capable of withstanding the environmental conditions where it will be used.

Example Code for Arduino UNO

// Define the analog pin connected to the wind vane
const int windVanePin = A0;

void setup() {
  // Initialize serial communication at 9600 baud rate
  Serial.begin(9600);
}

void loop() {
  // Read the value from the wind vane
  int windVaneValue = analogRead(windVanePin);
  
  // Convert the analog value to wind direction
  String windDirection = convertToDirection(windVaneValue);
  
  // Print the wind direction to the Serial Monitor
  Serial.println("Wind Direction: " + windDirection);
  
  // Wait for a second before reading again
  delay(1000);
}

// Function to convert analog value to wind direction
String convertToDirection(int value) {
  // Implement conversion logic based on the wind vane's calibration
  // This is a placeholder function and should be calibrated for your specific wind vane
  if (value < 100) {
    return "North";
  } else if (value < 200) {
    return "North-East";
  } else if (value < 300) {
    return "East";
  } else if (value < 400) {
    return "South-East";
  } else if (value < 500) {
    return "South";
  } else if (value < 600) {
    return "South-West";
  } else if (value < 700) {
    return "West";
  } else {
    return "North-West";
  }
}

Troubleshooting and FAQs

Common Issues Users Might Face

  • Inaccurate Readings: If the wind vane provides inaccurate readings, check for proper calibration and ensure there are no obstructions affecting the wind flow.
  • Erratic Behavior: Fluctuating readings can be caused by electrical noise or mechanical issues. Ensure stable power supply and check for wear and tear on the moving parts.
  • No Output: If there is no output from the wind vane, verify the power supply, check the connections, and ensure the microcontroller's analog input is functioning correctly.

Solutions and Tips for Troubleshooting

  • Calibration: Regularly calibrate your wind vane and verify its orientation.
  • Debouncing: Implement software debouncing to smooth out the signal.
  • Maintenance: Perform periodic maintenance to ensure the mechanical parts are free from debris and corrosion.

FAQs

Q: How often should I calibrate my wind vane? A: Calibration frequency depends on usage and environmental conditions. It's recommended to calibrate the wind vane upon installation and then periodically, such as once a year.

Q: Can I use the wind vane with a 3.3V system? A: Some wind vanes are compatible with 3.3V systems. Check the specifications of your particular model and use a voltage level shifter if necessary.

Q: What is the best location to install a wind vane? A: The wind vane should be installed in an open area, away from tall structures or trees, at a height that provides unobstructed exposure to the wind.