How to Use Slide Switch: Examples, Pinouts, and Specs
Introduction
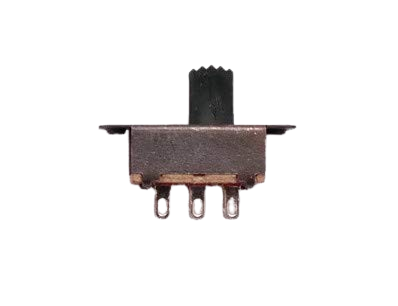
A slide switch is a type of electrical switch that is operated by sliding a lever or tab to open or close a circuit. It is a compact and reliable component commonly used for controlling power or toggling between different circuit states. Slide switches are available in various configurations, such as single-pole single-throw (SPST), single-pole double-throw (SPDT), and double-pole double-throw (DPDT), making them versatile for a wide range of applications.
Explore Projects Built with Slide Switch


Explore Projects Built with Slide Switch
Common Applications and Use Cases
- Power control in small electronic devices
- Mode selection in consumer electronics (e.g., ON/OFF, high/low power modes)
- Circuit selection in prototyping and testing
- Audio equipment for toggling between input/output sources
- Robotics and DIY projects for controlling motors or sensors
Technical Specifications
Below are the general technical specifications for a typical slide switch. Note that specific values may vary depending on the manufacturer and model.
| Parameter | Specification |
|---|---|
| Operating Voltage | 3V to 250V (AC/DC, depending on type) |
| Current Rating | 0.3A to 6A (varies by model) |
| Contact Resistance | ≤ 50 mΩ |
| Insulation Resistance | ≥ 100 MΩ |
| Mechanical Life | 10,000 to 100,000 cycles |
| Operating Temperature | -20°C to +85°C |
Pin Configuration and Descriptions
The pin configuration of a slide switch depends on its type. Below are the details for SPDT and DPDT slide switches:
SPDT (Single-Pole Double-Throw) Slide Switch
| Pin | Description |
|---|---|
| Pin 1 | Common terminal (connected to the moving contact) |
| Pin 2 | Normally connected (NC) terminal |
| Pin 3 | Normally open (NO) terminal |
DPDT (Double-Pole Double-Throw) Slide Switch
| Pin | Description |
|---|---|
| Pin 1 | Common terminal for pole 1 |
| Pin 2 | Normally connected (NC) terminal for pole 1 |
| Pin 3 | Normally open (NO) terminal for pole 1 |
| Pin 4 | Common terminal for pole 2 |
| Pin 5 | Normally connected (NC) terminal for pole 2 |
| Pin 6 | Normally open (NO) terminal for pole 2 |
Usage Instructions
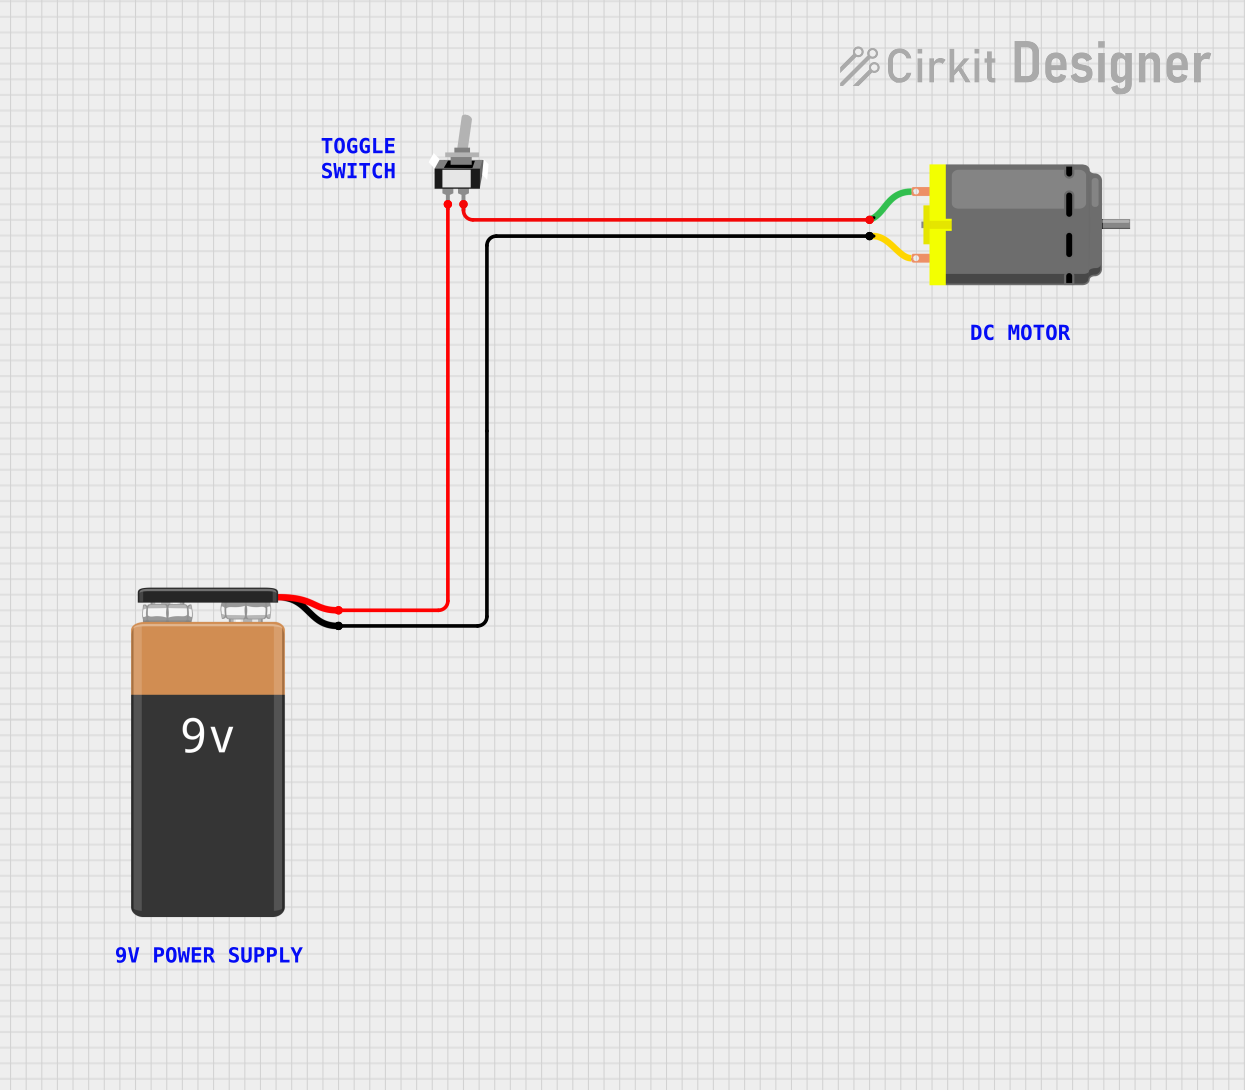
How to Use the Slide Switch in a Circuit
- Identify the Type of Switch: Determine whether the slide switch is SPST, SPDT, or DPDT based on your circuit requirements.
- Connect the Terminals:
- For SPDT: Connect the common terminal (Pin 1) to the input signal or power source. Use Pin 2 and Pin 3 to toggle between two outputs.
- For DPDT: Connect the common terminals (Pin 1 and Pin 4) to the input signals. Use the remaining pins to toggle between two sets of outputs.
- Mount the Switch: Secure the switch to your project enclosure or breadboard for stable operation.
- Test the Circuit: Slide the switch to verify that it toggles the circuit as intended.
Important Considerations and Best Practices
- Current and Voltage Ratings: Ensure the switch can handle the voltage and current of your circuit to avoid damage.
- Debouncing: Mechanical switches may cause signal noise (bouncing). Use a capacitor or software debouncing techniques in digital circuits.
- Mounting: Avoid excessive force when mounting the switch to prevent damage to the lever or housing.
- Soldering: If soldering the switch, use a low-temperature soldering iron to avoid overheating the plastic housing.
Example: Using a Slide Switch with Arduino UNO
Below is an example of using an SPDT slide switch to toggle an LED on and off with an Arduino UNO:
// Define the pin numbers
const int switchPin = 2;  // Pin connected to the common terminal of the switch
const int ledPin = 13;    // Pin connected to the LED

void setup() {
  pinMode(switchPin, INPUT_PULLUP); // Set the switch pin as input with pull-up resistor
  pinMode(ledPin, OUTPUT);          // Set the LED pin as output
}

void loop() {
  int switchState = digitalRead(switchPin); // Read the state of the switch

  if (switchState == LOW) { // If the switch is in the ON position
    digitalWrite(ledPin, HIGH); // Turn the LED on
  } else { // If the switch is in the OFF position
    digitalWrite(ledPin, LOW);  // Turn the LED off
  }
}
Note: The INPUT_PULLUP mode is used to simplify the circuit by enabling the internal pull-up resistor of the Arduino.
Troubleshooting and FAQs
Common Issues and Solutions
Switch Not Working:
- Cause: Poor connection or incorrect wiring.
- Solution: Double-check the wiring and ensure the switch terminals are properly connected.
Intermittent Operation:
- Cause: Contact resistance or mechanical wear.
- Solution: Clean the switch contacts or replace the switch if worn out.
Signal Noise (Bouncing):
- Cause: Mechanical bouncing of the switch contacts.
- Solution: Add a small capacitor (e.g., 0.1 µF) across the switch terminals or implement software debouncing.
Overheating During Soldering:
- Cause: Excessive heat applied to the switch terminals.
- Solution: Use a temperature-controlled soldering iron and limit soldering time to a few seconds.
FAQs
Q: Can I use a slide switch to control AC power?
A: Yes, but ensure the switch is rated for the voltage and current of the AC circuit. For high-power applications, consider using a relay in conjunction with the switch.
Q: How do I know if my slide switch is SPDT or DPDT?
A: Count the number of terminals. SPDT switches have three terminals, while DPDT switches have six.
Q: Can I use a slide switch for digital input to a microcontroller?
A: Yes, slide switches are commonly used as digital inputs. Use pull-up or pull-down resistors to ensure stable logic levels.
Q: What is the lifespan of a slide switch?
A: The mechanical life of a slide switch typically ranges from 10,000 to 100,000 cycles, depending on the quality and usage conditions.