Cirkit Designer Logo
Cirkit Designer
Your all-in-one circuit design IDE
Home / 
Component Documentation

How to Use Adafruit Green 15x7 CharliePlex FeatherWing: Examples, Pinouts, and Specs

Image of Adafruit Green 15x7 CharliePlex FeatherWing
Cirkit Designer LogoDesign with Adafruit Green 15x7 CharliePlex FeatherWing in Cirkit Designer

Introduction

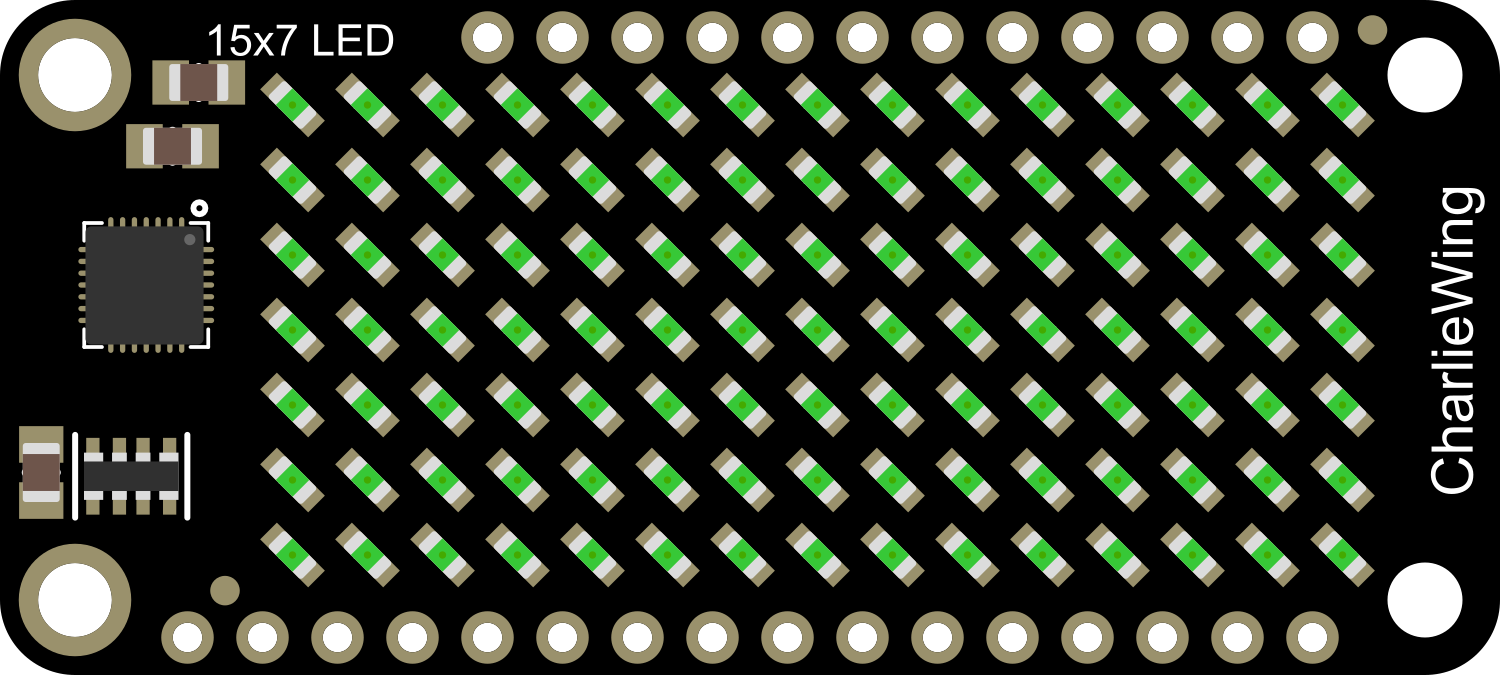
The Adafruit Green 15x7 CharliePlex FeatherWing is an innovative LED matrix display designed for use with the Feather series of microcontrollers from Adafruit. This module features a unique 15x7 grid of green LEDs that can be individually addressed using the Charlieplexing technique, which allows for control of multiple LEDs with fewer I/O pins. The FeatherWing form factor makes it easy to stack on top of or alongside a Feather board for compact and versatile projects.

Common applications for the CharliePlex FeatherWing include:

  • Creating scrolling text displays
  • Building custom light animations
  • Designing wearable electronic badges
  • Adding visual output to sensors and interactive projects

Explore Projects Built with Adafruit Green 15x7 CharliePlex FeatherWing

Use Cirkit Designer to design, explore, and prototype these projects online. Some projects support real-time simulation. Click "Open Project" to start designing instantly!
Solar-Powered Environmental Data Logger with Adafruit Feather M0 Express
Image of Lake Thoreau Monitoring Station: A project utilizing Adafruit Green 15x7 CharliePlex FeatherWing in a practical application
This circuit is designed for environmental data collection and logging, utilizing an Adafruit Feather M0 Express microcontroller as the central processing unit. It interfaces with a BME280 sensor for atmospheric temperature, humidity, and pressure measurements, an SGP30 sensor for monitoring air quality (eCO2 and TVOC), and a STEMMA soil sensor for detecting soil moisture and temperature. The system is powered by a solar panel and a 3.7v LiPo battery, managed by an Adafruit BQ24074 Solar-DC-USB Lipo Charger, and provides easy access to the microcontroller's connections through an Adafruit Terminal Breakout FeatherWing.
Cirkit Designer LogoOpen Project in Cirkit Designer
ESP32-Based Vibration Feedback System with Quad Alphanumeric Display and ADXL343 Accelerometer
Image of EC444 - Quest 3: A project utilizing Adafruit Green 15x7 CharliePlex FeatherWing in a practical application
This circuit features an Adafruit HUZZAH32 ESP32 Feather board as the central microcontroller, which is connected to an Adafruit Quad AlphaNumeric Featherwing display and an Adafruit ADXL343 accelerometer via I2C communication (SCL and SDA lines). The ESP32 controls a vibration motor connected to one of its GPIO pins (A5_IO4) and shares a common power supply (3.3V) and ground (GND) with the other components. The purpose of this circuit is likely to read acceleration data, display information on the alphanumeric display, and provide haptic feedback through the vibration motor.
Cirkit Designer LogoOpen Project in Cirkit Designer
Arduino UNO and OLED FeatherWing Display: Battery-Powered Hello World Project
Image of ARDUINO_SSD1306: A project utilizing Adafruit Green 15x7 CharliePlex FeatherWing in a practical application
This circuit consists of an Arduino UNO connected to an Adafruit OLED FeatherWing display via I2C communication (SDA and SCL lines). The Arduino is powered through a Vcc source and provides 3.3V and GND connections to the OLED display. The Arduino runs a program to display 'Hello, World!' on the OLED screen.
Cirkit Designer LogoOpen Project in Cirkit Designer
Touch-Sensitive Interface with Adafruit MPR121 and Feather 32u4 Bluefruit
Image of MPR121: A project utilizing Adafruit Green 15x7 CharliePlex FeatherWing in a practical application
This circuit integrates an Adafruit MPR121 capacitive touch sensor with an Adafruit Feather 32u4 Bluefruit microcontroller. The MPR121 is powered by the Feather and communicates via I2C (SCL and SDA) to detect touch inputs, which can be processed or transmitted wirelessly by the Feather.
Cirkit Designer LogoOpen Project in Cirkit Designer

Explore Projects Built with Adafruit Green 15x7 CharliePlex FeatherWing

Use Cirkit Designer to design, explore, and prototype these projects online. Some projects support real-time simulation. Click "Open Project" to start designing instantly!
Image of Lake Thoreau Monitoring Station: A project utilizing Adafruit Green 15x7 CharliePlex FeatherWing in a practical application
Solar-Powered Environmental Data Logger with Adafruit Feather M0 Express
This circuit is designed for environmental data collection and logging, utilizing an Adafruit Feather M0 Express microcontroller as the central processing unit. It interfaces with a BME280 sensor for atmospheric temperature, humidity, and pressure measurements, an SGP30 sensor for monitoring air quality (eCO2 and TVOC), and a STEMMA soil sensor for detecting soil moisture and temperature. The system is powered by a solar panel and a 3.7v LiPo battery, managed by an Adafruit BQ24074 Solar-DC-USB Lipo Charger, and provides easy access to the microcontroller's connections through an Adafruit Terminal Breakout FeatherWing.
Cirkit Designer LogoOpen Project in Cirkit Designer
Image of EC444 - Quest 3: A project utilizing Adafruit Green 15x7 CharliePlex FeatherWing in a practical application
ESP32-Based Vibration Feedback System with Quad Alphanumeric Display and ADXL343 Accelerometer
This circuit features an Adafruit HUZZAH32 ESP32 Feather board as the central microcontroller, which is connected to an Adafruit Quad AlphaNumeric Featherwing display and an Adafruit ADXL343 accelerometer via I2C communication (SCL and SDA lines). The ESP32 controls a vibration motor connected to one of its GPIO pins (A5_IO4) and shares a common power supply (3.3V) and ground (GND) with the other components. The purpose of this circuit is likely to read acceleration data, display information on the alphanumeric display, and provide haptic feedback through the vibration motor.
Cirkit Designer LogoOpen Project in Cirkit Designer
Image of ARDUINO_SSD1306: A project utilizing Adafruit Green 15x7 CharliePlex FeatherWing in a practical application
Arduino UNO and OLED FeatherWing Display: Battery-Powered Hello World Project
This circuit consists of an Arduino UNO connected to an Adafruit OLED FeatherWing display via I2C communication (SDA and SCL lines). The Arduino is powered through a Vcc source and provides 3.3V and GND connections to the OLED display. The Arduino runs a program to display 'Hello, World!' on the OLED screen.
Cirkit Designer LogoOpen Project in Cirkit Designer
Image of MPR121: A project utilizing Adafruit Green 15x7 CharliePlex FeatherWing in a practical application
Touch-Sensitive Interface with Adafruit MPR121 and Feather 32u4 Bluefruit
This circuit integrates an Adafruit MPR121 capacitive touch sensor with an Adafruit Feather 32u4 Bluefruit microcontroller. The MPR121 is powered by the Feather and communicates via I2C (SCL and SDA) to detect touch inputs, which can be processed or transmitted wirelessly by the Feather.
Cirkit Designer LogoOpen Project in Cirkit Designer

Technical Specifications

Key Technical Details

  • LED Color: Green
  • Matrix Size: 15x7 LEDs
  • Operating Voltage: 3.3V to 5V
  • Communication Interface: I2C
  • I2C Addresses: 0x70 (default), selectable with solder jumpers
  • Dimensions: 50mm x 23mm x 4mm

Pin Configuration and Descriptions

Pin Description
GND Ground connection
3V 3.3V power supply
SDA I2C Data
SCL I2C Clock
RST Reset pin (optional use)
A0-A4 Address selection pins for I2C

Usage Instructions

Integration with a Circuit

To use the Adafruit Green 15x7 CharliePlex FeatherWing with a Feather microcontroller:

  1. Align the headers of the FeatherWing with the corresponding pins on the Feather board.
  2. Solder the headers to establish a secure connection.
  3. Connect the Feather board to your computer via USB.
  4. Ensure that the Feather board is powered, either through USB or an external power supply.

Best Practices

  • Use the provided Arduino library for the CharliePlex FeatherWing to simplify programming.
  • Avoid exposing the module to moisture or extreme temperatures.
  • When handling the board, be cautious of electrostatic discharge by grounding yourself.

Example Code for Arduino UNO

#include <Wire.h>
#include <Adafruit_IS31FL3731.h>

// Create the LED driver object
Adafruit_IS31FL3731 ledmatrix = Adafruit_IS31FL3731();

void setup() {
  Wire.begin(); // Initialize I2C
  if (!ledmatrix.begin()) {
    Serial.println("IS31FL3731 not found");
    while (1);
  }
  Serial.println("IS31FL3731 found!");
}

void loop() {
  ledmatrix.clear(); // Clear the buffer

  // Draw a simple pattern
  for (int i = 0; i < 15; i++) {
    ledmatrix.drawPixel(i, i % 7, 30); // Draw diagonal line
  }

  ledmatrix.display(); // Display the buffer
  delay(100);
}

Ensure that you have installed the Adafruit_IS31FL3731 library through the Arduino Library Manager before uploading this code to your Arduino UNO.

Troubleshooting and FAQs

Common Issues

  • LEDs Not Lighting Up: Ensure that the FeatherWing is properly seated on the Feather board and that all solder joints are solid.
  • Dim or Flickering LEDs: Check that the power supply is adequate and stable. The FeatherWing requires a steady voltage between 3.3V and 5V.
  • I2C Communication Errors: Confirm that the I2C address is correctly set and that there are no conflicts with other devices on the I2C bus.

Solutions and Tips

  • If you encounter soldering issues, reheat the joints and apply a small amount of additional solder if necessary.
  • For I2C communication issues, use a logic analyzer or oscilloscope to verify that the SDA and SCL lines are functioning correctly.
  • If multiple CharliePlex FeatherWings are used, ensure that each has a unique I2C address by adjusting the A0-A4 solder jumpers.

FAQs

Q: Can I use the CharliePlex FeatherWing with other microcontrollers?

A: Yes, the CharliePlex FeatherWing can be used with any microcontroller that supports I2C communication, provided you have the appropriate library or write your own code to interface with the IS31FL3731 driver chip.

Q: How do I change the I2C address?

A: The I2C address can be changed by soldering the A0-A4 address jumpers on the back of the board to connect them to either GND or 3V.

Q: Can I power the FeatherWing with a battery?

A: Yes, as long as the battery provides a voltage within the operating range of 3.3V to 5V.

For further assistance, consult the Adafruit support forums or the detailed datasheet for the IS31FL3731 LED driver chip.