
How to Use Raspberry Pi AI HAT+ (26T): Examples, Pinouts, and Specs
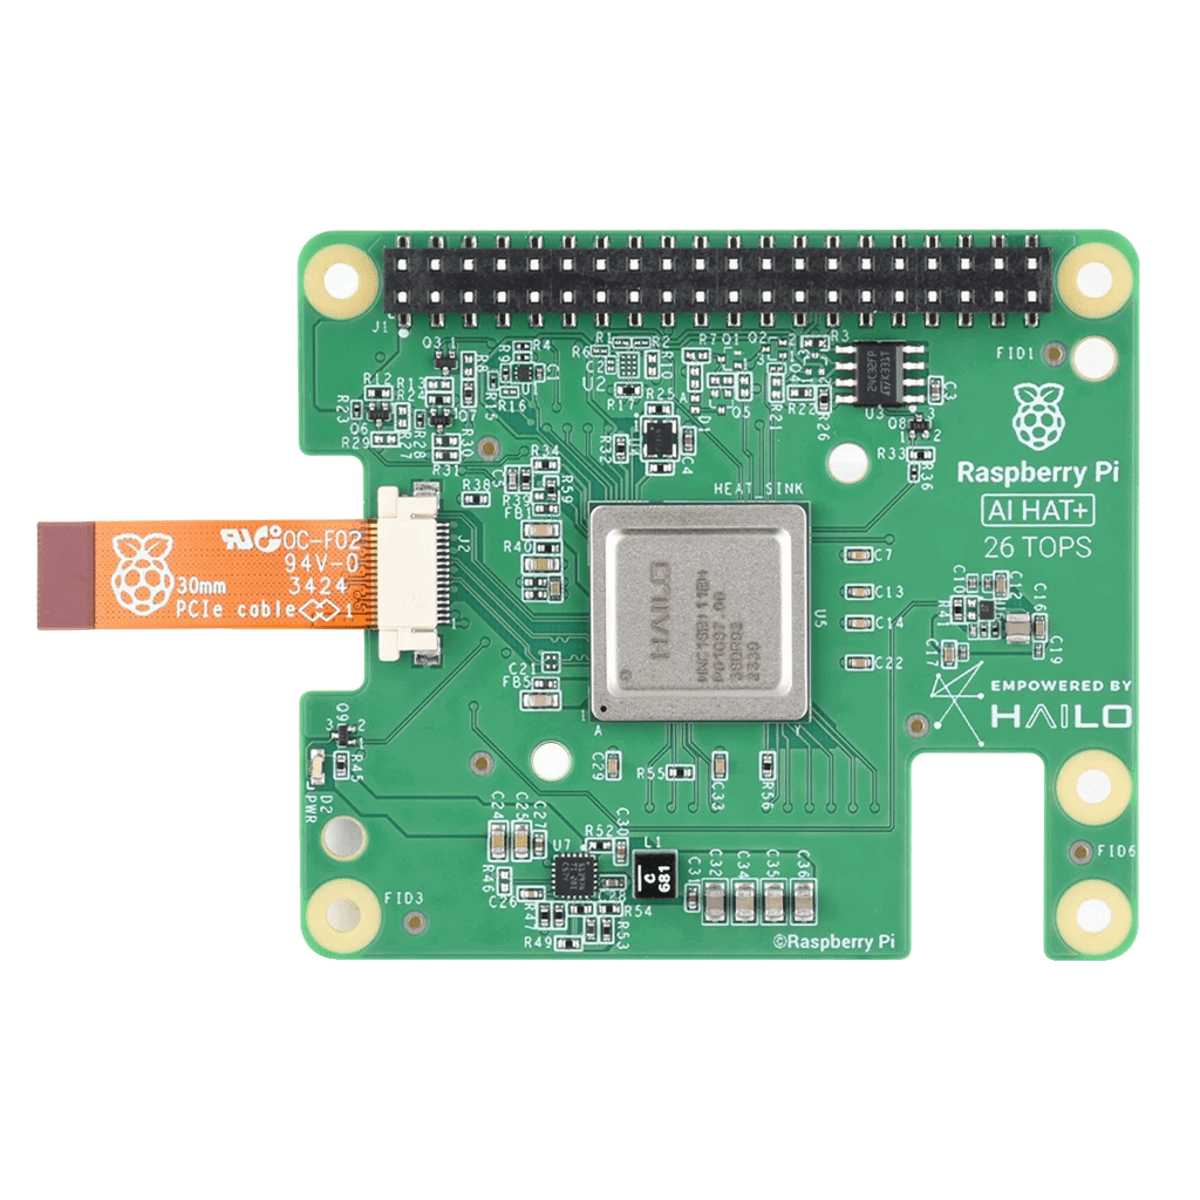
 Design with Raspberry Pi AI HAT+ (26T) in Cirkit Designer
Introduction
The Raspberry Pi AI HAT+ (26T) is an advanced add-on board designed to bring artificial intelligence (AI) capabilities to Raspberry Pi devices. Manufactured by Raspberry Pi, this HAT (Hardware Attached on Top) features a neural network accelerator, enabling efficient machine learning (ML) computations directly on the edge. It is ideal for applications requiring real-time AI processing, such as image recognition, natural language processing, and robotics.
Explore Projects Built with Raspberry Pi AI HAT+ (26T)
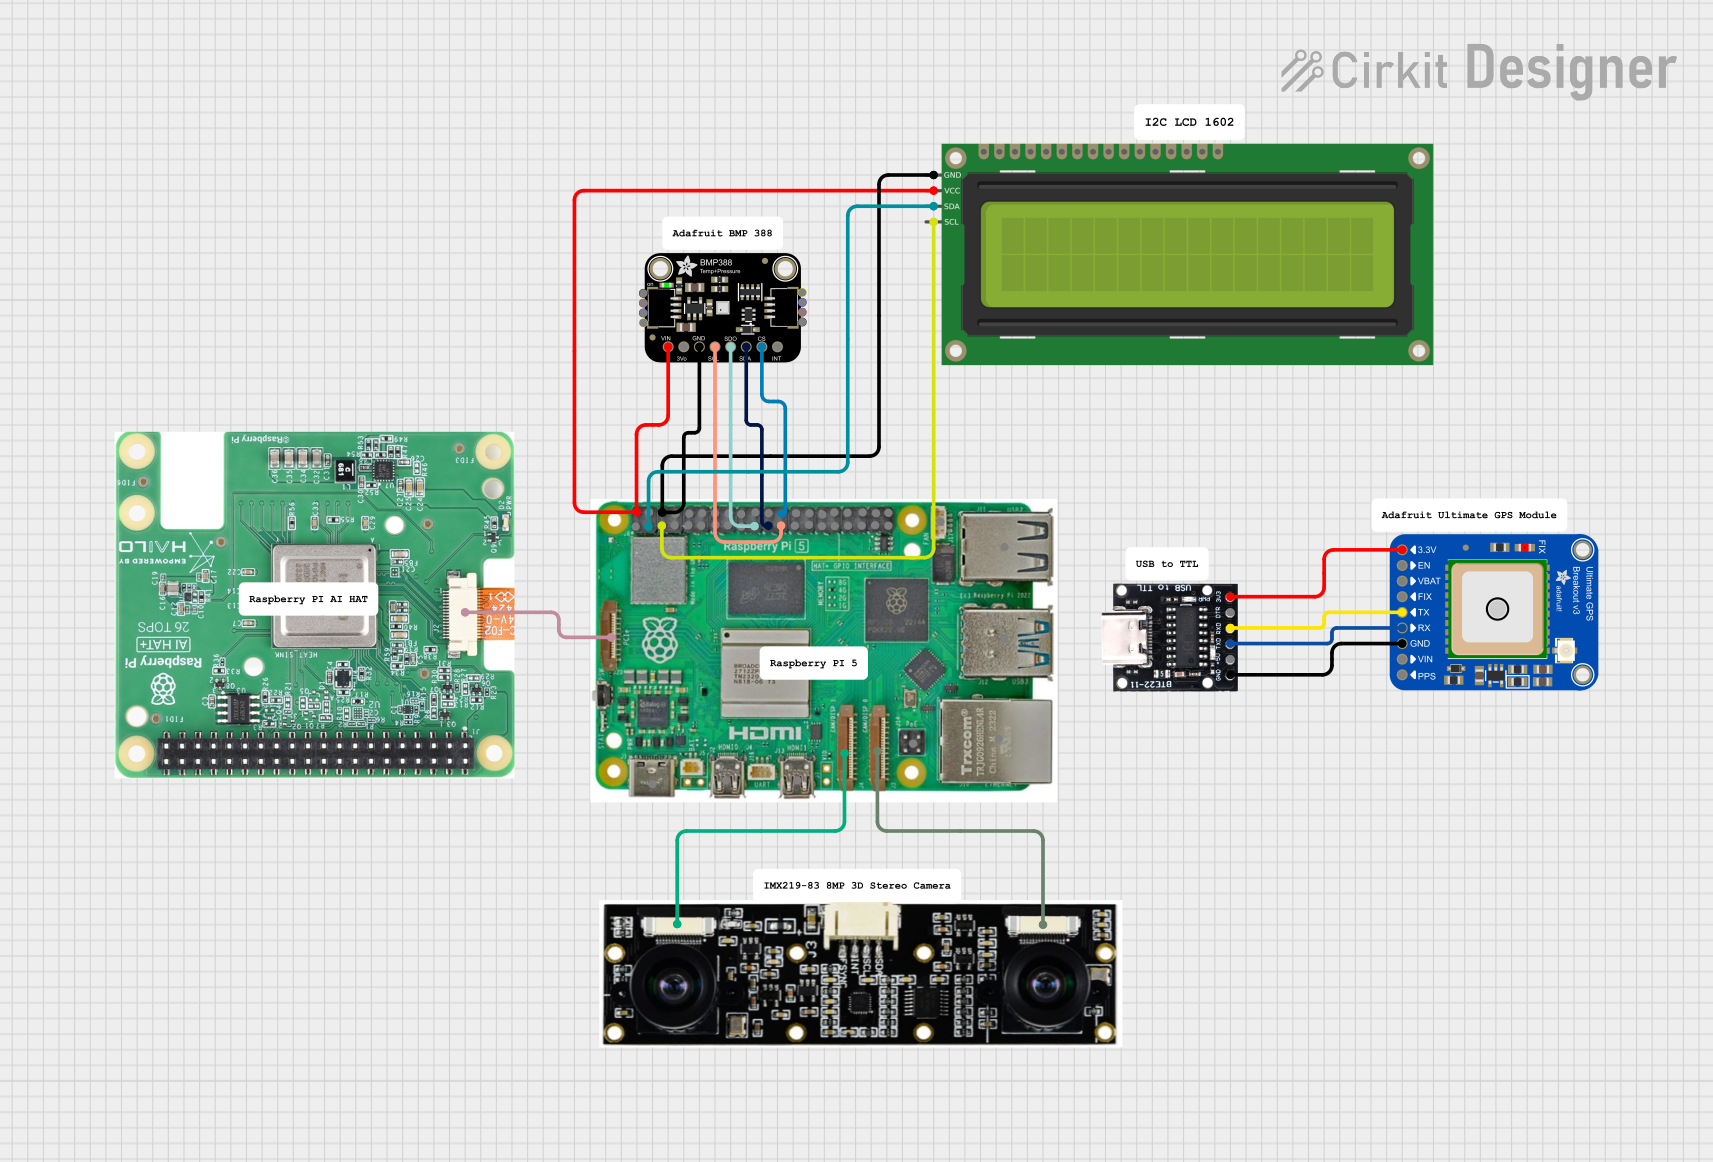 Open Project in Cirkit Designer
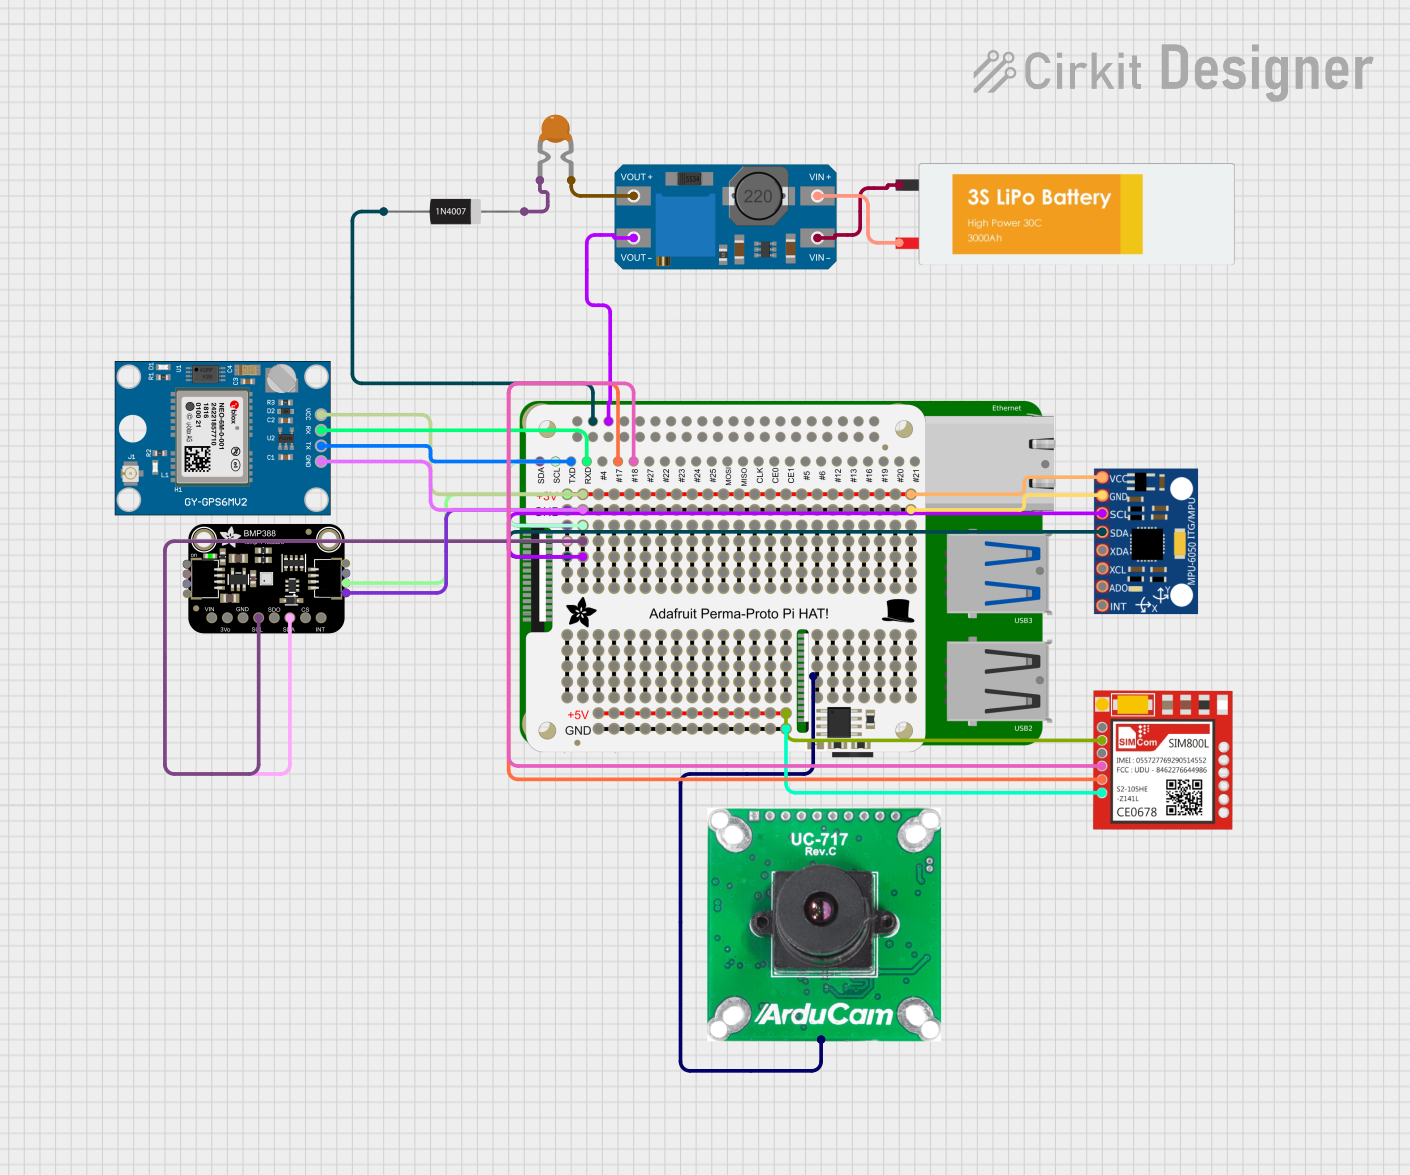 Open Project in Cirkit Designer
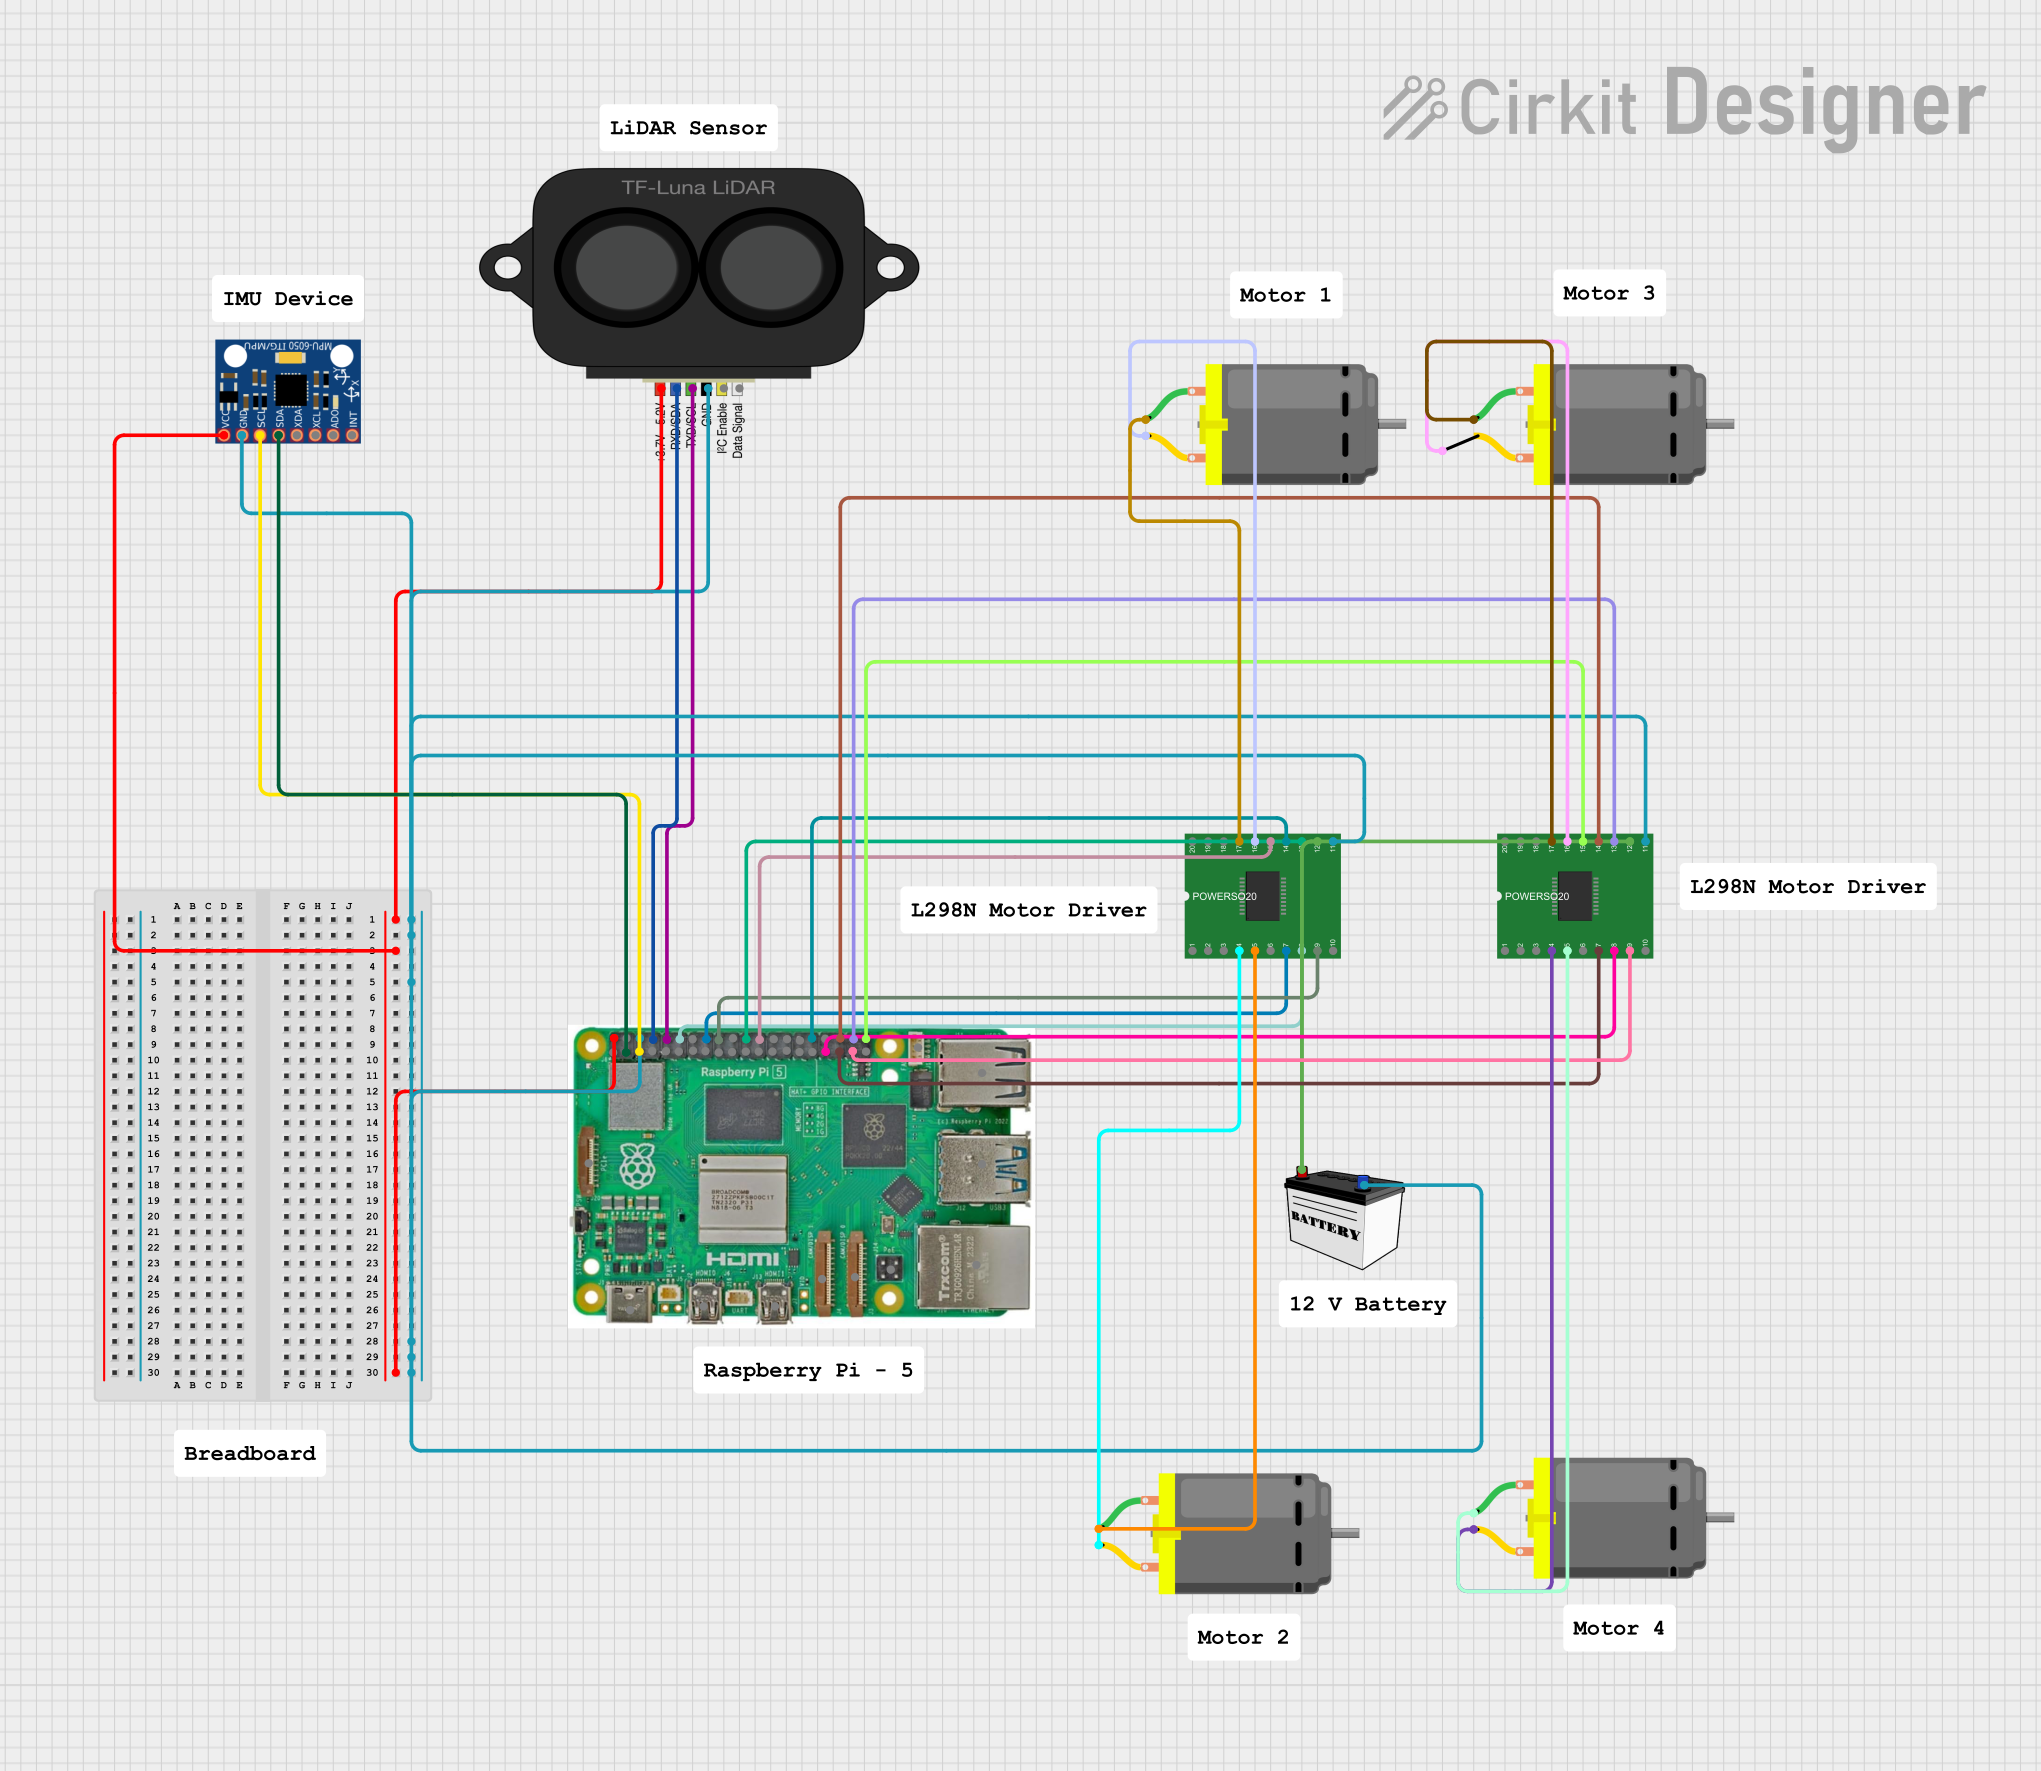 Open Project in Cirkit Designer
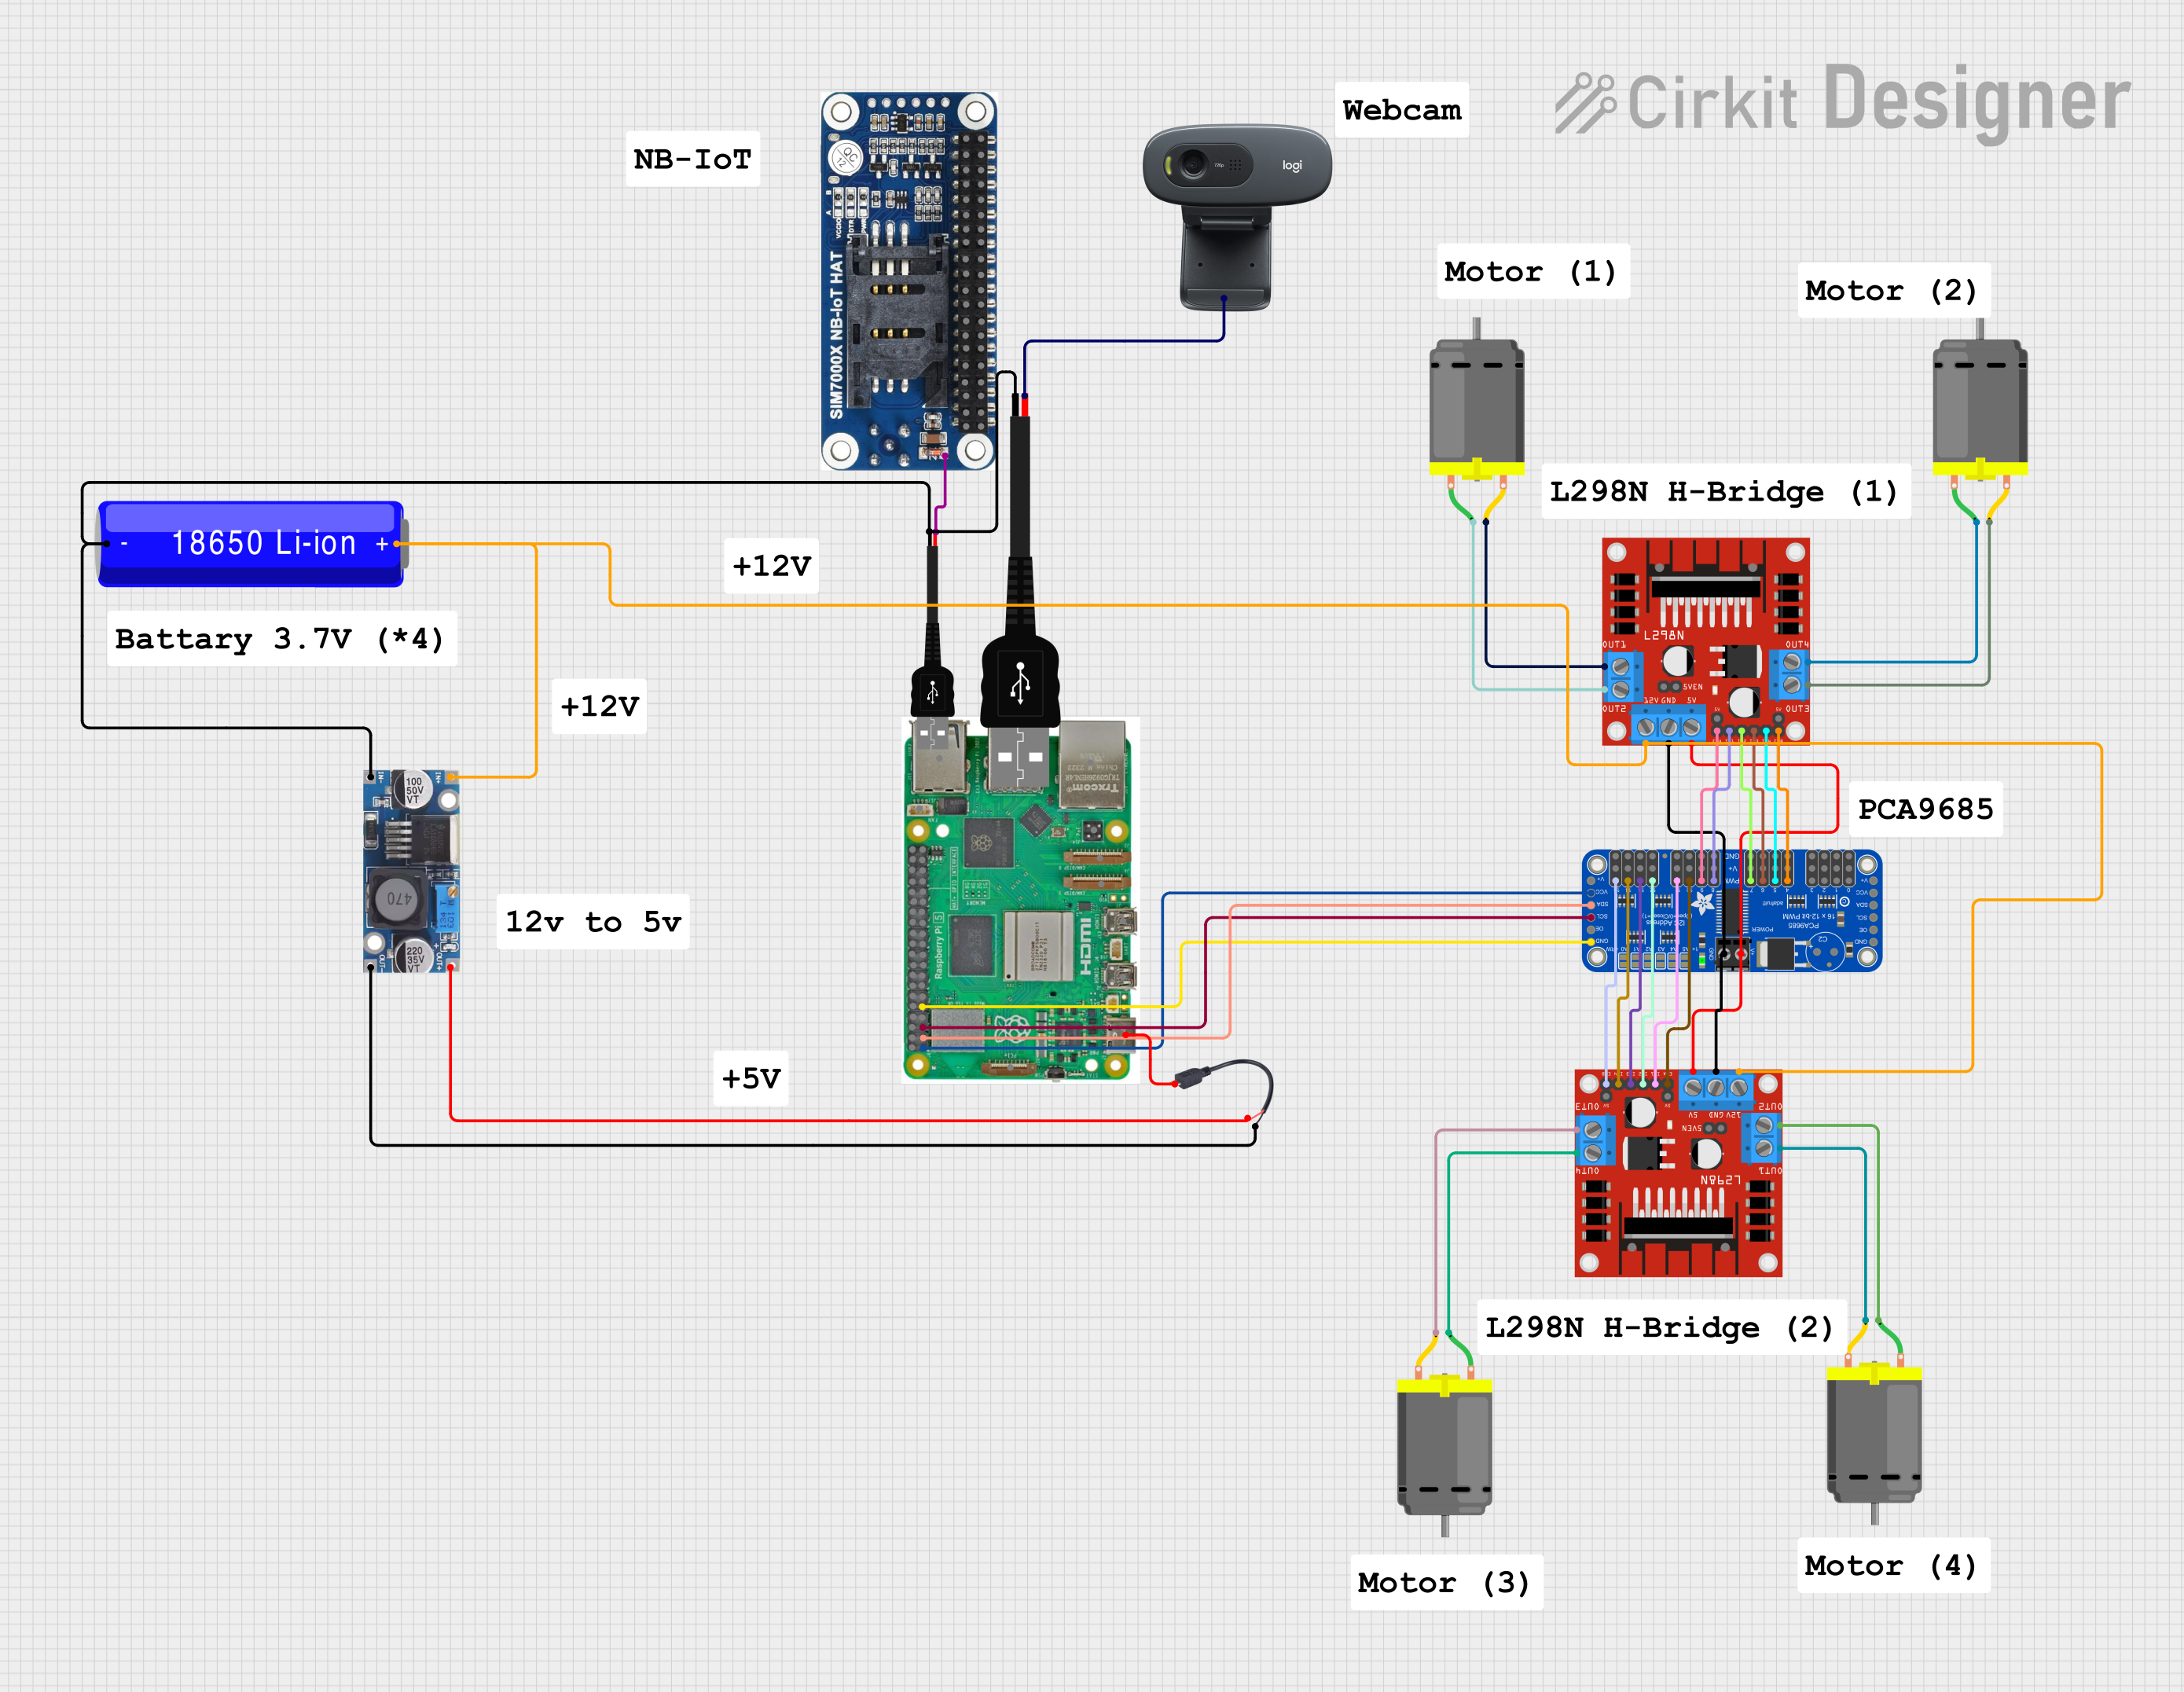 Open Project in Cirkit Designer
Explore Projects Built with Raspberry Pi AI HAT+ (26T)
Open Project in Cirkit DesignerOpen Project in Cirkit DesignerOpen Project in Cirkit DesignerOpen Project in Cirkit DesignerCommon Applications and Use Cases
- Edge AI Computing: Perform AI inference tasks locally without relying on cloud services.
- Computer Vision: Enhance image and video processing for object detection, facial recognition, and more.
- Robotics: Enable autonomous navigation and decision-making in robots.
- Natural Language Processing (NLP): Process speech-to-text, text-to-speech, and other NLP tasks.
- IoT Devices: Add intelligence to Internet of Things (IoT) applications for smart homes, industries, and healthcare.
Technical Specifications
The Raspberry Pi AI HAT+ (26T) is designed to integrate seamlessly with Raspberry Pi boards, offering powerful AI capabilities in a compact form factor.
Key Technical Details
| Specification | Details |
|---|---|
| Manufacturer | Raspberry Pi |
| Part ID | AI HAT+ |
| Neural Network Accelerator | 26 TOPS (Tera Operations Per Second) |
| Supported Frameworks | TensorFlow Lite, ONNX, PyTorch, Caffe |
| Interface | GPIO (40-pin header), I2C, SPI, UART |
| Power Supply | 5V DC (via Raspberry Pi GPIO or external power source) |
| Operating Temperature | -20°C to 70°C |
| Dimensions | 65mm x 56mm x 15mm |
| Weight | 25g |
| Compatibility | Raspberry Pi 4 Model B, Raspberry Pi 3 Model B+, Raspberry Pi Zero 2 W |
Pin Configuration and Descriptions
The AI HAT+ connects to the Raspberry Pi via the 40-pin GPIO header. Below is the pin configuration:
| Pin Number | Pin Name | Description |
|---|---|---|
| 1 | 3.3V | Power supply for the HAT |
| 2 | 5V | Power supply for the HAT |
| 3 | SDA1 | I2C Data Line |
| 5 | SCL1 | I2C Clock Line |
| 8 | TXD | UART Transmit |
| 10 | RXD | UART Receive |
| 19 | SPI_MOSI | SPI Master Out Slave In |
| 21 | SPI_MISO | SPI Master In Slave Out |
| 23 | SPI_SCLK | SPI Clock |
| 24 | SPI_CE0 | SPI Chip Enable 0 |
| 26 | GPIO7 | General Purpose Input/Output (customizable) |
Usage Instructions
How to Use the AI HAT+ in a Circuit
- Attach the HAT: Align the AI HAT+ with the 40-pin GPIO header on your Raspberry Pi and gently press it down to ensure a secure connection.
- Power the System: Power the Raspberry Pi using a 5V DC power supply. The HAT will draw power directly from the GPIO header.
- Install Drivers: Download and install the required drivers and libraries from the official Raspberry Pi repository.
- Load AI Models: Use supported frameworks (e.g., TensorFlow Lite, ONNX) to load pre-trained AI models onto the HAT.
- Run Inference: Execute AI inference tasks using the HAT's neural network accelerator for high-speed processing.
Important Considerations and Best Practices
- Power Supply: Ensure your power supply can provide sufficient current (at least 3A) to support both the Raspberry Pi and the AI HAT+.
- Cooling: For intensive AI tasks, consider adding a heatsink or fan to prevent overheating.
- Software Updates: Regularly update the firmware and drivers to ensure compatibility with the latest AI frameworks.
- Model Optimization: Use quantized models (e.g., INT8) for better performance and lower power consumption.
Example Code for Raspberry Pi (Using TensorFlow Lite)
Below is an example Python script to run an image classification task using TensorFlow Lite on the AI HAT+:
import tflite_runtime.interpreter as tflite
import numpy as np
from PIL import Image
Load the TensorFlow Lite model
model_path = "model.tflite" # Replace with your model file path interpreter = tflite.Interpreter(model_path=model_path)
Allocate tensors for the model
interpreter.allocate_tensors()
Get input and output details
input_details = interpreter.get_input_details() output_details = interpreter.get_output_details()
Load and preprocess the input image
image = Image.open("image.jpg").resize((224, 224)) # Replace with your image file input_data = np.expand_dims(np.array(image, dtype=np.float32) / 255.0, axis=0)
Set the input tensor
interpreter.set_tensor(input_details[0]['index'], input_data)
Run inference
interpreter.invoke()
Get the output tensor
output_data = interpreter.get_tensor(output_details[0]['index'])
Display the results
print("Inference Results:", output_data)
Notes:
- Replace
"model.tflite"and"image.jpg"with the paths to your AI model and input image, respectively. - Ensure TensorFlow Lite runtime is installed on your Raspberry Pi (
pip install tflite-runtime).
Troubleshooting and FAQs
Common Issues and Solutions
HAT Not Detected by Raspberry Pi
- Solution: Ensure the HAT is properly seated on the GPIO header. Check for bent pins or loose connections.
- Tip: Verify that the required drivers are installed and up to date.
Overheating During AI Tasks
- Solution: Attach a heatsink or fan to the HAT. Reduce the workload by optimizing AI models.
- Tip: Monitor the temperature using the Raspberry Pi's built-in tools (
vcgencmd measure_temp).
Low Inference Performance
- Solution: Use quantized models (e.g., INT8) and ensure the AI HAT+ firmware is updated.
- Tip: Close unnecessary background processes to free up system resources.
Power Supply Issues
- Solution: Use a high-quality 5V power supply capable of delivering at least 3A.
- Tip: Avoid using USB power banks or low-quality adapters.
FAQs
Q: Can I use the AI HAT+ with Raspberry Pi Zero?
- A: Yes, the AI HAT+ is compatible with Raspberry Pi Zero 2 W. However, performance may be limited due to the lower processing power of the Zero series.
Q: What AI frameworks are supported?
- A: The AI HAT+ supports TensorFlow Lite, ONNX, PyTorch, and Caffe.
Q: Do I need an internet connection to use the AI HAT+?
- A: No, the AI HAT+ performs inference tasks locally without requiring an internet connection.
Q: Can I train models on the AI HAT+?
- A: No, the AI HAT+ is designed for inference only. Model training should be performed on a more powerful system.
This concludes the documentation for the Raspberry Pi AI HAT+ (26T). For further assistance, refer to the official Raspberry Pi support resources.