How to Use 3.7V Battery: Examples, Pinouts, and Specs
Introduction
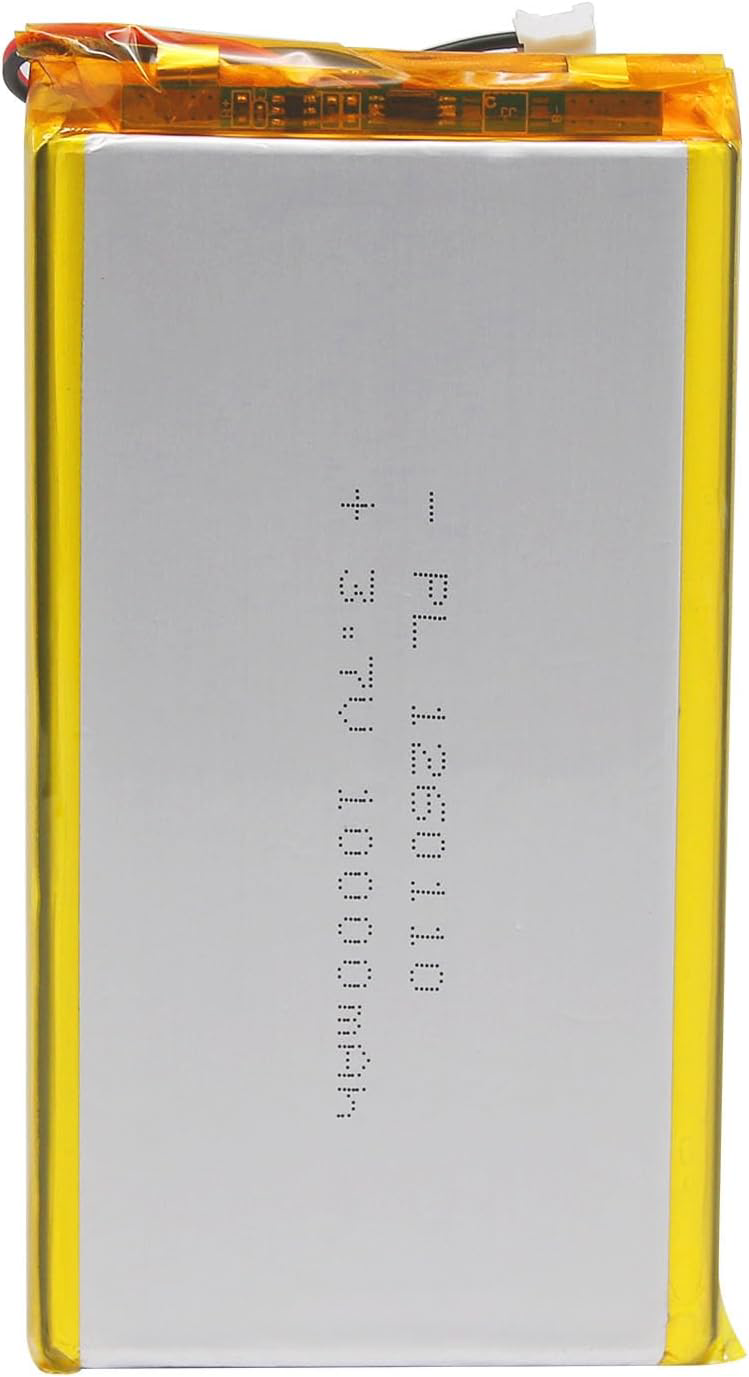
The Qimoo 3.7V rechargeable lithium-ion battery is a versatile power source designed for use in a wide range of portable electronic devices. With a nominal voltage of 3.7 volts, this battery is known for its high energy density, lightweight design, and rechargeability. It is commonly used in applications such as smartphones, wearable devices, remote controls, IoT devices, and DIY electronics projects.
Explore Projects Built with 3.7V Battery

Explore Projects Built with 3.7V Battery
Common Applications:
- Portable electronics (e.g., smartphones, tablets, and cameras)
- Wearable devices (e.g., smartwatches and fitness trackers)
- DIY projects and prototyping
- Internet of Things (IoT) devices
- Remote-controlled toys and drones
Technical Specifications
The following table outlines the key technical details of the Qimoo 3.7V lithium-ion battery:
| Parameter | Specification |
|---|---|
| Nominal Voltage | 3.7V |
| Capacity Range | 500mAh to 3000mAh (varies by model) |
| Charging Voltage | 4.2V (maximum) |
| Discharge Cutoff Voltage | 3.0V |
| Maximum Discharge Current | 1C to 3C (varies by model) |
| Charging Current | Standard: 0.5C, Maximum: 1C |
| Chemistry | Lithium-Ion |
| Operating Temperature | Charge: 0°C to 45°C, Discharge: -20°C to 60°C |
| Dimensions | Varies by capacity and model |
| Weight | Varies by capacity and model |
Pin Configuration and Descriptions
The Qimoo 3.7V battery typically has two terminals:
| Pin | Label | Description |
|---|---|---|
| 1 | + (Positive) | Positive terminal for power output |
| 2 | - (Negative) | Negative terminal for power output |
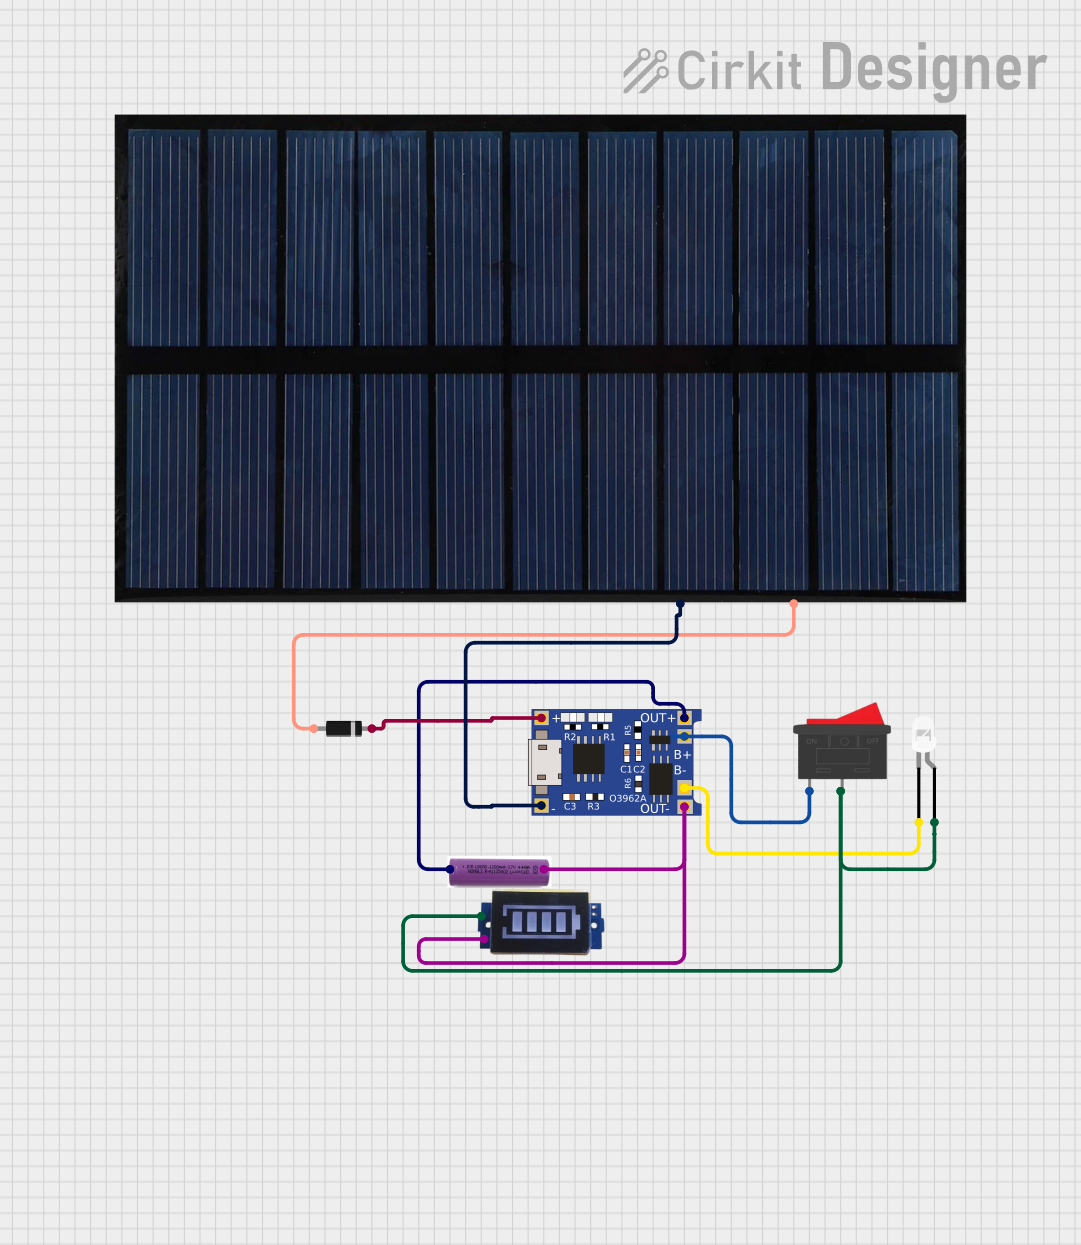
Some models may include a built-in protection circuit module (PCM) to prevent overcharging, over-discharging, and short circuits.
Usage Instructions
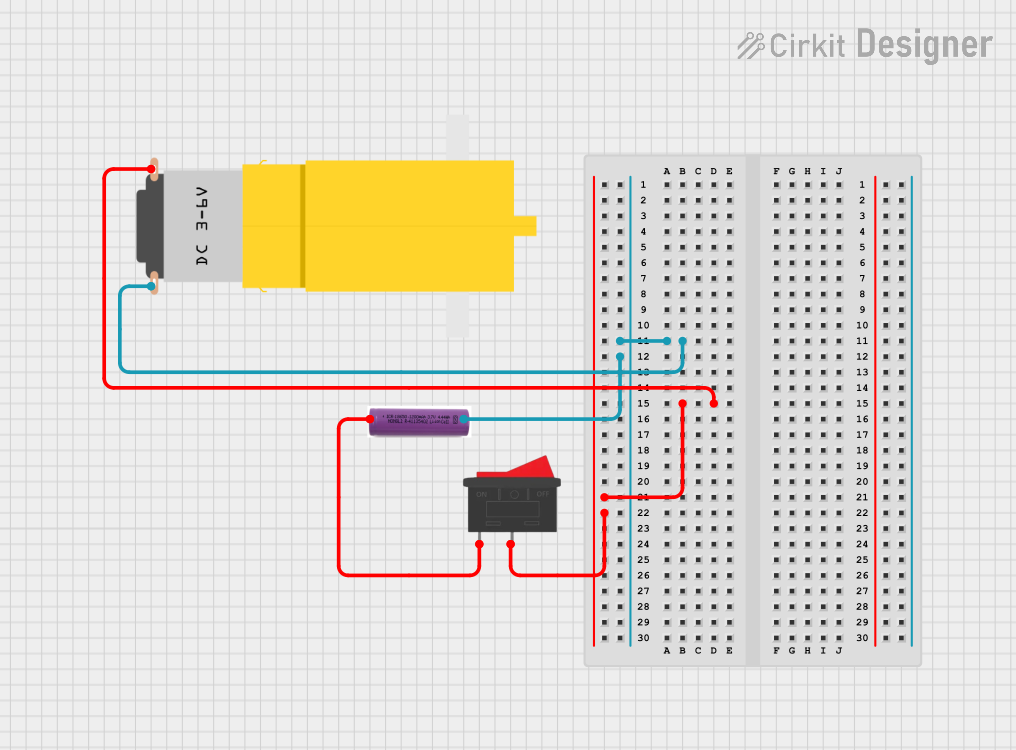
How to Use the Qimoo 3.7V Battery in a Circuit
- Connection: Connect the positive terminal (+) to the positive input of your circuit and the negative terminal (-) to the ground or negative input.
- Charging: Use a compatible lithium-ion battery charger with a constant current/constant voltage (CC/CV) charging profile. Ensure the charging voltage does not exceed 4.2V.
- Discharging: Avoid discharging the battery below 3.0V to prevent damage and capacity loss.
- Protection: If the battery does not include a built-in PCM, consider adding an external protection circuit to safeguard against overcharging, over-discharging, and short circuits.
Important Considerations and Best Practices
- Avoid Overcharging: Always use a charger with a voltage cutoff at 4.2V.
- Prevent Deep Discharge: Do not allow the battery voltage to drop below 3.0V.
- Temperature Safety: Operate the battery within the specified temperature range to avoid damage or safety hazards.
- Storage: Store the battery in a cool, dry place at approximately 40-60% charge for long-term storage.
- Polarity: Double-check the polarity before connecting the battery to a circuit to prevent damage.
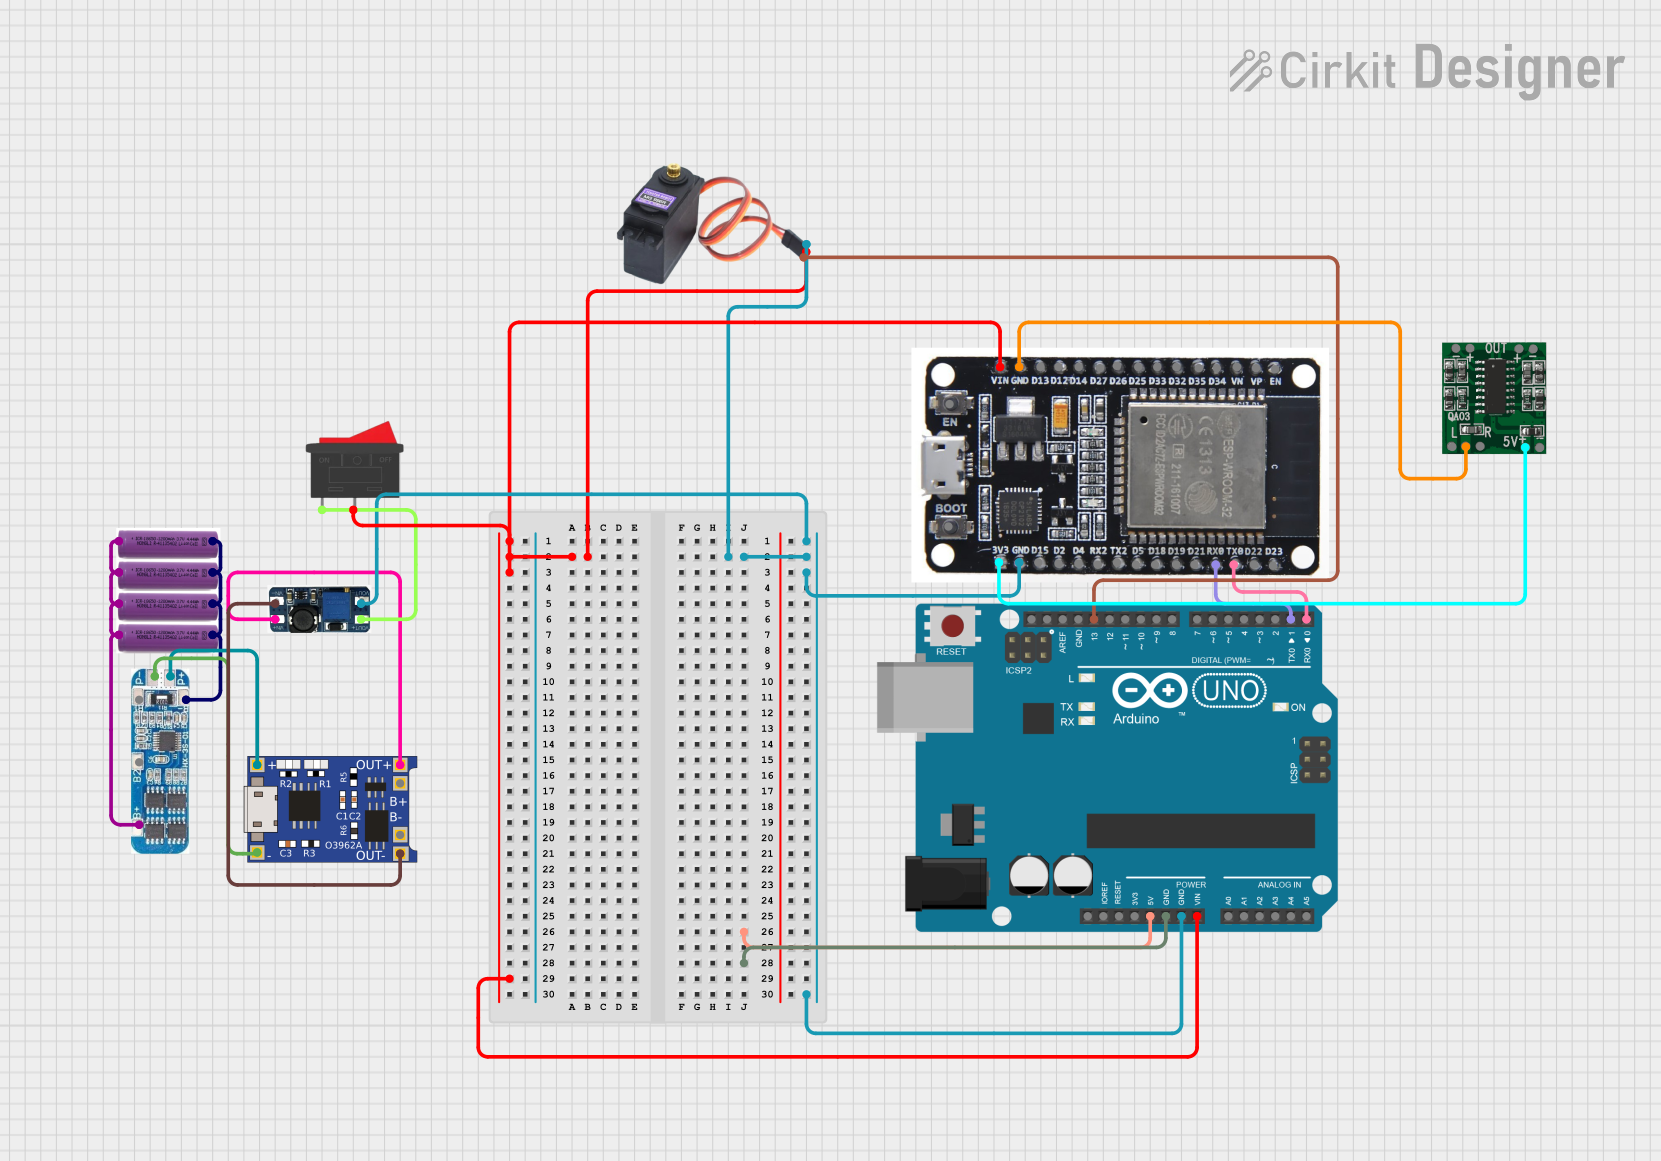
Example: Using the Battery with an Arduino UNO
To power an Arduino UNO with the Qimoo 3.7V battery, you will need a DC-DC boost converter to step up the voltage to 5V. Below is an example circuit and code:
Circuit:
- Connect the battery's positive terminal to the input of the DC-DC boost converter.
- Connect the output of the boost converter to the Arduino UNO's 5V and GND pins.
Code Example:
// Example code to blink an LED on pin 13 of the Arduino UNO
// Ensure the battery is connected via a DC-DC boost converter to provide 5V

void setup() {
  pinMode(13, OUTPUT); // Set pin 13 as an output
}

void loop() {
  digitalWrite(13, HIGH); // Turn the LED on
  delay(1000);            // Wait for 1 second
  digitalWrite(13, LOW);  // Turn the LED off
  delay(1000);            // Wait for 1 second
}
Troubleshooting and FAQs
Common Issues and Solutions
Battery Not Charging:
- Cause: Charger not compatible or damaged.
- Solution: Use a charger designed for lithium-ion batteries with a 4.2V cutoff.
Battery Drains Quickly:
- Cause: Over-discharge or aging battery.
- Solution: Avoid deep discharges and replace the battery if it has degraded.
Battery Overheats During Use:
- Cause: Excessive current draw or operation outside the temperature range.
- Solution: Ensure the load does not exceed the maximum discharge current and operate within the specified temperature range.
Battery Swelling:
- Cause: Overcharging or internal damage.
- Solution: Stop using the battery immediately and dispose of it safely.
FAQs
Q1: Can I use the Qimoo 3.7V battery without a protection circuit?
A1: While it is possible, it is highly recommended to use a protection circuit to prevent overcharging, over-discharging, and short circuits.
Q2: How long does it take to charge the battery?
A2: Charging time depends on the battery capacity and charging current. For example, a 1000mAh battery charged at 0.5C (500mA) will take approximately 2-3 hours.
Q3: Can I connect multiple batteries in series or parallel?
A3: Yes, but ensure proper balancing and use a battery management system (BMS) to maintain safety and performance.
Q4: How do I safely dispose of the battery?
A4: Take the battery to a certified recycling center or follow local regulations for lithium-ion battery disposal. Do not throw it in regular trash.