How to Use ALSPT19315C: Examples, Pinouts, and Specs
Introduction
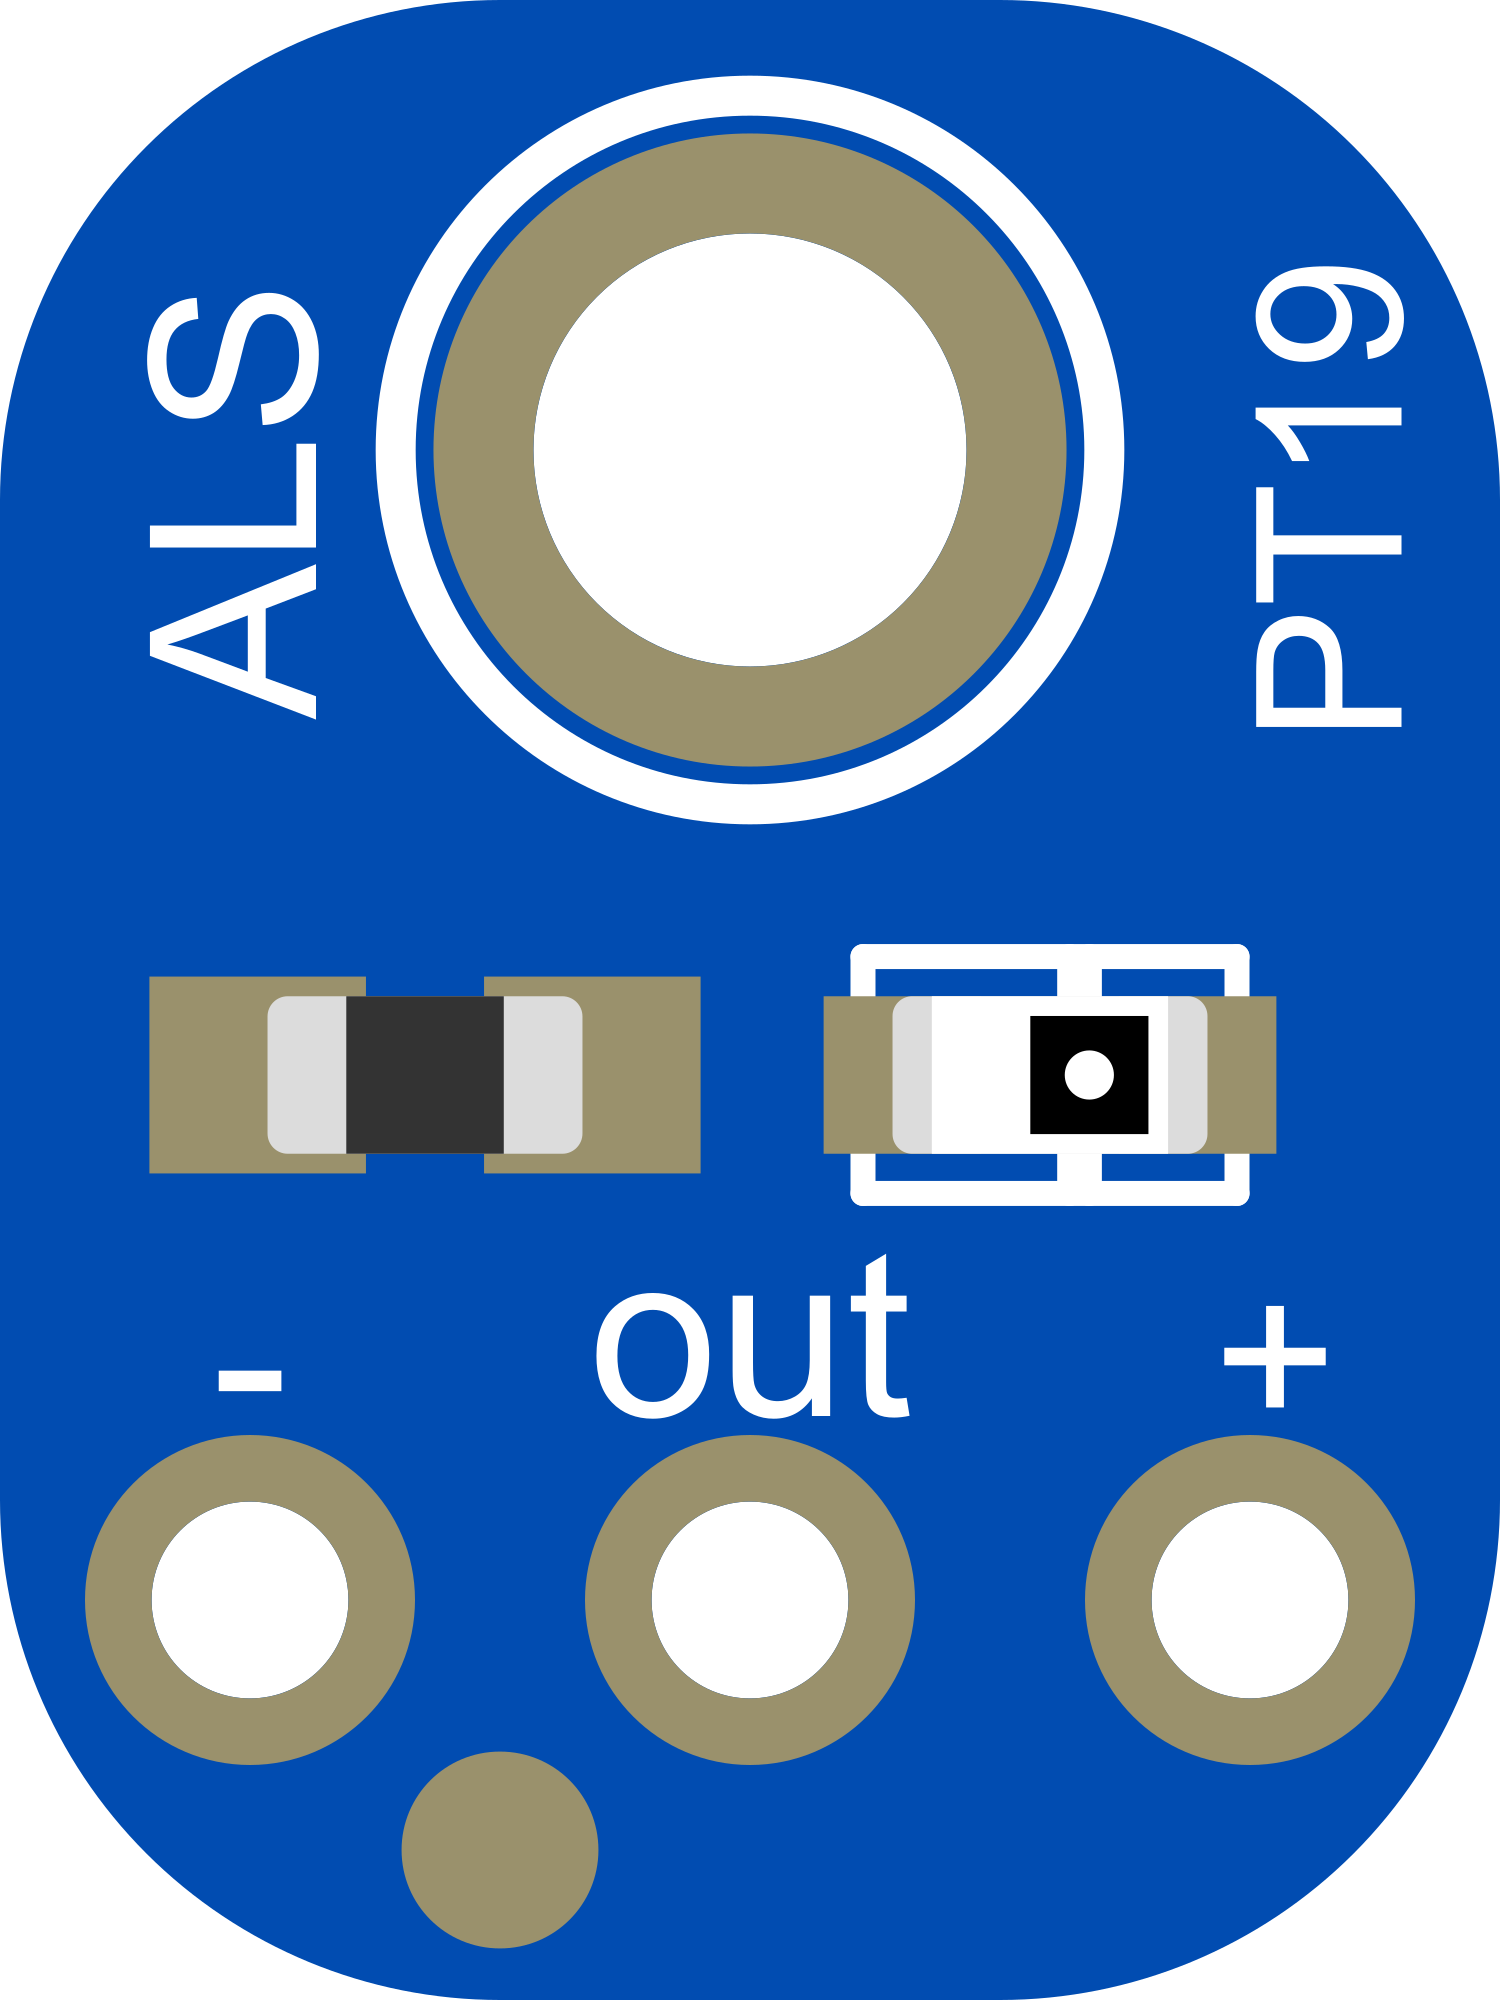
The ALSPT19315C is a compact ambient light sensor module designed to measure the intensity of ambient light with high precision and responsiveness. It is commonly used in applications that require automatic adjustment of display brightness, energy-saving systems for smart lighting, and in devices where the environmental lighting conditions are a factor, such as in security systems, digital clocks, and electronic displays.
Explore Projects Built with ALSPT19315C

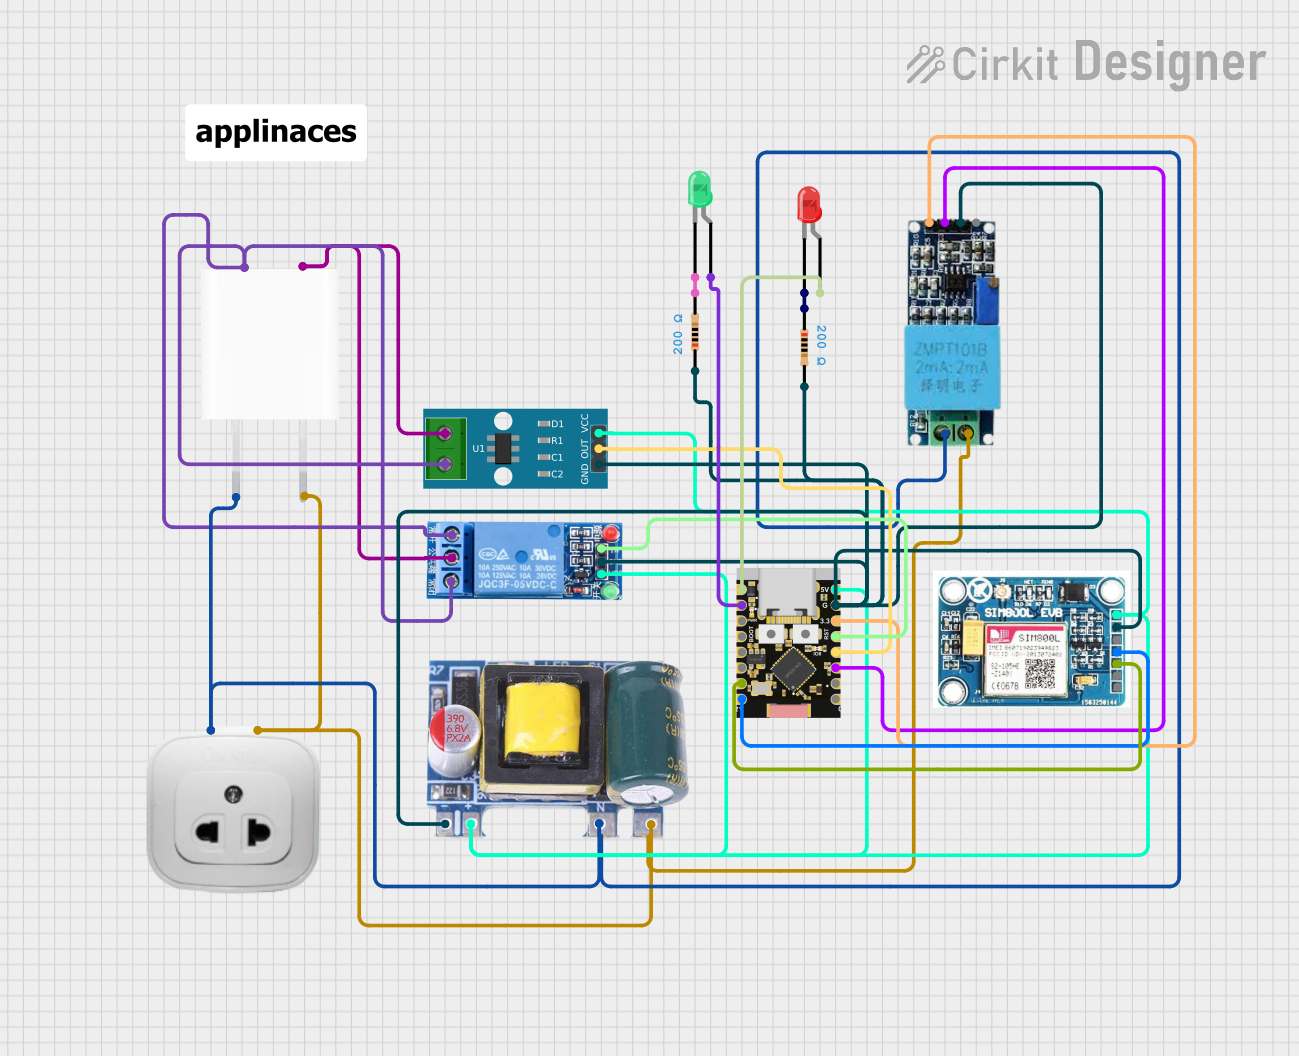

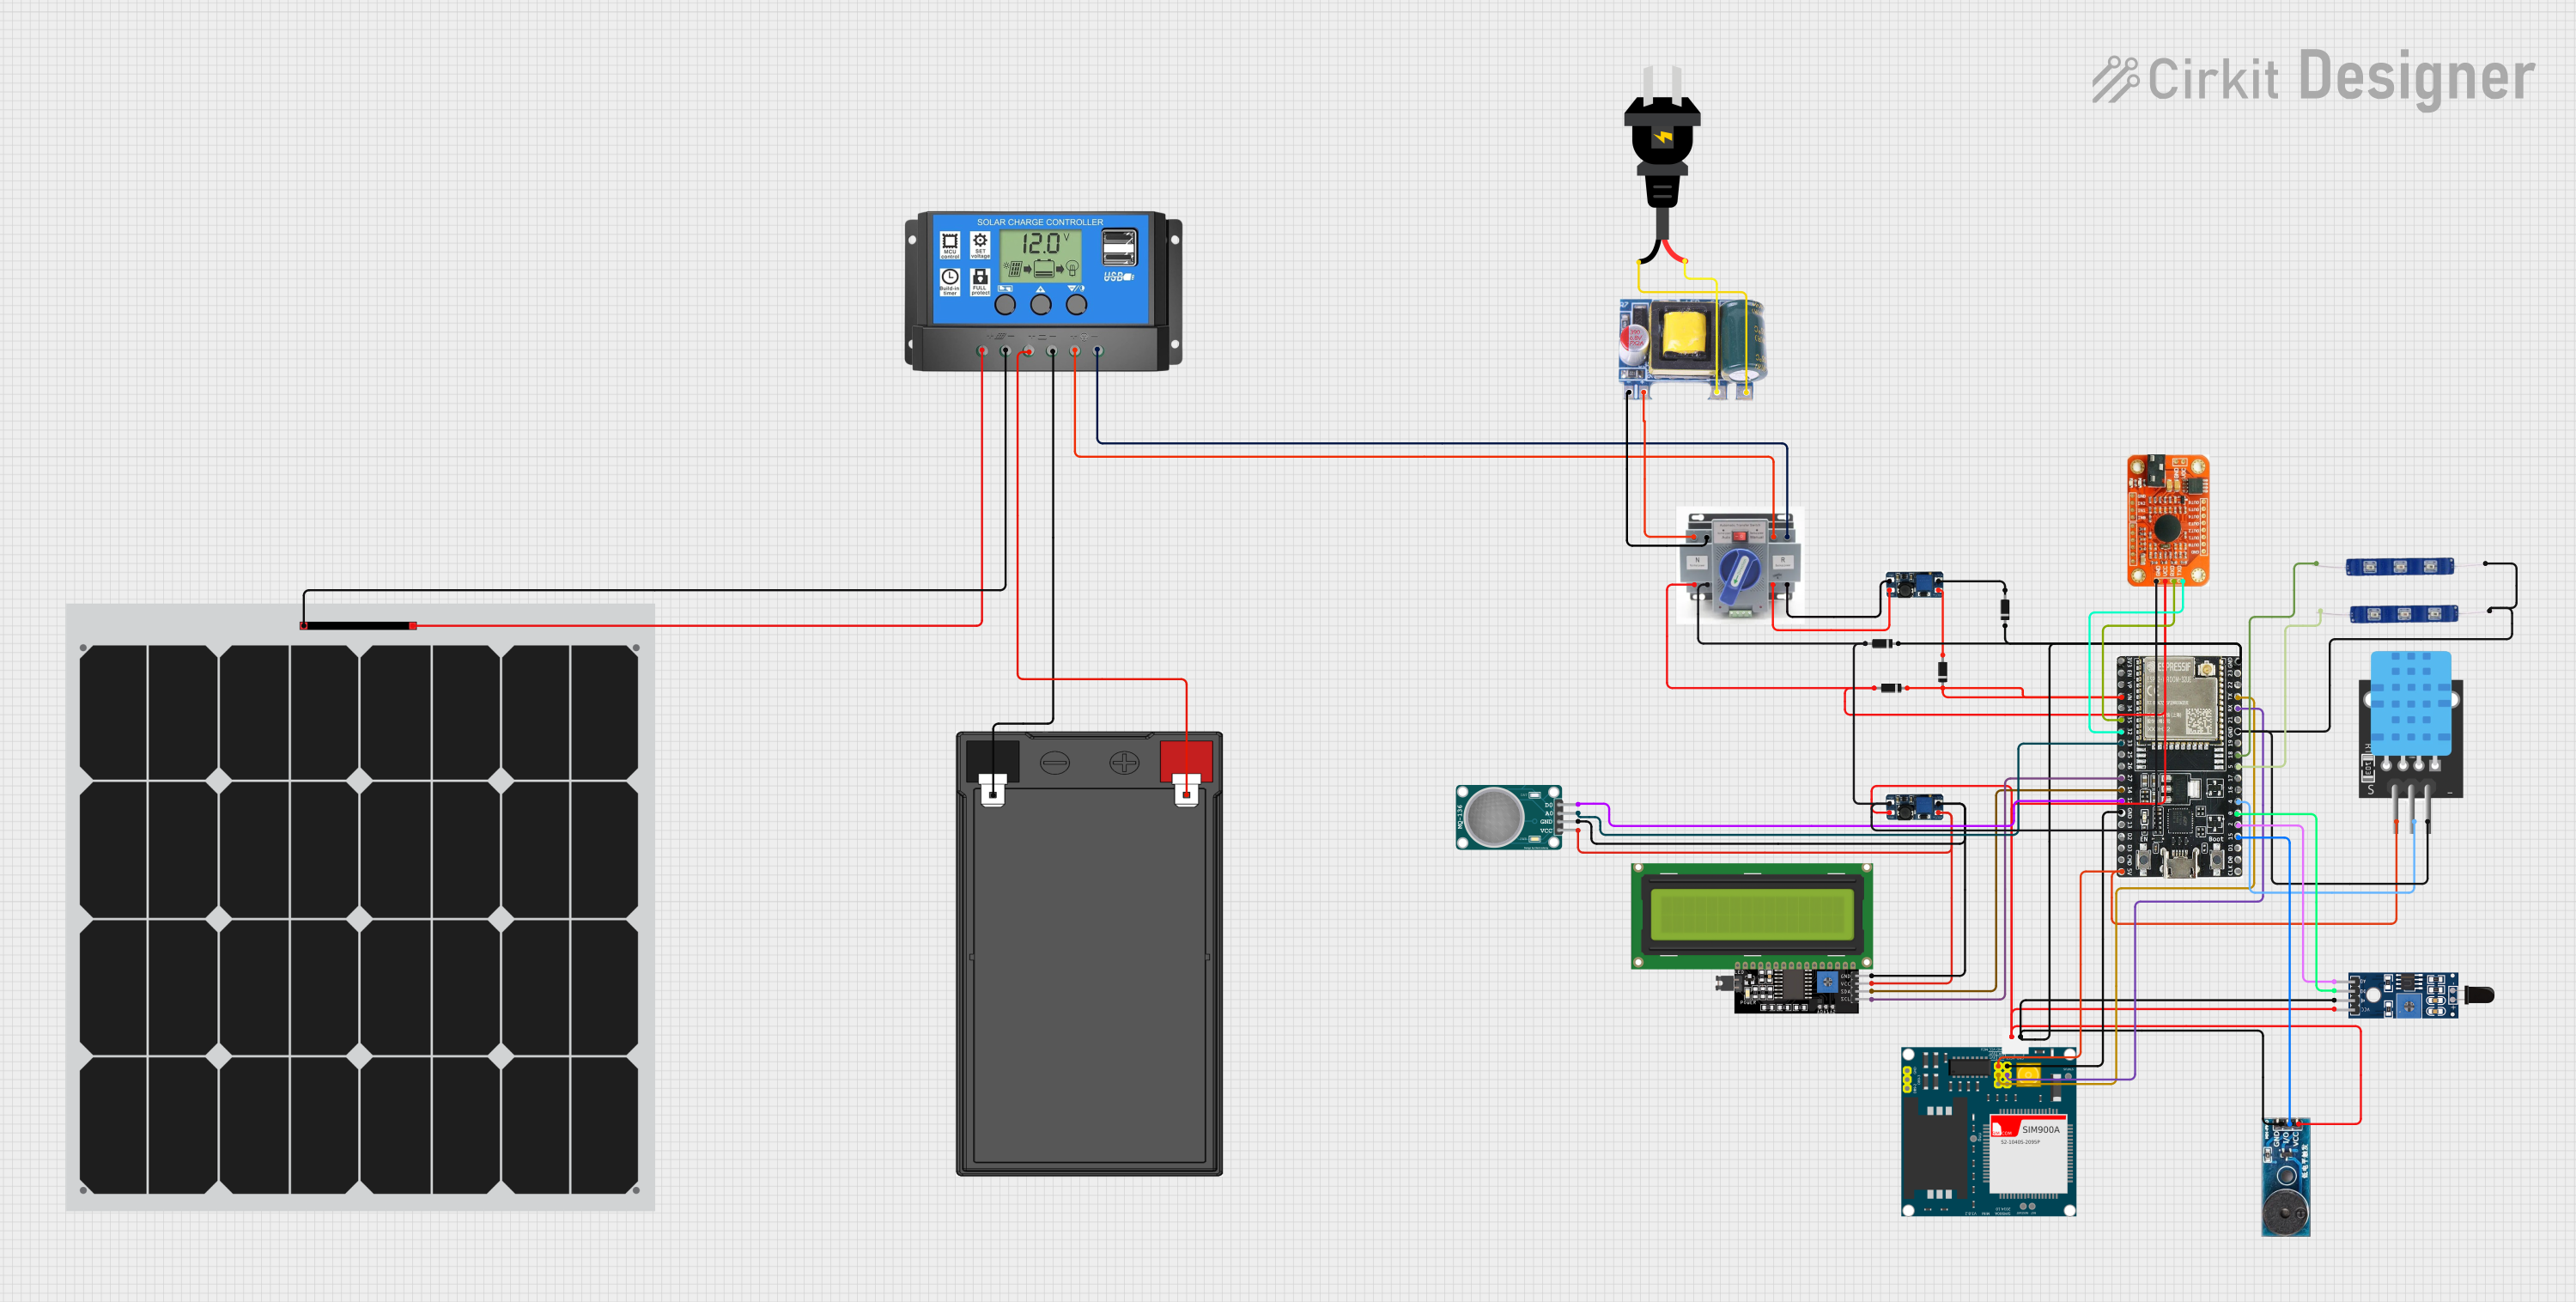
Explore Projects Built with ALSPT19315C
Technical Specifications
Key Features
- Light Detection Range: Measures a wide range of light intensities
- Output Type: Analog voltage corresponding to the detected light intensity
- Supply Voltage: Typically 2.5V to 5.5V
- Operating Temperature: -40°C to +85°C
- Response Time: Fast response to light changes
- Sensitivity: Tuned for visible light sensitivity, mimicking the human eye
Pin Configuration and Descriptions
| Pin Number | Name | Description |
|---|---|---|
| 1 | VCC | Power supply input (2.5V to 5.5V) |
| 2 | OUT | Analog voltage output corresponding to light intensity |
| 3 | GND | Ground connection |
Usage Instructions
Connecting to a Circuit
- Power Supply (VCC): Connect pin 1 to a power source within the specified voltage range.
- Output (OUT): Connect pin 2 to an analog input on a microcontroller to read the light levels.
- Ground (GND): Connect pin 3 to the ground of the power source and microcontroller.
Best Practices
- Avoid Exposure to Extreme Light: To prevent sensor damage, avoid direct exposure to sunlight or high-intensity lighting.
- Calibration: Calibrate the sensor for the specific application environment to ensure accurate readings.
- Stable Power Supply: Ensure a stable power supply to avoid fluctuations in sensor readings.
Example Code for Arduino UNO
// ALSPT19315C Ambient Light Sensor Reading Example for Arduino UNO

const int lightSensorPin = A0; // Connect the sensor output to A0

void setup() {
  Serial.begin(9600); // Start serial communication at 9600 baud
}

void loop() {
  int sensorValue = analogRead(lightSensorPin); // Read the light sensor
  float voltage = sensorValue * (5.0 / 1023.0); // Convert to voltage
  Serial.print("Light Sensor Voltage: ");
  Serial.println(voltage); // Print the voltage to the Serial Monitor
  delay(1000); // Wait for 1 second before the next reading
}
Troubleshooting and FAQs
Common Issues
- Inaccurate Readings: Ensure the sensor is not exposed to artificial light sources that could affect its readings. Recalibrate if necessary.
- No Output Voltage: Check the power supply connections and ensure the voltage is within the specified range.
FAQs
Q: Can the ALSPT19315C be used outdoors? A: Yes, but it should be protected from direct sunlight and harsh weather conditions to ensure longevity and accuracy.
Q: How do I calibrate the sensor? A: Calibration involves comparing the sensor output to known light levels and adjusting the readings accordingly through software.
Q: What is the sensor's sensitivity range? A: The ALSPT19315C is designed to be sensitive to visible light, similar to the human eye. The exact range should be referenced from the manufacturer's datasheet.
Q: Is there a digital version of this sensor? A: The ALSPT19315C is an analog sensor. If you require a digital version, you will need to look for a different model or use an analog-to-digital converter (ADC) with this sensor.
For further assistance, please refer to the manufacturer's datasheet or contact technical support.