How to Use Sensor Bridge: Examples, Pinouts, and Specs
Introduction
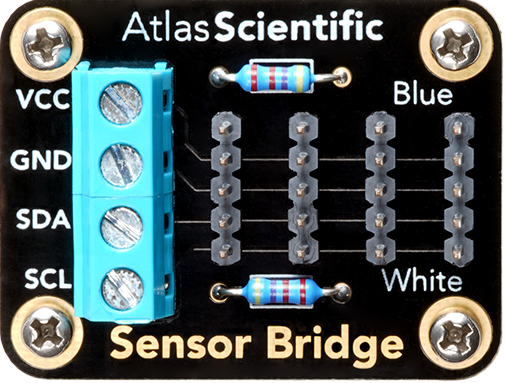
The Sensor Bridge (#SN-BG) by Atlas Scientific is a versatile device designed to connect multiple sensors to a microcontroller or processing unit. It simplifies the integration and management of data from various sensor types, enabling seamless communication between sensors and the host system. This component is particularly useful in applications requiring multiple sensor inputs, such as environmental monitoring, industrial automation, and IoT systems.
Explore Projects Built with Sensor Bridge
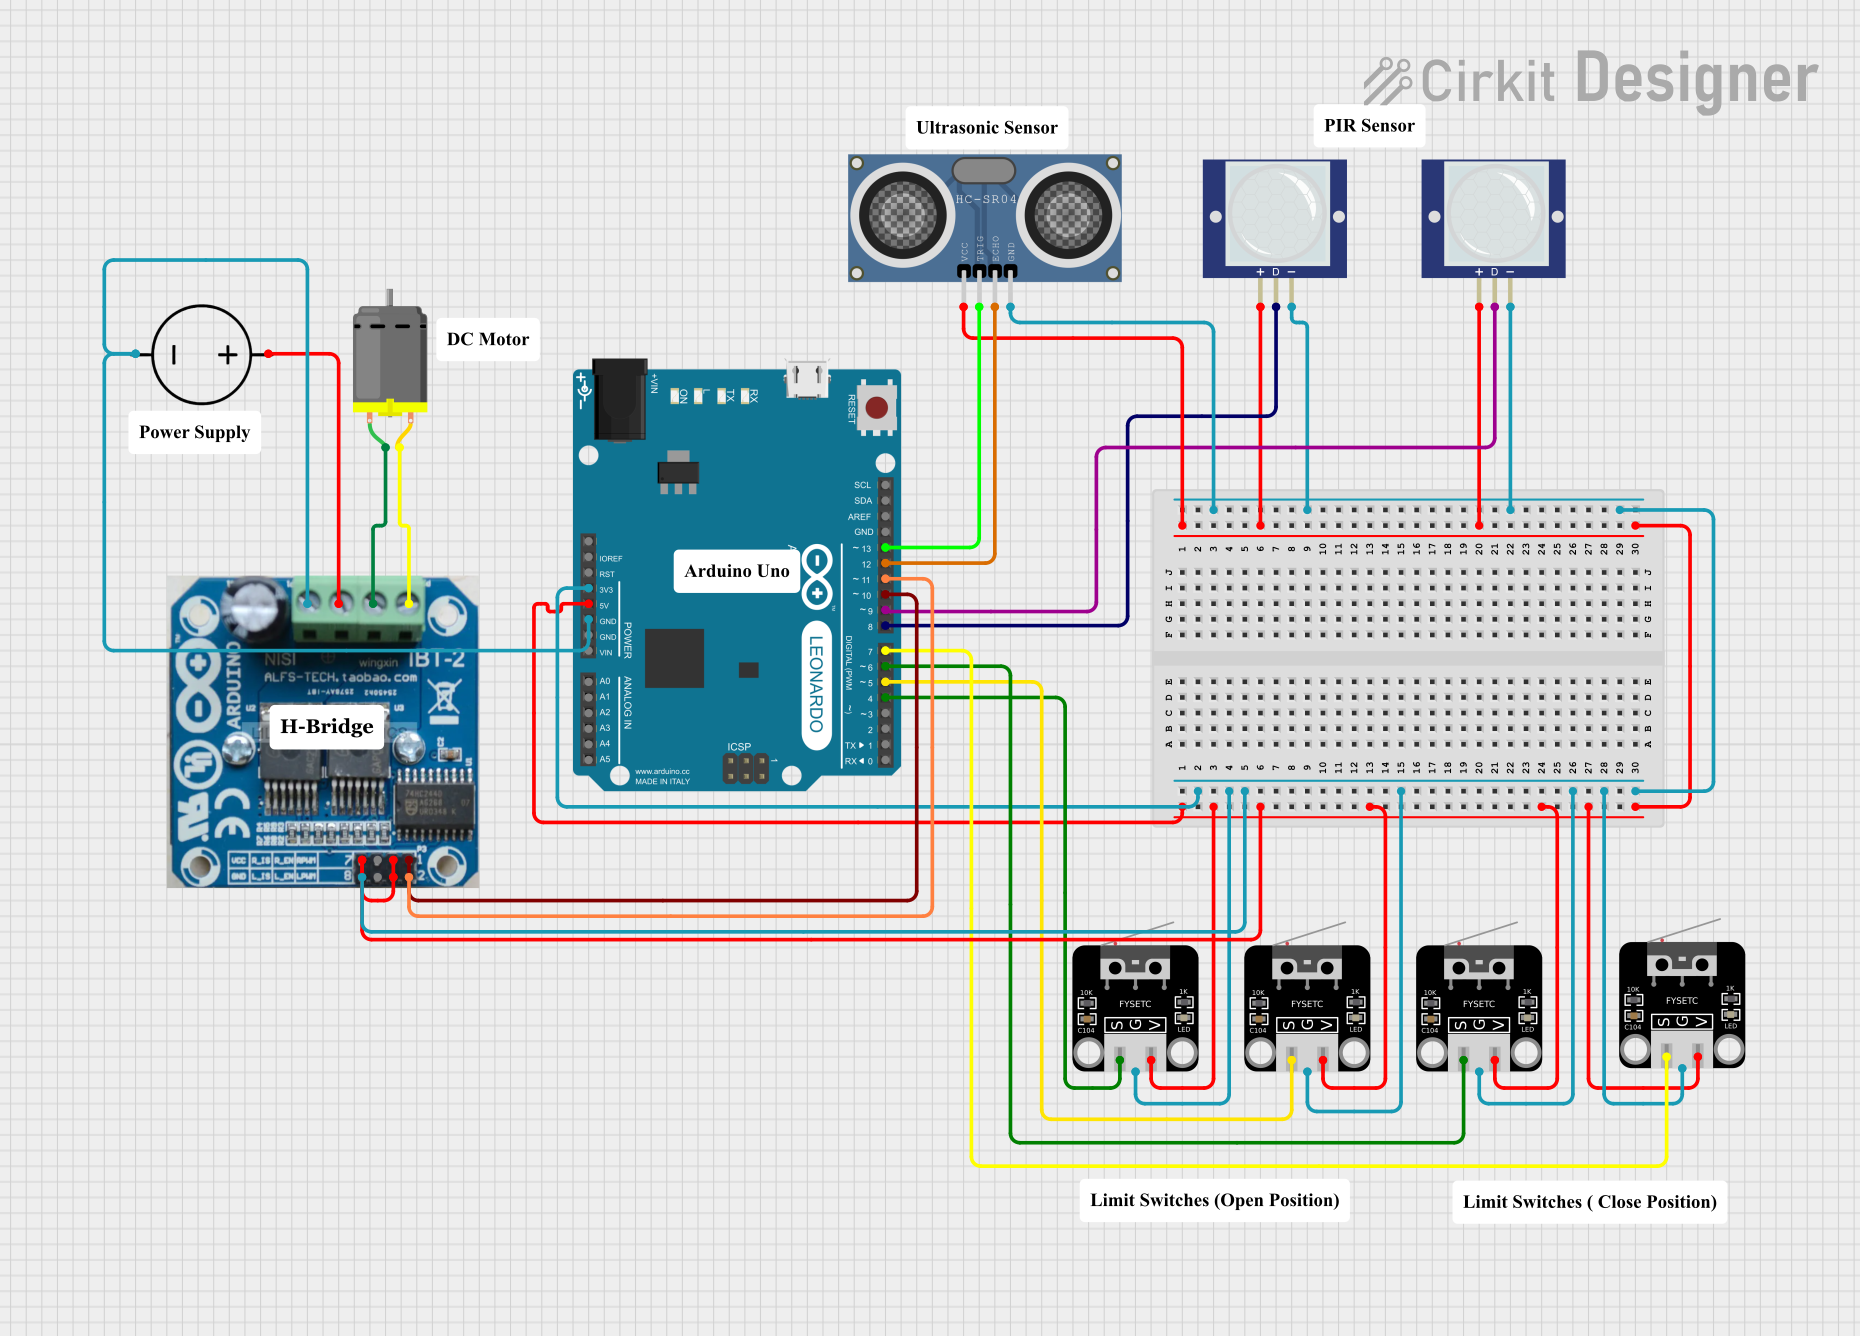

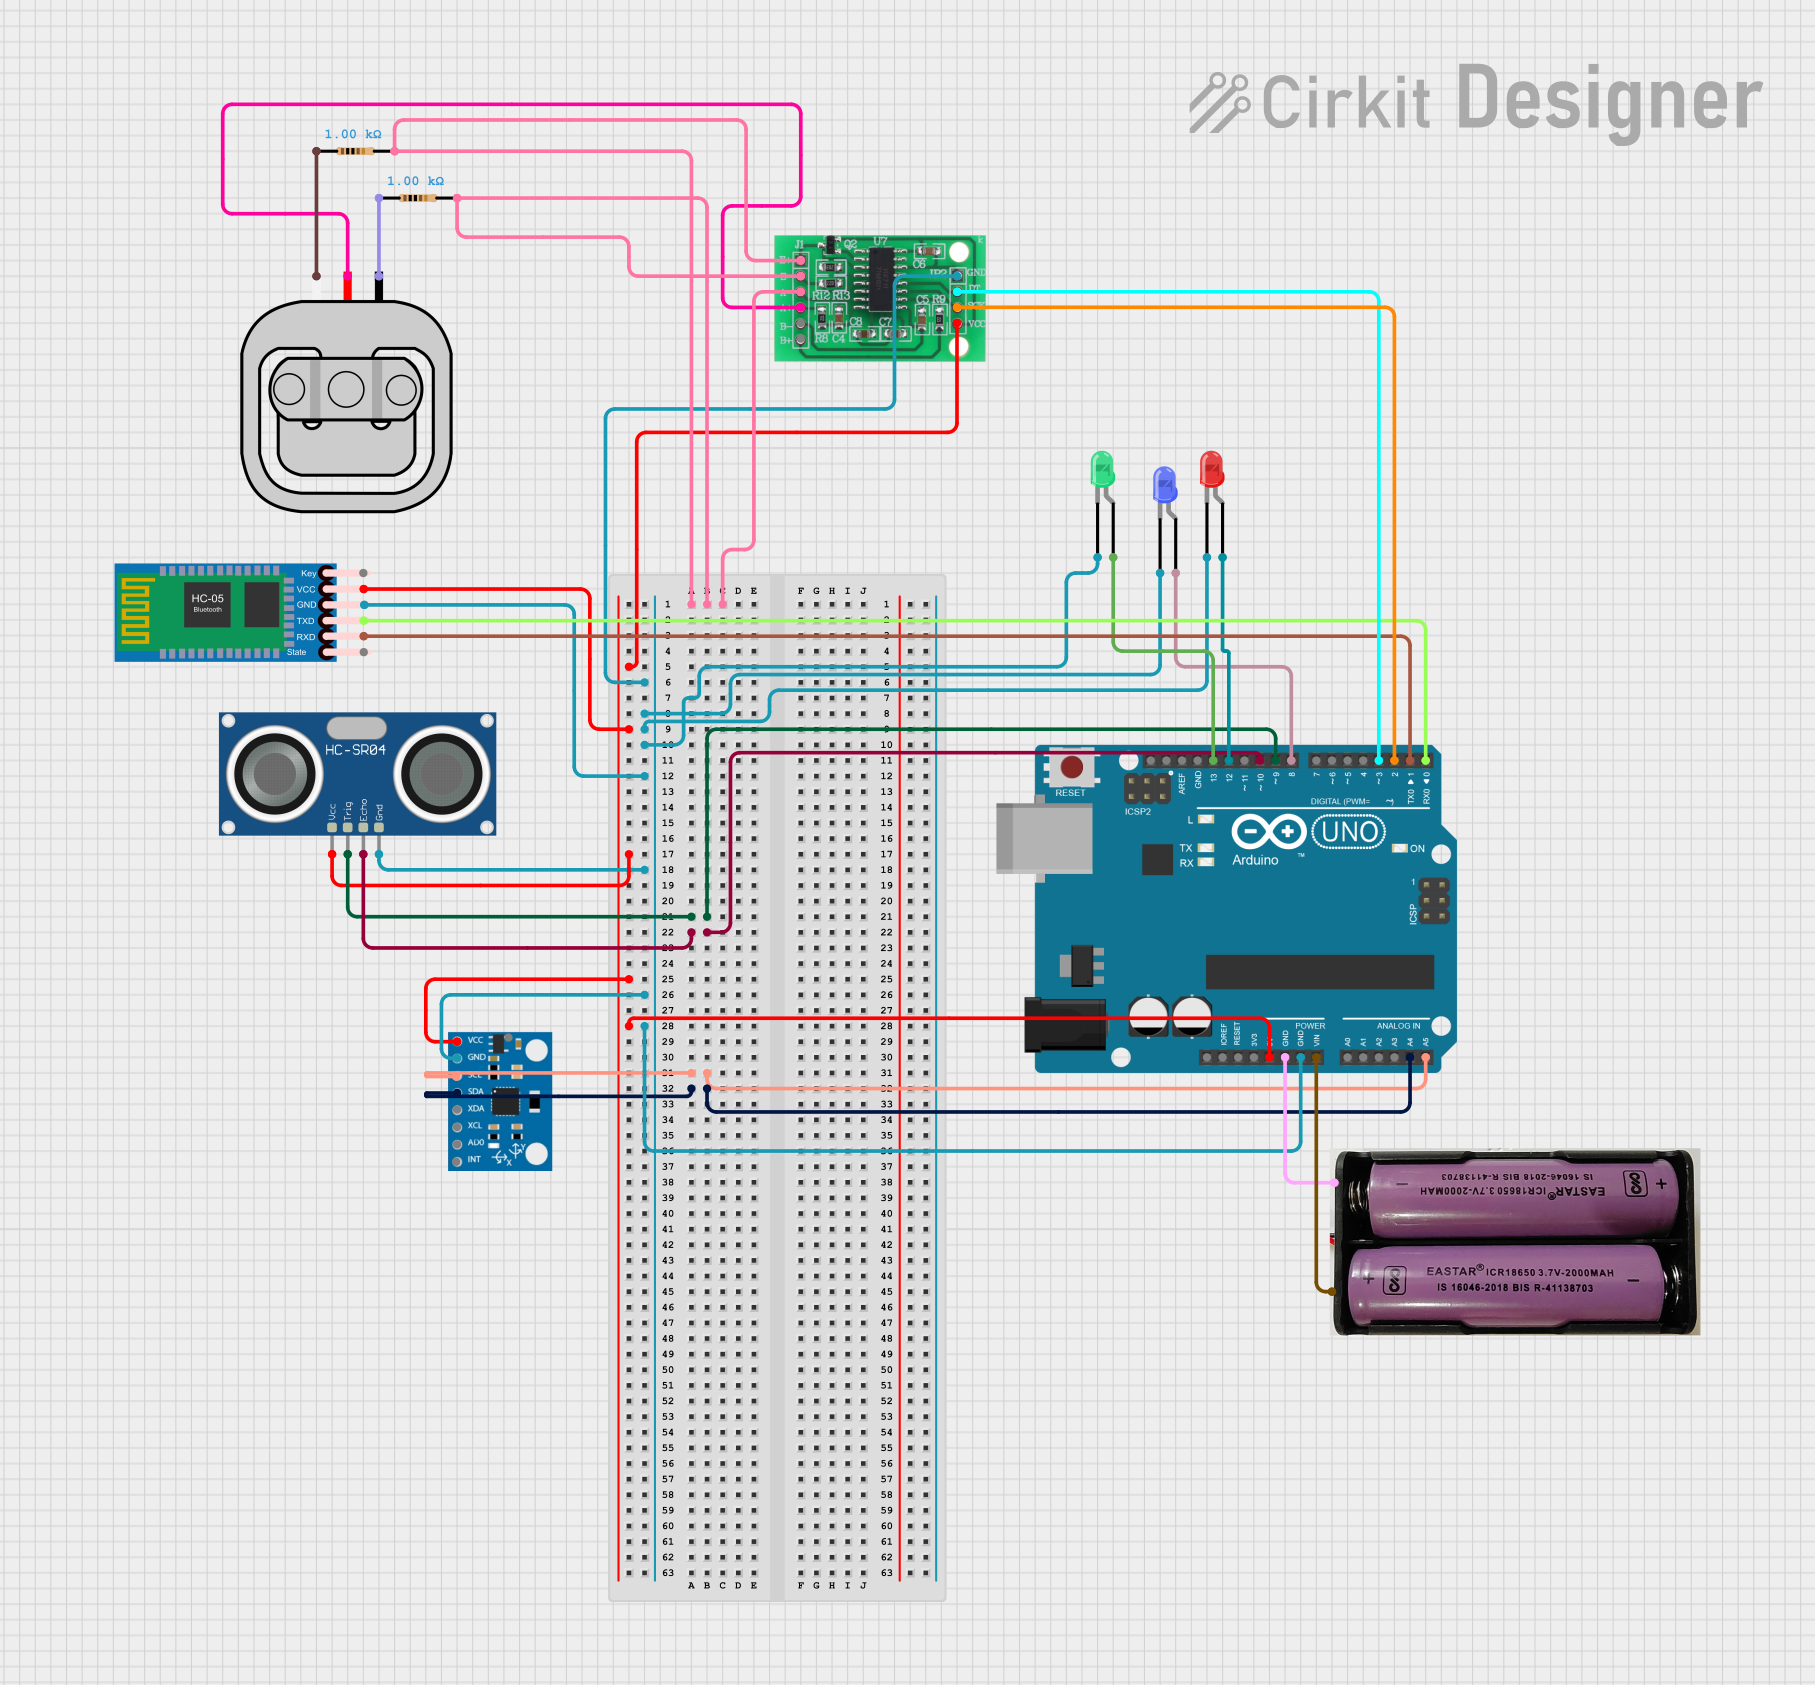
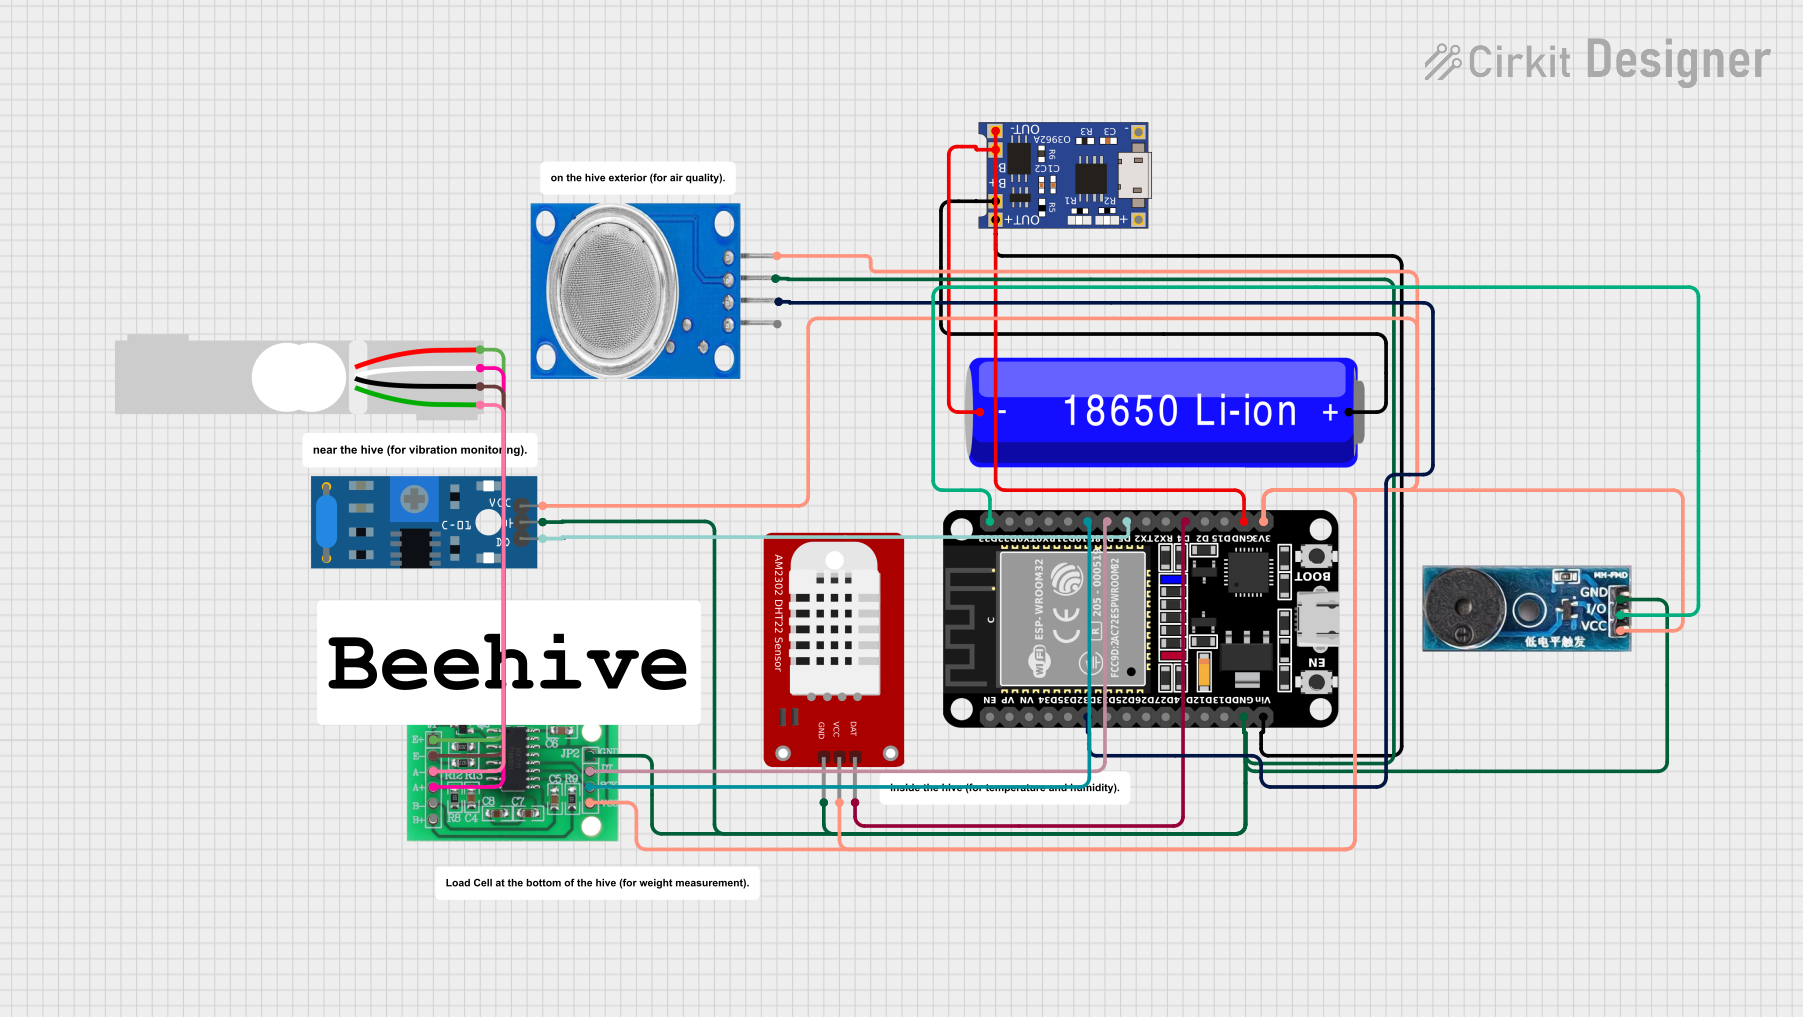
Explore Projects Built with Sensor Bridge
Common Applications and Use Cases
- Environmental monitoring systems (e.g., pH, temperature, and dissolved oxygen sensors)
- Industrial automation and process control
- IoT devices requiring multi-sensor integration
- Research and development projects involving diverse sensor arrays
Technical Specifications
The Sensor Bridge (#SN-BG) is designed to support a wide range of sensors and offers robust communication capabilities. Below are the key technical details:
General Specifications
| Parameter | Value |
|---|---|
| Manufacturer | Atlas Scientific |
| Part ID | #SN-BG |
| Operating Voltage | 3.3V to 5.0V |
| Communication Protocol | I2C |
| Maximum Sensors Supported | 4 |
| Operating Temperature | -40°C to 85°C |
| Dimensions | 50mm x 25mm x 10mm |
Pin Configuration and Descriptions
The Sensor Bridge features a straightforward pin layout for easy integration. Below is the pin configuration:
| Pin Number | Pin Name | Description |
|---|---|---|
| 1 | VCC | Power input (3.3V to 5.0V) |
| 2 | GND | Ground connection |
| 3 | SDA | I2C data line |
| 4 | SCL | I2C clock line |
| 5 | SENSOR_1 | Input for Sensor 1 |
| 6 | SENSOR_2 | Input for Sensor 2 |
| 7 | SENSOR_3 | Input for Sensor 3 |
| 8 | SENSOR_4 | Input for Sensor 4 |
Usage Instructions
How to Use the Sensor Bridge in a Circuit
- Power the Sensor Bridge: Connect the VCC pin to a 3.3V or 5.0V power source and the GND pin to the ground.
- Connect Sensors: Attach up to four sensors to the SENSOR_1 through SENSOR_4 pins. Ensure the sensors are compatible with the Sensor Bridge.
- Connect to Microcontroller: Use the SDA and SCL pins to connect the Sensor Bridge to the I2C pins of your microcontroller (e.g., Arduino UNO).
- Configure the Microcontroller: Write code to initialize the I2C communication and read data from the connected sensors.
Important Considerations and Best Practices
- Ensure that the total current draw of the connected sensors does not exceed the power supply capacity.
- Use pull-up resistors on the SDA and SCL lines if they are not already included in your circuit.
- Verify the I2C addresses of the connected sensors to avoid address conflicts.
- Keep the wiring as short as possible to minimize noise and signal degradation.
Example Code for Arduino UNO
Below is an example code snippet to read data from sensors connected to the Sensor Bridge using an Arduino UNO:
#include <Wire.h> // Include the Wire library for I2C communication

#define SENSOR_BRIDGE_ADDRESS 0x68 // Replace with the actual I2C address of the Sensor Bridge

void setup() {
  Wire.begin(); // Initialize I2C communication
  Serial.begin(9600); // Start serial communication for debugging
  Serial.println("Sensor Bridge Initialized");
}

void loop() {
  Wire.beginTransmission(SENSOR_BRIDGE_ADDRESS); // Start communication with Sensor Bridge
  Wire.write(0x00); // Command to request data from sensors
  Wire.endTransmission();

  delay(100); // Wait for the Sensor Bridge to process the request

  Wire.requestFrom(SENSOR_BRIDGE_ADDRESS, 8); // Request 8 bytes of data (2 bytes per sensor)
  while (Wire.available()) {
    int sensorData = Wire.read() << 8 | Wire.read(); // Read 16-bit sensor data
    Serial.println(sensorData); // Print sensor data to the Serial Monitor
  }

  delay(1000); // Wait 1 second before the next reading
}
Troubleshooting and FAQs
Common Issues and Solutions
No Data from Sensors
- Cause: Incorrect I2C address or wiring issue.
- Solution: Verify the I2C address of the Sensor Bridge and ensure proper connections.
Intermittent Communication Failures
- Cause: Long or noisy I2C lines.
- Solution: Use shorter wires and add pull-up resistors to the SDA and SCL lines if needed.
Sensor Data is Incorrect
- Cause: Incompatible sensor or incorrect configuration.
- Solution: Check the sensor specifications and ensure compatibility with the Sensor Bridge.
Microcontroller Not Detecting the Sensor Bridge
- Cause: Power supply issue or incorrect I2C initialization.
- Solution: Ensure the Sensor Bridge is powered correctly and recheck the I2C initialization code.
FAQs
Can I connect analog sensors to the Sensor Bridge? No, the Sensor Bridge is designed for digital sensors that communicate via I2C.
What is the maximum cable length for connecting sensors? The maximum cable length depends on the I2C bus speed and environmental noise. For standard applications, keep the cable length under 1 meter.
Does the Sensor Bridge support 3.3V-only sensors? Yes, the Sensor Bridge can operate at 3.3V, making it compatible with 3.3V sensors.
Can I use the Sensor Bridge with microcontrollers other than Arduino? Yes, the Sensor Bridge is compatible with any microcontroller that supports I2C communication.
This documentation provides a comprehensive guide to using the Atlas Scientific Sensor Bridge (#SN-BG). For further assistance, refer to the manufacturer's datasheet or support resources.