How to Use Speaker: Examples, Pinouts, and Specs
Introduction
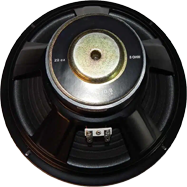
A speaker is a device that converts electrical energy into sound, allowing audio signals to be heard. It is a fundamental component in audio systems, enabling the playback of music, voice, and other audio signals. Speakers are available in various sizes and types, ranging from small piezoelectric buzzers to large subwoofers, each designed for specific applications.
Common applications and use cases include:
- Audio playback in consumer electronics (e.g., smartphones, TVs, and computers)
- Public address systems and loudspeakers
- Alarms and notification systems
- DIY electronics projects and prototyping
- Integration with microcontrollers like Arduino for sound generation
Explore Projects Built with Speaker


Explore Projects Built with Speaker
Technical Specifications
The technical specifications of a speaker can vary depending on its type and intended use. Below are general specifications for a typical small speaker used in electronics projects:
| Parameter | Value |
|---|---|
| Operating Voltage | 3V to 12V (varies by model) |
| Power Rating | 0.5W to 5W |
| Impedance | 4Ω, 8Ω, or 16Ω |
| Frequency Response | 20 Hz to 20 kHz (varies by type) |
| Sound Pressure Level | 80 dB to 100 dB |
| Dimensions | Varies (e.g., 1-inch to 6-inch) |
Pin Configuration and Descriptions
Speakers typically have two terminals for connection:
| Pin | Description |
|---|---|
| Positive (+) | Connects to the positive terminal of the audio source or amplifier. |
| Negative (-) | Connects to the ground or negative terminal of the audio source. |
For piezoelectric buzzers, additional control pins may be present, depending on the model.
Usage Instructions
How to Use the Speaker in a Circuit
Connect the Speaker to an Audio Source:
- Identify the positive (+) and negative (-) terminals of the speaker.
- Connect the positive terminal to the output of an amplifier or audio source.
- Connect the negative terminal to the ground of the circuit.
Amplify the Signal:
- Most speakers require an amplified signal to produce audible sound. Use an audio amplifier circuit to drive the speaker if the audio source output is weak.
Use with Microcontrollers:
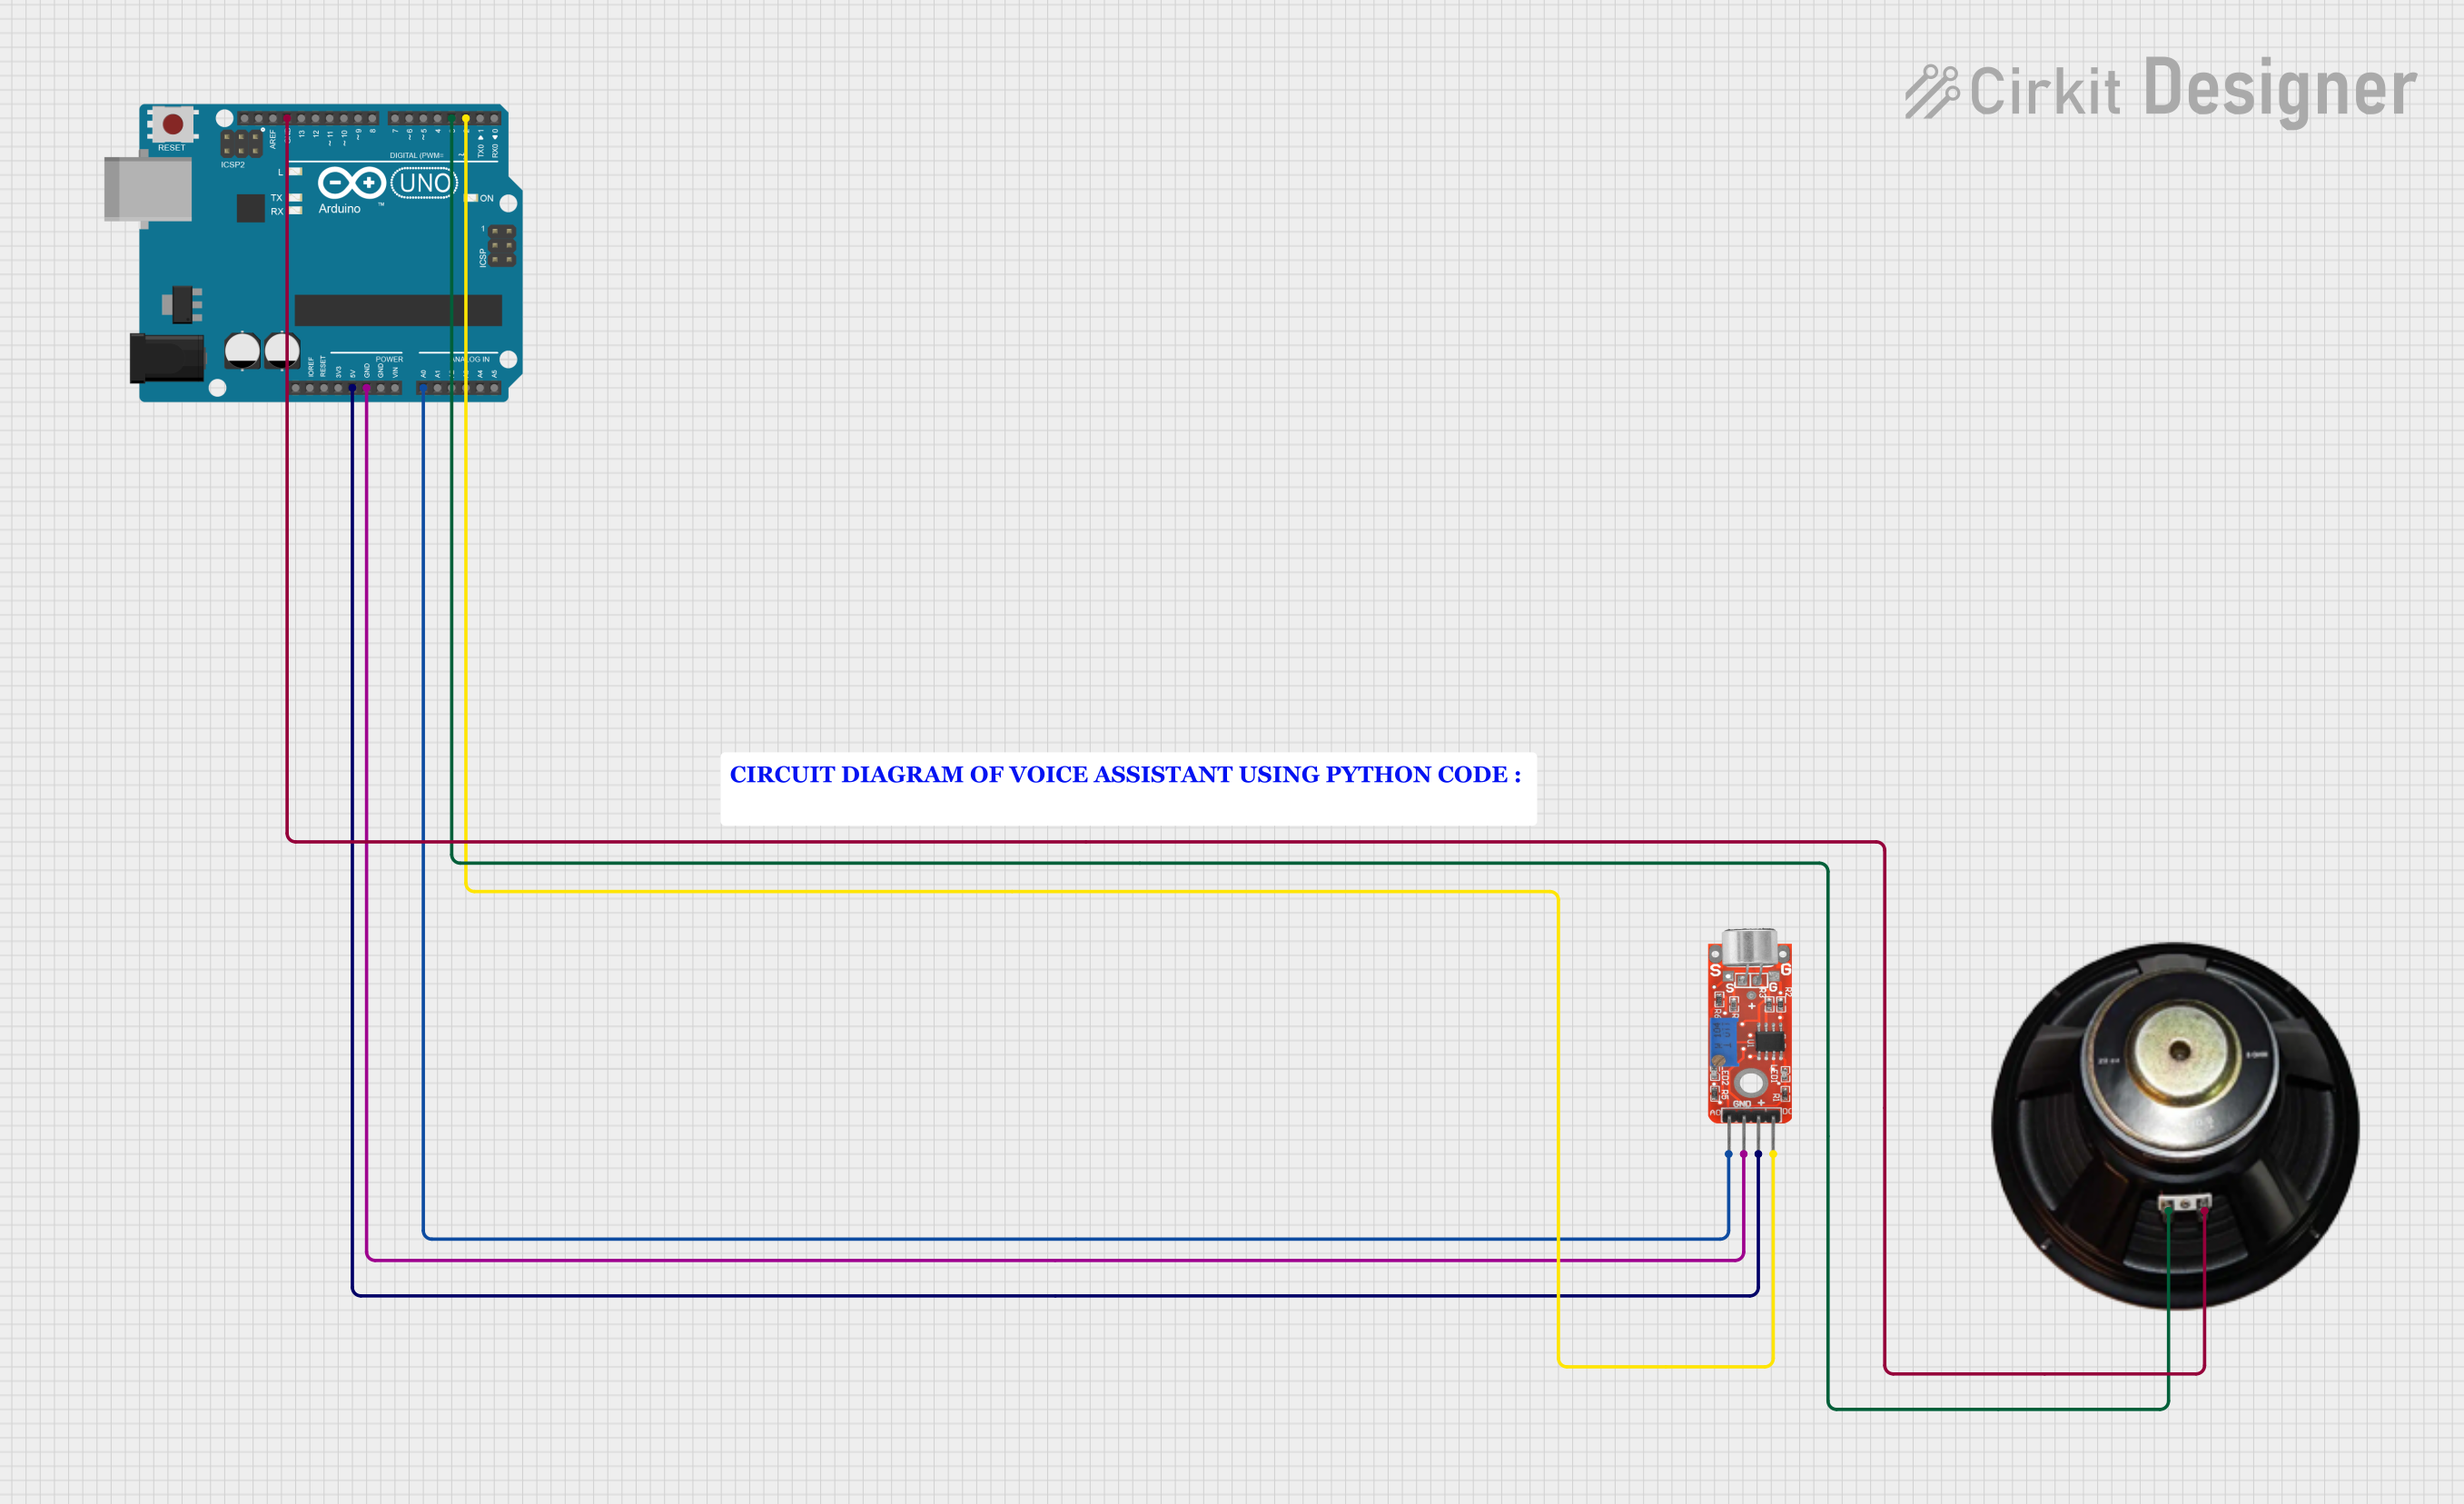
- A speaker can be connected to a microcontroller like an Arduino UNO to generate tones or play simple audio signals.
- Use a resistor (e.g., 100Ω) in series with the speaker to limit current and protect the microcontroller.
Important Considerations and Best Practices
- Impedance Matching: Ensure the speaker's impedance matches the output impedance of the amplifier or audio source to avoid damage or poor performance.
- Power Handling: Do not exceed the speaker's power rating to prevent overheating or damage.
- Enclosure Design: For optimal sound quality, mount the speaker in a suitable enclosure to enhance bass response and reduce distortion.
- Polarity: Maintain correct polarity when connecting the speaker to avoid phase cancellation in multi-speaker setups.
Example: Using a Speaker with Arduino UNO
Below is an example of how to generate a tone using a speaker and an Arduino UNO:
// Example: Generate a tone using a speaker and Arduino UNO
// Connect the positive terminal of the speaker to pin 8 of the Arduino
// Connect the negative terminal of the speaker to GND through a 100Ω resistor

void setup() {
  pinMode(8, OUTPUT); // Set pin 8 as an output
}

void loop() {
  tone(8, 1000); // Generate a 1 kHz tone on pin 8
  delay(1000);   // Play the tone for 1 second
  noTone(8);     // Stop the tone
  delay(1000);   // Wait for 1 second before repeating
}
Troubleshooting and FAQs
Common Issues and Solutions
No Sound from the Speaker:
- Cause: Incorrect wiring or insufficient signal strength.
- Solution: Verify the connections and ensure the audio source or amplifier is functioning correctly.
Distorted Sound:
- Cause: Overdriving the speaker or using an incompatible amplifier.
- Solution: Reduce the input signal level or use an amplifier that matches the speaker's specifications.
Speaker Overheating:
- Cause: Exceeding the power rating of the speaker.
- Solution: Ensure the input power does not exceed the speaker's rated power.
Low Volume:
- Cause: Weak audio signal or high impedance mismatch.
- Solution: Use an amplifier to boost the signal and check impedance compatibility.
FAQs
Q: Can I connect a speaker directly to a microcontroller?
A: While it is possible to connect a small speaker directly to a microcontroller, it is recommended to use a resistor in series to limit current. For better sound quality, use an amplifier circuit.
Q: What type of speaker should I use for my project?
A: Choose a speaker based on your project's requirements, such as size, power rating, and frequency response. For simple tone generation, a small 8Ω speaker or piezo buzzer is sufficient.
Q: How do I improve the sound quality of my speaker?
A: Use a properly designed enclosure, ensure impedance matching, and avoid overdriving the speaker.
Q: Can I use multiple speakers in my project?
A: Yes, but ensure proper wiring (e.g., series or parallel) and impedance matching with the amplifier to avoid damage or performance issues.