
How to Use LCD Display 20x4 I2C: Examples, Pinouts, and Specs
 Design with LCD Display 20x4 I2C in Cirkit Designer
Introduction
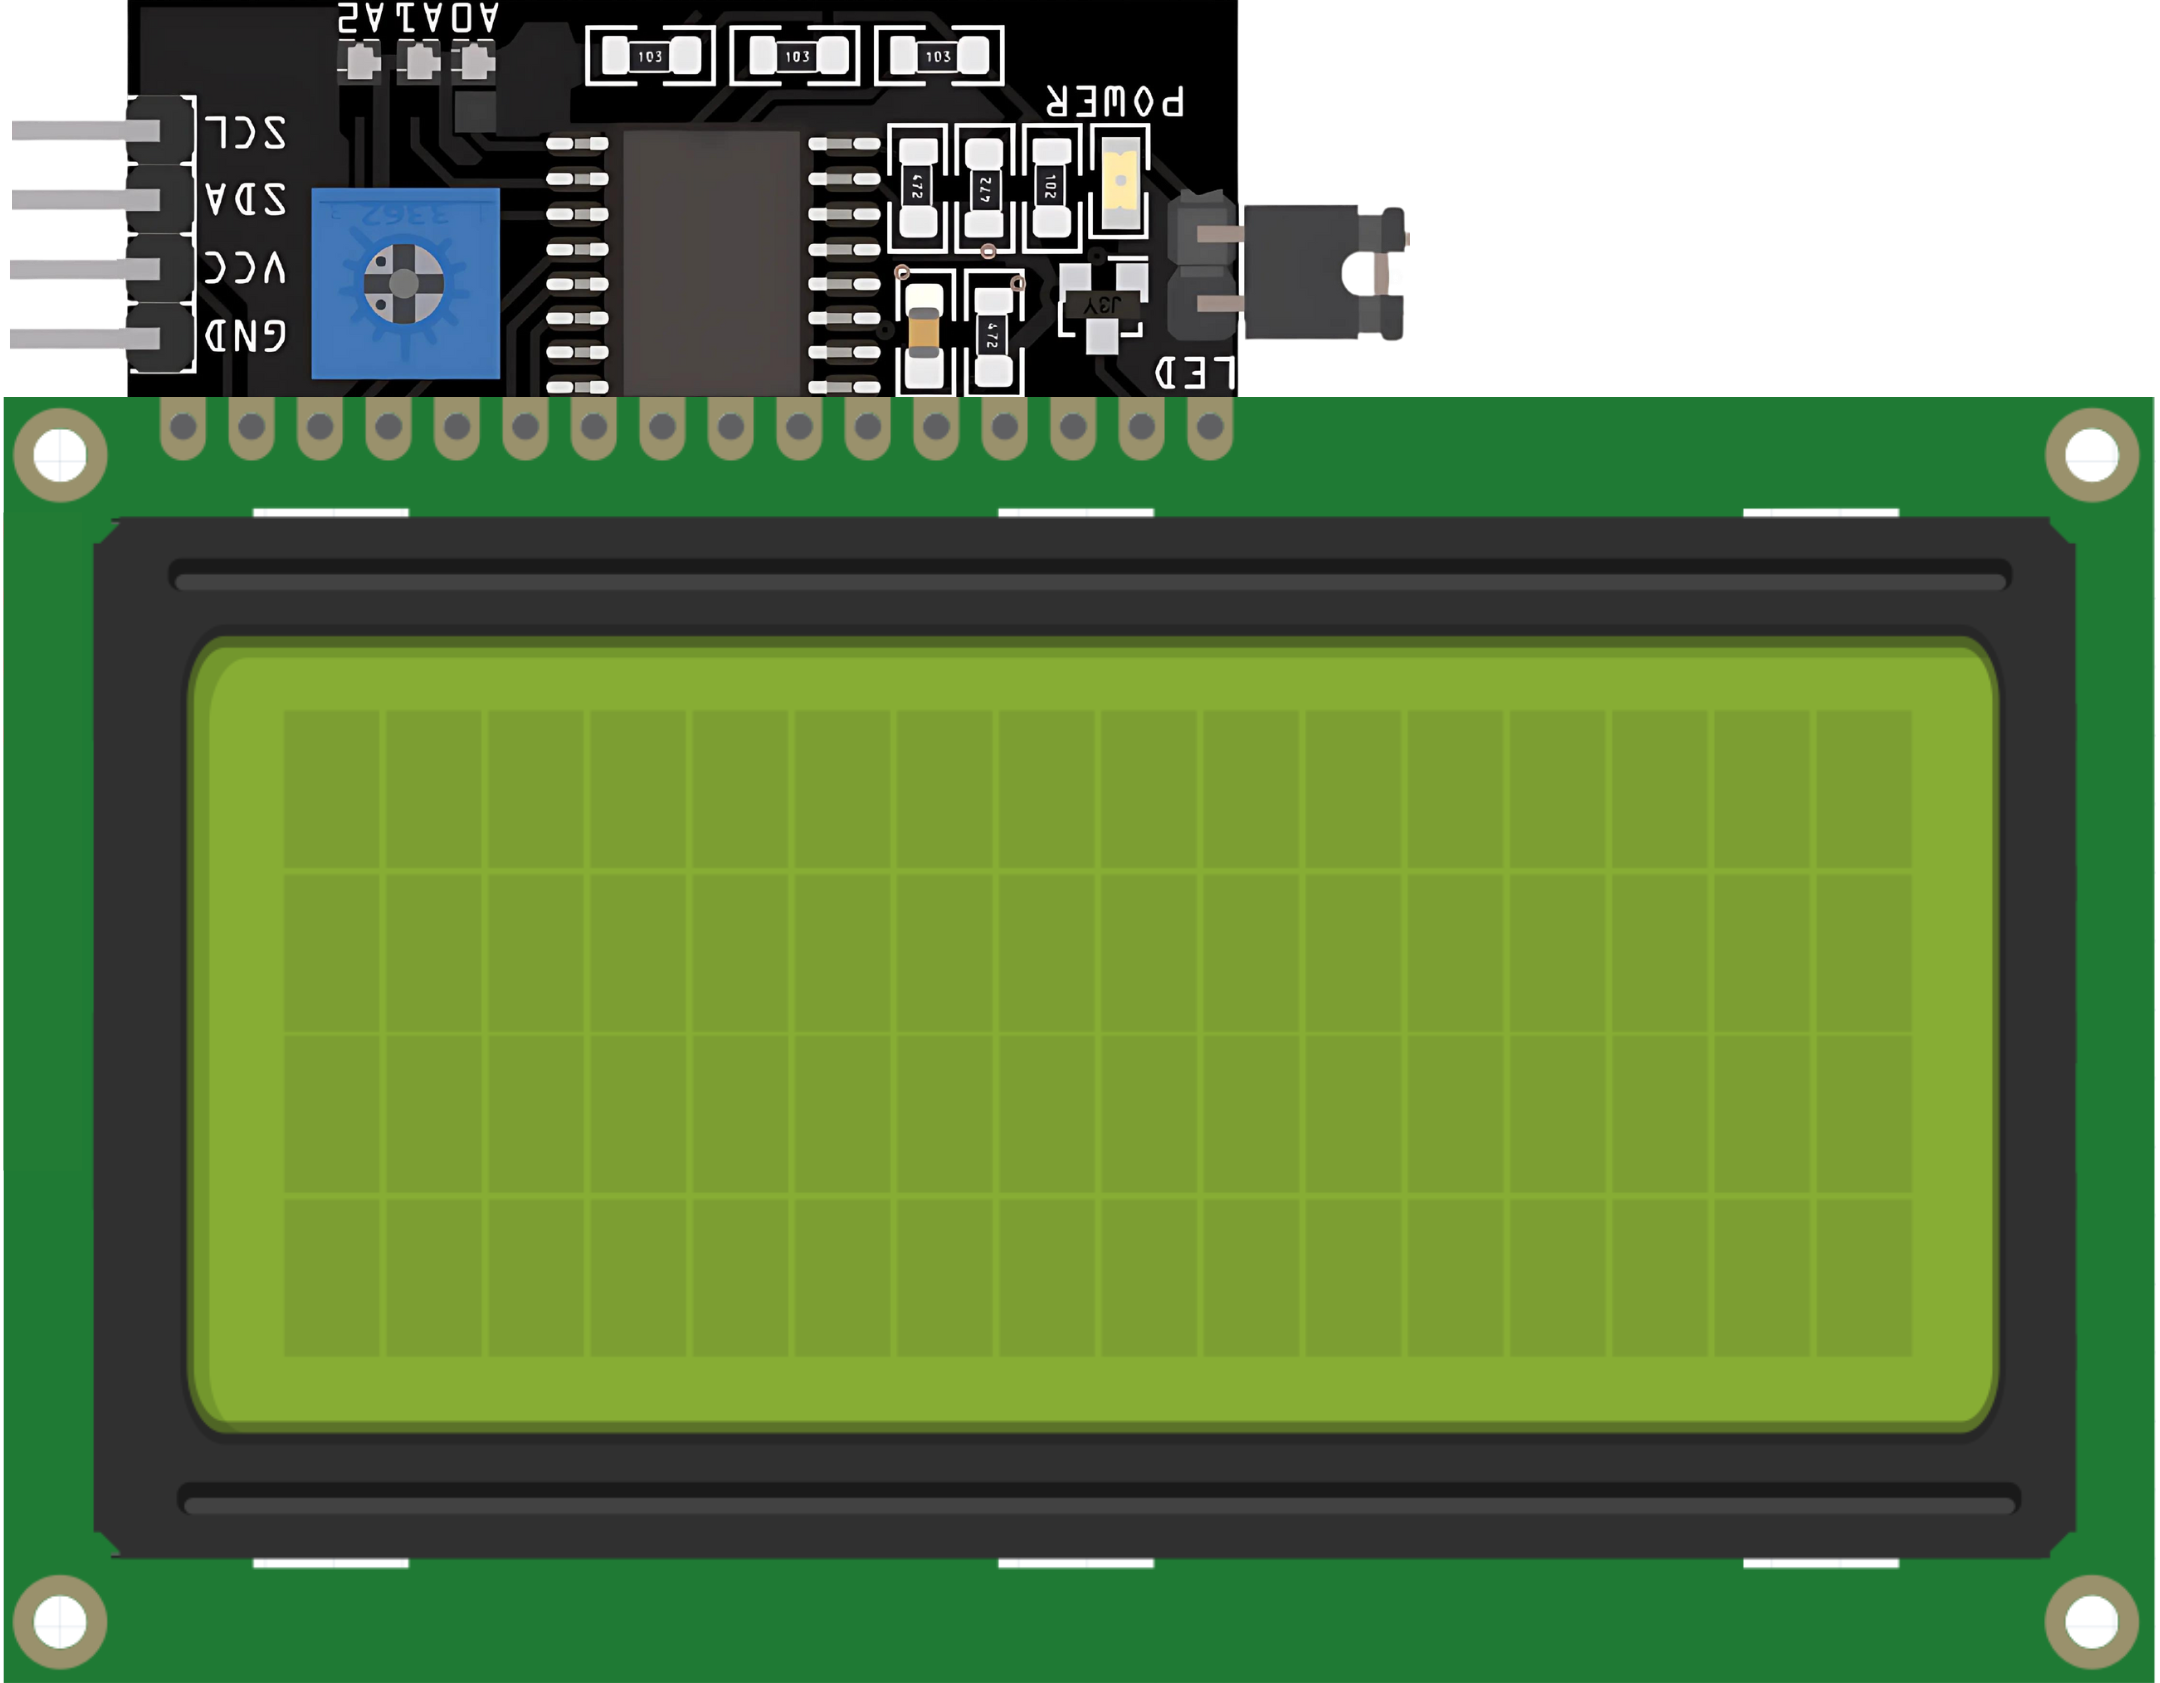
The LCD Display 20x4 I2C is a liquid crystal display that provides a large viewing area capable of displaying 4 lines of text, with each line supporting up to 20 characters. It utilizes the I2C communication protocol, making it ideal for projects where multiple devices need to communicate over just two wires. Common applications include user interfaces, status message displays, and readouts for sensors in DIY electronics, robotics, and embedded systems.
Explore Projects Built with LCD Display 20x4 I2C
 Open Project in Cirkit Designer
 Open Project in Cirkit Designer
 Open Project in Cirkit Designer
 Open Project in Cirkit Designer
Explore Projects Built with LCD Display 20x4 I2C

 Open Project in Cirkit Designer
 Open Project in Cirkit Designer
 Open Project in Cirkit Designer
 Open Project in Cirkit Designer
Technical Specifications
General Features
- Display Format: 20 characters x 4 lines
- Module Dimension: 98.0 x 60.0 x 14.0 mm (approx.)
- Viewing Area: 76.0 x 26.0 mm
- Character Size: 2.95 x 4.75 mm
- Backlight: LED, Yellow-Green or Blue (model dependent)
Electrical Characteristics
- Supply Voltage for Logic: 5V
- Supply Voltage for LED Backlight: 5V
- I2C Logic Levels: 5V tolerant
- Maximum I2C Bus Speed: 400kHz (Fast Mode)
I2C Interface
- Default I2C Address: 0x27 or 0x3F (model dependent)
- Address Range: 0x20-0x27 (configurable with solder jumpers)
Pin Configuration
| Pin Number | Function | Description |
|---|---|---|
| 1 | GND | Ground |
| 2 | VCC | Power supply (5V) |
| 3 | SDA | I2C Data Line |
| 4 | SCL | I2C Clock Line |
| 5 | LED+ | Anode for LED backlight (5V) |
| 6 | LED- | Cathode for LED backlight (0V, Ground) |
Usage Instructions
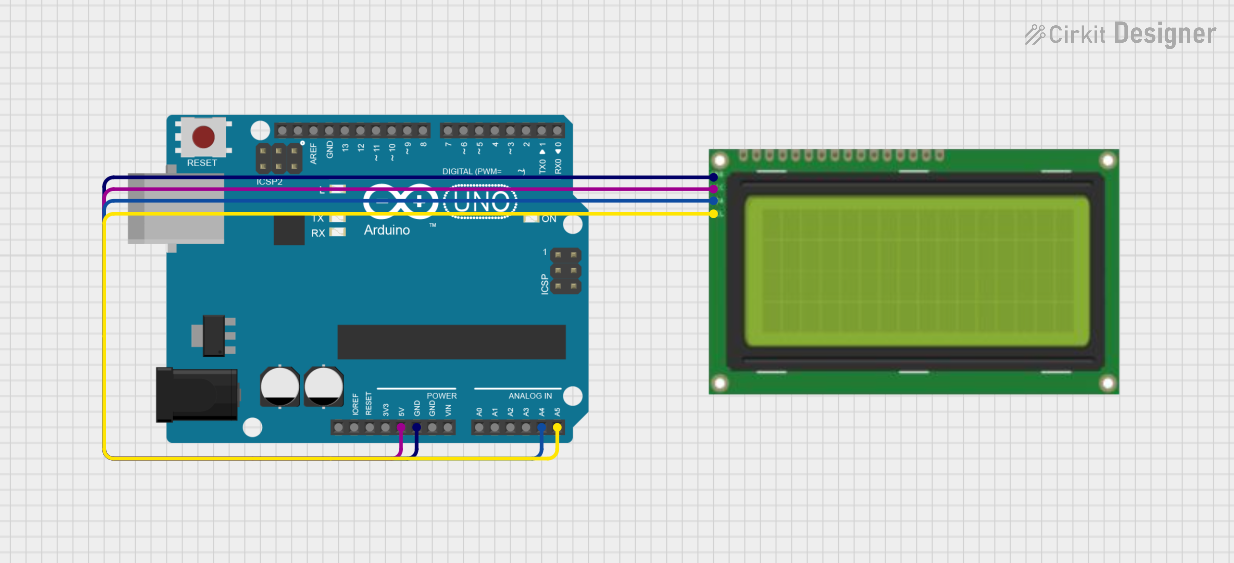
Connecting to an Arduino UNO
- Connect the GND pin to the ground on the Arduino.
- Connect the VCC pin to the 5V output on the Arduino.
- Connect the SDA pin to the A4 pin (SDA) on the Arduino.
- Connect the SCL pin to the A5 pin (SCL) on the Arduino.
- Optionally, connect the LED+ and LED- pins to control the backlight.
Initializing the Display
To use the LCD with an Arduino, you will need the LiquidCrystal_I2C library. Install it using the Library Manager in the Arduino IDE.
Here is a basic example to initialize and use the LCD:
#include <Wire.h>
#include <LiquidCrystal_I2C.h>

// Set the LCD I2C address and dimensions
LiquidCrystal_I2C lcd(0x27, 20, 4);

void setup() {
  // Initialize the LCD and turn on the backlight
  lcd.init();
  lcd.backlight();

  // Print a message on the LCD.
  lcd.setCursor(0, 0); // Set the cursor to the top-left position
  lcd.print("Hello, World!");
}

void loop() {
  // Main loop code here
}
Best Practices
- Always check the I2C address of your LCD with an I2C scanner sketch if unsure.
- Use a level shifter if you're interfacing with a 3.3V logic level device.
- Avoid long I2C cable runs to prevent signal degradation.
- Ensure the power supply is stable and within the specified voltage range.
Troubleshooting and FAQs
Common Issues
- Display not powering on: Check connections for VCC and GND, and ensure the power supply is 5V.
- Garbled or no text: Verify the I2C address and check for proper initialization in the code.
- Dim or no backlight: Ensure LED+ and LED- are correctly connected if controlling the backlight.
FAQs
Q: How do I change the I2C address? A: The I2C address can be changed by adjusting the solder jumpers on the back of the display module.
Q: Can I use this display with a Raspberry Pi? A: Yes, but you will need to use the appropriate library for Python and ensure logic level compatibility.
Q: The characters are too dim to read. What can I do? A: Adjust the contrast potentiometer on the back of the display. If it's still dim, check your power supply.
For further assistance, consult the community forums or the manufacturer's support resources.