
How to Use ESP32 with Expansion Board: Examples, Pinouts, and Specs
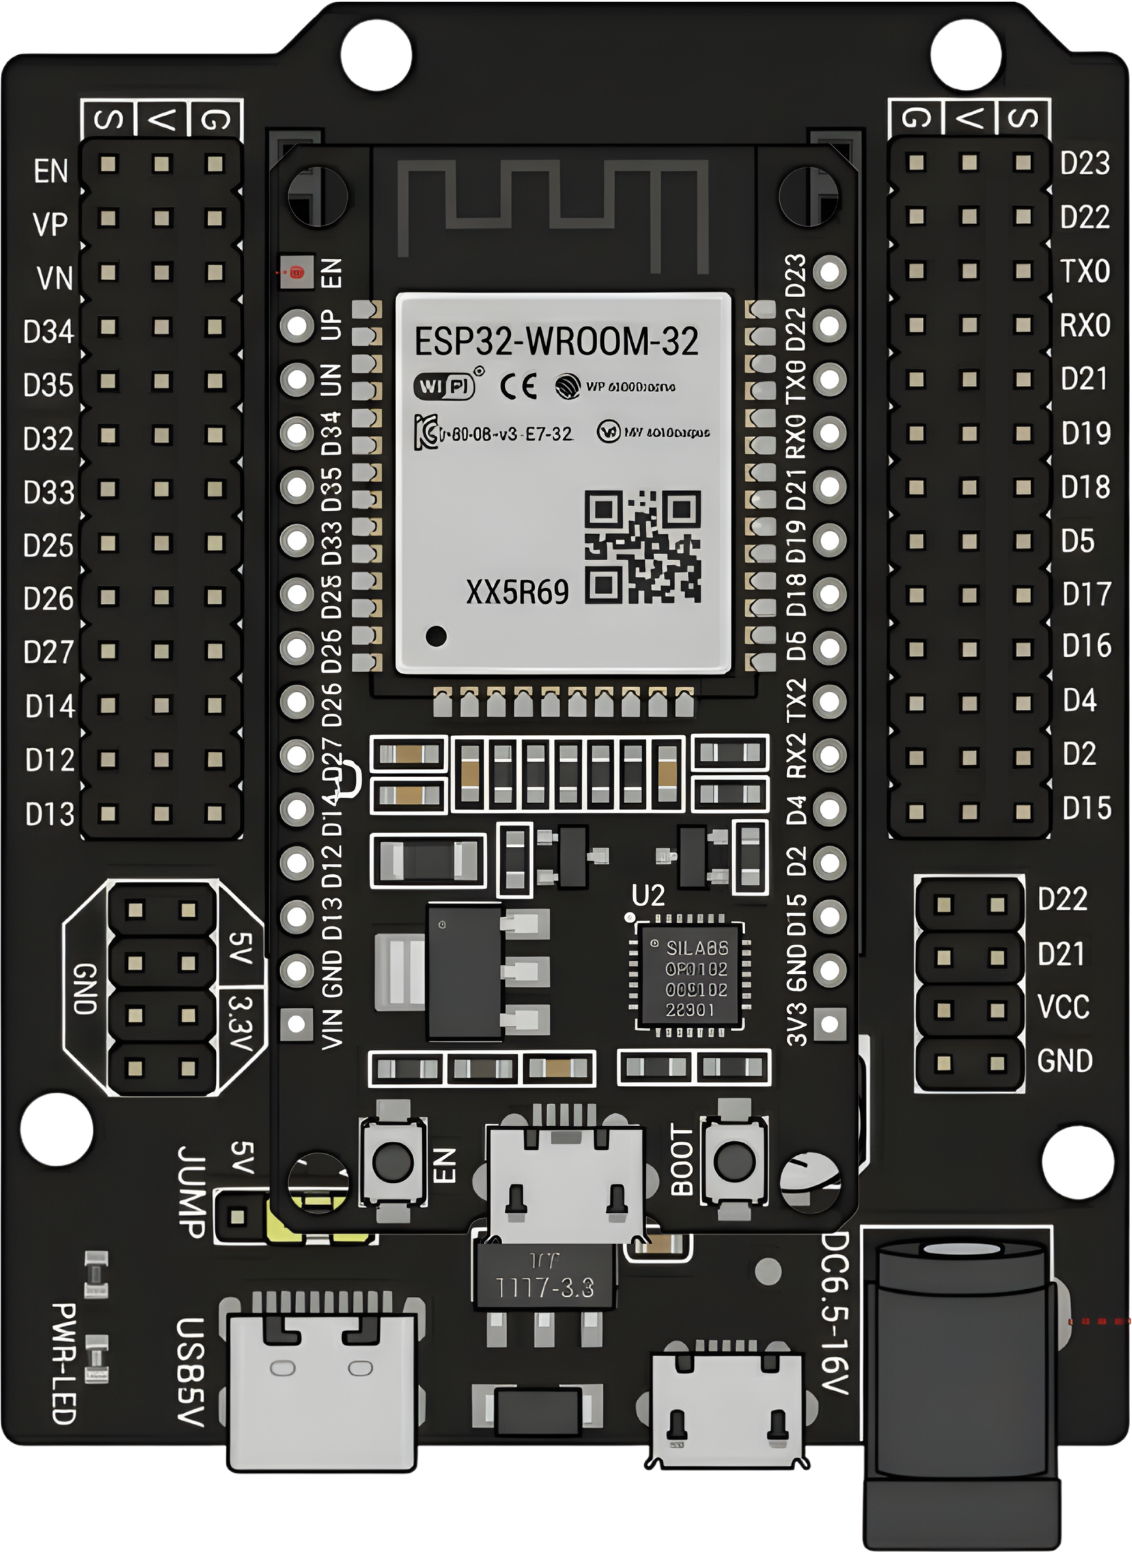
 Design with ESP32 with Expansion Board in Cirkit Designer
Introduction
The ESP32 is a powerful microcontroller with integrated Wi-Fi and Bluetooth capabilities, making it an excellent choice for Internet of Things (IoT) applications. It features a dual-core processor, low-power consumption, and a wide range of peripherals. The addition of an expansion board enhances its functionality by providing extra GPIO pins, improved power management, and simplified connectivity to sensors, actuators, and other modules.
Explore Projects Built with ESP32 with Expansion Board
 Open Project in Cirkit Designer
 Open Project in Cirkit Designer
 Open Project in Cirkit Designer
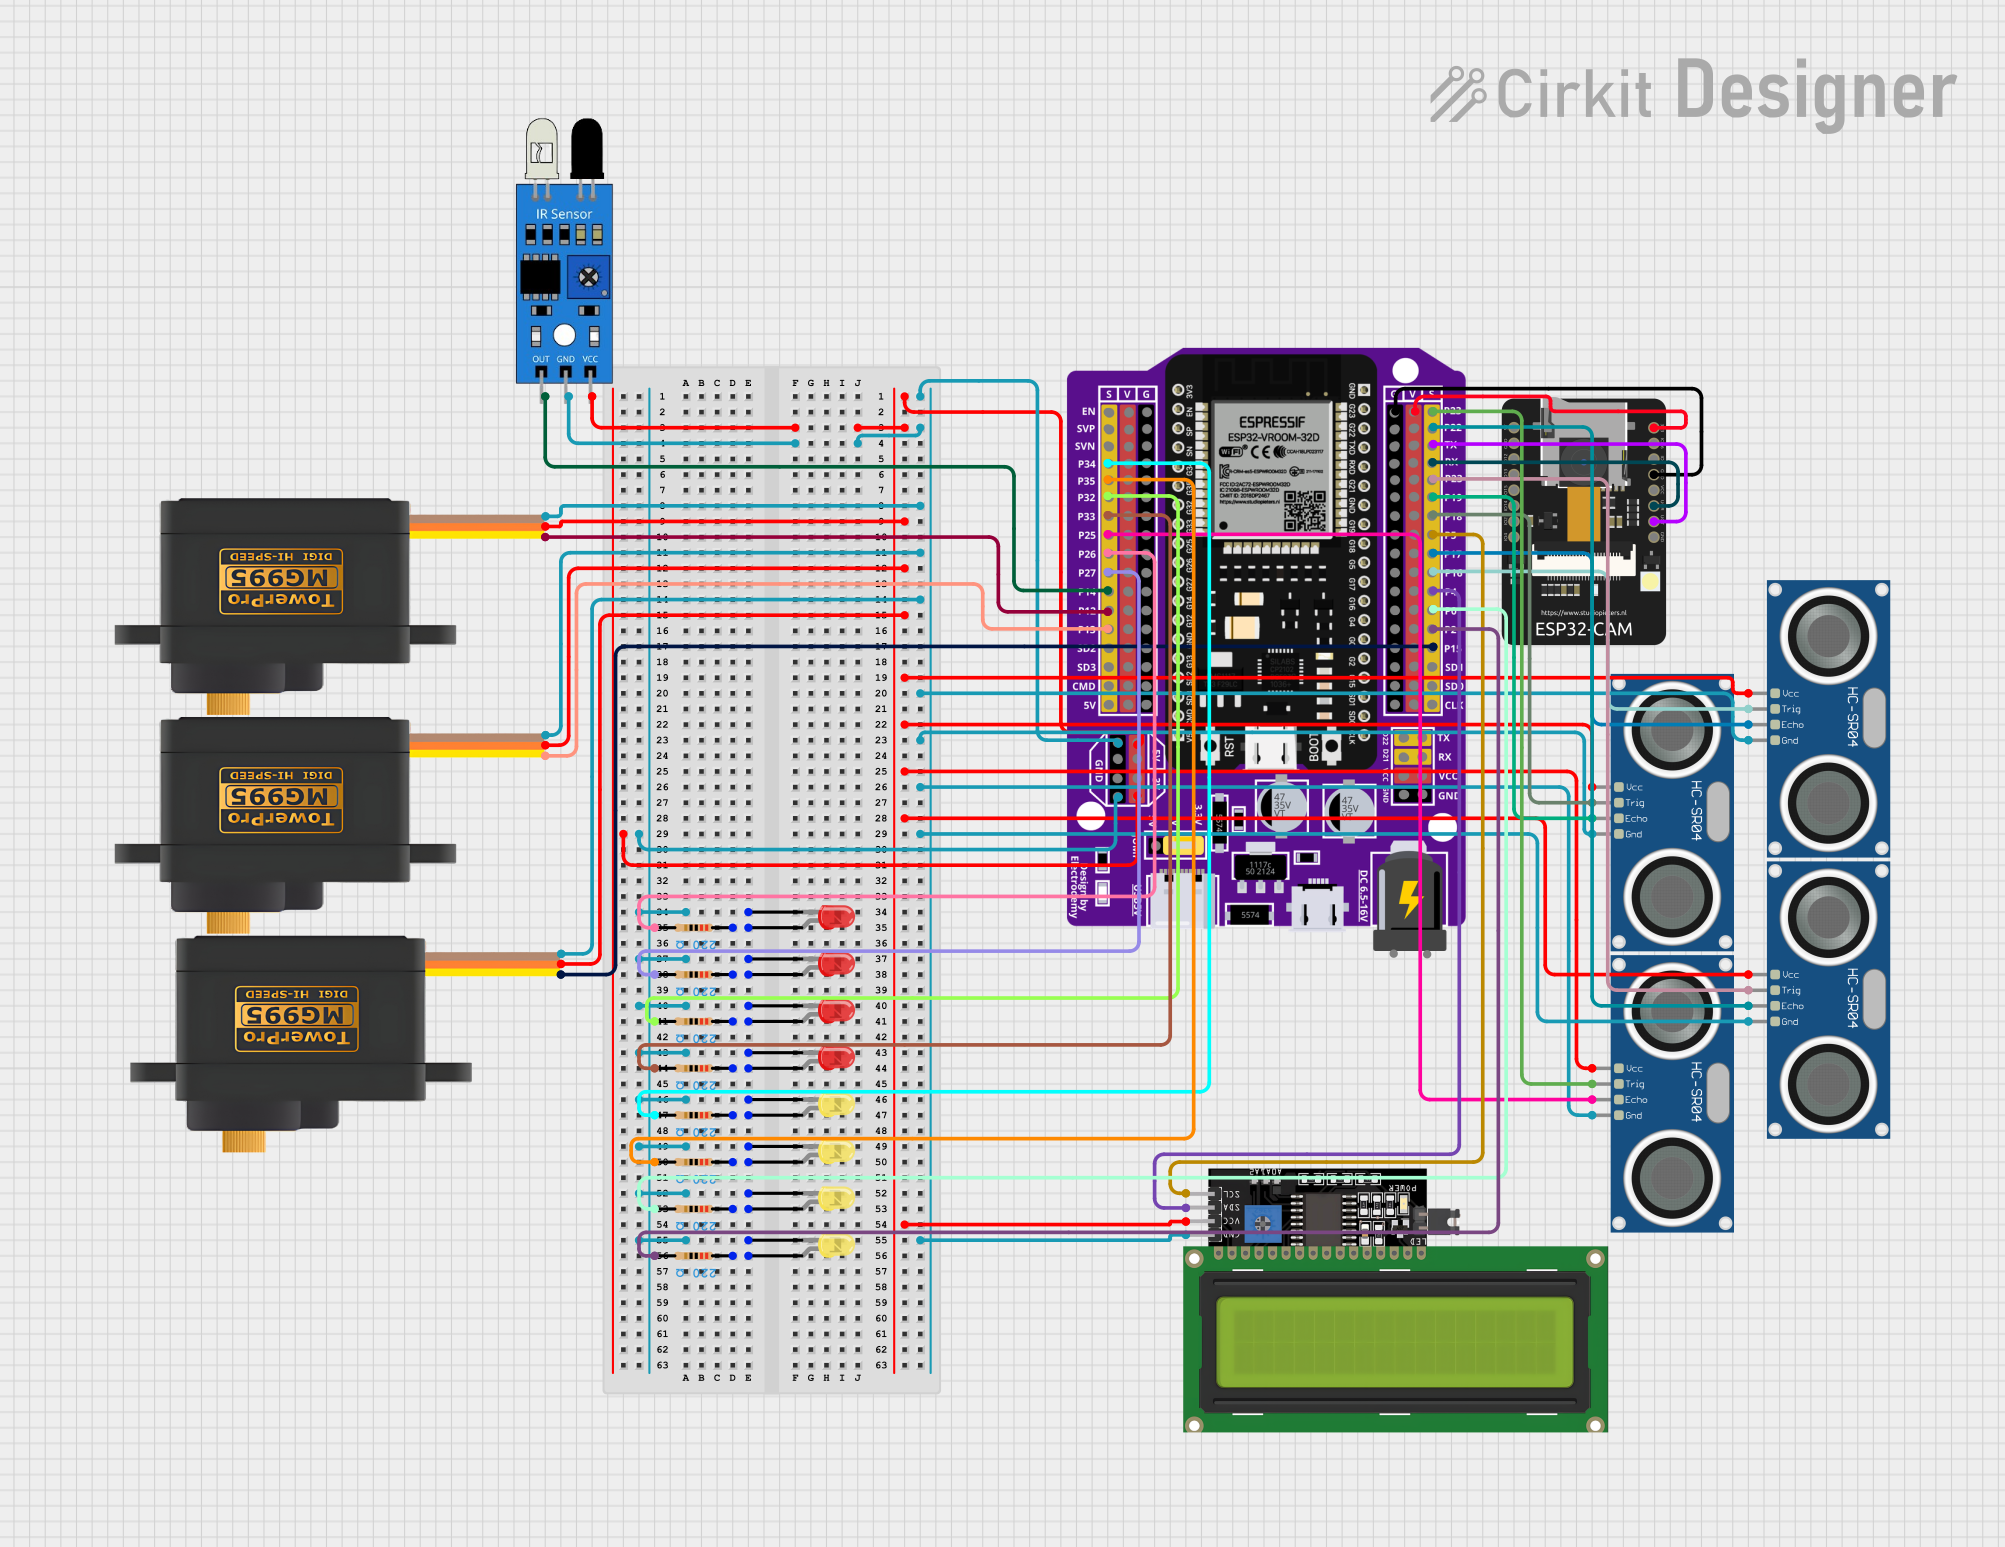 Open Project in Cirkit Designer
Explore Projects Built with ESP32 with Expansion Board
Open Project in Cirkit DesignerOpen Project in Cirkit DesignerOpen Project in Cirkit DesignerOpen Project in Cirkit DesignerCommon Applications and Use Cases
- Smart home automation systems
- IoT devices and prototypes
- Wireless sensor networks
- Wearable devices
- Robotics and control systems
- Data logging and remote monitoring
Technical Specifications
Key Technical Details
| Specification | Value |
|---|---|
| Microcontroller | ESP32 Dual-Core Xtensa LX6 |
| Clock Speed | Up to 240 MHz |
| Flash Memory | 4 MB (varies by model) |
| SRAM | 520 KB |
| Wi-Fi Standard | 802.11 b/g/n |
| Bluetooth | Bluetooth 4.2 and BLE |
| Operating Voltage | 3.3V |
| Input Voltage (via USB) | 5V |
| GPIO Pins | Up to 30 (varies with expansion board) |
| ADC Channels | Up to 18 |
| DAC Channels | 2 |
| Communication Interfaces | UART, SPI, I2C, I2S, CAN, PWM |
| Power Modes | Active, Sleep, Deep Sleep |
Pin Configuration and Descriptions
Below is a typical pinout for the ESP32 with an expansion board. Note that the exact pin configuration may vary depending on the specific expansion board model.
| Pin Name | Function | Description |
|---|---|---|
| VIN | Power Input | Accepts 5V input from USB or external PSU |
| 3V3 | 3.3V Output | Provides regulated 3.3V output |
| GND | Ground | Common ground for the circuit |
| GPIO0 | General Purpose I/O | Can be used for input/output or boot mode |
| GPIO2 | General Purpose I/O | Often used for onboard LED |
| GPIO12-39 | General Purpose I/O | Configurable for digital/analog signals |
| TXD0 | UART Transmit | Serial communication TX pin |
| RXD0 | UART Receive | Serial communication RX pin |
| EN | Enable | Resets the ESP32 when pulled low |
| ADC1/ADC2 | Analog-to-Digital Converter | Reads analog signals (0-3.3V) |
| DAC1/DAC2 | Digital-to-Analog Converter | Outputs analog signals |
| I2C SDA | I2C Data Line | Used for I2C communication |
| I2C SCL | I2C Clock Line | Used for I2C communication |
| SPI MOSI | SPI Master Out Slave In | SPI data output |
| SPI MISO | SPI Master In Slave Out | SPI data input |
| SPI SCK | SPI Clock | SPI clock signal |
Usage Instructions
How to Use the ESP32 with Expansion Board in a Circuit
Powering the ESP32:
- Connect the ESP32 to your computer via a micro-USB cable for programming and power.
- Alternatively, supply 5V to the VIN pin using an external power source.
Connecting Peripherals:
- Use the GPIO pins on the expansion board to connect sensors, actuators, or other modules.
- Ensure that the voltage levels of connected devices are compatible with the ESP32 (3.3V logic).
Programming the ESP32:
- Install the Arduino IDE or ESP-IDF (Espressif IoT Development Framework).
- Add the ESP32 board package to the Arduino IDE via the Board Manager.
- Select the correct board and port in the IDE before uploading code.
Wi-Fi and Bluetooth Setup:
- Use the built-in libraries (
WiFi.handBluetoothSerial.h) to configure wireless communication. - Ensure your network credentials are correctly entered in the code.
- Use the built-in libraries (
Important Considerations and Best Practices
- Avoid supplying more than 3.3V to the GPIO pins to prevent damage to the ESP32.
- Use pull-up or pull-down resistors for GPIO pins when necessary.
- For power-sensitive applications, utilize the ESP32's sleep modes to conserve energy.
- Ensure proper grounding between the ESP32 and connected peripherals.
- Use level shifters if interfacing with 5V logic devices.
Example Code for Arduino IDE
The following example demonstrates how to connect the ESP32 to a Wi-Fi network and blink an LED connected to GPIO2.
#include <WiFi.h> // Include the WiFi library

// Replace with your network credentials
const char* ssid = "Your_SSID";
const char* password = "Your_PASSWORD";

#define LED_PIN 2 // GPIO2 is often connected to the onboard LED

void setup() {
  pinMode(LED_PIN, OUTPUT); // Set GPIO2 as an output pin
  Serial.begin(115200); // Initialize serial communication

  // Connect to Wi-Fi
  Serial.print("Connecting to Wi-Fi");
  WiFi.begin(ssid, password);
  while (WiFi.status() != WL_CONNECTED) {
    delay(500);
    Serial.print(".");
  }
  Serial.println("\nWi-Fi connected!");
  Serial.print("IP Address: ");
  Serial.println(WiFi.localIP()); // Print the ESP32's IP address
}

void loop() {
  digitalWrite(LED_PIN, HIGH); // Turn the LED on
  delay(1000); // Wait for 1 second
  digitalWrite(LED_PIN, LOW); // Turn the LED off
  delay(1000); // Wait for 1 second
}
Troubleshooting and FAQs
Common Issues and Solutions
ESP32 Not Connecting to Wi-Fi:
- Double-check the SSID and password in your code.
- Ensure the Wi-Fi network is operational and within range.
- Restart the ESP32 and router if necessary.
Upload Errors in Arduino IDE:
- Ensure the correct board and port are selected in the IDE.
- Press and hold the "BOOT" button on the ESP32 during the upload process.
- Check the USB cable for data transfer capability (some cables are power-only).
GPIO Pin Not Responding:
- Verify the pin mode is correctly set in the code (
INPUT,OUTPUT, etc.). - Check for loose connections or faulty components in the circuit.
- Ensure the pin is not being used by another peripheral (e.g., ADC, PWM).
- Verify the pin mode is correctly set in the code (
ESP32 Keeps Resetting:
- Ensure the power supply provides sufficient current (at least 500mA).
- Check for short circuits or excessive load on the GPIO pins.
FAQs
Q: Can I use 5V sensors with the ESP32?
A: The ESP32 operates at 3.3V logic. Use a level shifter to safely interface with 5V sensors.
Q: How do I put the ESP32 into deep sleep mode?
A: Use the esp_deep_sleep_start() function in your code. Refer to the ESP32 documentation for configuring wake-up sources.
Q: What is the maximum range of the ESP32's Wi-Fi?
A: The range depends on environmental factors but typically extends up to 50 meters indoors and 200 meters outdoors.
Q: Can I use the ESP32 with a battery?
A: Yes, you can power the ESP32 using a LiPo battery connected to the VIN pin or a dedicated battery management module.