Cirkit Designer Logo
Cirkit Designer
Your all-in-one circuit design IDE
Home / 
Component Documentation

How to Use Adafruit STEMMA Speaker: Examples, Pinouts, and Specs

Image of Adafruit STEMMA Speaker
Cirkit Designer LogoDesign with Adafruit STEMMA Speaker in Cirkit Designer

Introduction

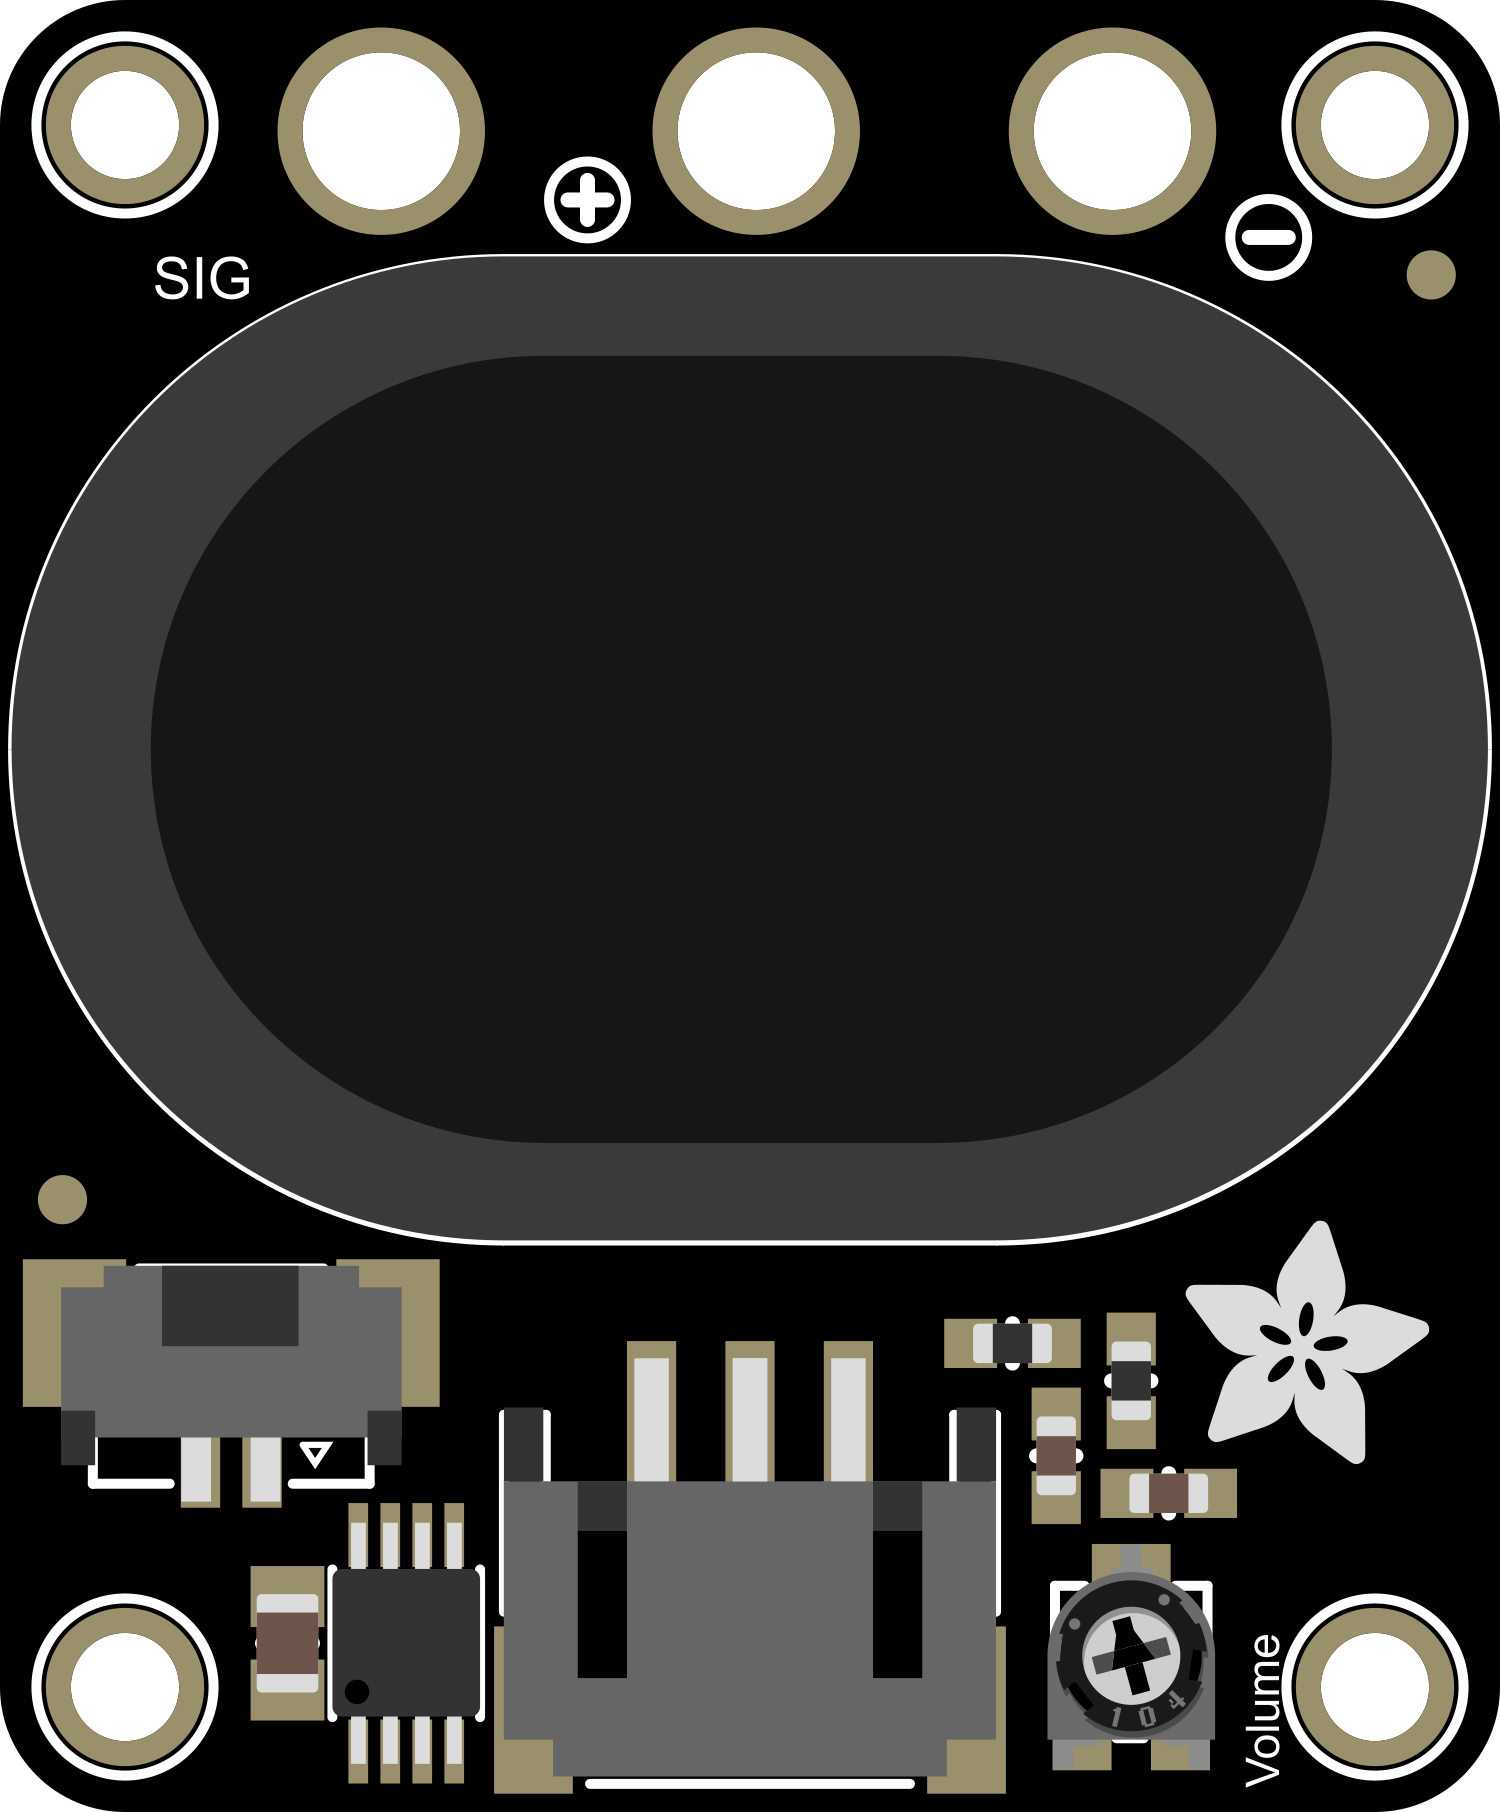
The Adafruit STEMMA Speaker is a small, versatile speaker module that allows for easy audio output integration into various electronic projects. It is designed to be user-friendly and is compatible with a wide range of microcontrollers, including the popular Arduino platform. This speaker is ideal for projects that require sound notifications, simple music playback, or audio feedback to the user.

Explore Projects Built with Adafruit STEMMA Speaker

Use Cirkit Designer to design, explore, and prototype these projects online. Some projects support real-time simulation. Click "Open Project" to start designing instantly!
Arduino Mega 2560-Based Audio-Responsive LED and Stepper Motor System
Image of BloomBeat Box: A project utilizing Adafruit STEMMA Speaker in a practical application
This circuit is an audio-visual system that uses an Arduino Mega 2560 to control a stepper motor, NeoPixel LED sticks, a loudspeaker, and a microphone. The system visualizes audio frequencies and beats using LEDs, plays audio from an SD card, and moves a stepper motor in sync with the audio playback.
Cirkit Designer LogoOpen Project in Cirkit Designer
Raspberry Pi 4B-Based GPS and GSM Tracking System with Audio Feedback
Image of unlimited range: A project utilizing Adafruit STEMMA Speaker in a practical application
This circuit features a Raspberry Pi 4B as the central processing unit, interfaced with a GPS NEO-6M V2 module for location tracking and an Adafruit FONA 808 Shield for cellular communication. It includes a PAM8406 5V Digital Audio Amplifier connected to an Adafruit STEMMA Speaker for audio output, and a Condenser Microphone connected to the FONA 808 for audio input. Power management is handled by a 12V battery connected to a voltage regulator that steps down the voltage to 5V and 3V required by the various components.
Cirkit Designer LogoOpen Project in Cirkit Designer
Adafruit Audio FX Mini Sound Board Dual Loudspeaker Audio System
Image of Adafruit Audio FX Sound Board: A project utilizing Adafruit STEMMA Speaker in a practical application
This circuit features an Adafruit Audio FX Mini Sound Board connected to two loudspeakers. The sound board's left and right audio channels (L_AC and R_AC) are connected to the respective pins of the loudspeakers, enabling stereo audio output. The sound board is powered through its VIN pin, and all components share a common ground.
Cirkit Designer LogoOpen Project in Cirkit Designer
Adafruit Circuit Playground Bluefruit and Crickit-Based Smart RGB LED and Temperature Monitoring System
Image of Example: A project utilizing Adafruit STEMMA Speaker in a practical application
This circuit integrates an Adafruit Circuit Playground Bluefruit with an Adafruit Crickit for Circuit Playground Express to control a temperature sensor, a loudspeaker, and a series of WS2812 RGB LED strips. The Crickit board reads temperature data, drives the loudspeaker, and controls the LED strips to create visual effects based on the sensor input.
Cirkit Designer LogoOpen Project in Cirkit Designer

Explore Projects Built with Adafruit STEMMA Speaker

Use Cirkit Designer to design, explore, and prototype these projects online. Some projects support real-time simulation. Click "Open Project" to start designing instantly!
Image of BloomBeat Box: A project utilizing Adafruit STEMMA Speaker in a practical application
Arduino Mega 2560-Based Audio-Responsive LED and Stepper Motor System
This circuit is an audio-visual system that uses an Arduino Mega 2560 to control a stepper motor, NeoPixel LED sticks, a loudspeaker, and a microphone. The system visualizes audio frequencies and beats using LEDs, plays audio from an SD card, and moves a stepper motor in sync with the audio playback.
Cirkit Designer LogoOpen Project in Cirkit Designer
Image of unlimited range: A project utilizing Adafruit STEMMA Speaker in a practical application
Raspberry Pi 4B-Based GPS and GSM Tracking System with Audio Feedback
This circuit features a Raspberry Pi 4B as the central processing unit, interfaced with a GPS NEO-6M V2 module for location tracking and an Adafruit FONA 808 Shield for cellular communication. It includes a PAM8406 5V Digital Audio Amplifier connected to an Adafruit STEMMA Speaker for audio output, and a Condenser Microphone connected to the FONA 808 for audio input. Power management is handled by a 12V battery connected to a voltage regulator that steps down the voltage to 5V and 3V required by the various components.
Cirkit Designer LogoOpen Project in Cirkit Designer
Image of Adafruit Audio FX Sound Board: A project utilizing Adafruit STEMMA Speaker in a practical application
Adafruit Audio FX Mini Sound Board Dual Loudspeaker Audio System
This circuit features an Adafruit Audio FX Mini Sound Board connected to two loudspeakers. The sound board's left and right audio channels (L_AC and R_AC) are connected to the respective pins of the loudspeakers, enabling stereo audio output. The sound board is powered through its VIN pin, and all components share a common ground.
Cirkit Designer LogoOpen Project in Cirkit Designer
Image of Example: A project utilizing Adafruit STEMMA Speaker in a practical application
Adafruit Circuit Playground Bluefruit and Crickit-Based Smart RGB LED and Temperature Monitoring System
This circuit integrates an Adafruit Circuit Playground Bluefruit with an Adafruit Crickit for Circuit Playground Express to control a temperature sensor, a loudspeaker, and a series of WS2812 RGB LED strips. The Crickit board reads temperature data, drives the loudspeaker, and controls the LED strips to create visual effects based on the sensor input.
Cirkit Designer LogoOpen Project in Cirkit Designer

Common Applications and Use Cases

  • Educational projects
  • DIY game consoles
  • Interactive art installations
  • Sound effects for models or toys
  • Audio alerts for sensors and monitoring systems

Technical Specifications

Key Technical Details

  • Rated Power: 1 Watt
  • Impedance: 8 Ohms
  • Operating Voltage: 5V DC
  • Sound Output: 78-81dB at 10cm
  • Frequency Response: 200Hz - 15kHz

Pin Configuration and Descriptions

Pin Number Name Description
1 VCC Connect to 5V power supply
2 GND Connect to ground
3 IN Audio signal input
4 NC No connection (reserved for future use)

Usage Instructions

How to Use the Component in a Circuit

  1. Power Connections: Connect the VCC pin to a 5V power supply and the GND pin to the ground of your circuit.
  2. Audio Input: Connect the IN pin to a PWM-capable digital pin on your microcontroller.
  3. Mounting: Secure the speaker in your project enclosure, ensuring that the speaker's front is unobstructed for clear sound output.

Important Considerations and Best Practices

  • PWM Frequency: Use a PWM frequency within the speaker's frequency response range (200Hz - 15kHz) for optimal sound quality.
  • Volume Control: To control the volume, adjust the duty cycle of the PWM signal.
  • Avoid Overpowering: Do not exceed the rated power and voltage specifications to prevent damage to the speaker.

Example Code for Arduino UNO

#include <Arduino.h>

const int speakerPin = 9; // Connect the IN pin of the speaker to digital pin 9

void setup() {
  pinMode(speakerPin, OUTPUT);
}

void loop() {
  // Play a tone on the speaker for 1 second
  tone(speakerPin, 440); // A4 note, 440 Hz
  delay(1000); // Wait for 1 second
  noTone(speakerPin); // Stop the tone
  delay(1000); // Wait for 1 second
}

Troubleshooting and FAQs

Common Issues

  • No Sound Output: Ensure that the speaker is properly powered and that the audio input is connected to a PWM-capable pin.
  • Distorted Sound: If the sound is distorted, check if the PWM signal is within the frequency response range and adjust the duty cycle for volume control.
  • Low Volume: Increase the duty cycle of the PWM signal to increase the volume, but do not exceed the speaker's power rating.

Solutions and Tips for Troubleshooting

  • Check Connections: Verify that all connections are secure and correct.
  • Test with a Simple Tone: Use the tone() function in Arduino to generate a simple tone to test the speaker functionality.
  • Power Supply: Ensure that the power supply is stable and capable of delivering sufficient current.

FAQs

Q: Can I use the Adafruit STEMMA Speaker with a 3.3V microcontroller? A: Yes, but the volume may be lower compared to using a 5V supply.

Q: Is it possible to play complex sounds or music? A: The speaker can play simple tones and melodies, but it is not suitable for high-fidelity audio playback.

Q: How can I extend the cable for the speaker? A: Use a 3-wire extension with matching connectors, ensuring that the wire gauge can handle the current without significant voltage drop.