Cirkit Designer Logo
Cirkit Designer
Your all-in-one circuit design IDE
Home / 
Component Documentation

How to Use Doorsecure Kit: Examples, Pinouts, and Specs

Image of Doorsecure Kit
Cirkit Designer LogoDesign with Doorsecure Kit in Cirkit Designer

Introduction

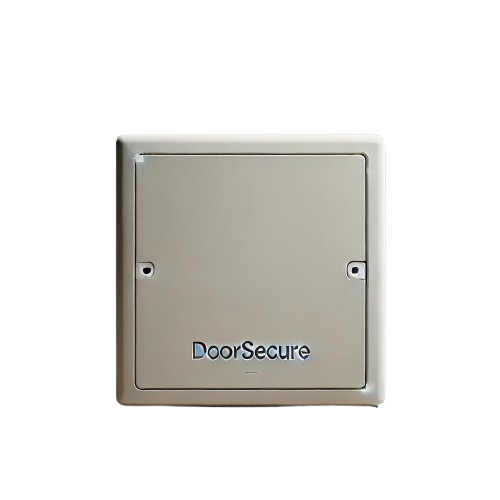
The Doorsecure Kit is an advanced security system package designed to enhance the safety of residential and commercial properties. It includes a variety of components such as sensors, cameras, and alarms that work in unison to detect and deter unauthorized entry through doors. This kit is ideal for homeowners, business owners, and security professionals looking for a comprehensive solution to secure entry points.

Explore Projects Built with Doorsecure Kit

Use Cirkit Designer to design, explore, and prototype these projects online. Some projects support real-time simulation. Click "Open Project" to start designing instantly!
Arduino UNO Based Smart Door Lock with Flame Detection and IR Remote Control
Image of tt: A project utilizing Doorsecure Kit in a practical application
This circuit is designed as a security door lock system with user interaction and environmental sensing capabilities. It features an Arduino UNO microcontroller interfaced with an LCD display for user feedback, a keypad for password input, a servo motor to actuate the lock, a piezo buzzer for audio alerts, a flame sensor for fire detection, and an IR receiver for remote control. The embedded code handles password-based door locking/unlocking, displays system status, and provides an alert and auto-unlocking feature in case of fire detection.
Cirkit Designer LogoOpen Project in Cirkit Designer
Arduino UNO Bluetooth-Controlled Smart Locker with Servo Motor
Image of door lock: A project utilizing Doorsecure Kit in a practical application
This circuit is a smart locker system controlled by an Arduino UNO, which uses an HC-05 Bluetooth module for wireless communication, a servo motor for locking and unlocking, and an IR sensor for proximity detection. The system is powered by a 12V battery with a buck converter to step down the voltage, and it includes an LCD display for user interface.
Cirkit Designer LogoOpen Project in Cirkit Designer
Arduino UNO-Based Secure Access Control System with Keypad and Solenoid Lock
Image of GROUP 1 ROBOTICS/RESEARCH: A project utilizing Doorsecure Kit in a practical application
This circuit is a secure access control system for a residential door lock, utilizing an Arduino UNO to interface with a 4x4 keypad, a 16x2 I2C LCD, and a 12V solenoid lock via an L298N motor driver. The system allows users to enter a password on the keypad, which is displayed on the LCD, and unlocks the solenoid lock if the correct password is entered.
Cirkit Designer LogoOpen Project in Cirkit Designer
STM32 and ESP8266 Nodemcu Based Smart Lock System with LCD and Keypad
Image of ot_t: A project utilizing Doorsecure Kit in a practical application
This circuit functions as a secure door lock system with a user interface. The STM32 Nucleo microcontroller is connected to a keypad for input, an LCD for display, and a servo motor to actuate the lock mechanism. It communicates with an ESP8266 module to receive an OTP (One-Time Password) for unlocking, and uses LEDs to indicate lock status.
Cirkit Designer LogoOpen Project in Cirkit Designer

Explore Projects Built with Doorsecure Kit

Use Cirkit Designer to design, explore, and prototype these projects online. Some projects support real-time simulation. Click "Open Project" to start designing instantly!
Image of tt: A project utilizing Doorsecure Kit in a practical application
Arduino UNO Based Smart Door Lock with Flame Detection and IR Remote Control
This circuit is designed as a security door lock system with user interaction and environmental sensing capabilities. It features an Arduino UNO microcontroller interfaced with an LCD display for user feedback, a keypad for password input, a servo motor to actuate the lock, a piezo buzzer for audio alerts, a flame sensor for fire detection, and an IR receiver for remote control. The embedded code handles password-based door locking/unlocking, displays system status, and provides an alert and auto-unlocking feature in case of fire detection.
Cirkit Designer LogoOpen Project in Cirkit Designer
Image of door lock: A project utilizing Doorsecure Kit in a practical application
Arduino UNO Bluetooth-Controlled Smart Locker with Servo Motor
This circuit is a smart locker system controlled by an Arduino UNO, which uses an HC-05 Bluetooth module for wireless communication, a servo motor for locking and unlocking, and an IR sensor for proximity detection. The system is powered by a 12V battery with a buck converter to step down the voltage, and it includes an LCD display for user interface.
Cirkit Designer LogoOpen Project in Cirkit Designer
Image of GROUP 1 ROBOTICS/RESEARCH: A project utilizing Doorsecure Kit in a practical application
Arduino UNO-Based Secure Access Control System with Keypad and Solenoid Lock
This circuit is a secure access control system for a residential door lock, utilizing an Arduino UNO to interface with a 4x4 keypad, a 16x2 I2C LCD, and a 12V solenoid lock via an L298N motor driver. The system allows users to enter a password on the keypad, which is displayed on the LCD, and unlocks the solenoid lock if the correct password is entered.
Cirkit Designer LogoOpen Project in Cirkit Designer
Image of ot_t: A project utilizing Doorsecure Kit in a practical application
STM32 and ESP8266 Nodemcu Based Smart Lock System with LCD and Keypad
This circuit functions as a secure door lock system with a user interface. The STM32 Nucleo microcontroller is connected to a keypad for input, an LCD for display, and a servo motor to actuate the lock mechanism. It communicates with an ESP8266 module to receive an OTP (One-Time Password) for unlocking, and uses LEDs to indicate lock status.
Cirkit Designer LogoOpen Project in Cirkit Designer

Common Applications and Use Cases

  • Home security systems
  • Office and commercial building access control
  • Entry monitoring for sensitive areas
  • Intrusion detection for warehouses and storage facilities

Technical Specifications

General Specifications

  • Operating Voltage: 12V DC
  • Current Consumption: 500mA (active), 100mA (idle)
  • Operating Temperature: -10°C to 50°C
  • Wireless Frequency: 2.4GHz (for wireless components)

Sensor Specifications

  • Type: Magnetic contact sensor
  • Contact Rating: 100V, 0.5A, 10W
  • Operating Distance: Up to 20mm

Camera Specifications

  • Resolution: 1080p HD
  • Field of View: 120 degrees
  • Night Vision: Yes, up to 30 meters

Alarm Specifications

  • Sound Level: 110 dB
  • Alarm Duration: Configurable up to 10 minutes

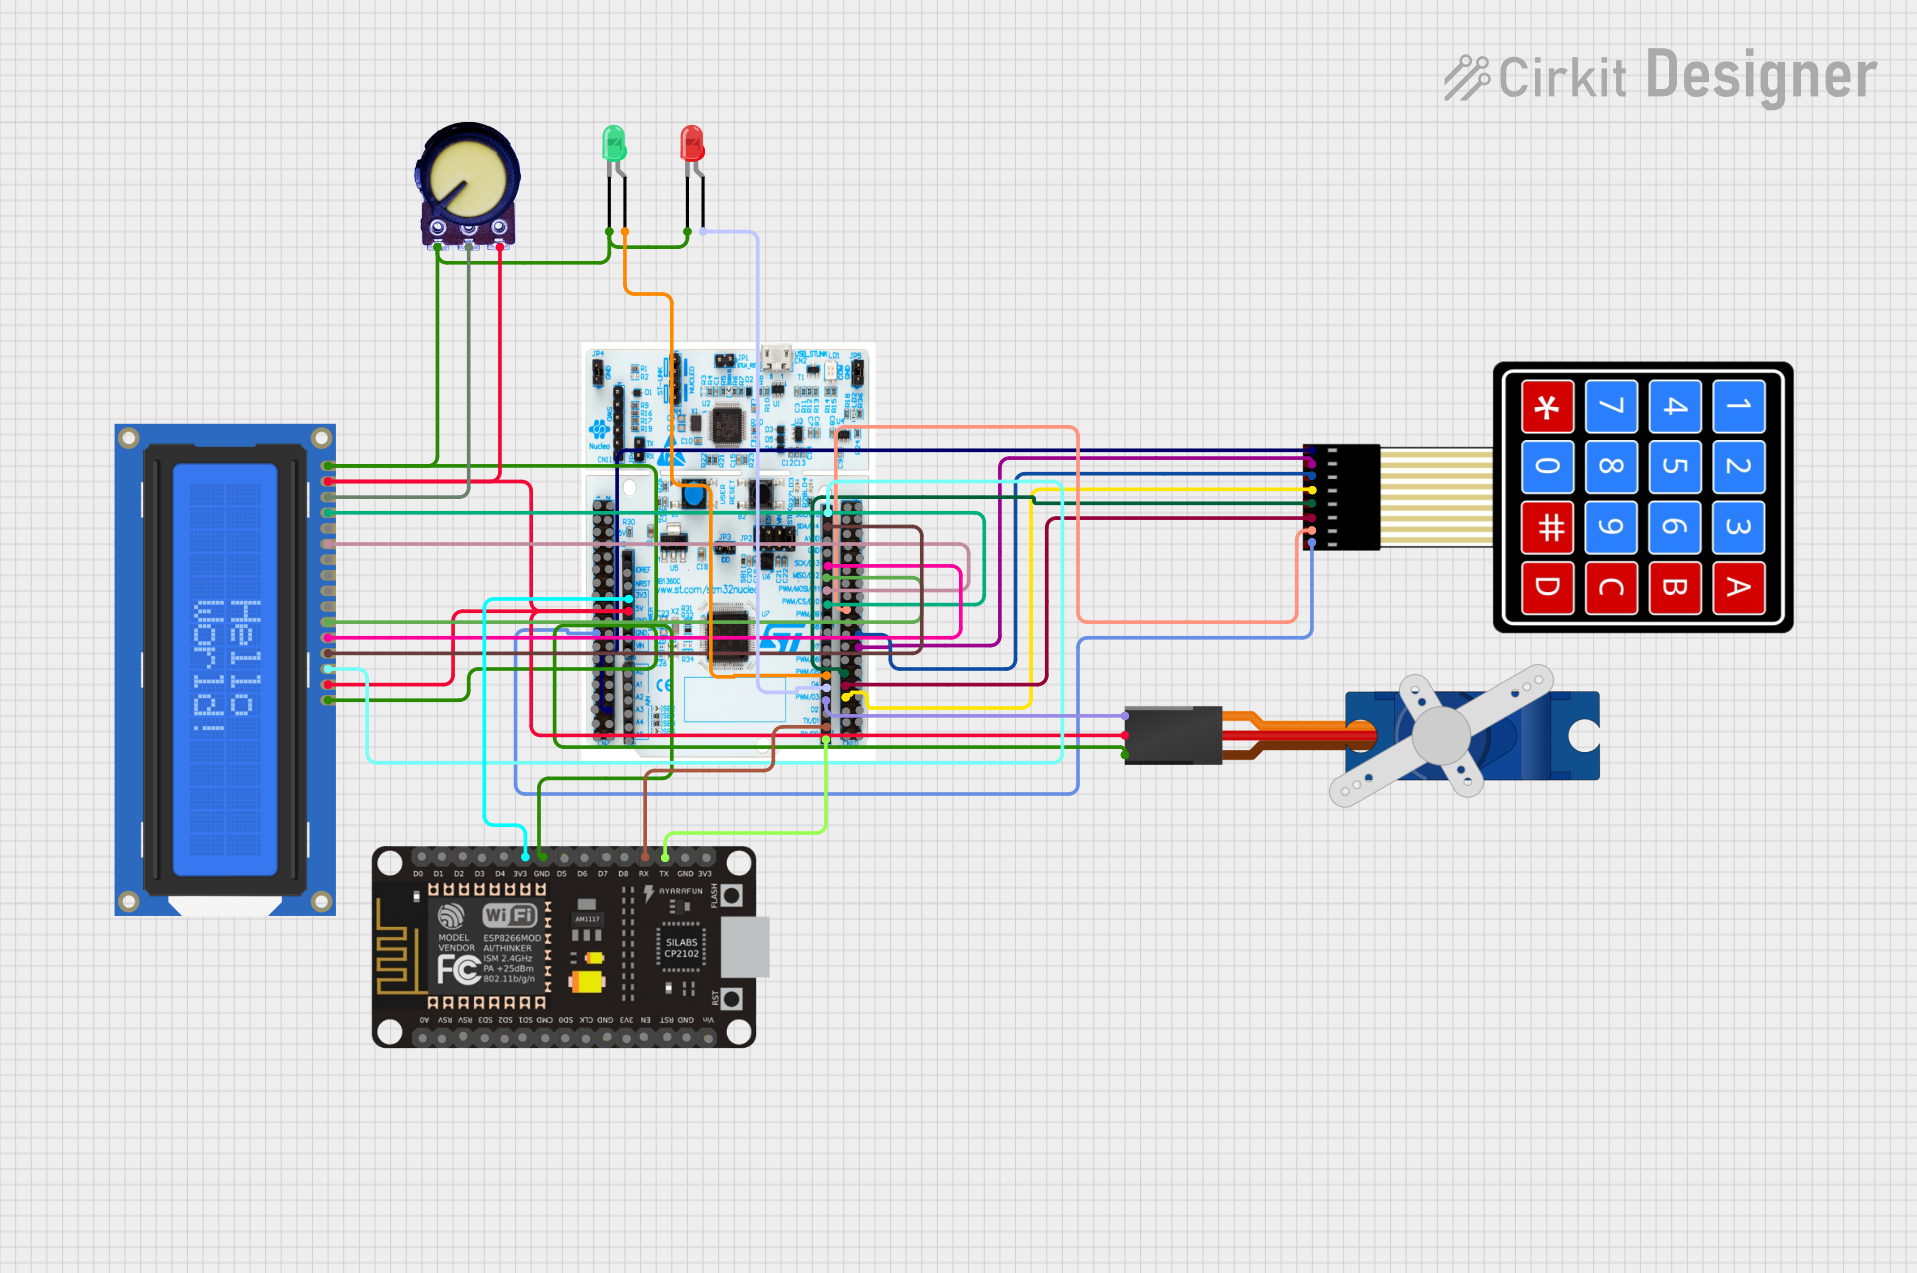
Pin Configuration and Descriptions

Pin Number Description Voltage/Signal Type
1 Power Supply (+12V) 12V DC
2 Ground GND
3 Alarm Output Digital Output
4 Sensor Input Digital Input
5 Camera Power Supply 12V DC
6 Camera Data Output Digital Output

Usage Instructions

Installation

  1. Mount the sensors on the door and door frame ensuring proper alignment.
  2. Install the camera above the door, angled to cover the desired field of view.
  3. Connect the alarm to a location where it can be clearly heard.
  4. Wire the components to the central control unit following the pin configuration.
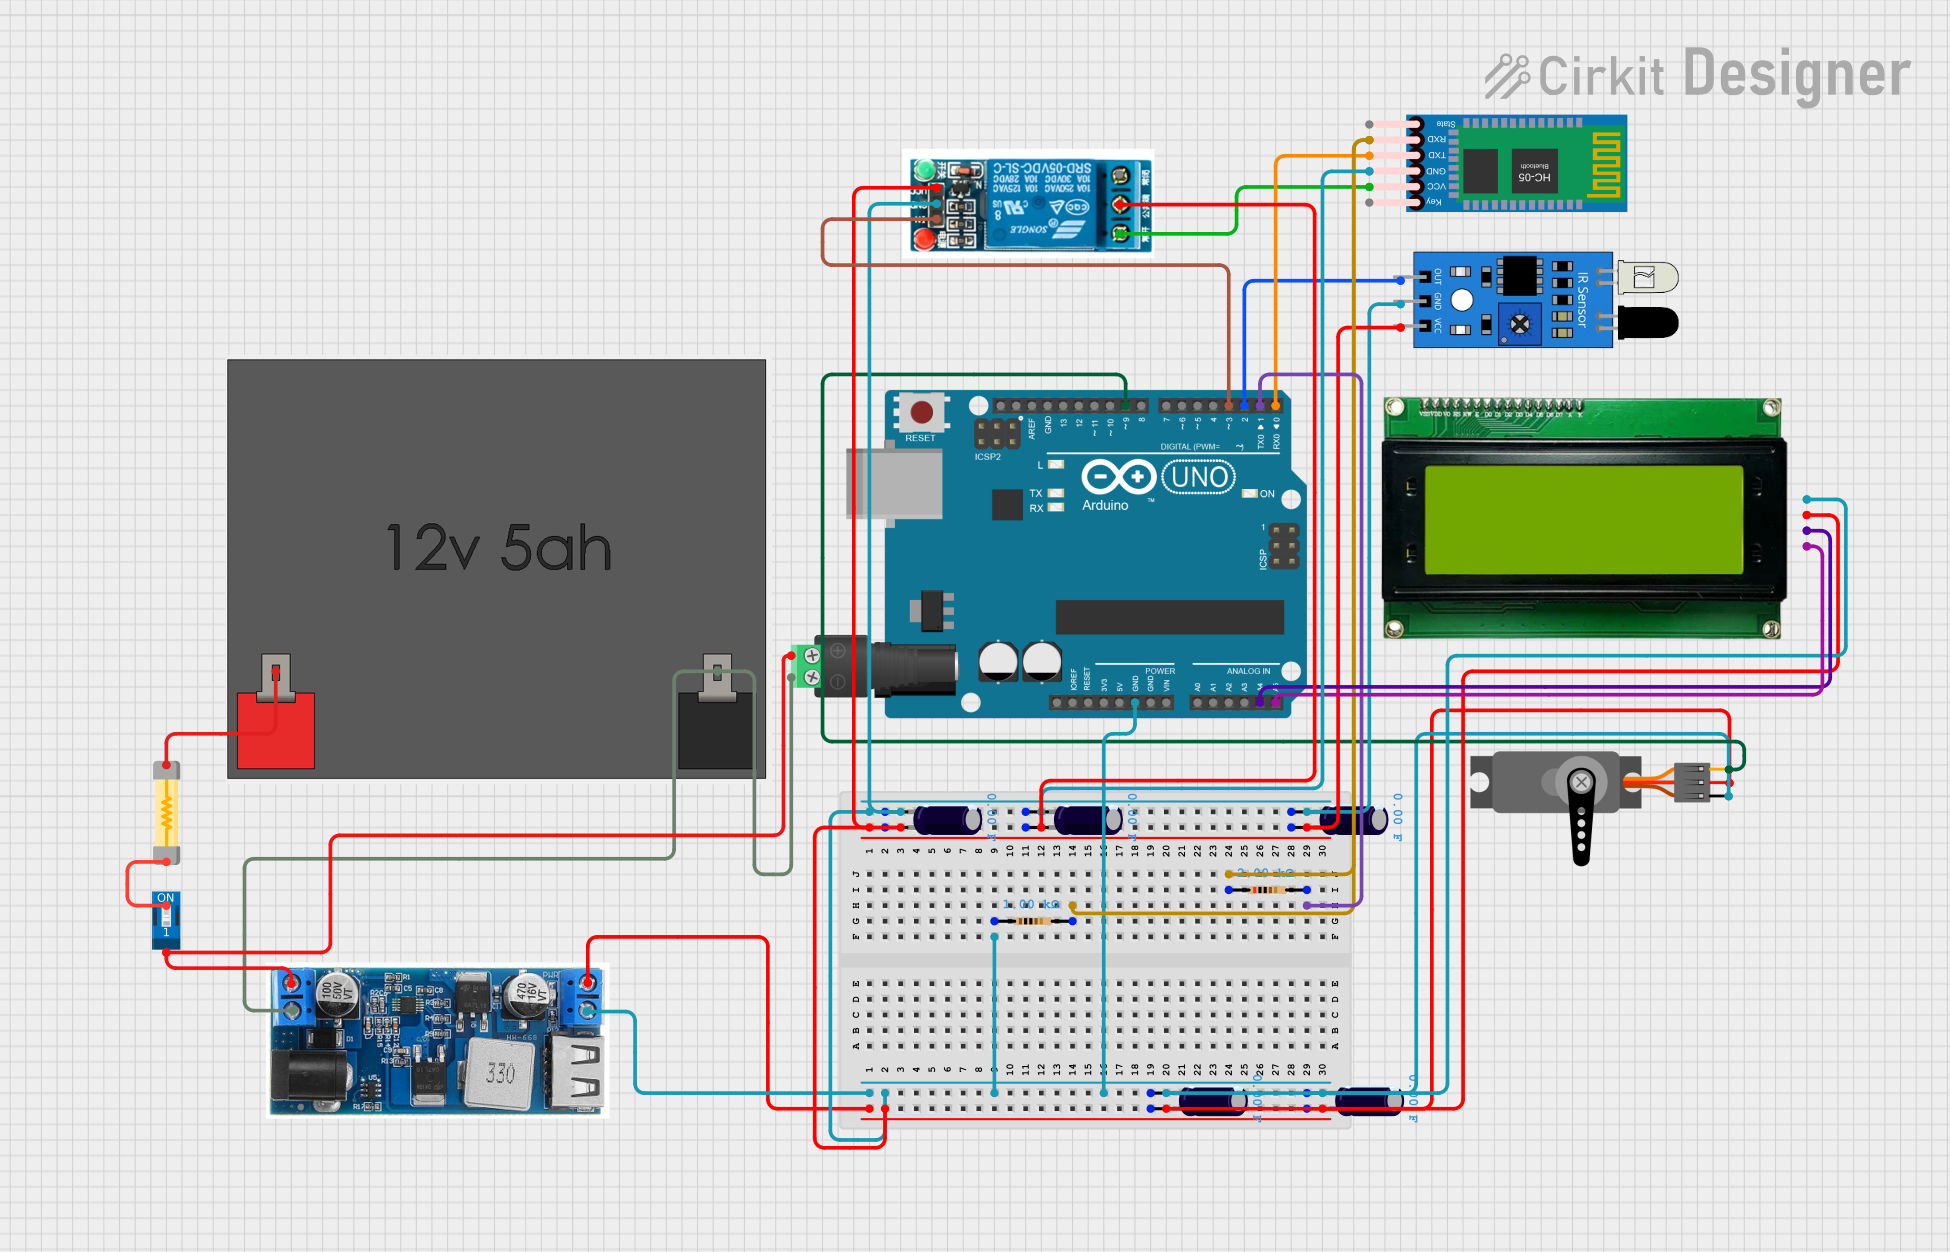
Circuit Integration

  • Ensure the power supply is sufficient and stable before connecting the Doorsecure Kit.
  • Connect the sensor to the control unit using the appropriate input pin.
  • Wire the camera and alarm outputs to the control unit.
  • Ground all components properly to prevent electrical noise and interference.

Best Practices

  • Regularly test the system to ensure all components are functioning correctly.
  • Position the camera to avoid direct sunlight or reflections that could impair image quality.
  • Use cable conduits to protect wiring from tampering and environmental damage.

Troubleshooting and FAQs

Common Issues

  • Sensor not detecting: Ensure the sensor is properly aligned and within operating distance.
  • Camera not working: Check the power supply and connections. Reset the camera if necessary.
  • Alarm not sounding: Verify the alarm's configuration and connections. Test the alarm independently.

FAQs

  • Q: Can the Doorsecure Kit be integrated with smart home systems?

    • A: Yes, the kit can be connected to compatible smart home platforms for enhanced functionality.
  • Q: Is the system weatherproof?

    • A: The sensors and camera are designed for indoor use. Outdoor installation requires additional weatherproofing measures.
  • Q: How do I reset the system?

    • A: Disconnect the power supply, wait for 30 seconds, and reconnect to reset the system.

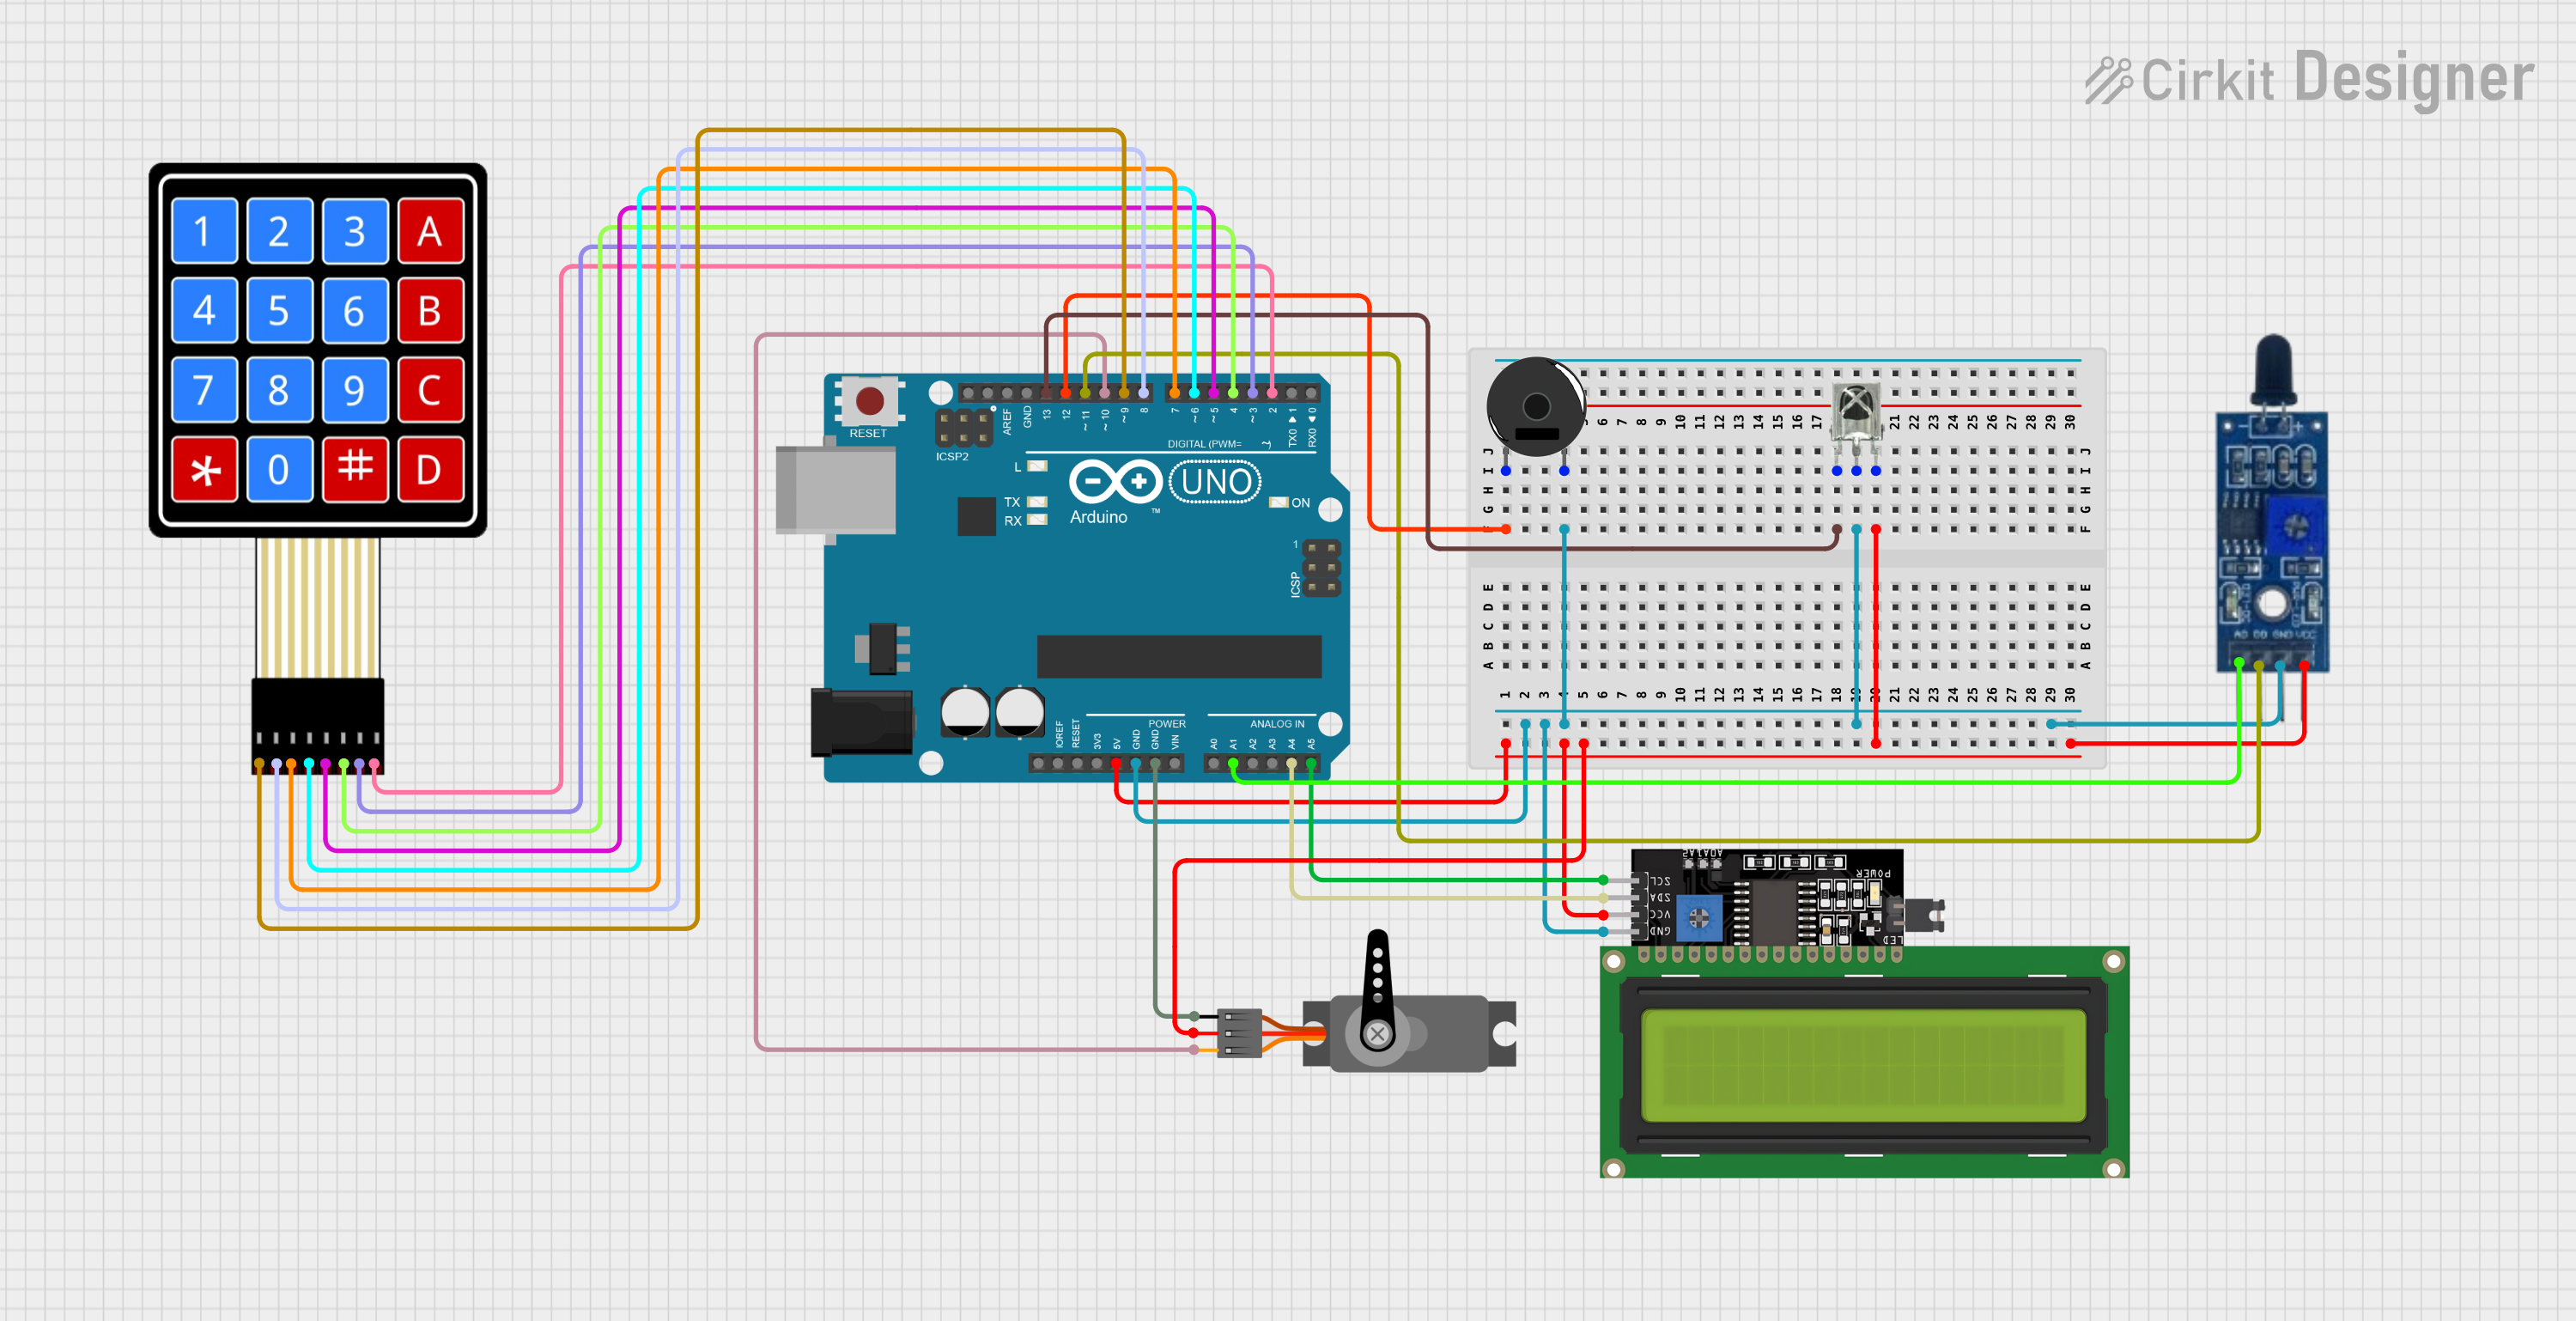
Arduino UNO Integration (Example)

// Define the pin connections
const int sensorPin = 2; // Sensor input connected to digital pin 2
const int alarmPin = 3;  // Alarm output connected to digital pin 3

void setup() {
  pinMode(sensorPin, INPUT); // Initialize sensor pin as input
  pinMode(alarmPin, OUTPUT); // Initialize alarm pin as output
}

void loop() {
  int sensorState = digitalRead(sensorPin); // Read the sensor input
  if (sensorState == HIGH) {
    // If the door is opened (sensor triggered)
    digitalWrite(alarmPin, HIGH); // Activate the alarm
    delay(10000); // Keep the alarm on for 10 seconds
    digitalWrite(alarmPin, LOW); // Deactivate the alarm
  }
  else {
    // If the door is closed (sensor not triggered)
    digitalWrite(alarmPin, LOW); // Ensure the alarm is off
  }
}

Note: The provided Arduino code is a basic example of how to interface the Doorsecure Kit with an Arduino UNO. It assumes that the sensor provides a HIGH signal when the door is opened. Adjust the code as necessary to match the specific behavior of your Doorsecure Kit components.