How to Use 9V battery: Examples, Pinouts, and Specs
Introduction
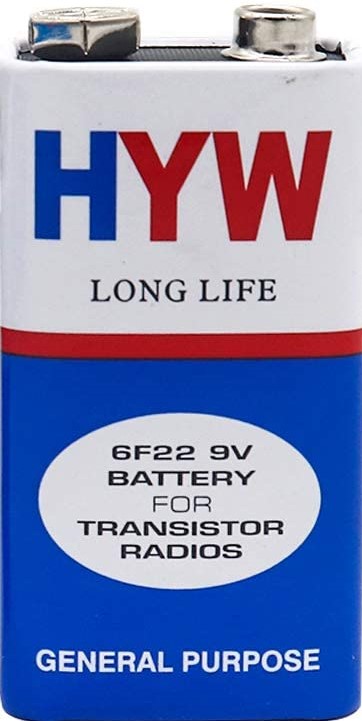
A 9V battery is a compact, rectangular power source commonly used in a variety of electronic devices. Known for its distinctive shape and snap connectors, it provides a nominal voltage of 9 volts, which is suitable for applications requiring low current draw over a relatively long period. Common applications include smoke detectors, multimeters, portable radios, and as a backup power source for digital clocks.
Explore Projects Built with 9V battery

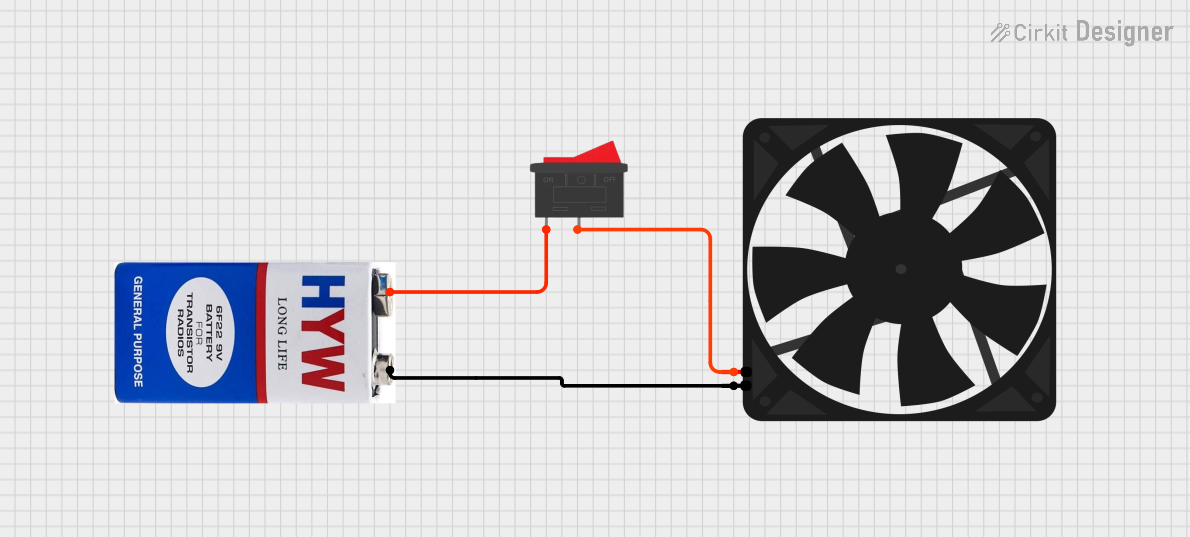
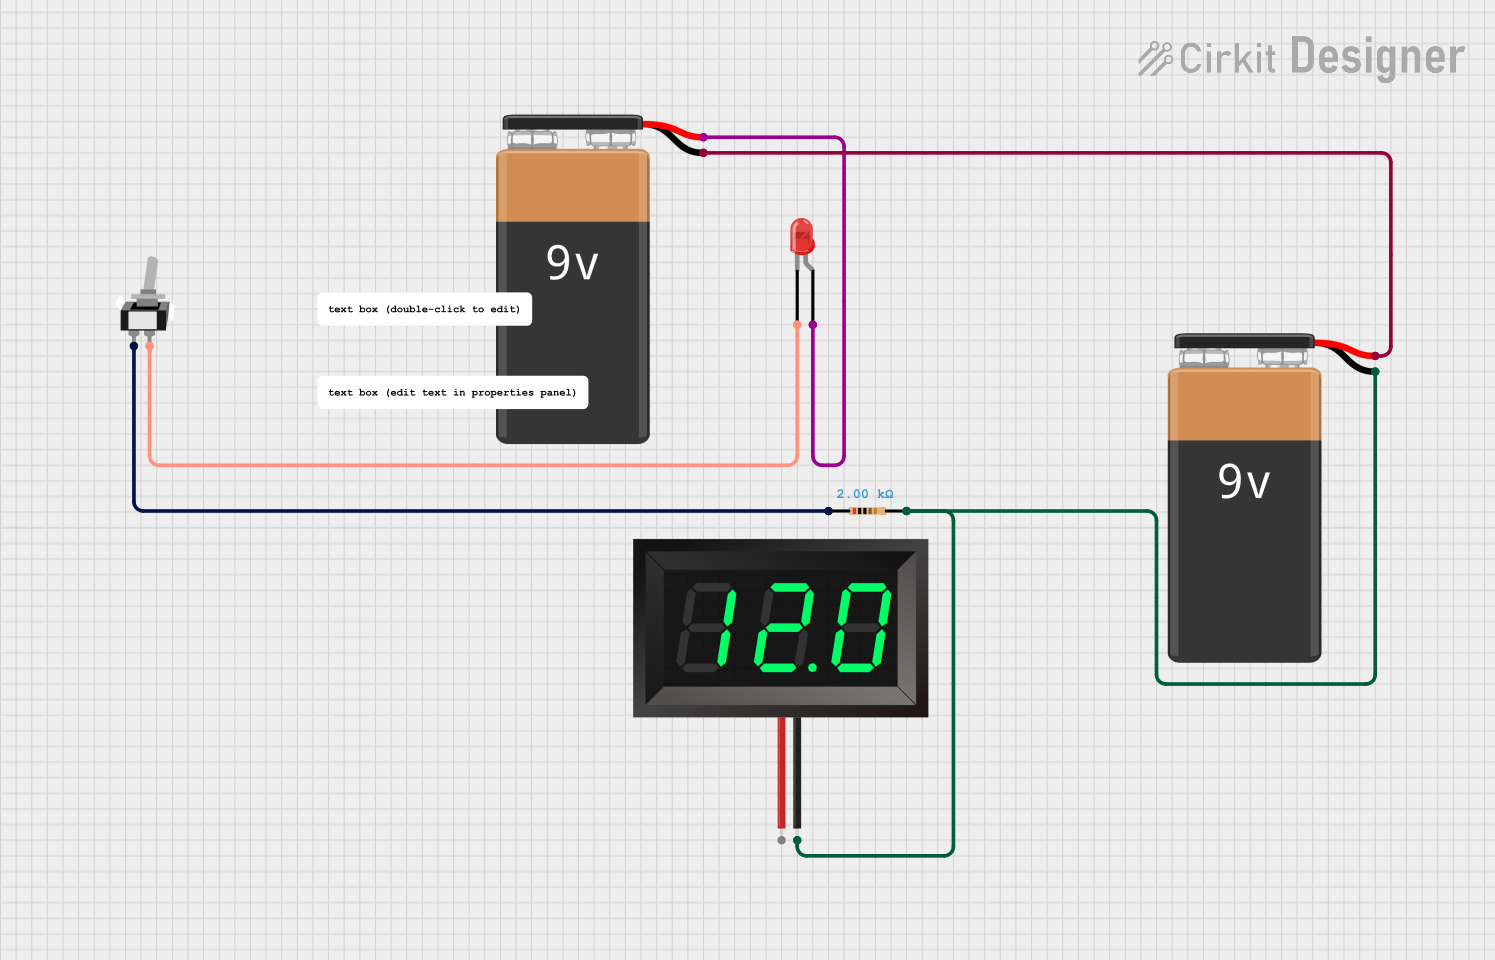
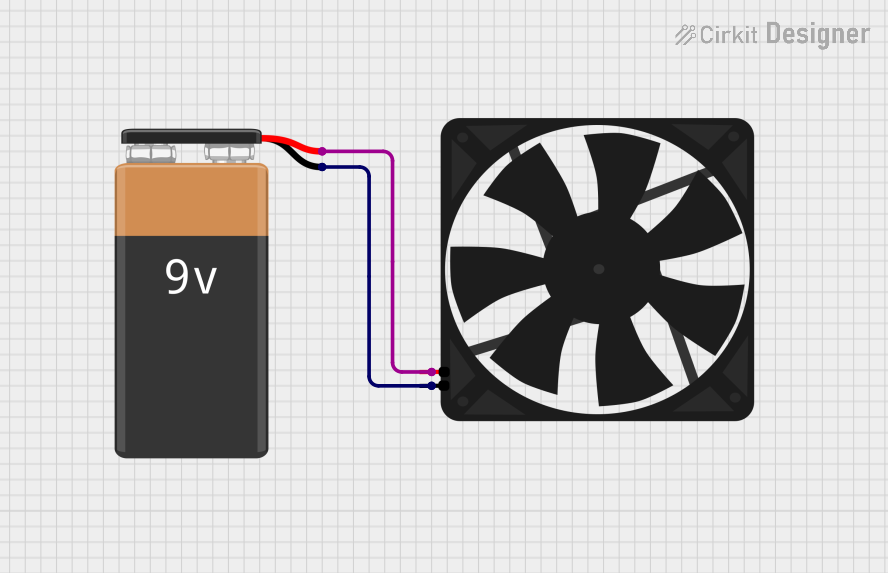
Explore Projects Built with 9V battery
Technical Specifications
Key Technical Details
- Nominal Voltage: 9V
- Chemistry Variants: Alkaline, Lithium, NiMH (rechargeable), NiCd (rechargeable)
- Typical Capacity: 400mAh to 1200mAh (varies by chemistry and manufacturer)
- Shelf Life: 2 to 5 years (varies by chemistry and storage conditions)
- Operating Temperature Range: -20°C to 60°C (varies by chemistry)
Pin Configuration and Descriptions
| Pin Name | Description |
|---|---|
| Positive | The smaller, typically male snap connector, marked with a "+" sign. |
| Negative | The larger, typically female snap connector, marked with a "-" sign. |
Usage Instructions
How to Use the Component in a Circuit
- Identify the Polarity: Locate the positive and negative terminals of the 9V battery, marked with "+" and "-" respectively.
- Connect to Circuit: Use a battery snap connector to attach the 9V battery to your circuit, ensuring correct polarity.
- Power On: Once connected, the battery will begin to supply power to the circuit. Ensure that the circuit's power requirements do not exceed the battery's capacity.
Important Considerations and Best Practices
- Voltage Regulation: If your circuit requires a regulated voltage, consider using a voltage regulator to maintain a consistent output, as the battery's voltage can decrease over time.
- Battery Life: To maximize battery life, disconnect the battery when not in use, as some circuits can draw small amounts of power even when switched off.
- Rechargeable Options: If frequent battery replacement is a concern, consider using rechargeable NiMH or NiCd 9V batteries.
- Disposal: Dispose of used 9V batteries properly according to local regulations, as they contain materials that can be harmful to the environment.
Troubleshooting and FAQs
Common Issues
- Device Not Powering On: Ensure the battery is properly connected with correct polarity and that it has sufficient charge.
- Short Battery Life: Check if the device's power consumption is higher than the battery's capacity or if there are any short circuits draining the battery quickly.
Solutions and Tips for Troubleshooting
- Testing Battery Charge: Use a multimeter to check the voltage across the battery terminals. A reading significantly lower than 9V indicates a depleted battery.
- Battery Leakage: If a battery leaks, remove it immediately and clean the device's contacts. Leakage can cause corrosion and damage to the device.
FAQs
Q: Can I recharge a regular 9V alkaline battery? A: No, standard alkaline batteries are not designed to be recharged and attempting to do so can be dangerous.
Q: How do I know when to replace my 9V battery? A: Replace the battery when the device powered by the battery starts to show signs of low power, or when a multimeter reading shows a voltage drop below the device's required voltage.
Q: Is it safe to store 9V batteries together? A: Store 9V batteries with their terminals covered to prevent short circuits, especially if they are kept in a container with other metal objects.
Example Code for Arduino UNO
// Example code to check a 9V battery voltage using Arduino UNO

int analogPin = A0; // Connect the positive terminal of the 9V battery to A0
int raw = 0;        // Variable to store the raw input value
float voltage = 0;  // Variable to store the voltage

void setup() {
  Serial.begin(9600); // Start serial communication at 9600 baud
}

void loop() {
  raw = analogRead(analogPin); // Read the input value
  voltage = raw * (9.0 / 1023.0); // Convert the value to voltage
  Serial.print("Battery Voltage: ");
  Serial.println(voltage); // Print the voltage to the Serial Monitor
  delay(1000); // Wait for a second
}
Note: The above code assumes the use of a voltage divider to step down the 9V to a safe level that can be read by the Arduino's analog input (which has a maximum of 5V). Always ensure that the input voltage does not exceed the maximum voltage rating of the microcontroller's analog input pins.