
How to Use ESP32-S3-ETH: Examples, Pinouts, and Specs
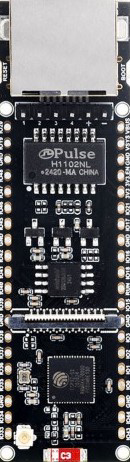
 Design with ESP32-S3-ETH in Cirkit Designer
Introduction
The ESP32-S3-ETH is a high-performance microcontroller module manufactured by WAVESHARE (Part ID: ESP32-S3-POE-ETH). It features integrated Wi-Fi and Bluetooth capabilities, along with Ethernet support for reliable wired connectivity. This makes it an excellent choice for IoT applications requiring both wireless and wired communication options. The module is based on the ESP32-S3 chip, which offers dual-core processing, AI acceleration, and low-power operation.
Explore Projects Built with ESP32-S3-ETH
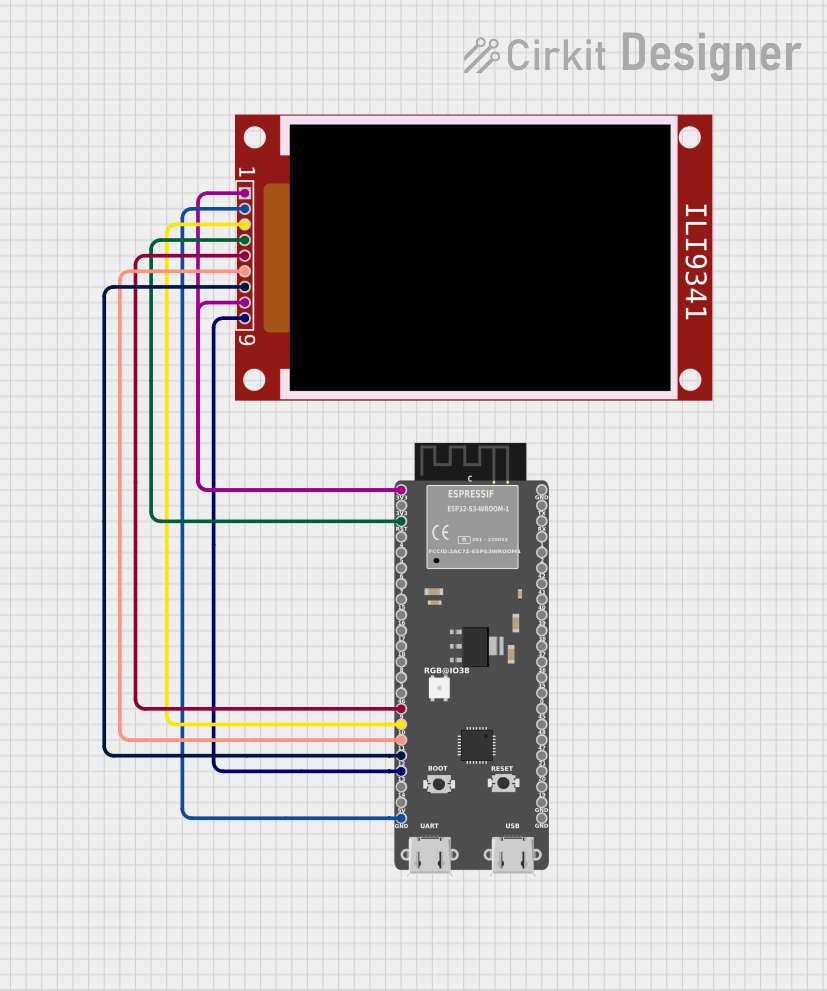 Open Project in Cirkit Designer
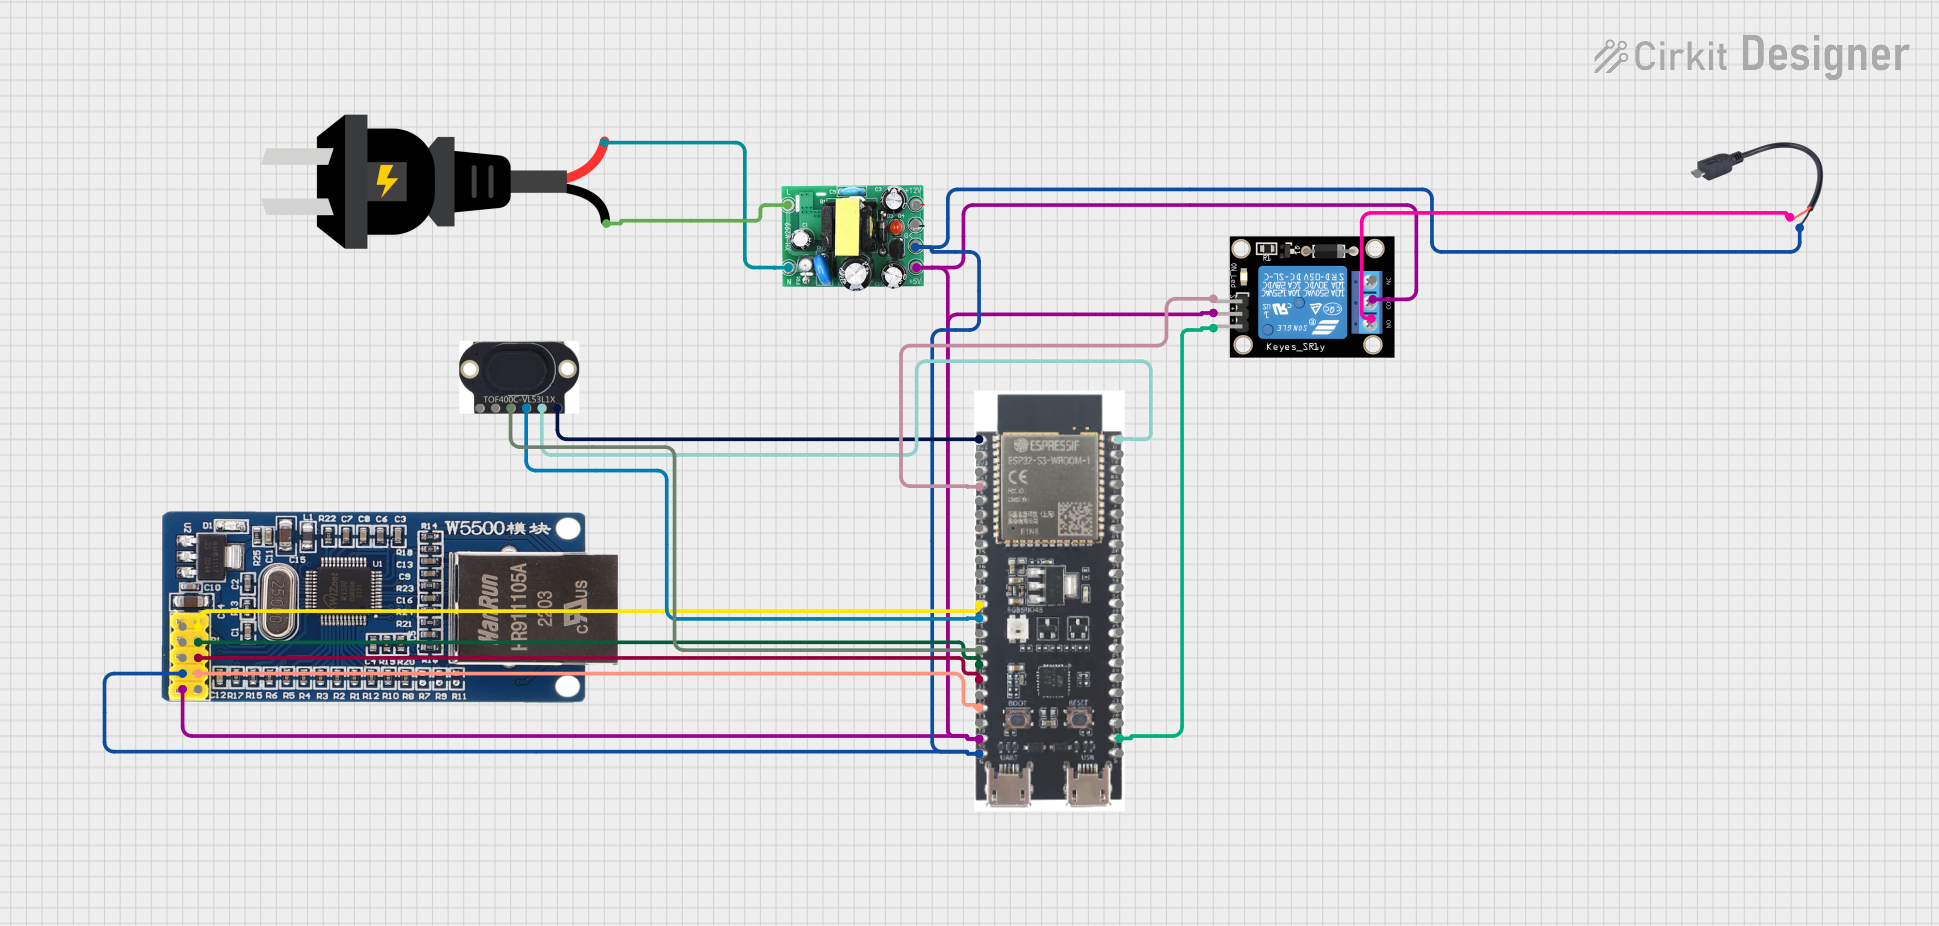 Open Project in Cirkit Designer
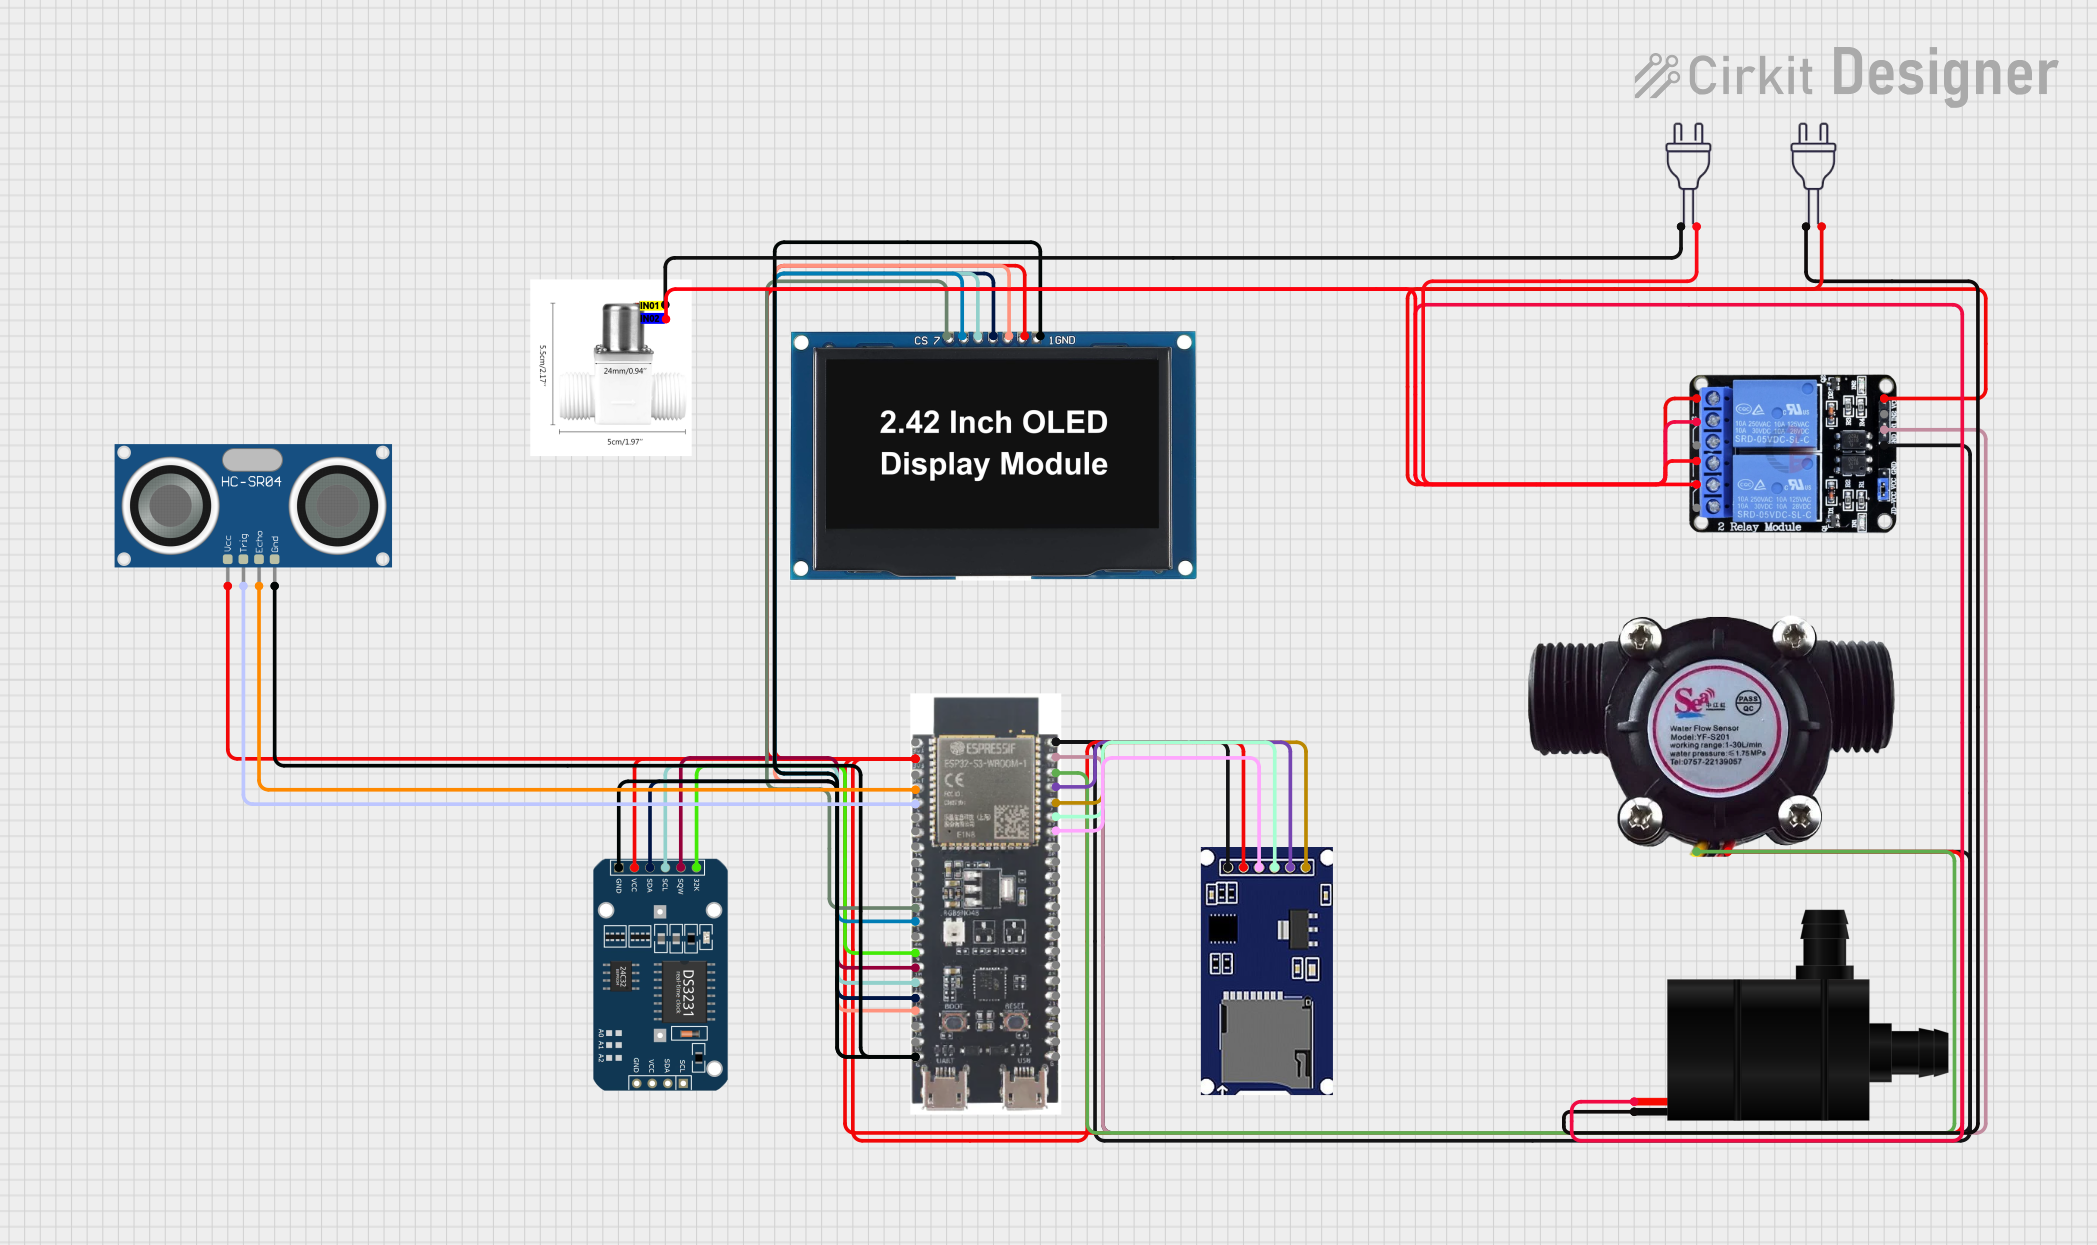 Open Project in Cirkit Designer
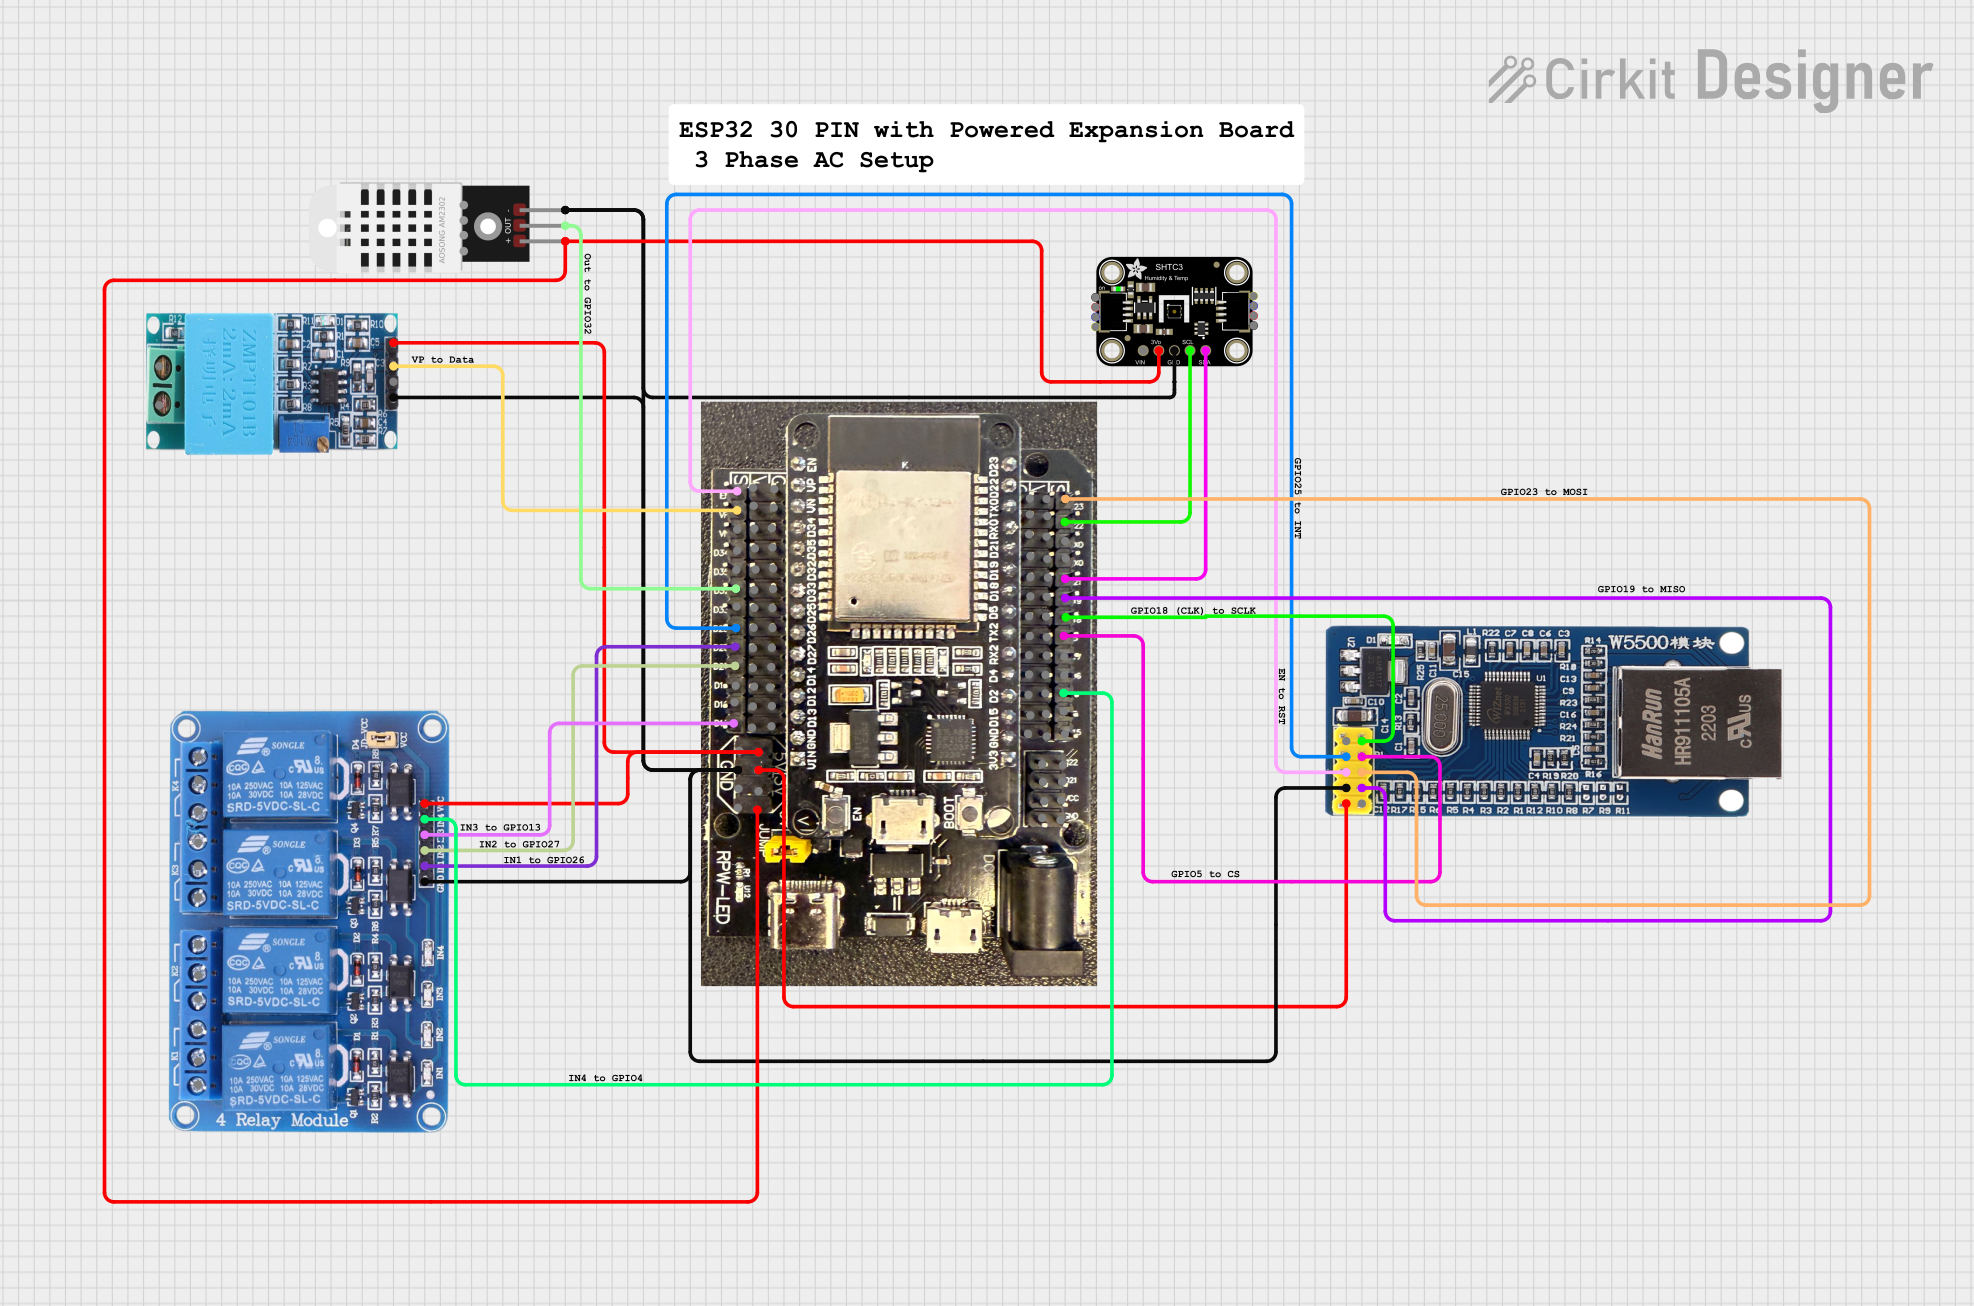 Open Project in Cirkit Designer
Explore Projects Built with ESP32-S3-ETH
Open Project in Cirkit DesignerOpen Project in Cirkit DesignerOpen Project in Cirkit DesignerOpen Project in Cirkit DesignerCommon Applications and Use Cases
- Smart home devices and automation
- Industrial IoT systems
- Networked sensors and data loggers
- Edge computing and AI-based applications
- Secure and reliable Ethernet-based IoT deployments
Technical Specifications
Key Technical Details
| Parameter | Value |
|---|---|
| Microcontroller | ESP32-S3 (Xtensa® 32-bit LX7 dual-core) |
| Clock Speed | Up to 240 MHz |
| Flash Memory | 16 MB |
| PSRAM | 8 MB |
| Wi-Fi | 802.11 b/g/n (2.4 GHz) |
| Bluetooth | Bluetooth 5.0 (LE) |
| Ethernet Support | IEEE 802.3 (10/100 Mbps) |
| Power Supply | 5V via PoE or USB-C |
| GPIO Pins | 36 (multipurpose, configurable) |
| Operating Voltage | 3.3V (I/O pins) |
| Operating Temperature | -40°C to 85°C |
| Dimensions | 88 mm x 25 mm |
Pin Configuration and Descriptions
The ESP32-S3-ETH module features a variety of pins for GPIO, communication, and power. Below is the pinout description:
| Pin Name | Function | Description |
|---|---|---|
| VIN | Power Input | 5V input via USB-C or PoE |
| GND | Ground | Common ground |
| GPIO0 | General Purpose I/O | Configurable as input, output, or special func. |
| GPIO1-35 | General Purpose I/O | Multipurpose pins for peripherals |
| TXD0 | UART0 Transmit | Serial communication TX |
| RXD0 | UART0 Receive | Serial communication RX |
| EN | Enable | Module enable pin |
| ETH_TXD0 | Ethernet Transmit Data 0 | Ethernet communication TX |
| ETH_TXD1 | Ethernet Transmit Data 1 | Ethernet communication TX |
| ETH_RXD0 | Ethernet Receive Data 0 | Ethernet communication RX |
| ETH_RXD1 | Ethernet Receive Data 1 | Ethernet communication RX |
| ETH_CLK | Ethernet Clock | Clock signal for Ethernet |
| 3V3 | 3.3V Output | Power output for external peripherals |
Usage Instructions
How to Use the ESP32-S3-ETH in a Circuit
Powering the Module:
- Connect a 5V power source via the USB-C port or use Power over Ethernet (PoE) for powering the module.
- Ensure the power supply is stable and within the specified voltage range.
Connecting to Ethernet:
- Use an Ethernet cable to connect the module to a network switch or router.
- Ensure the Ethernet pins (ETH_TXD0, ETH_TXD1, ETH_RXD0, ETH_RXD1, and ETH_CLK) are properly configured if using custom hardware.
Programming the Module:
- Use the USB-C port to connect the module to a computer for programming.
- Install the necessary drivers and tools (e.g., ESP-IDF or Arduino IDE with ESP32-S3 support).
- Select the correct board and port in your development environment.
Using GPIO Pins:
- Configure GPIO pins as needed for input, output, or communication protocols (e.g., I2C, SPI, UART).
- Use appropriate pull-up or pull-down resistors if required.
Wi-Fi and Bluetooth Setup:
- Use the ESP-IDF or Arduino libraries to configure Wi-Fi and Bluetooth settings.
- Ensure proper security protocols (e.g., WPA2) are implemented for Wi-Fi connections.
Important Considerations and Best Practices
- Power Supply: Always use a stable 5V power source to avoid damage to the module.
- Ethernet Configuration: Ensure the Ethernet PHY is properly initialized in your code.
- GPIO Voltage Levels: Do not exceed 3.3V on GPIO pins to prevent damage.
- Firmware Updates: Regularly update the firmware to ensure compatibility and security.
Example Code for Arduino UNO Integration
Below is an example of how to use the ESP32-S3-ETH with the Arduino IDE to connect to an Ethernet network and print the IP address:
#include <ETH.h> // Include the Ethernet library for ESP32-S3

// Ethernet configuration
#define ETH_CLK_MODE ETH_CLOCK_GPIO0_IN // Set clock mode
#define ETH_PHY_POWER 12                // GPIO pin for PHY power

void setup() {
  Serial.begin(115200); // Initialize serial communication
  delay(1000);          // Wait for serial monitor to open

  // Initialize Ethernet
  ETH.begin(ETH_PHY_POWER, ETH_CLK_MODE);
  Serial.println("Initializing Ethernet...");

  // Wait for an IP address
  while (!ETH.localIP()) {
    delay(100); // Wait for IP assignment
    Serial.print(".");
  }

  // Print the assigned IP address
  Serial.println("\nEthernet connected!");
  Serial.print("IP Address: ");
  Serial.println(ETH.localIP());
}

void loop() {
  // Main loop can handle other tasks
}
Troubleshooting and FAQs
Common Issues and Solutions
Module Not Powering On:
- Ensure the power source is providing 5V.
- Check the USB-C cable or PoE connection for faults.
Ethernet Not Connecting:
- Verify the Ethernet cable is securely connected.
- Check the network configuration in your code.
- Ensure the Ethernet PHY is properly initialized.
Wi-Fi Connection Fails:
- Double-check the SSID and password in your code.
- Ensure the Wi-Fi network is within range and operational.
GPIO Pins Not Responding:
- Verify the pin configuration in your code.
- Check for short circuits or incorrect voltage levels.
FAQs
Q: Can I use both Wi-Fi and Ethernet simultaneously?
A: Yes, the ESP32-S3-ETH supports simultaneous use of Wi-Fi and Ethernet, but proper configuration is required in your code.
Q: What is the maximum Ethernet speed supported?
A: The module supports up to 100 Mbps Ethernet speeds.
Q: Can I power the module using 3.3V directly?
A: No, the module requires a 5V input via USB-C or PoE. The onboard regulator provides 3.3V internally.
Q: Is the module compatible with Arduino IDE?
A: Yes, the ESP32-S3-ETH is compatible with the Arduino IDE. Ensure you install the ESP32 board package.
This concludes the documentation for the ESP32-S3-ETH module. For further assistance, refer to the official WAVESHARE documentation or community forums.