How to Use TSL2561 Lux Sensor: Examples, Pinouts, and Specs
Introduction
The TSL2561 Lux Sensor is a sophisticated digital light sensor that offers ambient light measurement with a particular emphasis on approximating human eye response to light intensity under varying lighting conditions. It is capable of measuring illuminance (brightness) in lux, which is the standard unit of measurement for light as perceived by the human eye. The sensor is widely used in applications that require accurate light sensing, such as adjusting the brightness of screens and displays, controlling lighting in smart home systems, and monitoring environmental light levels for agricultural and scientific research.
Explore Projects Built with TSL2561 Lux Sensor

Explore Projects Built with TSL2561 Lux Sensor
Technical Specifications
Key Features
- Dynamic Range: 0.1 - 40,000+ Lux
- Interface: I2C digital interface
- Supply Voltage: 2.7V to 3.6V
- Maximum Supply Current: 0.6mA
- Operating Temperature Range: -30°C to 80°C
- Spectral Response: Closely matches the human eye
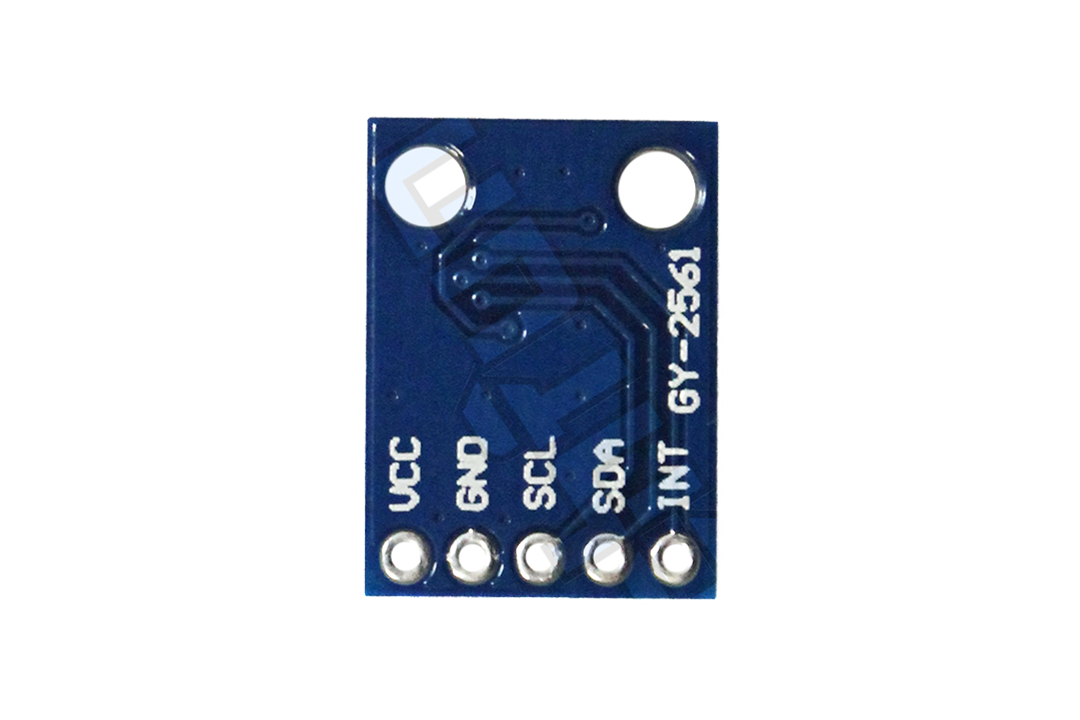
Pin Configuration
| Pin Number | Name | Description |
|---|---|---|
| 1 | VDD | Power supply (2.7V to 3.6V) |
| 2 | GND | Ground connection |
| 3 | SDA | I2C Data |
| 4 | SCL | I2C Clock |
| 5 | ADDR | Address pin to set I2C address |
| 6 | INT | Interrupt pin (active low) |
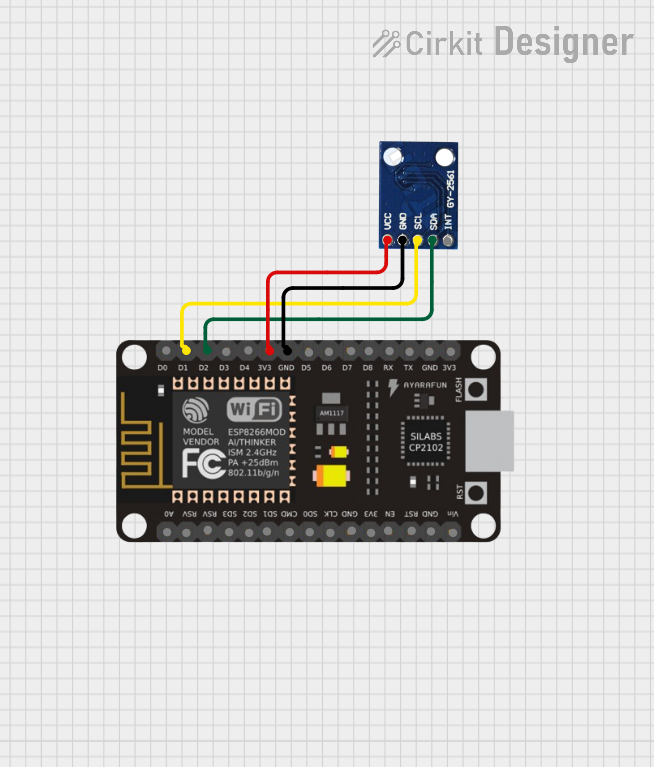
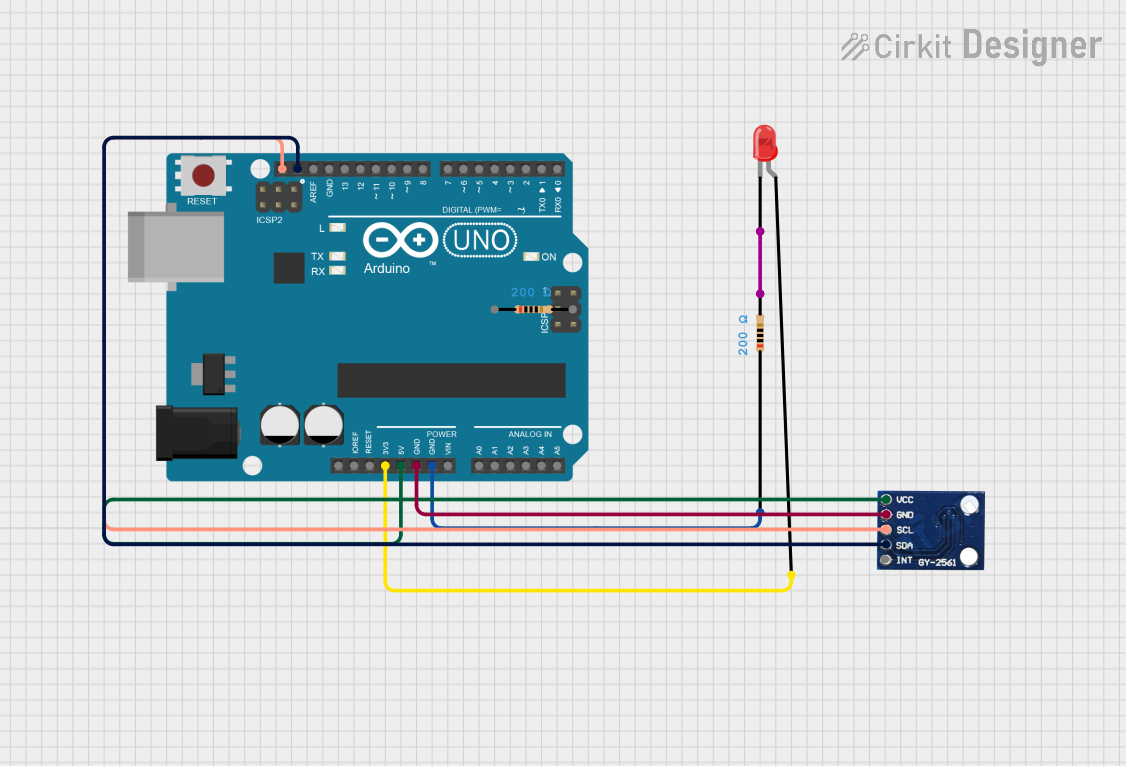
Usage Instructions
Integration with a Circuit
To use the TSL2561 Lux Sensor in a circuit:
- Connect the VDD pin to a 2.7V to 3.6V power supply.
- Connect the GND pin to the ground of the power supply.
- Connect the SDA and SCL pins to the I2C data and clock lines, respectively.
- The ADDR pin can be connected to GND or VDD to set the I2C address of the sensor.
- The INT pin can be left unconnected if the interrupt feature is not used.
Best Practices
- Place the sensor away from direct light sources to avoid saturation.
- Avoid placing objects very close to the sensor to prevent false readings due to shadows.
- Use pull-up resistors on the SDA and SCL lines for reliable I2C communication.
Example Code for Arduino UNO
#include <Wire.h>
#include <Adafruit_Sensor.h>
#include <Adafruit_TSL2561_U.h>

Adafruit_TSL2561_Unified tsl = Adafruit_TSL2561_Unified(TSL2561_ADDR_FLOAT, 12345);

void setup(void) {
  Serial.begin(9600);
  Serial.println("Light Sensor Test"); Serial.println("");

  // Initialize the sensor (important to call this first)
  if (!tsl.begin()) {
    Serial.print("No sensor found ... check your wiring?");
    while (1);
  }

  // Set the gain and integration time for the sensor
  tsl.setGain(TSL2561_GAIN_1X);      // No gain ... use in bright light to avoid sensor saturation
  tsl.setIntegrationTime(TSL2561_INTEGRATIONTIME_13MS);      // Fast but low resolution

  Serial.println("Sensor initialized.");
}

void loop(void) {
  sensors_event_t event;
  tsl.getEvent(&event);

  // If event.light = 0 lux the sensor is probably saturated and no reliable data could be generated!
  if (event.light) {
    Serial.print(event.light); Serial.println(" lux");
  } else {
    // Sensor overflow ... check if the sensor is in direct light
    Serial.println("Sensor overflow, too much light.");
  }
  delay(500);
}
Troubleshooting and FAQs
Common Issues
- Sensor not responding: Ensure that the sensor is correctly wired and that the I2C address is correctly set. Check for proper power supply voltage.
- Inaccurate readings: Verify that the sensor is not in direct light or obscured by objects. Adjust the gain or integration time settings if necessary.
- Overflow error: This occurs when the sensor is saturated with too much light. Move the sensor away from direct light sources or adjust the gain settings.
FAQs
Q: Can the TSL2561 sensor measure infrared light? A: Yes, the TSL2561 can measure both visible and infrared light, but it is primarily designed to measure visible light to approximate the human eye response.
Q: How do I change the I2C address of the sensor? A: The I2C address can be changed by connecting the ADDR pin to either GND or VDD. The default address is 0x39 when the ADDR pin is left floating.
Q: What is the purpose of the INT pin? A: The INT (interrupt) pin can be used to trigger an interrupt on the host microcontroller when certain light thresholds are reached, reducing the need for continuous polling of the sensor.
Q: How do I calibrate the sensor? A: Calibration involves comparing the sensor readings with a known light source or a calibrated lux meter. Adjust the gain and integration time settings to match the readings with the reference device.
For further assistance, consult the manufacturer's datasheet and application notes, or reach out to technical support forums and communities.