How to Use dariyan-x 8ch: Examples, Pinouts, and Specs
Introduction
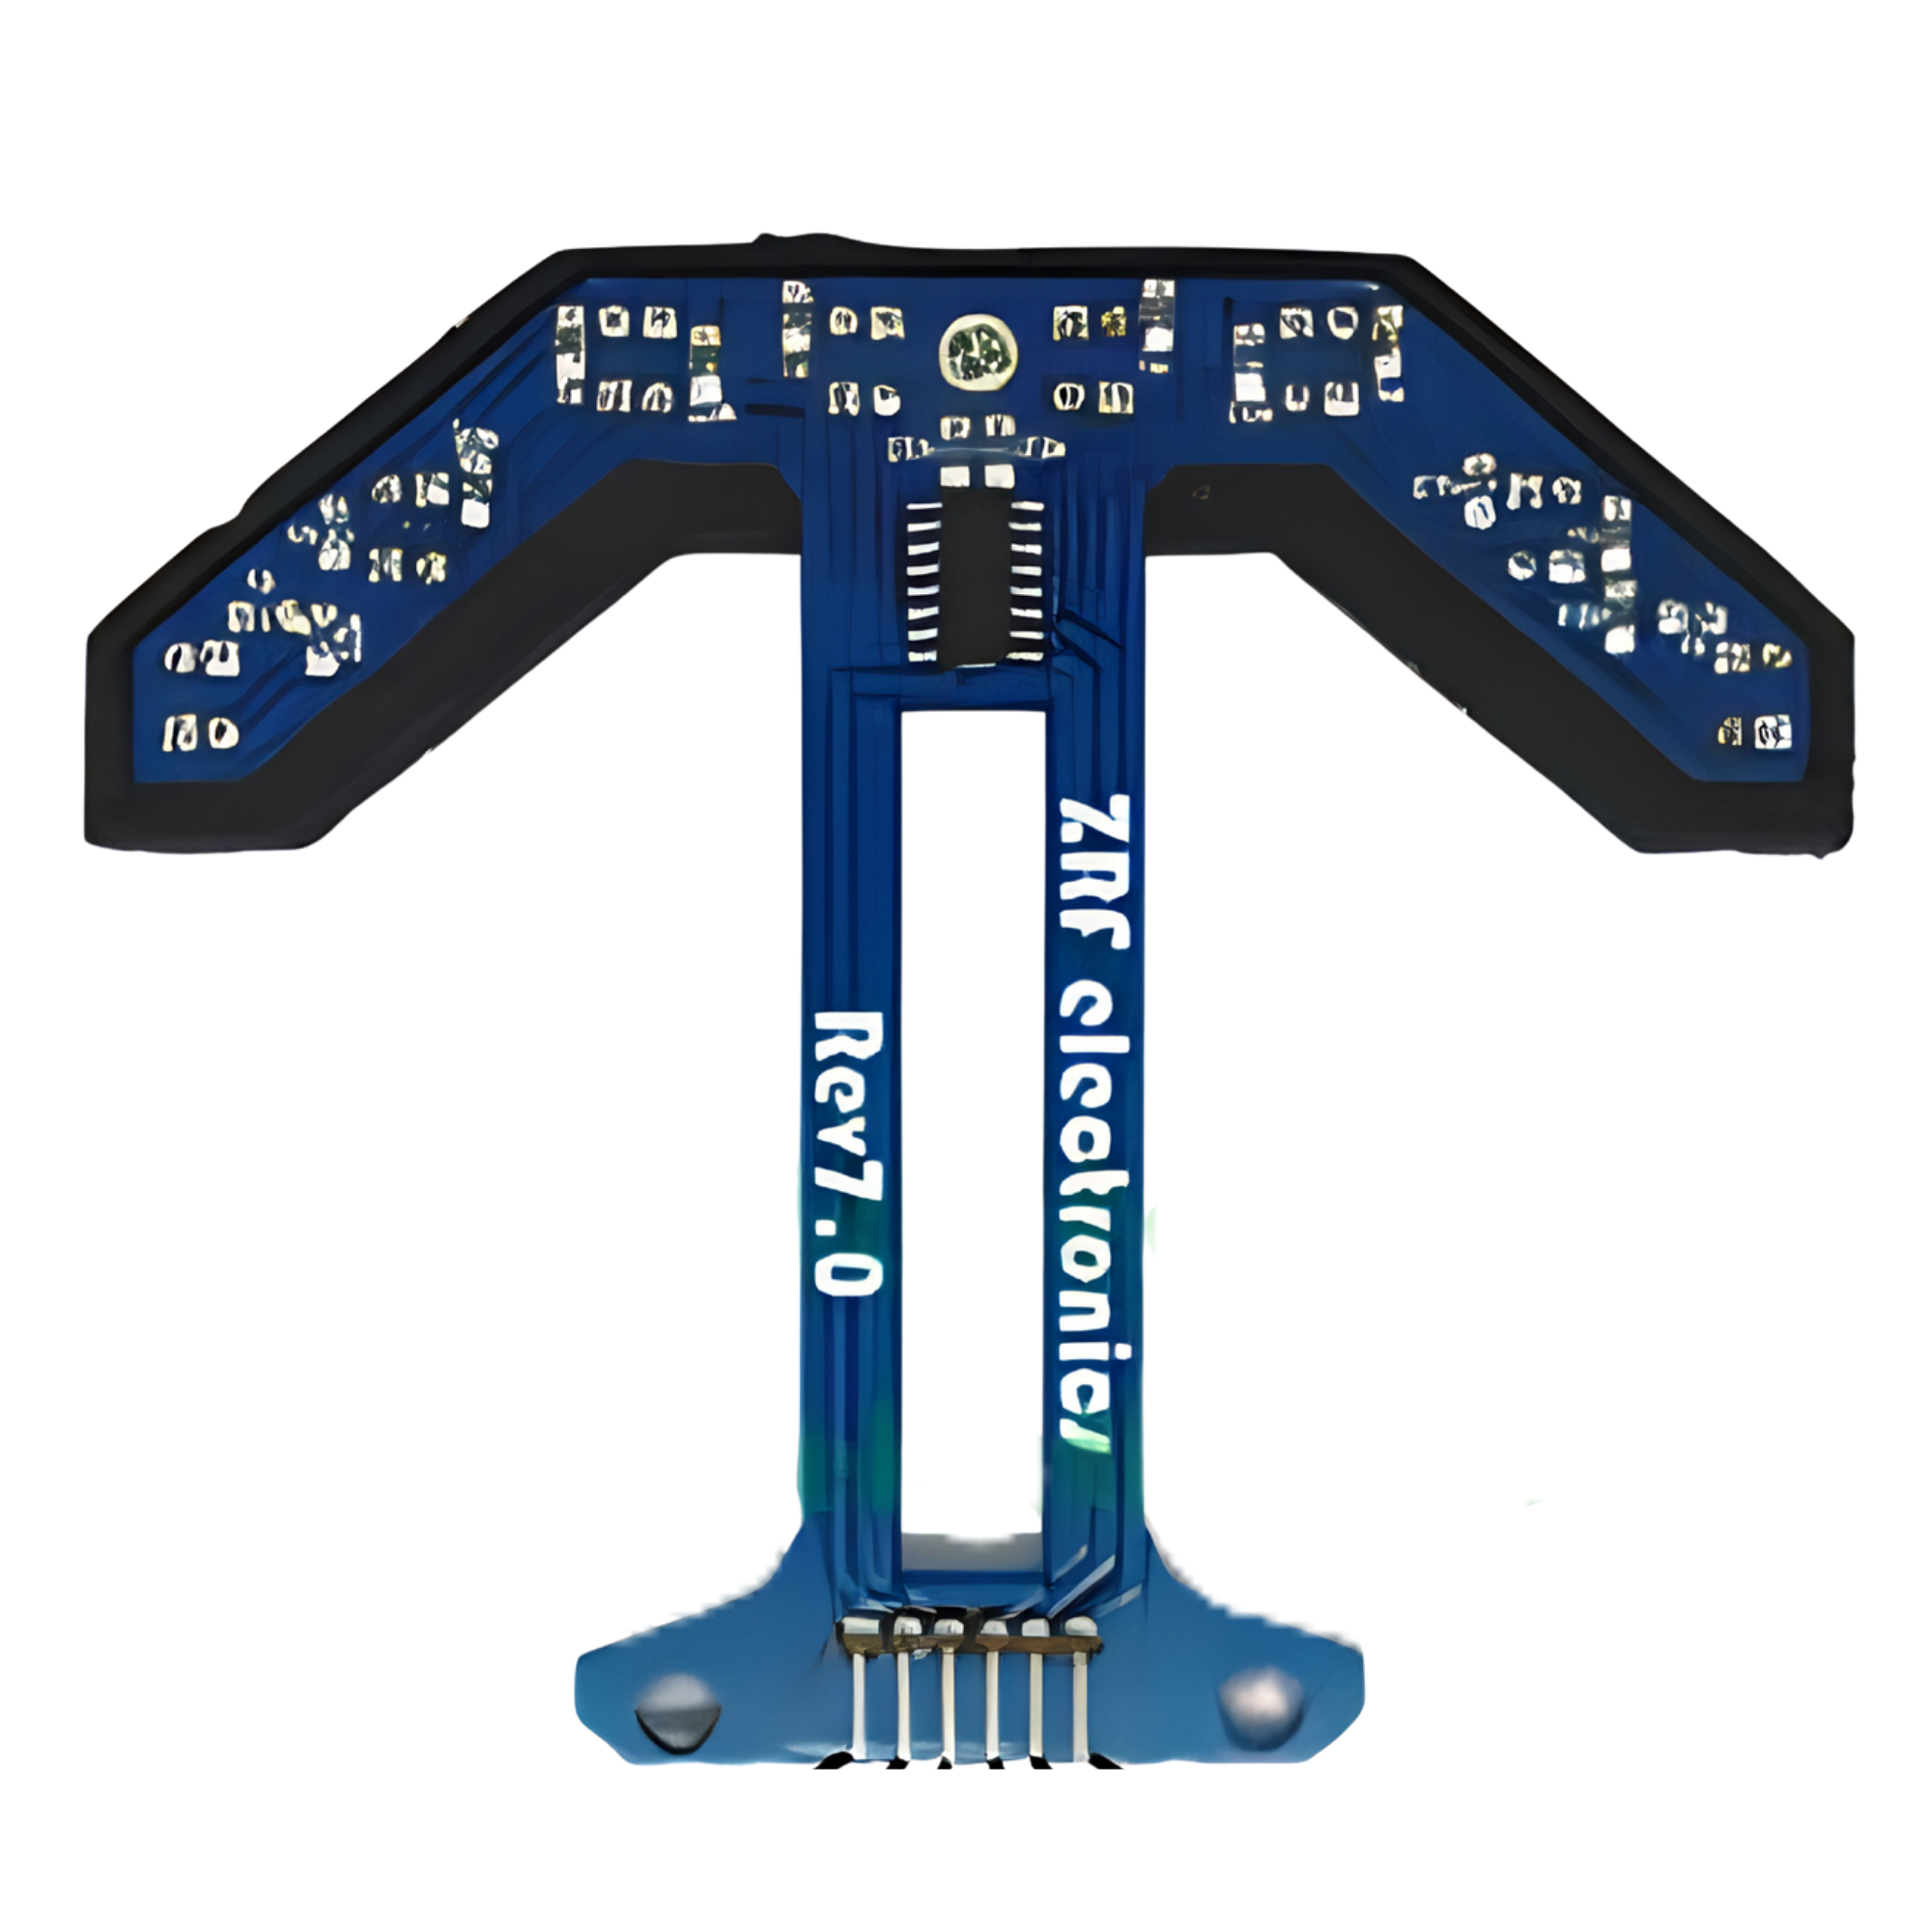
The Dariyan-X 8ch, manufactured by Arduino (Part ID: rev0.8), is an advanced 8-channel audio interface designed for high-quality sound recording and playback. It offers multiple input and output options, making it ideal for versatile audio routing in professional and hobbyist audio projects. With its robust design and reliable performance, the Dariyan-X 8ch is suitable for applications such as music production, podcasting, live sound reinforcement, and audio experimentation.
Explore Projects Built with dariyan-x 8ch
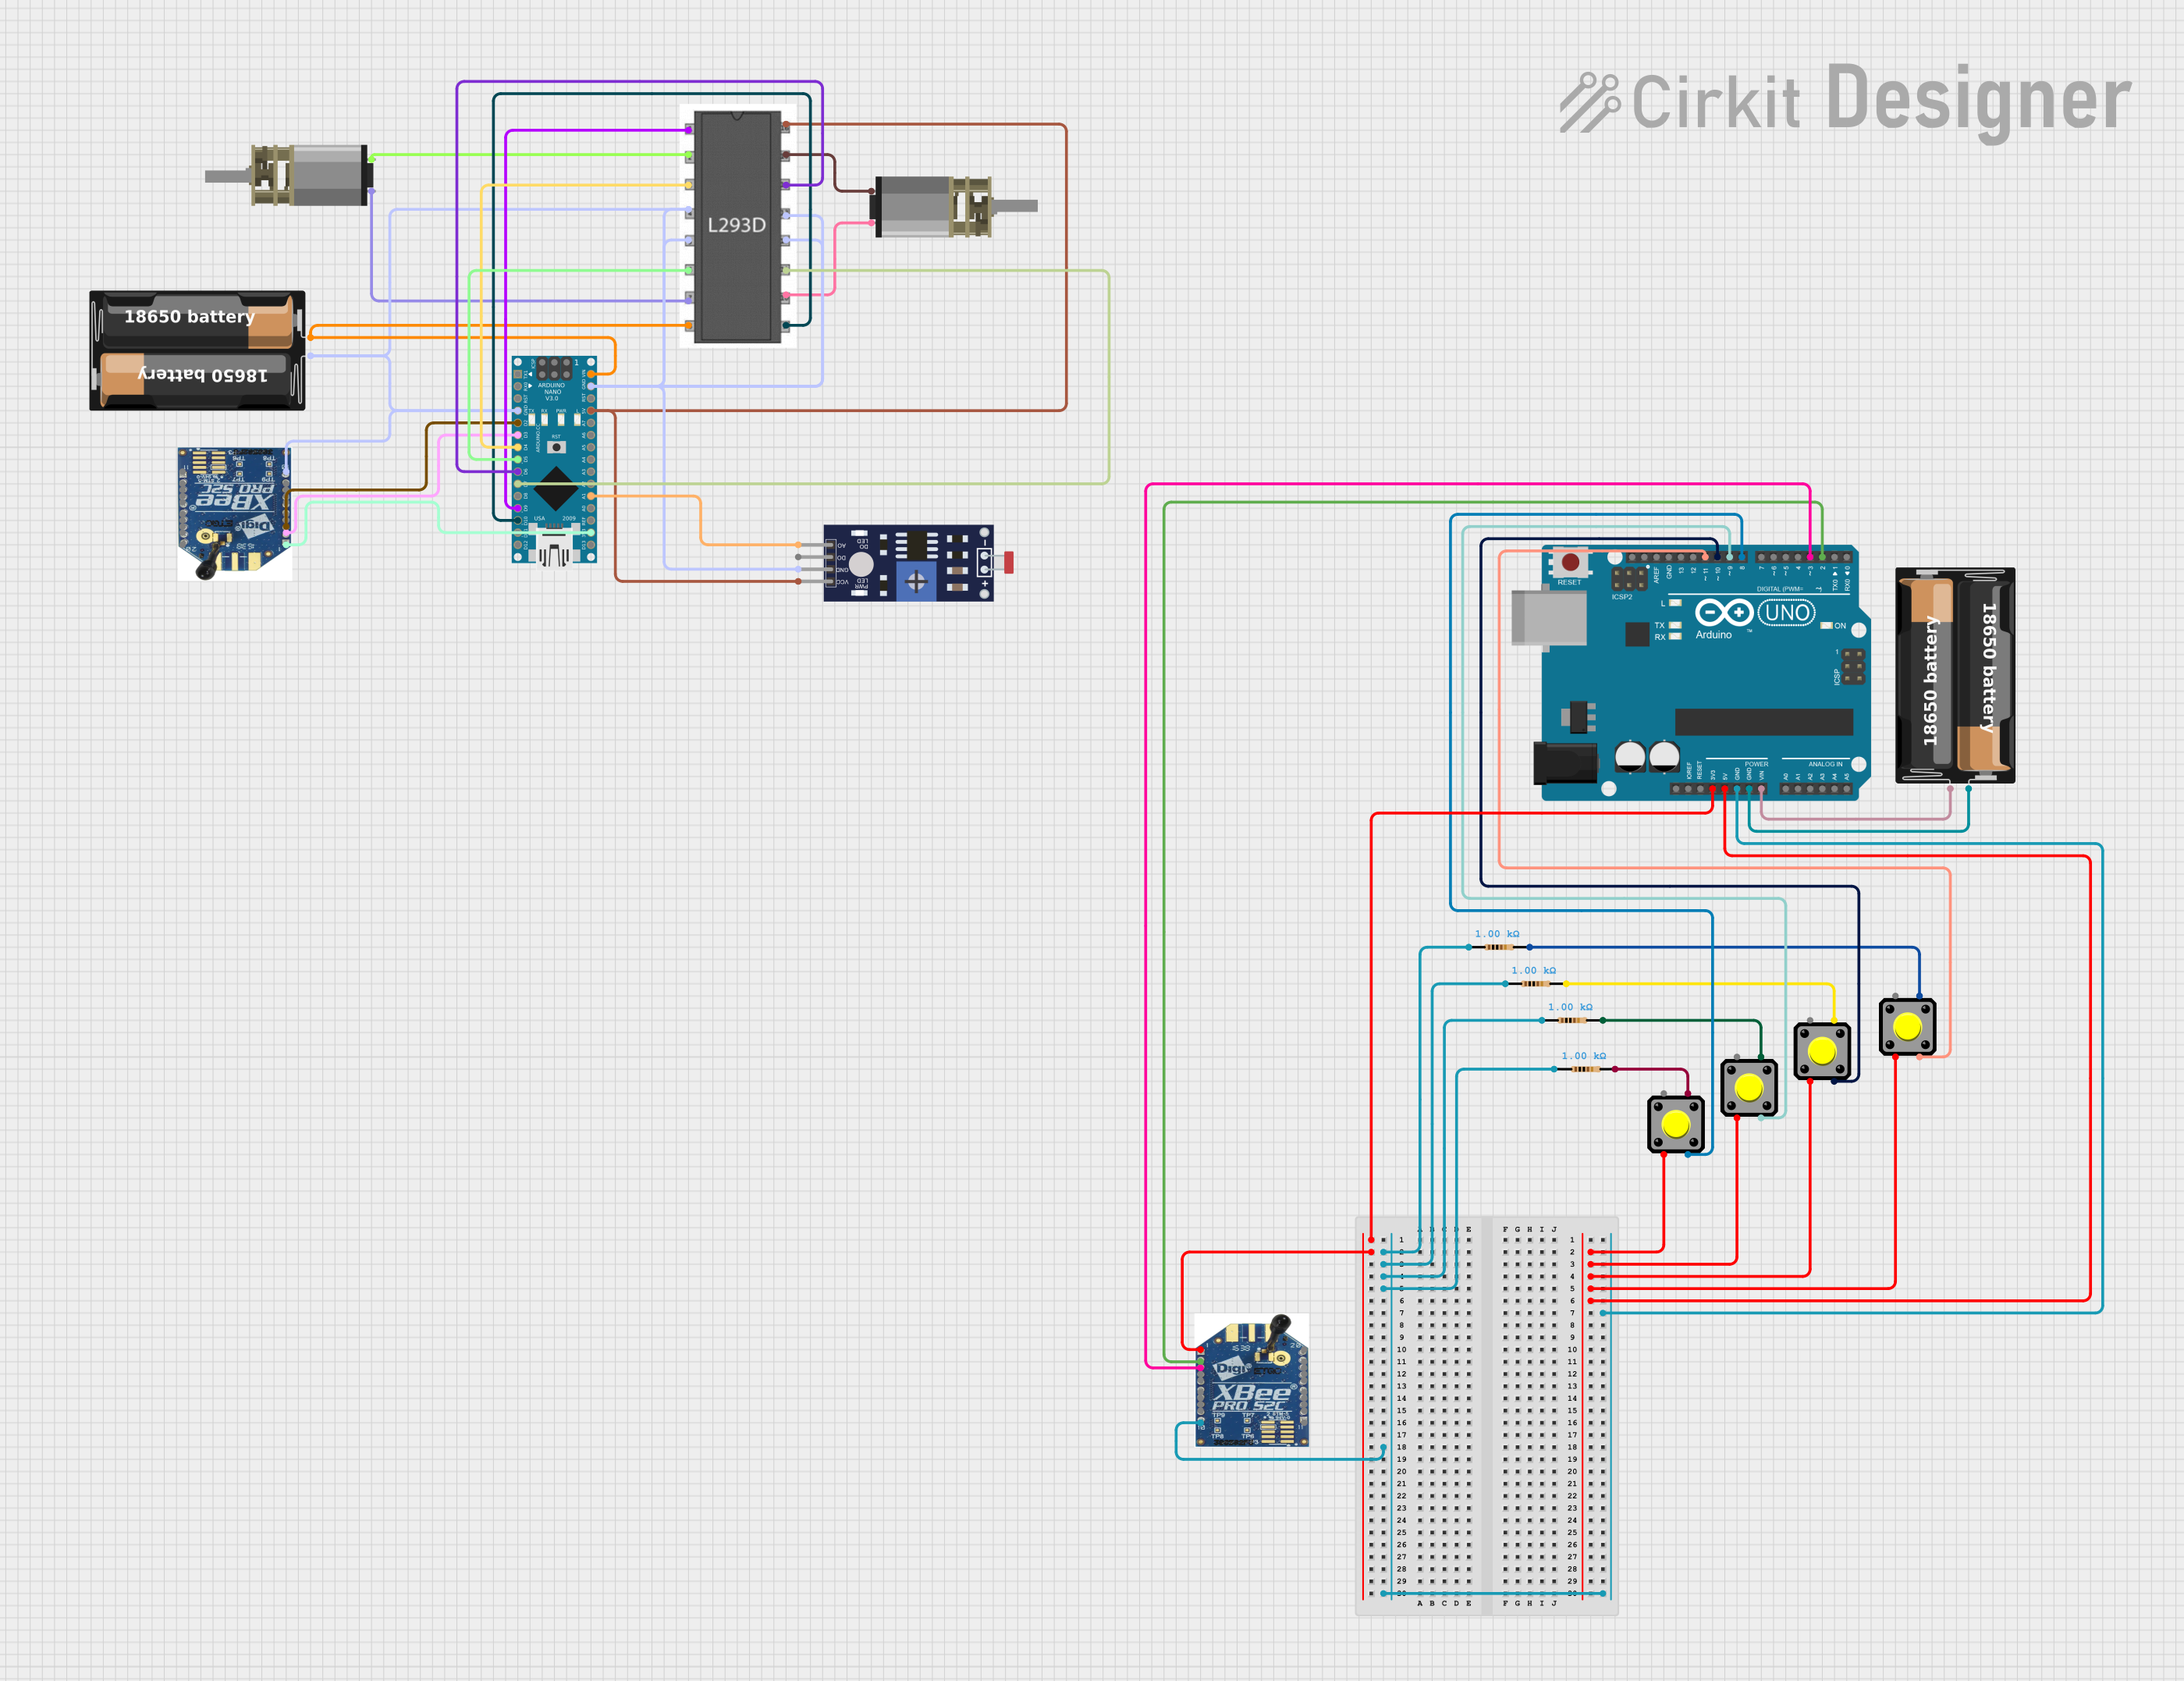
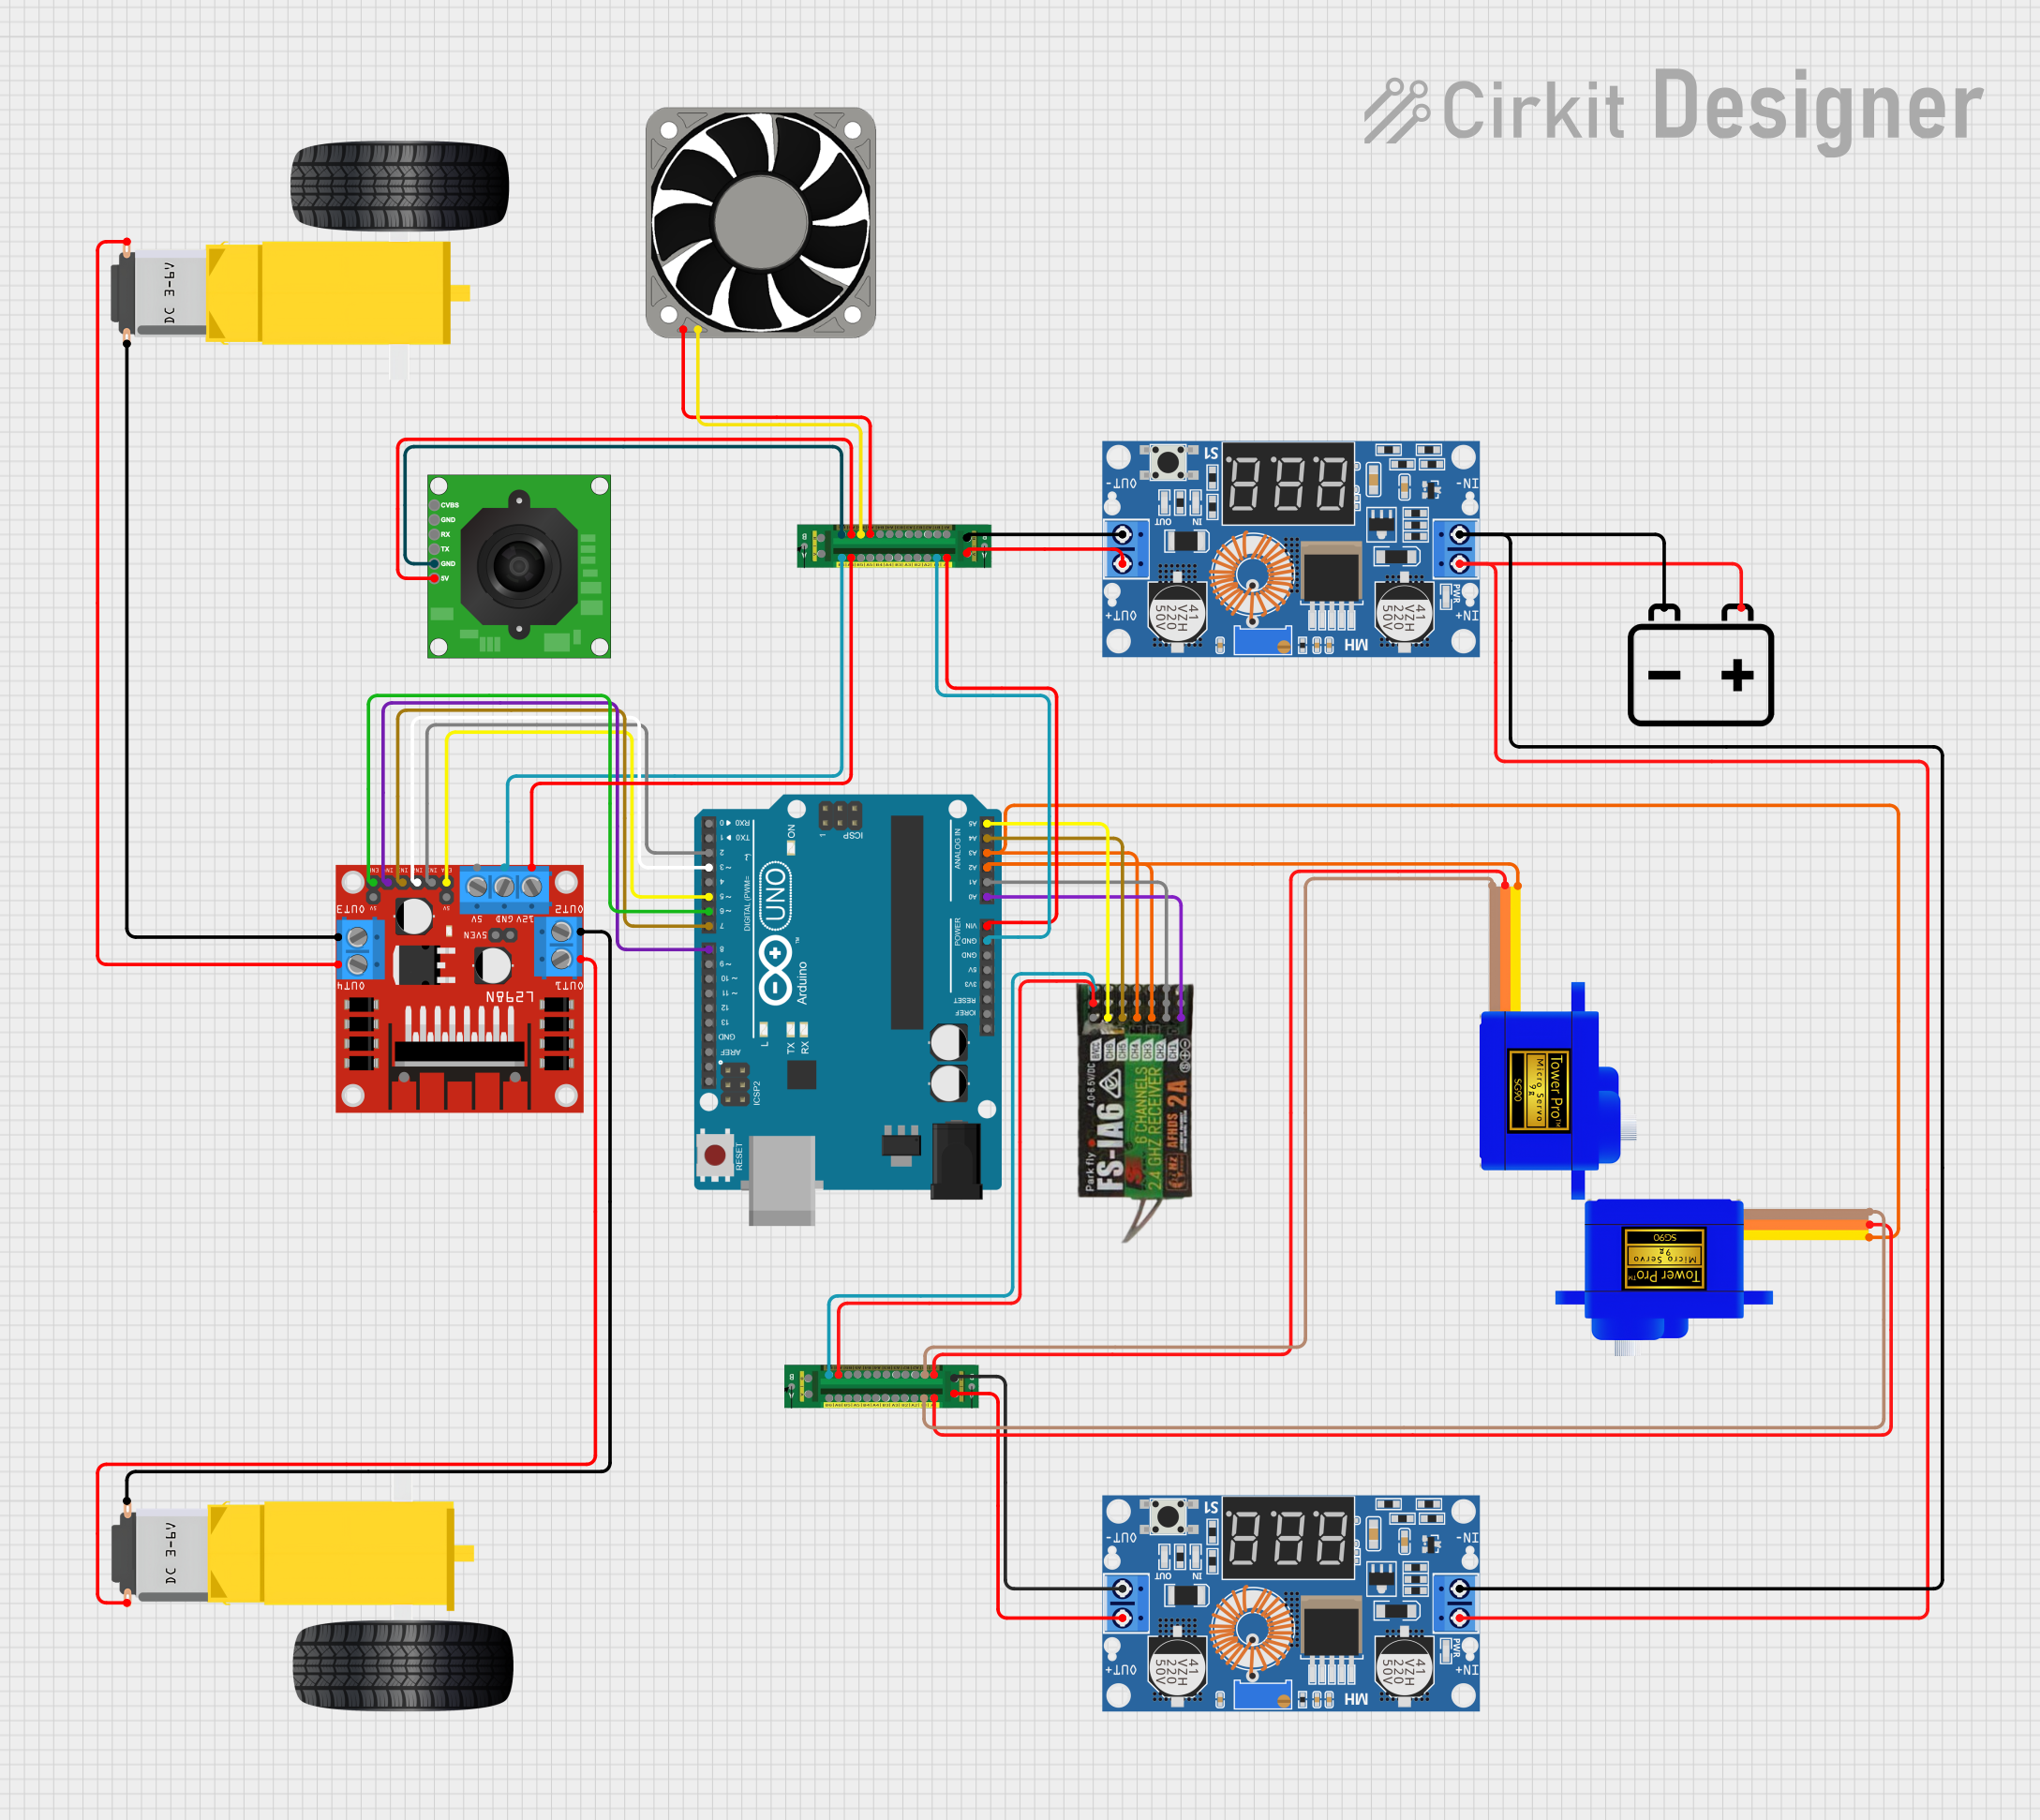


Explore Projects Built with dariyan-x 8ch
Common Applications:
- Multi-track music recording and playback
- Podcasting with multiple microphones
- Live sound mixing and routing
- Audio signal processing and experimentation
- Integration with Arduino-based audio projects
Technical Specifications
Key Technical Details:
| Parameter | Specification |
|---|---|
| Manufacturer | Arduino |
| Part ID | rev0.8 |
| Number of Channels | 8 (input and output) |
| Input Impedance | 10 kΩ |
| Output Impedance | 100 Ω |
| Sampling Rate | Up to 192 kHz |
| Bit Depth | 24-bit |
| Power Supply Voltage | 5V DC (via USB or external source) |
| Communication Interface | USB 2.0 |
| Dimensions | 120mm x 80mm x 25mm |
| Operating Temperature | 0°C to 50°C |
Pin Configuration and Descriptions:
The Dariyan-X 8ch features a USB interface for communication and power, along with 8 input and 8 output audio channels. Below is the pin configuration for the audio I/O ports:
Input Channels:
| Pin Number | Label | Description |
|---|---|---|
| IN1 | Input 1 | First audio input channel |
| IN2 | Input 2 | Second audio input channel |
| IN3 | Input 3 | Third audio input channel |
| IN4 | Input 4 | Fourth audio input channel |
| IN5 | Input 5 | Fifth audio input channel |
| IN6 | Input 6 | Sixth audio input channel |
| IN7 | Input 7 | Seventh audio input channel |
| IN8 | Input 8 | Eighth audio input channel |
Output Channels:
| Pin Number | Label | Description |
|---|---|---|
| OUT1 | Output 1 | First audio output channel |
| OUT2 | Output 2 | Second audio output channel |
| OUT3 | Output 3 | Third audio output channel |
| OUT4 | Output 4 | Fourth audio output channel |
| OUT5 | Output 5 | Fifth audio output channel |
| OUT6 | Output 6 | Sixth audio output channel |
| OUT7 | Output 7 | Seventh audio output channel |
| OUT8 | Output 8 | Eighth audio output channel |
Usage Instructions
How to Use the Dariyan-X 8ch in a Circuit:
Powering the Device:
Connect the Dariyan-X 8ch to a 5V DC power source using the USB cable provided. Alternatively, you can use an external 5V DC power supply.Connecting Audio Inputs and Outputs:
- Use standard 3.5mm or 6.35mm audio jacks (depending on your setup) to connect microphones, instruments, or other audio sources to the input channels (IN1 to IN8).
- Connect speakers, headphones, or other audio output devices to the output channels (OUT1 to OUT8).
Interfacing with a Computer:
- Plug the USB cable into your computer. The Dariyan-X 8ch will be recognized as an audio interface.
- Install any necessary drivers or software provided by Arduino for optimal performance.
Using with Arduino UNO:
The Dariyan-X 8ch can be integrated with an Arduino UNO for advanced audio processing. Below is an example code snippet for initializing communication with the device:
#include <Wire.h> // Include the Wire library for I2C communication

void setup() {
  Wire.begin(); // Initialize I2C communication
  Serial.begin(9600); // Start serial communication for debugging

  // Send initialization command to Dariyan-X 8ch
  Wire.beginTransmission(0x48); // Replace 0x48 with the I2C address of the device
  Wire.write(0x01); // Example command to initialize the device
  Wire.endTransmission();

  Serial.println("Dariyan-X 8ch initialized successfully.");
}

void loop() {
  // Example: Read audio data or control the device
  // Add your custom code here
}
Important Considerations and Best Practices:
- Ensure that the power supply voltage does not exceed 5V to avoid damaging the device.
- Use shielded audio cables to minimize noise and interference.
- When using the device with an Arduino, ensure proper grounding to prevent audio artifacts.
- For optimal performance, use high-quality audio sources and output devices.
Troubleshooting and FAQs
Common Issues and Solutions:
Device Not Recognized by Computer:
- Ensure the USB cable is securely connected.
- Check if the necessary drivers are installed.
- Try using a different USB port or cable.
Audio Distortion or Noise:
- Verify that the input and output levels are within the acceptable range.
- Use shielded cables to reduce interference.
- Ensure proper grounding of all connected devices.
No Audio Output:
- Check the connections to the output channels.
- Verify that the correct output channel is selected in your audio software.
- Ensure the device is powered on and initialized correctly.
Interference with Arduino Communication:
- Use separate power supplies for the Arduino and the Dariyan-X 8ch if interference occurs.
- Ensure the I2C address used in the code matches the device's address.
FAQs:
Q: Can the Dariyan-X 8ch be used with other microcontrollers besides Arduino UNO?
A: Yes, the device can be used with any microcontroller that supports I2C or USB communication.
Q: What is the maximum cable length for audio connections?
A: For best performance, keep cable lengths under 3 meters to minimize signal degradation.
Q: Does the device support phantom power for microphones?
A: No, the Dariyan-X 8ch does not provide phantom power. Use an external phantom power supply if required.
Q: Can I use the device for live audio streaming?
A: Yes, the Dariyan-X 8ch supports real-time audio processing, making it suitable for live streaming applications.