How to Use ESCUDO MEGA: Examples, Pinouts, and Specs
Introduction
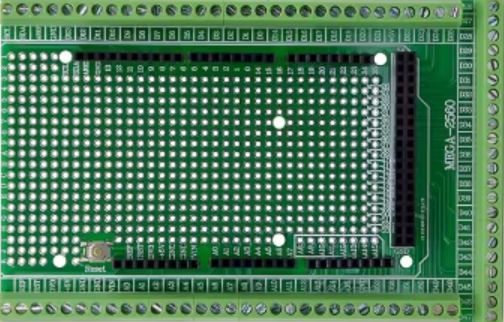
The ESCUDO MEGA, manufactured by Generico (Part ID: ESCUDO MEGA), is a versatile shield designed specifically for Arduino Mega boards. It enhances the functionality of the Arduino Mega by providing additional GPIO pins, a microSD card slot, and compatibility with various sensors and modules. This shield is ideal for complex projects, prototyping, and applications requiring expanded I/O capabilities.
Explore Projects Built with ESCUDO MEGA
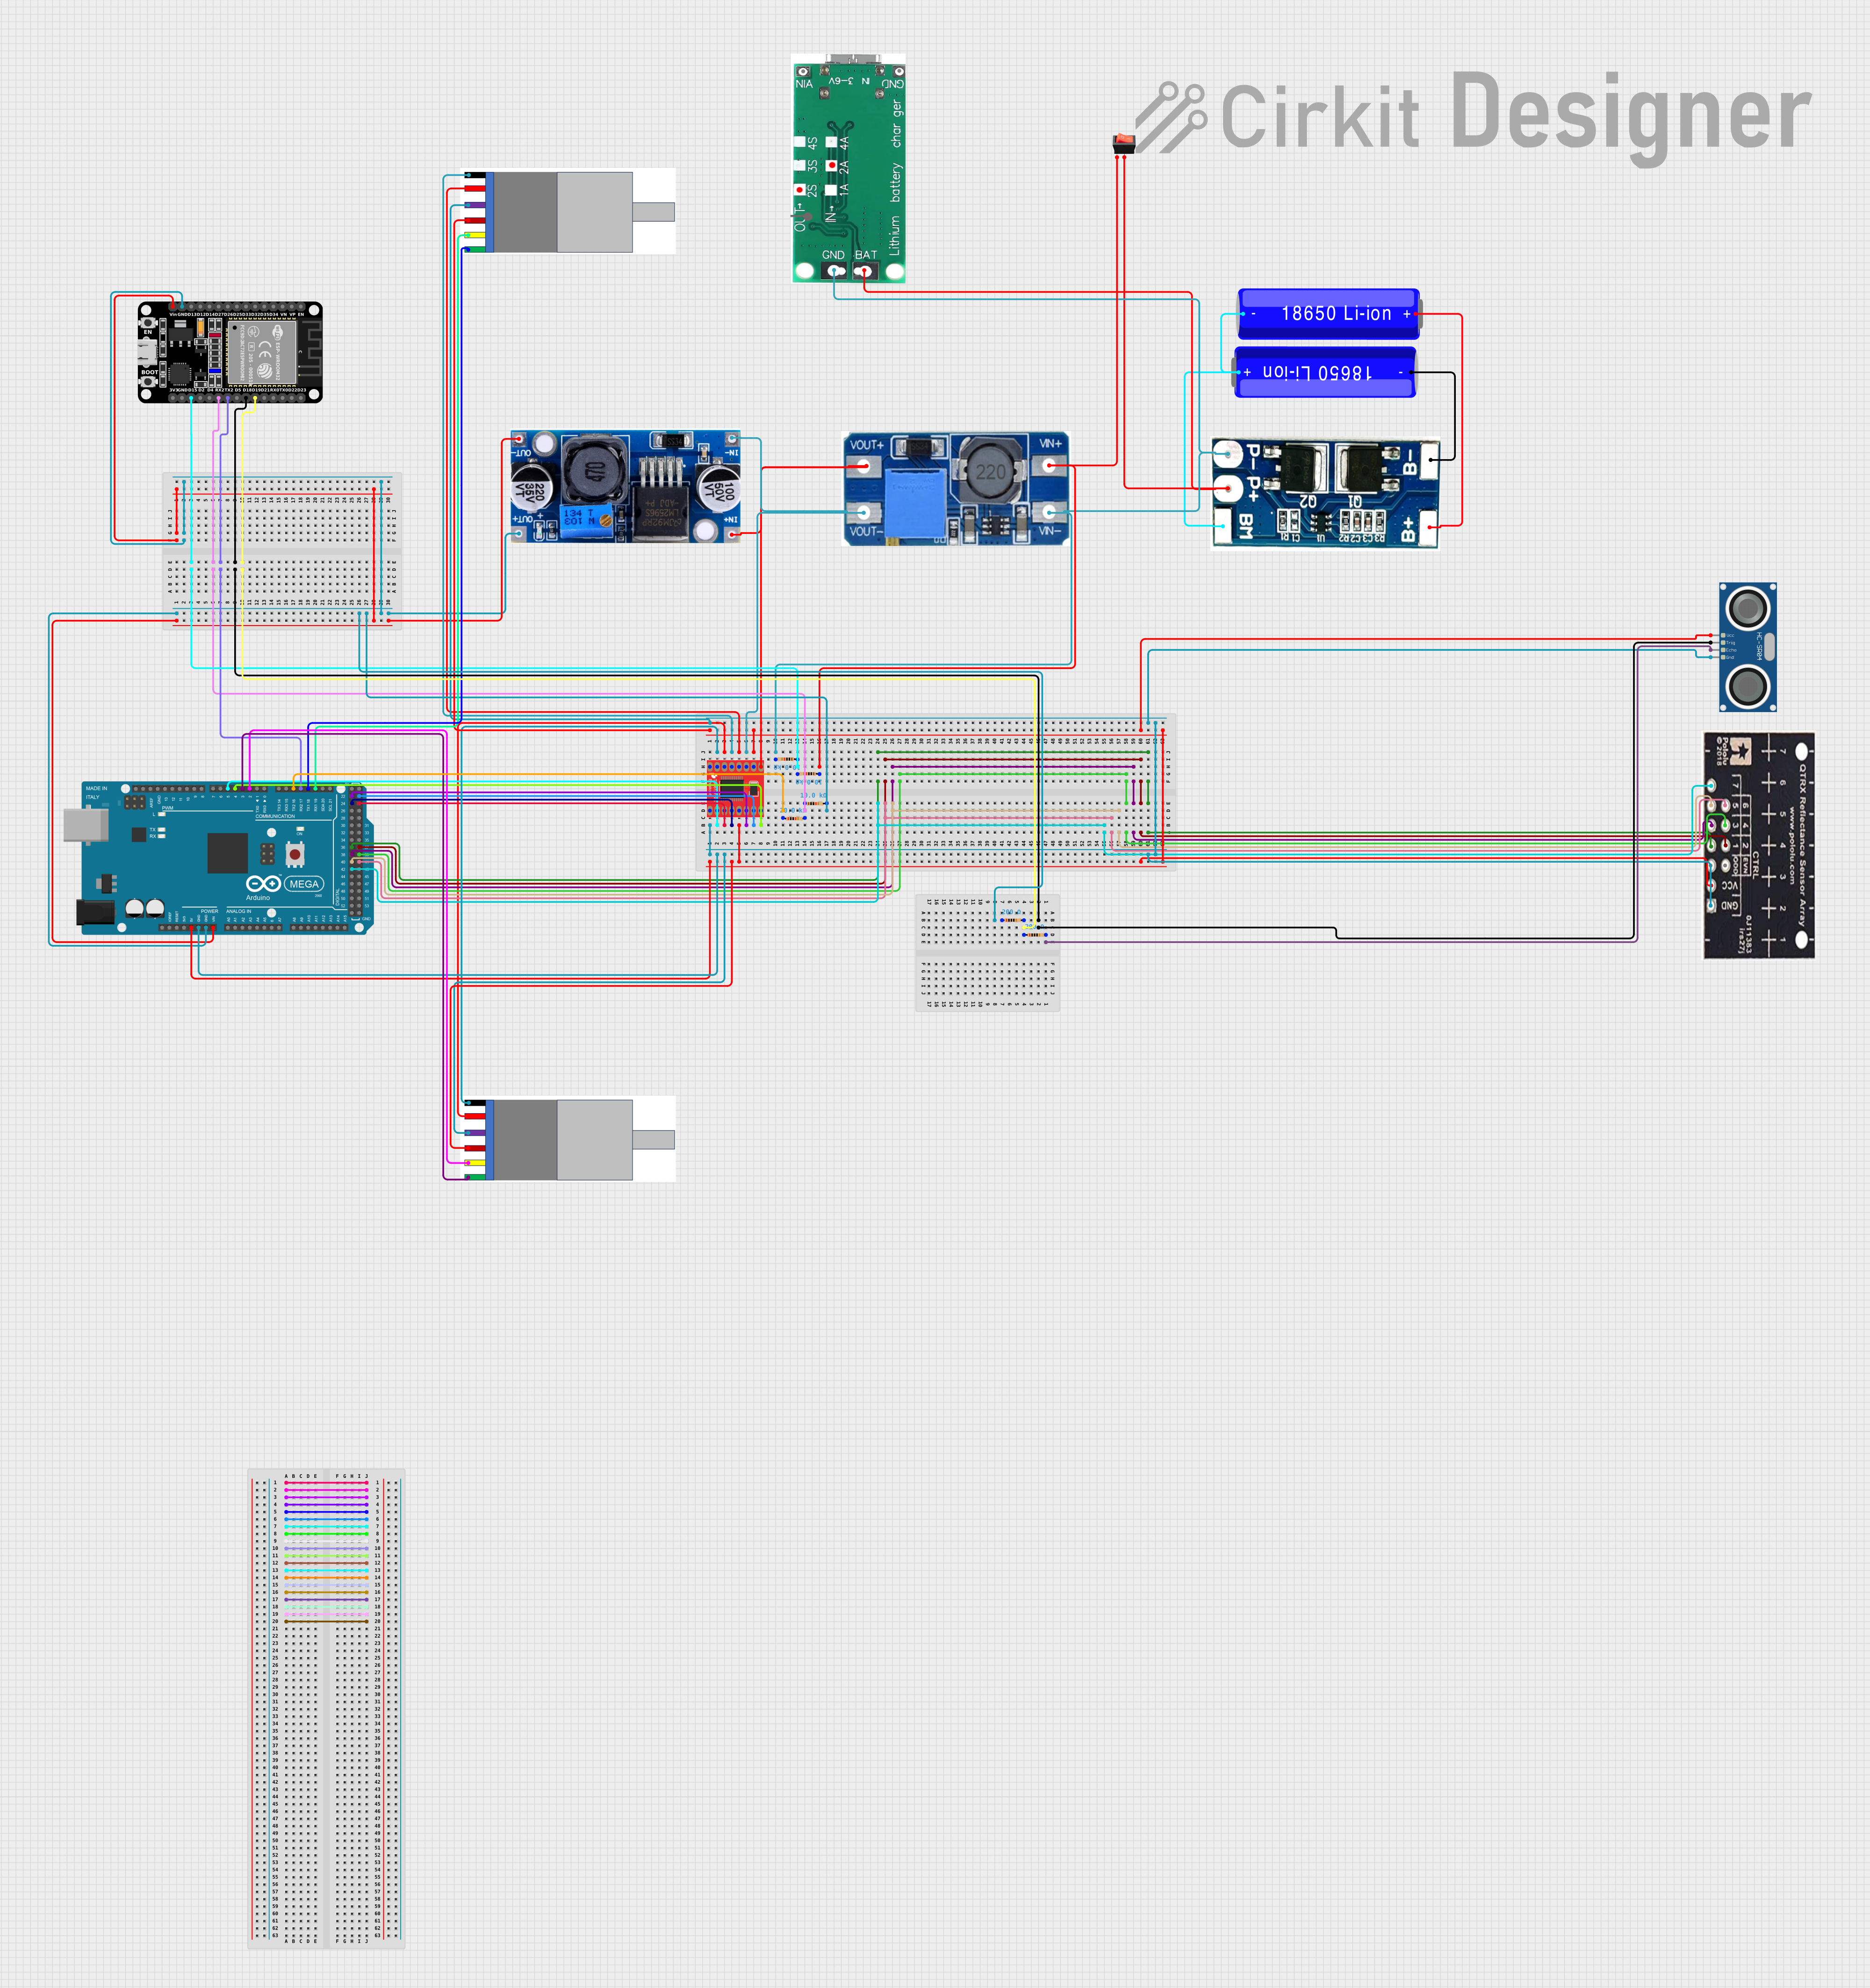

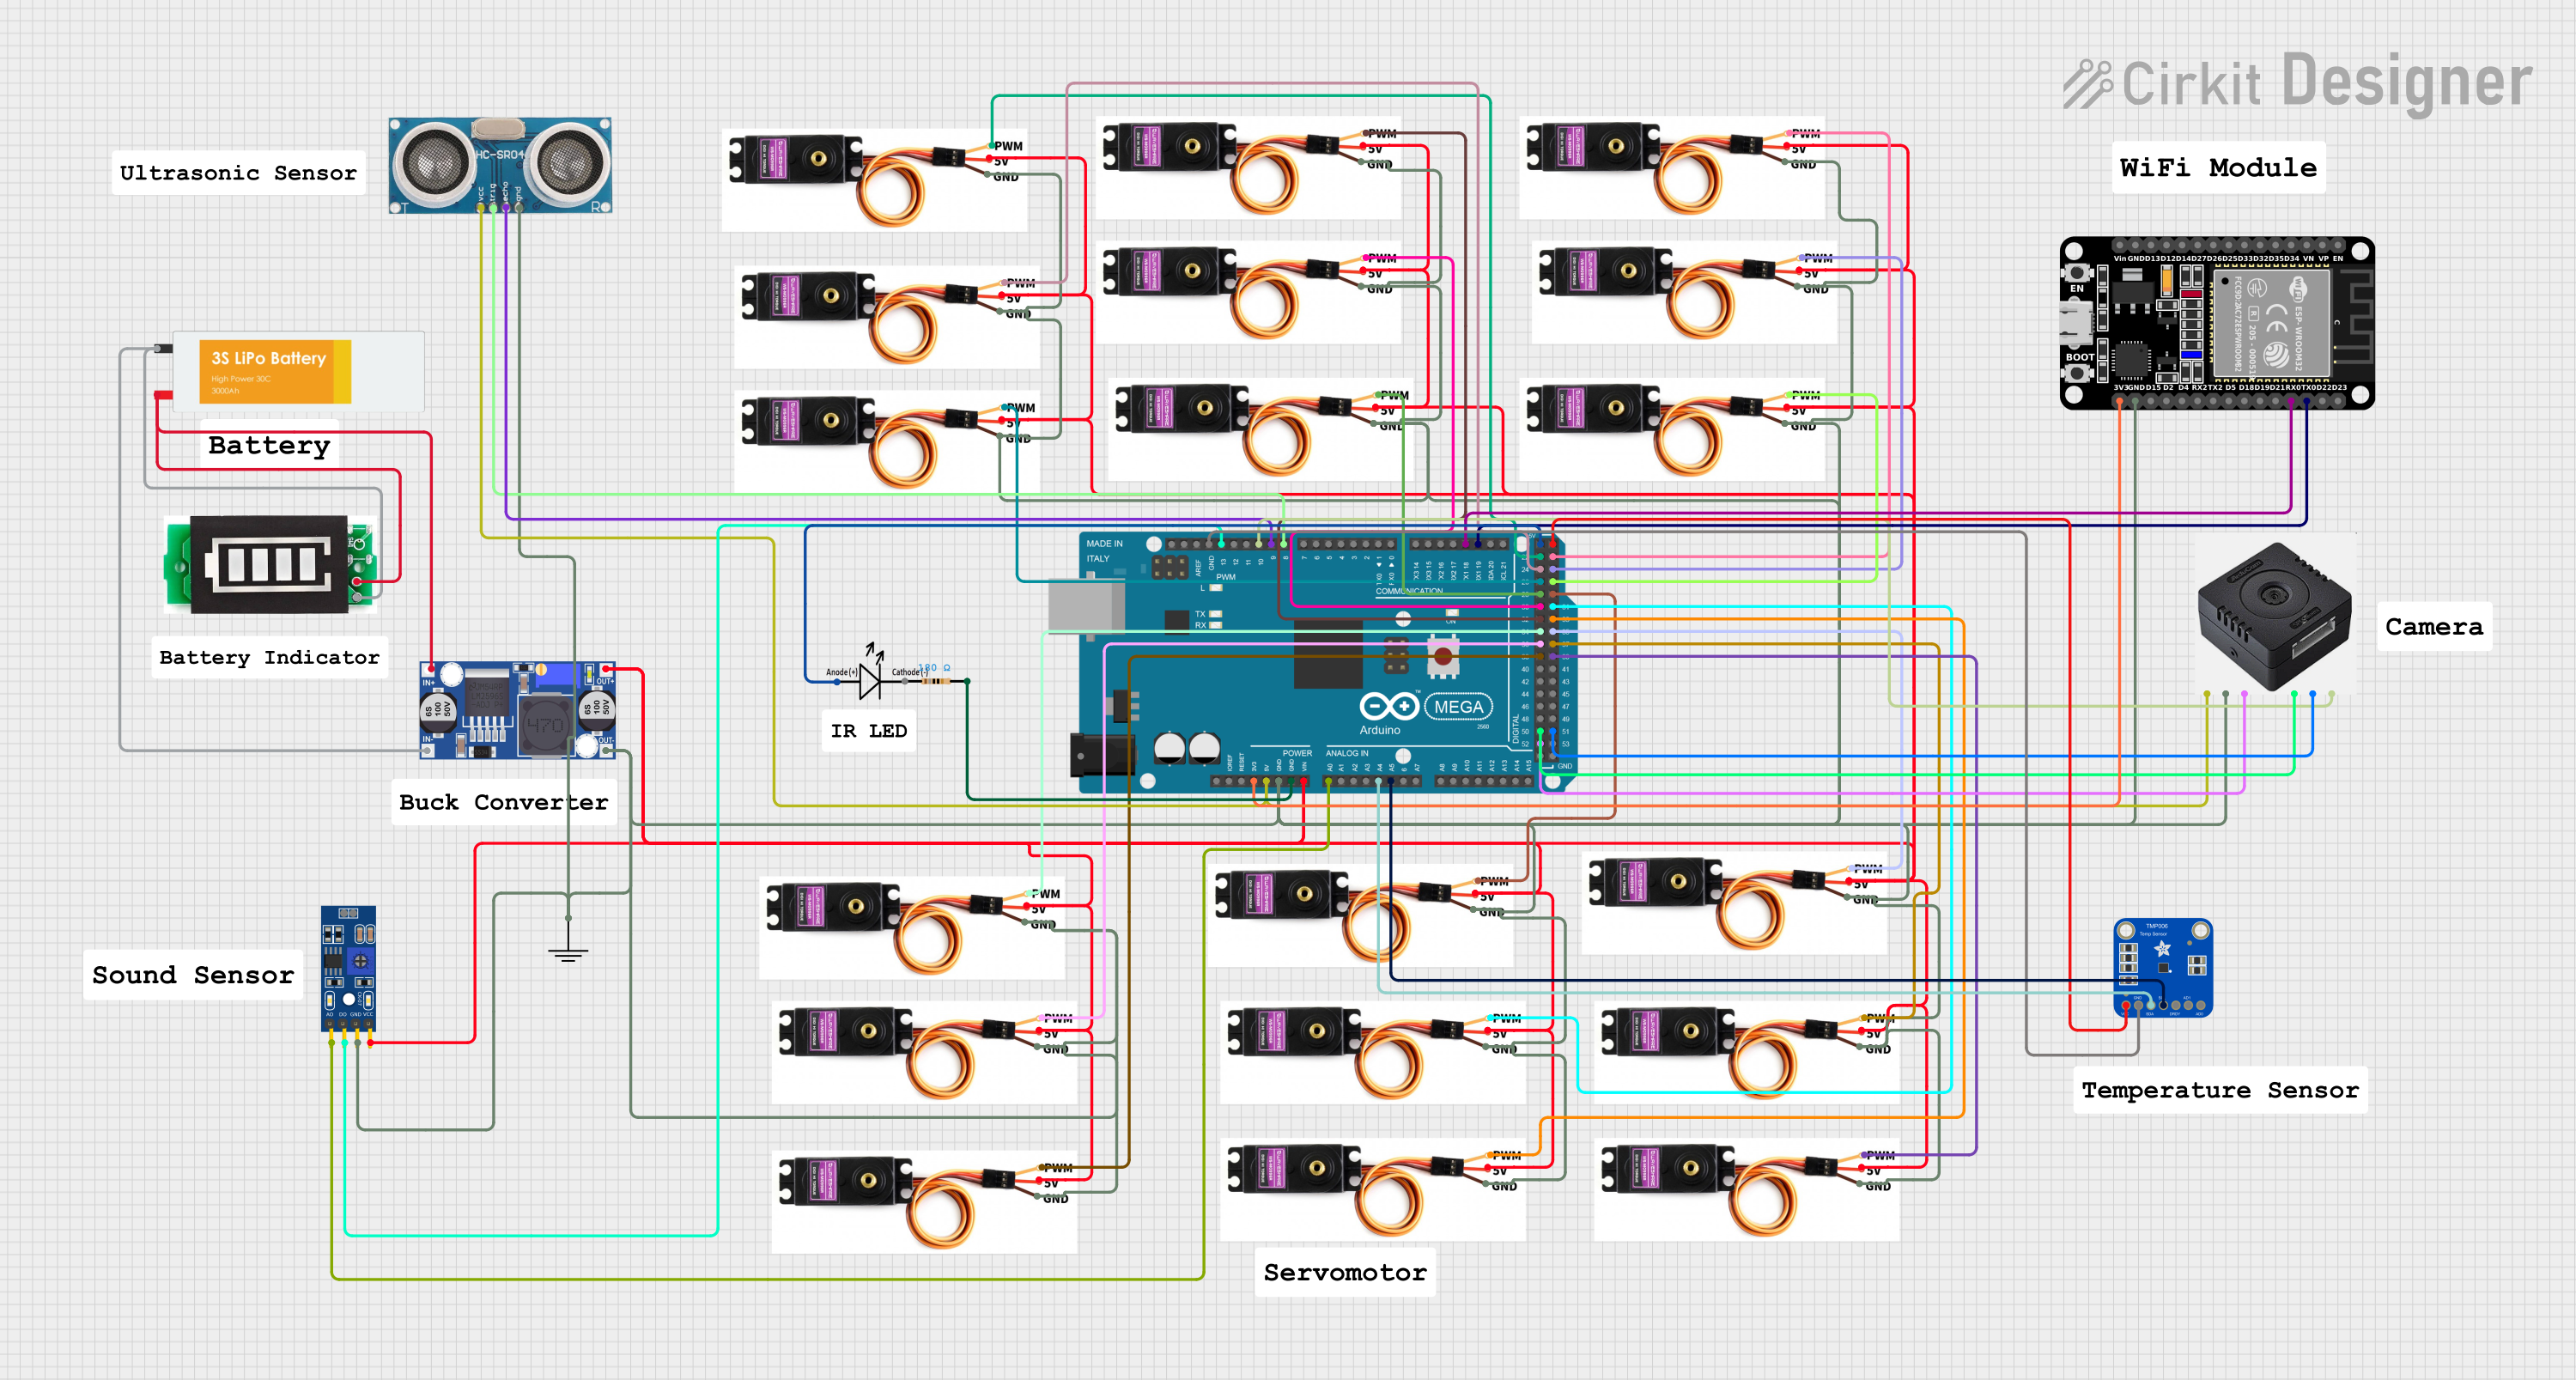
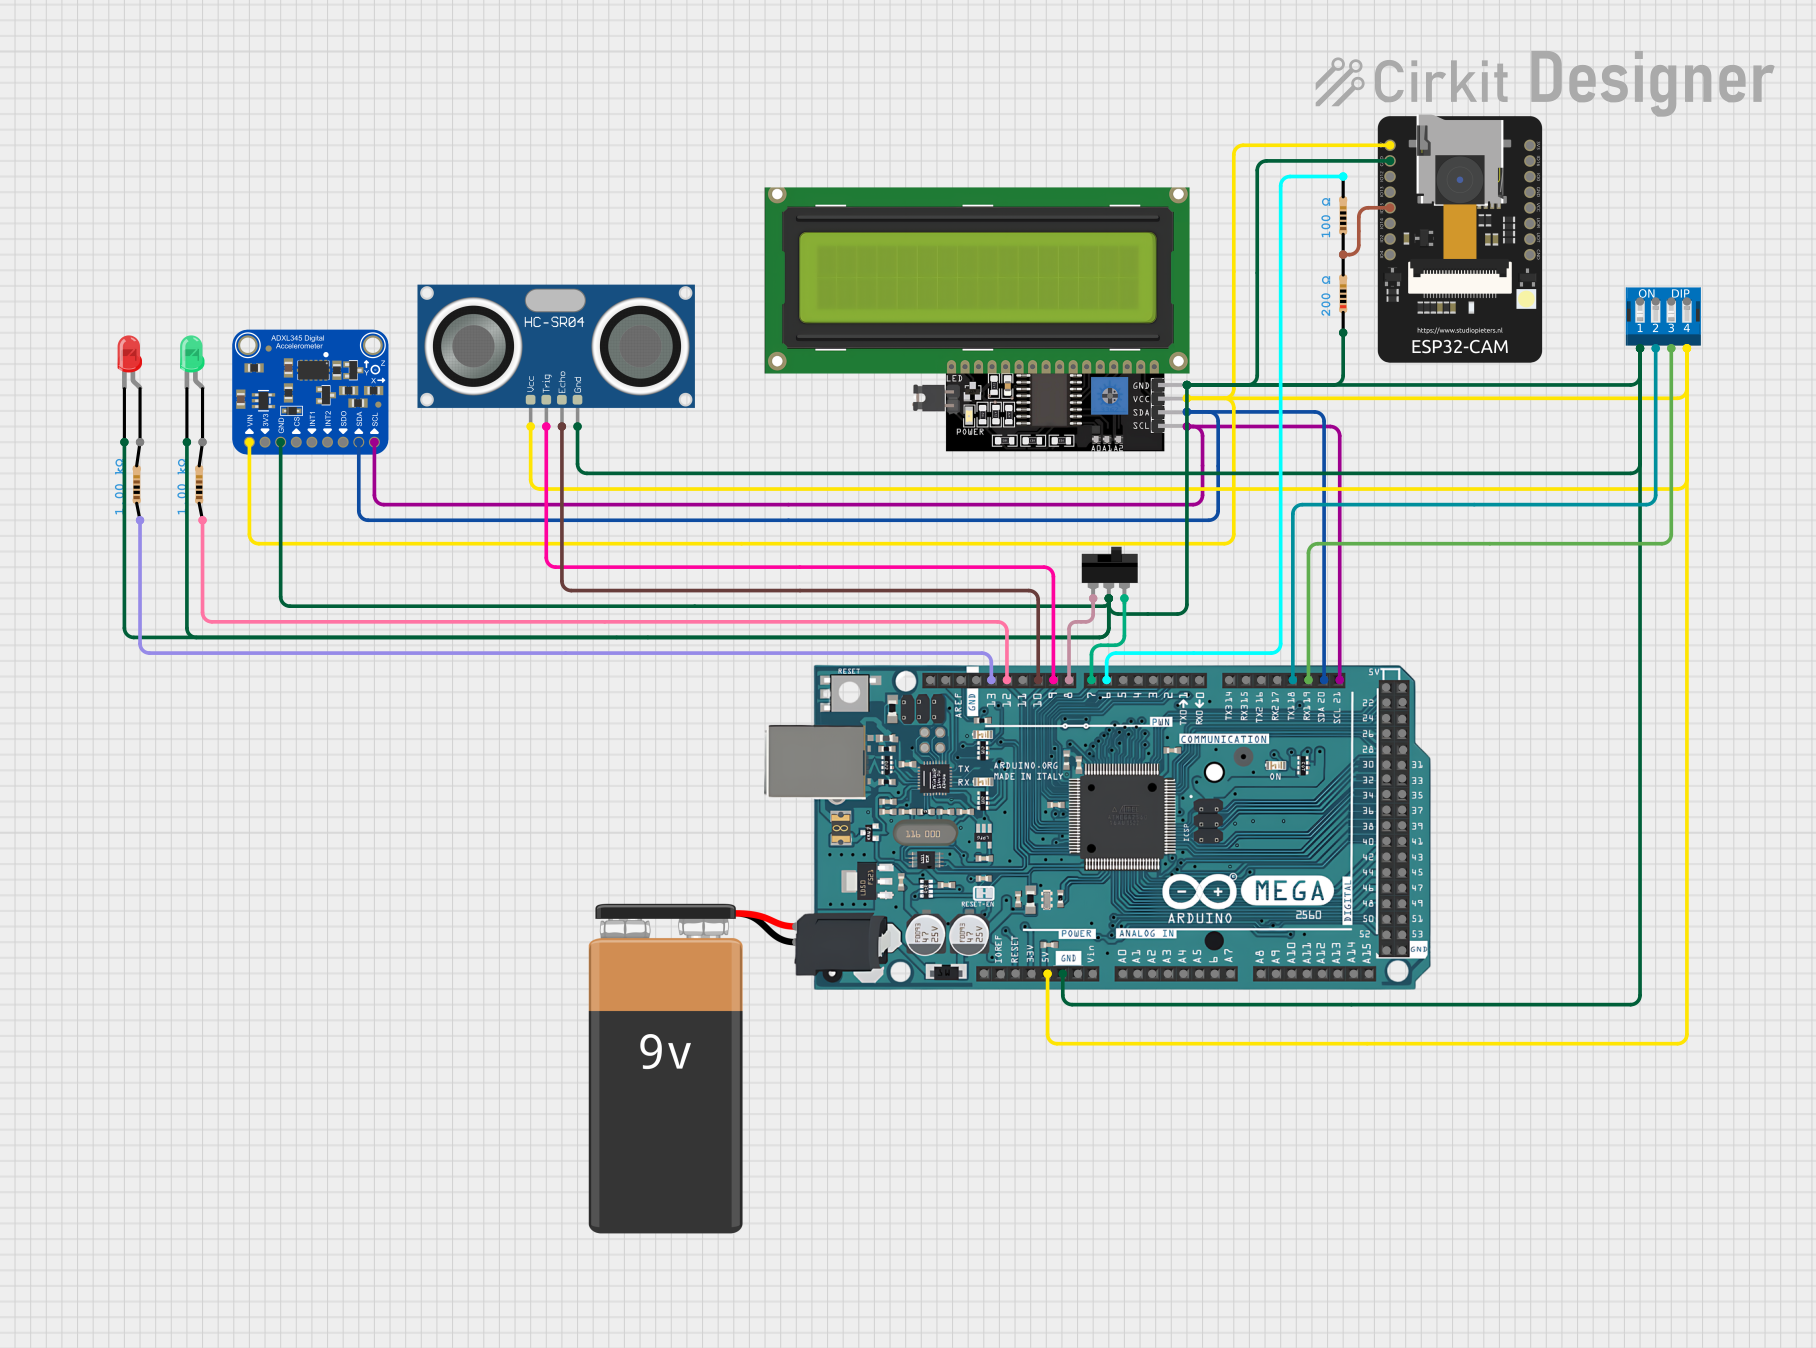
Explore Projects Built with ESCUDO MEGA
Common Applications and Use Cases
- Robotics and automation projects
- Data logging with microSD storage
- IoT (Internet of Things) applications
- Prototyping with multiple sensors and actuators
- Educational and research projects
Technical Specifications
Key Technical Details
- Input Voltage: 5V (powered via Arduino Mega)
- GPIO Expansion: Up to 16 additional digital I/O pins
- MicroSD Card Slot: Supports FAT16/FAT32 file systems
- Communication Protocols: SPI, I2C, UART
- Dimensions: Matches Arduino Mega form factor
- Operating Temperature: -20°C to 70°C
- Weight: 35g
Pin Configuration and Descriptions
The ESCUDO MEGA connects directly to the Arduino Mega and uses the following pins:
| Pin | Function | Description |
|---|---|---|
| Digital Pins | D22-D53 | Additional GPIO pins for digital input/output |
| Analog Pins | A8-A15 | Extra analog input pins for sensors |
| SPI Pins | D50 (MISO), D51 (MOSI), D52 (SCK) | SPI communication for microSD and other peripherals |
| I2C Pins | SDA (D20), SCL (D21) | I2C communication for sensors and modules |
| Power Pins | 5V, 3.3V, GND | Power supply for external components |
| MicroSD Slot | SPI-based | Interface for microSD card storage |
Usage Instructions
How to Use the ESCUDO MEGA in a Circuit
- Attach the Shield: Align the ESCUDO MEGA shield with the Arduino Mega's headers and press gently to ensure a secure connection.
- Connect Peripherals: Use the additional GPIO pins, analog pins, or communication interfaces (SPI/I2C) to connect sensors, actuators, or other modules.
- Insert microSD Card: If data logging is required, insert a formatted microSD card into the slot.
- Power the System: Power the Arduino Mega via USB or an external power source. The shield will draw power from the Arduino.
Important Considerations and Best Practices
- Ensure the microSD card is formatted to FAT16 or FAT32 for compatibility.
- Avoid exceeding the current limits of the Arduino Mega when connecting multiple peripherals.
- Use pull-up or pull-down resistors for unused GPIO pins to prevent floating states.
- When using SPI or I2C, ensure no address conflicts between connected devices.
- Handle the shield carefully to avoid damaging the microSD slot or pins.
Example Code for Arduino UNO
The ESCUDO MEGA is designed for the Arduino Mega, but the following example demonstrates how to use the microSD card functionality, which is also compatible with the Arduino Mega:
#include <SPI.h>
#include <SD.h>

// Define the chip select pin for the microSD card
const int chipSelect = 53; // For Arduino Mega, use pin 53 for SPI CS

void setup() {
  // Initialize serial communication for debugging
  Serial.begin(9600);
  while (!Serial) {
    ; // Wait for the serial port to connect
  }

  Serial.println("Initializing microSD card...");

  // Check if the microSD card is available
  if (!SD.begin(chipSelect)) {
    Serial.println("Card failed, or not present.");
    // Stop further execution if the card is not detected
    while (1);
  }
  Serial.println("Card initialized successfully.");

  // Create a test file on the microSD card
  File dataFile = SD.open("test.txt", FILE_WRITE);
  if (dataFile) {
    dataFile.println("Hello, ESCUDO MEGA!");
    dataFile.close();
    Serial.println("Data written to test.txt.");
  } else {
    Serial.println("Error opening test.txt for writing.");
  }
}

void loop() {
  // Nothing to do here
}
Notes:
- Replace
chipSelectwith the appropriate pin if using a different board. - Ensure the
SDlibrary is installed in your Arduino IDE.
Troubleshooting and FAQs
Common Issues and Solutions
MicroSD Card Not Detected
- Cause: Incorrect formatting or faulty card.
- Solution: Format the card to FAT16/FAT32 and ensure it is functional.
GPIO Pins Not Responding
- Cause: Incorrect pin configuration or wiring.
- Solution: Double-check the pin assignments in your code and verify connections.
Power Issues
- Cause: Excessive current draw from connected peripherals.
- Solution: Use external power supplies for high-power components.
Communication Errors (SPI/I2C)
- Cause: Address conflicts or incorrect wiring.
- Solution: Verify device addresses and ensure proper connections.
FAQs
Q: Can the ESCUDO MEGA be used with Arduino Uno?
A: No, the ESCUDO MEGA is designed specifically for the Arduino Mega due to its pin layout and features.
Q: What is the maximum microSD card size supported?
A: The ESCUDO MEGA supports microSD cards up to 32GB formatted in FAT16 or FAT32.
Q: Can I stack another shield on top of the ESCUDO MEGA?
A: Yes, as long as the additional shield does not conflict with the pins used by the ESCUDO MEGA.
Q: Is the ESCUDO MEGA compatible with 3.3V sensors?
A: Yes, the shield provides a 3.3V power pin for such sensors.
Q: How do I update the firmware for the ESCUDO MEGA?
A: The ESCUDO MEGA does not require firmware updates as it is a passive shield. All functionality is controlled via the Arduino Mega.
This concludes the documentation for the ESCUDO MEGA. For further assistance, refer to the Generico support website or community forums.