
How to Use Texas Instruments LM34 Fahrenheit Temperature Sensor: Examples, Pinouts, and Specs
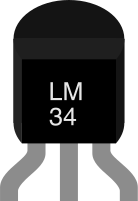
 Design with Texas Instruments LM34 Fahrenheit Temperature Sensor in Cirkit Designer
Introduction
The Texas Instruments LM34 is a precision temperature sensor that provides an analog voltage output directly proportional to the temperature in degrees Fahrenheit. Unlike many temperature sensors that output in Celsius, the LM34 eliminates the need for conversion when working with Fahrenheit-based systems. Its compact design and high accuracy make it ideal for a wide range of applications, including HVAC systems, environmental monitoring, and temperature control devices.
Explore Projects Built with Texas Instruments LM34 Fahrenheit Temperature Sensor
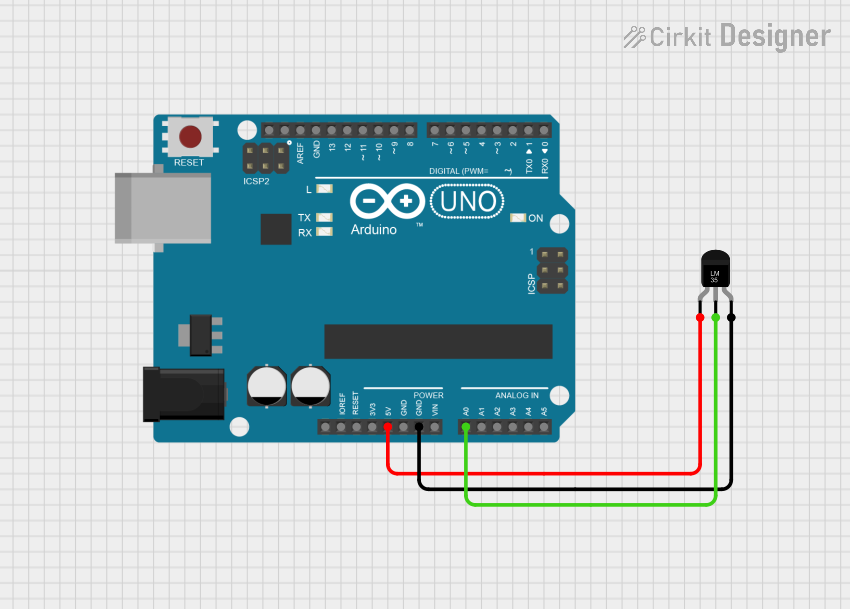 Open Project in Cirkit Designer
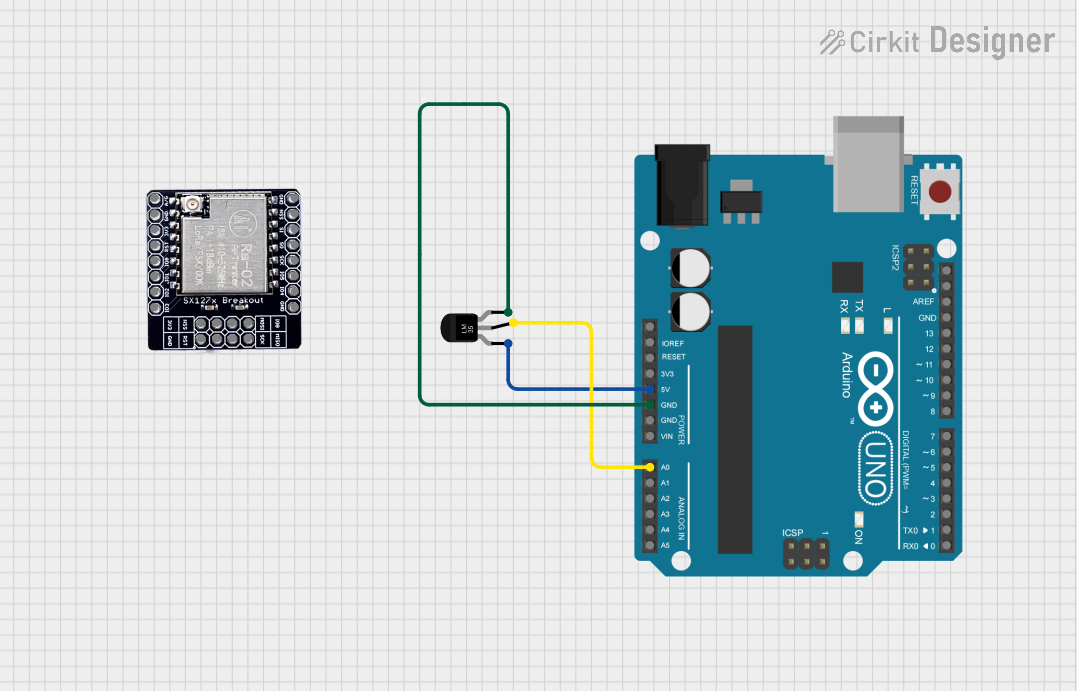 Open Project in Cirkit Designer
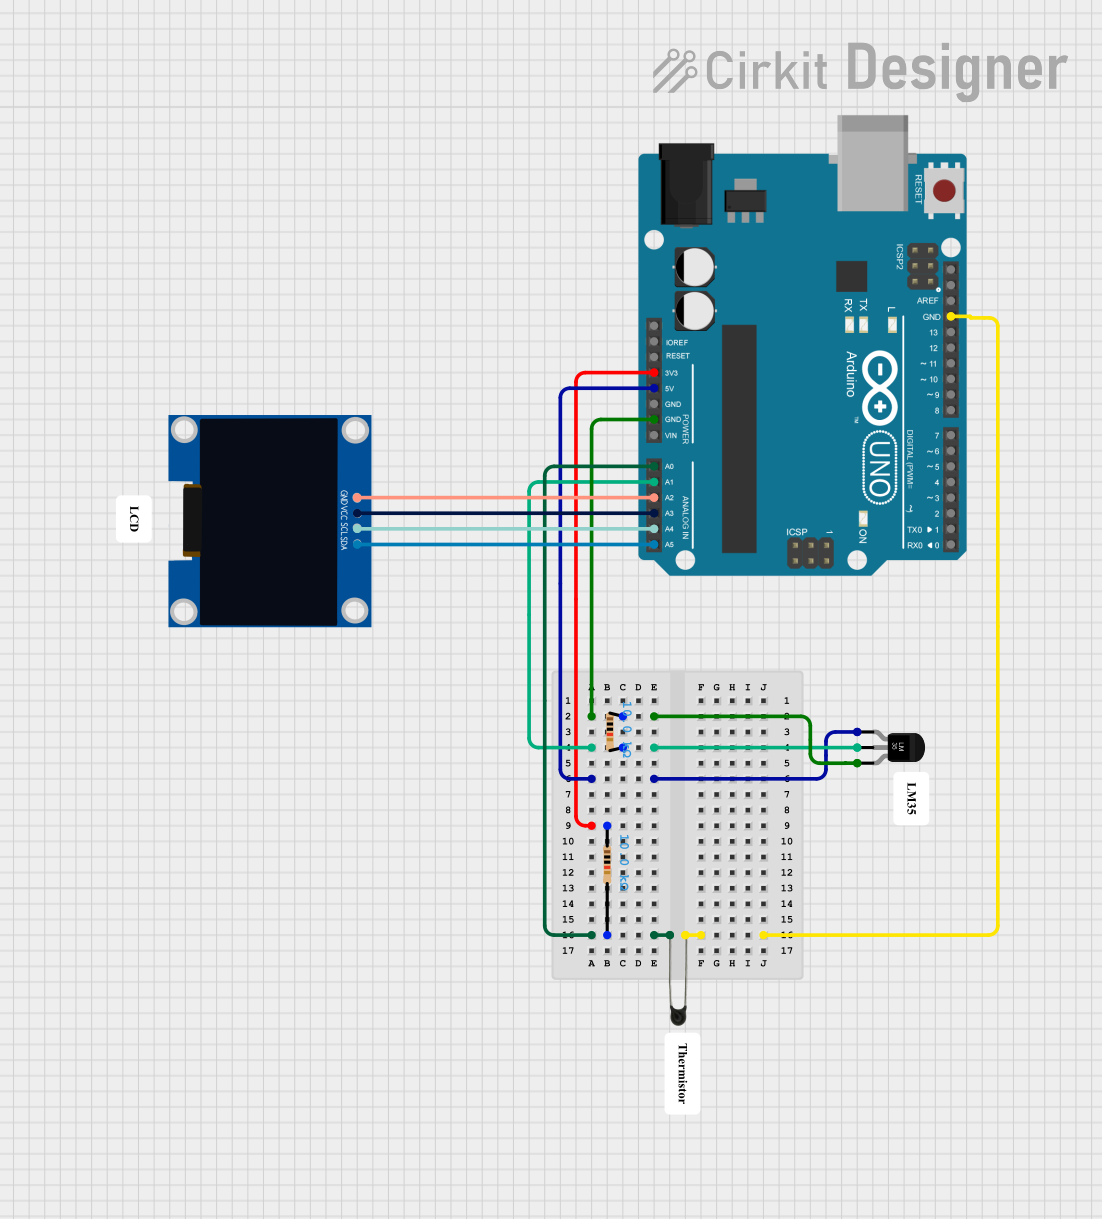 Open Project in Cirkit Designer
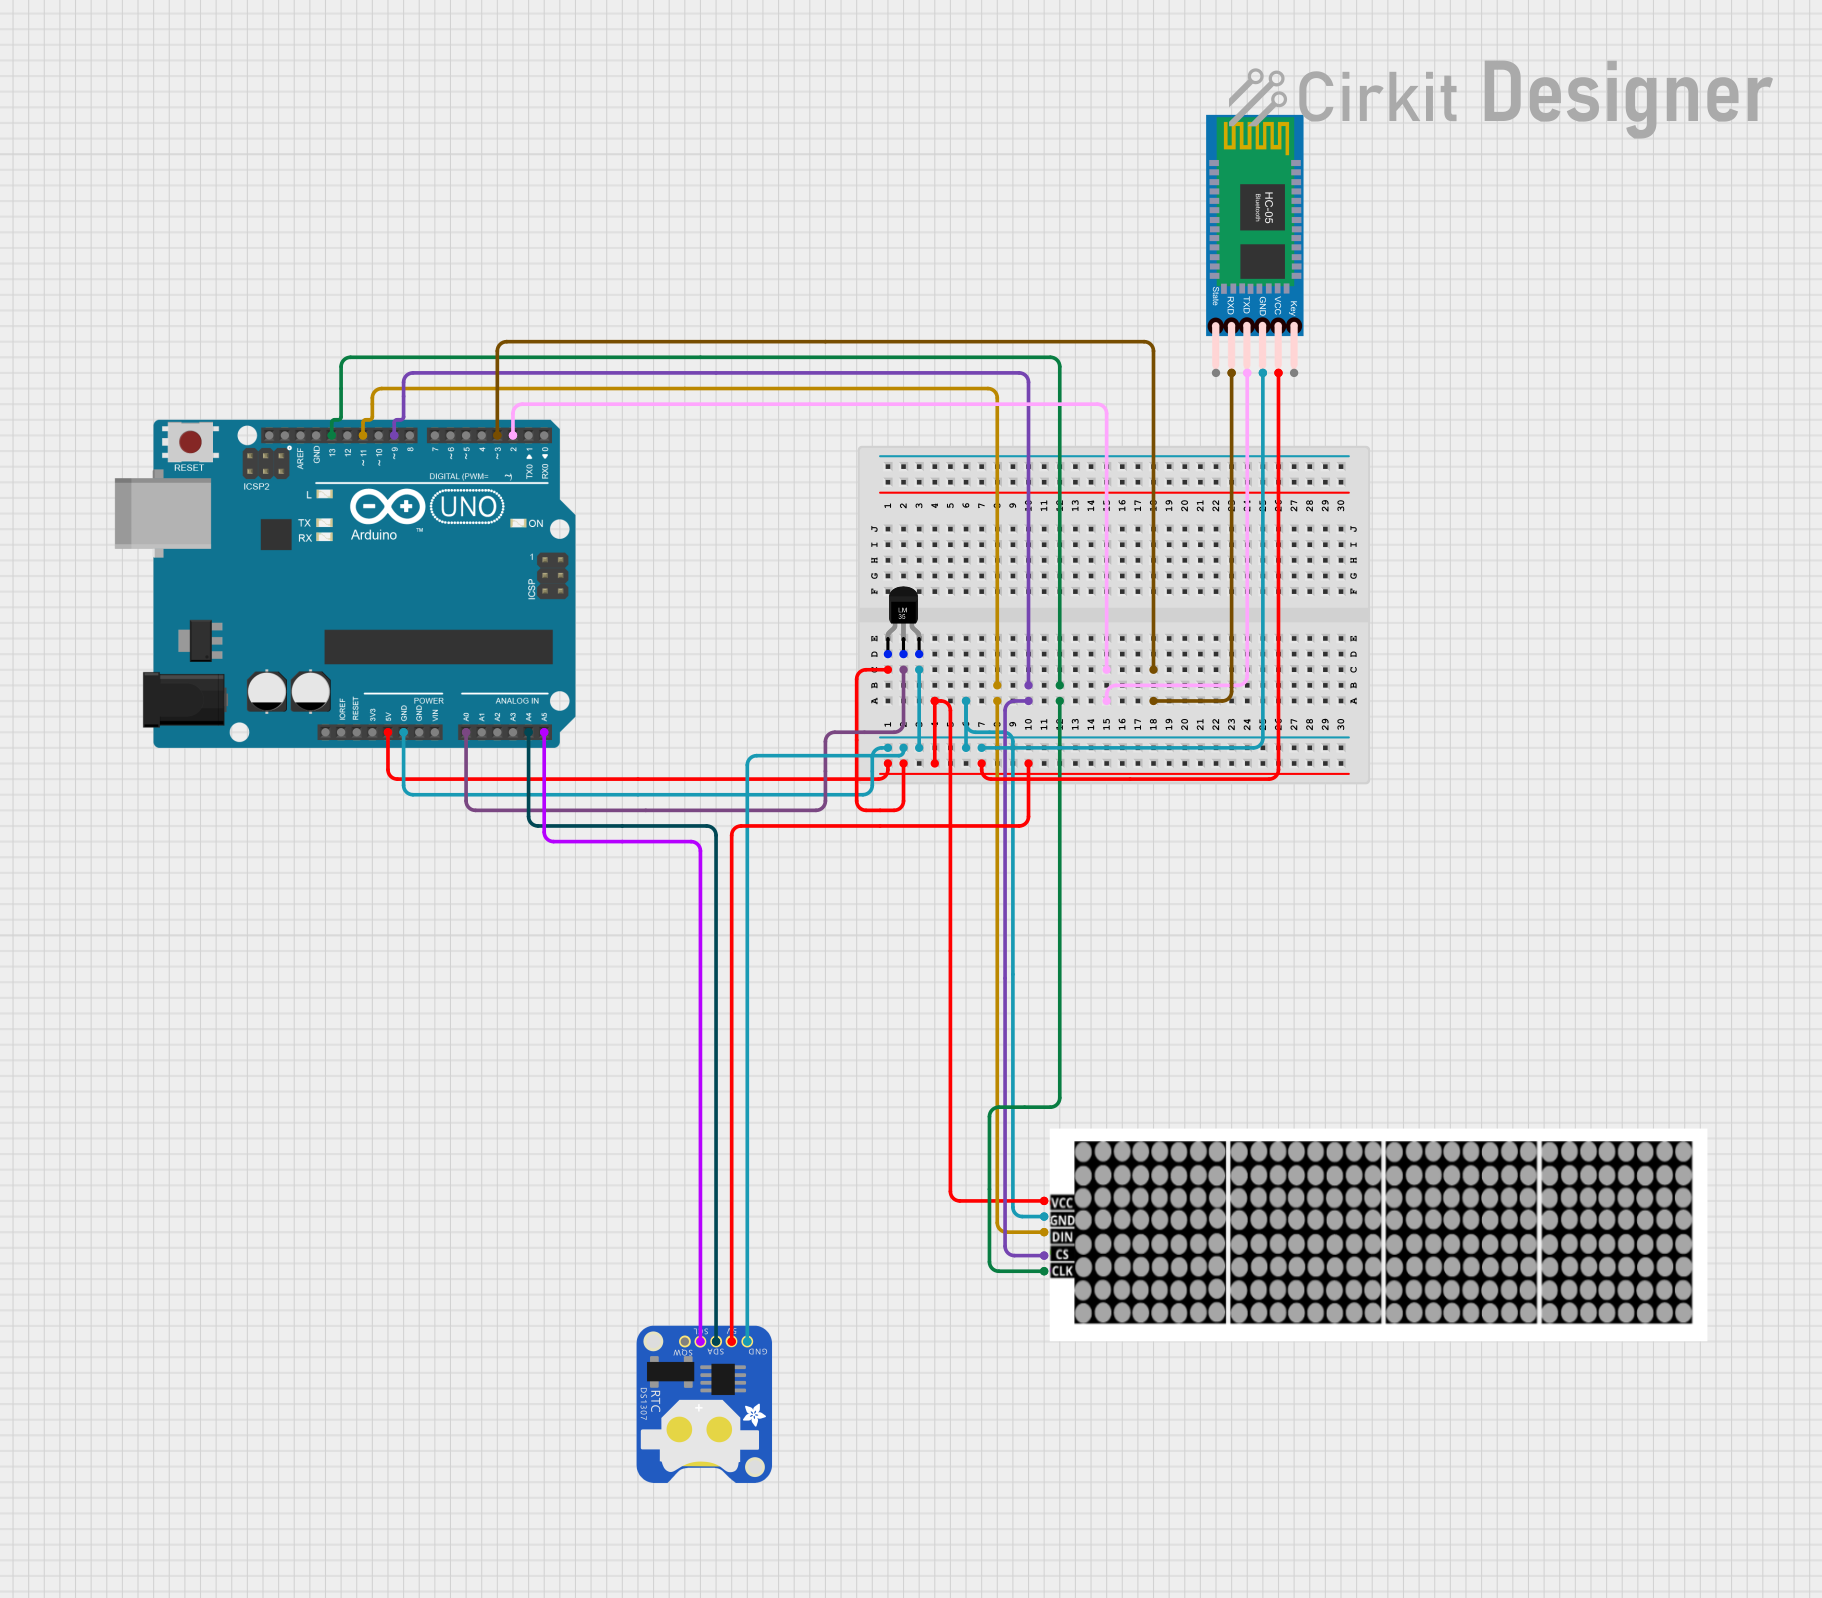 Open Project in Cirkit Designer
Explore Projects Built with Texas Instruments LM34 Fahrenheit Temperature Sensor
Open Project in Cirkit DesignerOpen Project in Cirkit DesignerOpen Project in Cirkit DesignerOpen Project in Cirkit DesignerCommon Applications:
- HVAC (Heating, Ventilation, and Air Conditioning) systems
- Industrial and home temperature monitoring
- Weather stations
- Consumer electronics requiring temperature sensing
- Battery management systems
Technical Specifications
The LM34 is designed for ease of use and high accuracy. Below are its key technical specifications:
| Parameter | Value |
|---|---|
| Supply Voltage (VCC) | 5V to 30V DC |
| Output Voltage Range | 0°F to 300°F (10mV/°F) |
| Accuracy | ±1.5°F (at 77°F) |
| Operating Temperature Range | -50°F to +300°F |
| Current Consumption | 6 µA (typical) |
| Output Impedance | 0.4 Ω |
| Package Types | TO-92, SOIC-8, TO-46 |
Pin Configuration
The LM34 is available in a 3-pin TO-92 package. Below is the pinout description:
| Pin Number | Pin Name | Description |
|---|---|---|
| 1 | VOUT | Analog voltage output proportional to temperature |
| 2 | GND | Ground connection |
| 3 | VCC | Positive supply voltage (5V to 30V DC) |
Usage Instructions
How to Use the LM34 in a Circuit
- Power Supply: Connect the VCC pin to a stable DC voltage source (5V is commonly used). Connect the GND pin to the ground of the circuit.
- Output Connection: The VOUT pin provides an analog voltage proportional to the temperature in Fahrenheit. For example, at 77°F, the output voltage will be 0.77V (10mV/°F).
- Load Impedance: Ensure the load impedance connected to the output is greater than 1 MΩ for accurate readings.
- Bypass Capacitor: Place a 0.1 µF capacitor between VCC and GND to reduce noise and improve stability.
Important Considerations:
- The LM34 is sensitive to ambient temperature changes. Ensure proper placement in the environment for accurate readings.
- Avoid exposing the sensor to moisture or corrosive environments, as this may degrade performance.
- Use shielded cables for long-distance connections to minimize noise interference.
Example: Connecting LM34 to an Arduino UNO
The LM34 can be easily interfaced with an Arduino UNO to read temperature values. Below is an example circuit and code:
Circuit Connections:
- Connect the LM34's VCC pin to the Arduino's 5V pin.
- Connect the GND pin to the Arduino's GND.
- Connect the VOUT pin to an analog input pin on the Arduino (e.g., A0).
Arduino Code:
// LM34 Temperature Sensor Example Code
// Reads temperature in Fahrenheit and displays it on the Serial Monitor

const int sensorPin = A0; // LM34 output connected to analog pin A0
float voltage;            // Variable to store the sensor's output voltage
float temperatureF;       // Variable to store the calculated temperature in Fahrenheit

void setup() {
  Serial.begin(9600); // Initialize serial communication at 9600 baud
}

void loop() {
  // Read the analog value from the sensor (0-1023)
  int sensorValue = analogRead(sensorPin);

  // Convert the analog value to voltage (assuming 5V reference)
  voltage = sensorValue * (5.0 / 1023.0);

  // Convert the voltage to temperature in Fahrenheit
  temperatureF = voltage * 100.0; // LM34 outputs 10mV per °F

  // Print the temperature to the Serial Monitor
  Serial.print("Temperature: ");
  Serial.print(temperatureF);
  Serial.println(" °F");

  delay(1000); // Wait for 1 second before the next reading
}
Best Practices:
- Use a stable power supply to avoid fluctuations in the output voltage.
- If the sensor is used in a noisy environment, consider adding a low-pass filter to the output.
Troubleshooting and FAQs
Common Issues and Solutions:
No Output Voltage:
- Ensure the sensor is powered correctly (check VCC and GND connections).
- Verify that the output pin is not shorted or connected to a low-impedance load.
Inaccurate Temperature Readings:
- Check for noise in the power supply or output signal. Add a bypass capacitor if needed.
- Ensure the sensor is not exposed to direct sunlight or heat sources that could skew readings.
Fluctuating Output:
- Verify that the load impedance is greater than 1 MΩ.
- Use shielded cables for long-distance connections to reduce noise.
FAQs:
Q: Can the LM34 measure temperatures below 0°F?
A: Yes, the LM34 can measure temperatures as low as -50°F. However, the output voltage will be negative for temperatures below 0°F, so additional circuitry may be required to handle negative voltages.
Q: Can I use the LM34 with a 3.3V microcontroller?
A: Yes, the LM34 can operate with a supply voltage as low as 5V. However, the output voltage range will be limited, and you may need to adjust the microcontroller's ADC reference voltage for accurate readings.
Q: How do I protect the LM34 in harsh environments?
A: Use a protective enclosure or conformal coating to shield the sensor from moisture, dust, and corrosive elements.
By following this documentation, you can effectively integrate the LM34 temperature sensor into your projects for accurate and reliable temperature measurements.