How to Use 2 pin dupont F: Examples, Pinouts, and Specs

Introduction
- The 2 pin Dupont connector is a widely used electrical connector in electronics prototyping and breadboarding. It consists of two pins housed in a plastic shell, designed for quick and reliable connections.
- Common applications include connecting sensors, modules, and other components to microcontrollers, breadboards, or other circuit elements. Its ease of use and versatility make it a staple in DIY electronics and professional prototyping.
Explore Projects Built with 2 pin dupont F


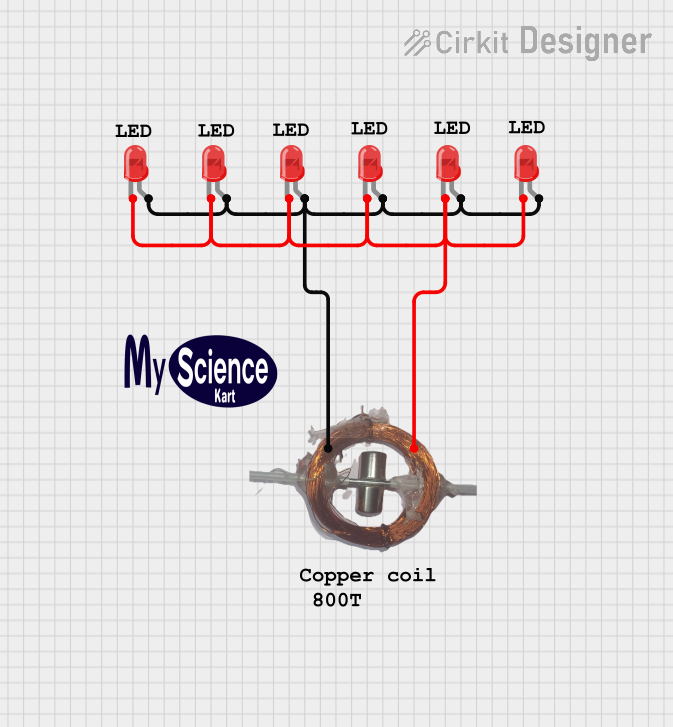

Explore Projects Built with 2 pin dupont F
Technical Specifications
- Connector Type: Dupont (2-pin)
- Pin Spacing: 2.54 mm (0.1 inch)
- Current Rating: Up to 3A (depending on wire gauge)
- Voltage Rating: Up to 250V
- Wire Compatibility: 22-28 AWG
- Material:
- Housing: Plastic (typically nylon or ABS)
- Pins: Tin-plated copper or brass
- Operating Temperature: -25°C to 85°C
Pin Configuration and Descriptions
| Pin Number | Description | Notes |
|---|---|---|
| 1 | Signal or Power Connection | Connects to the signal or VCC |
| 2 | Ground (GND) Connection | Connects to the circuit ground |
Usage Instructions
How to Use the 2 Pin Dupont Connector in a Circuit
- Prepare the Wires: Strip the insulation from the ends of the wires you want to connect (approximately 5-7 mm).
- Crimp the Pins: Use a Dupont crimping tool to attach the metal pins to the stripped wire ends. Ensure a secure connection by crimping both the conductor and insulation sections of the wire.
- Insert the Pins into the Housing: Push the crimped pins into the plastic housing until they click into place. Ensure the orientation matches your circuit requirements.
- Connect to the Circuit: Plug the Dupont connector into the corresponding male header pins on a breadboard, microcontroller, or other components.
Important Considerations and Best Practices
- Wire Gauge: Use wires within the recommended range (22-28 AWG) to ensure proper crimping and electrical conductivity.
- Crimping Tool: Always use a dedicated Dupont crimping tool for reliable and durable connections.
- Polarity: Double-check the polarity of the connections (e.g., signal vs. ground) to avoid damaging components.
- Secure Connections: If the connector will be subject to movement or vibration, consider using heat shrink tubing or cable ties to secure the wires.
Example: Connecting to an Arduino UNO
The 2 pin Dupont connector is commonly used to connect sensors or modules to an Arduino UNO. Below is an example of connecting a simple push-button to an Arduino using a 2 pin Dupont connector.
Circuit Diagram
- Pin 1 (Signal): Connects to Arduino digital pin 2.
- Pin 2 (GND): Connects to Arduino GND.
Arduino Code
// Example code for using a push-button with a 2 pin Dupont connector
// connected to an Arduino UNO. The button state is read and printed
// to the Serial Monitor.

const int buttonPin = 2;  // Pin connected to the button's signal pin
int buttonState = 0;      // Variable to store the button state

void setup() {
  pinMode(buttonPin, INPUT);  // Set the button pin as an input
  Serial.begin(9600);        // Initialize serial communication
}

void loop() {
  buttonState = digitalRead(buttonPin);  // Read the button state

  // Print the button state to the Serial Monitor
  if (buttonState == HIGH) {
    Serial.println("Button Pressed");
  } else {
    Serial.println("Button Released");
  }

  delay(100);  // Small delay to debounce the button
}
Troubleshooting and FAQs
Common Issues
Loose Connections:
- Cause: Improper crimping or incorrect insertion of pins into the housing.
- Solution: Re-crimp the pins using a proper Dupont crimping tool and ensure they are securely inserted into the housing.
Intermittent Signal:
- Cause: Poor contact between the Dupont connector and the header pins.
- Solution: Ensure the connector is fully seated on the header pins. If the issue persists, check for damaged pins or replace the connector.
Connector Does Not Fit:
- Cause: Incorrect pin spacing or incompatible header.
- Solution: Verify that the header pins have a 2.54 mm spacing. Use a compatible connector if necessary.
FAQs
Q: Can I use the 2 pin Dupont connector for high-current applications?
A: The connector is rated for up to 3A, but this depends on the wire gauge and crimp quality. For higher currents, consider using connectors specifically designed for high-power applications.Q: How do I remove a pin from the housing?
A: Use a small flathead screwdriver or a Dupont pin removal tool to gently press the locking tab inside the housing and pull the pin out.Q: Can I reuse the plastic housing and pins?
A: The housing can be reused if undamaged. However, crimped pins are typically not reusable as they may lose their integrity when removed.