How to Use Electrocookie Uno Propboard: Examples, Pinouts, and Specs
Introduction
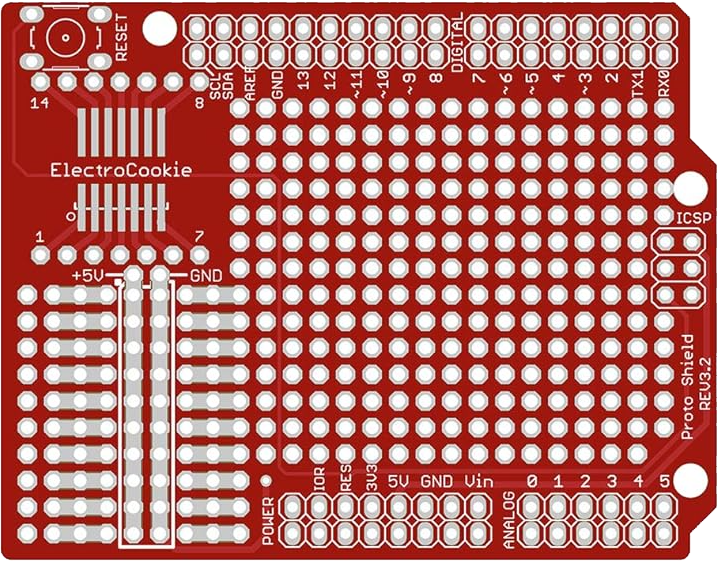
The Electrocookie Uno Propboard is a versatile prototyping board designed by ElectroCookie to simplify circuit assembly and experimentation. It is tailored for use with the Arduino Uno, featuring a breadboard-style layout and integrated connections that make it easy to prototype and test electronic circuits. The board is ideal for hobbyists, students, and professionals who need a reliable and reusable platform for rapid prototyping.
Explore Projects Built with Electrocookie Uno Propboard
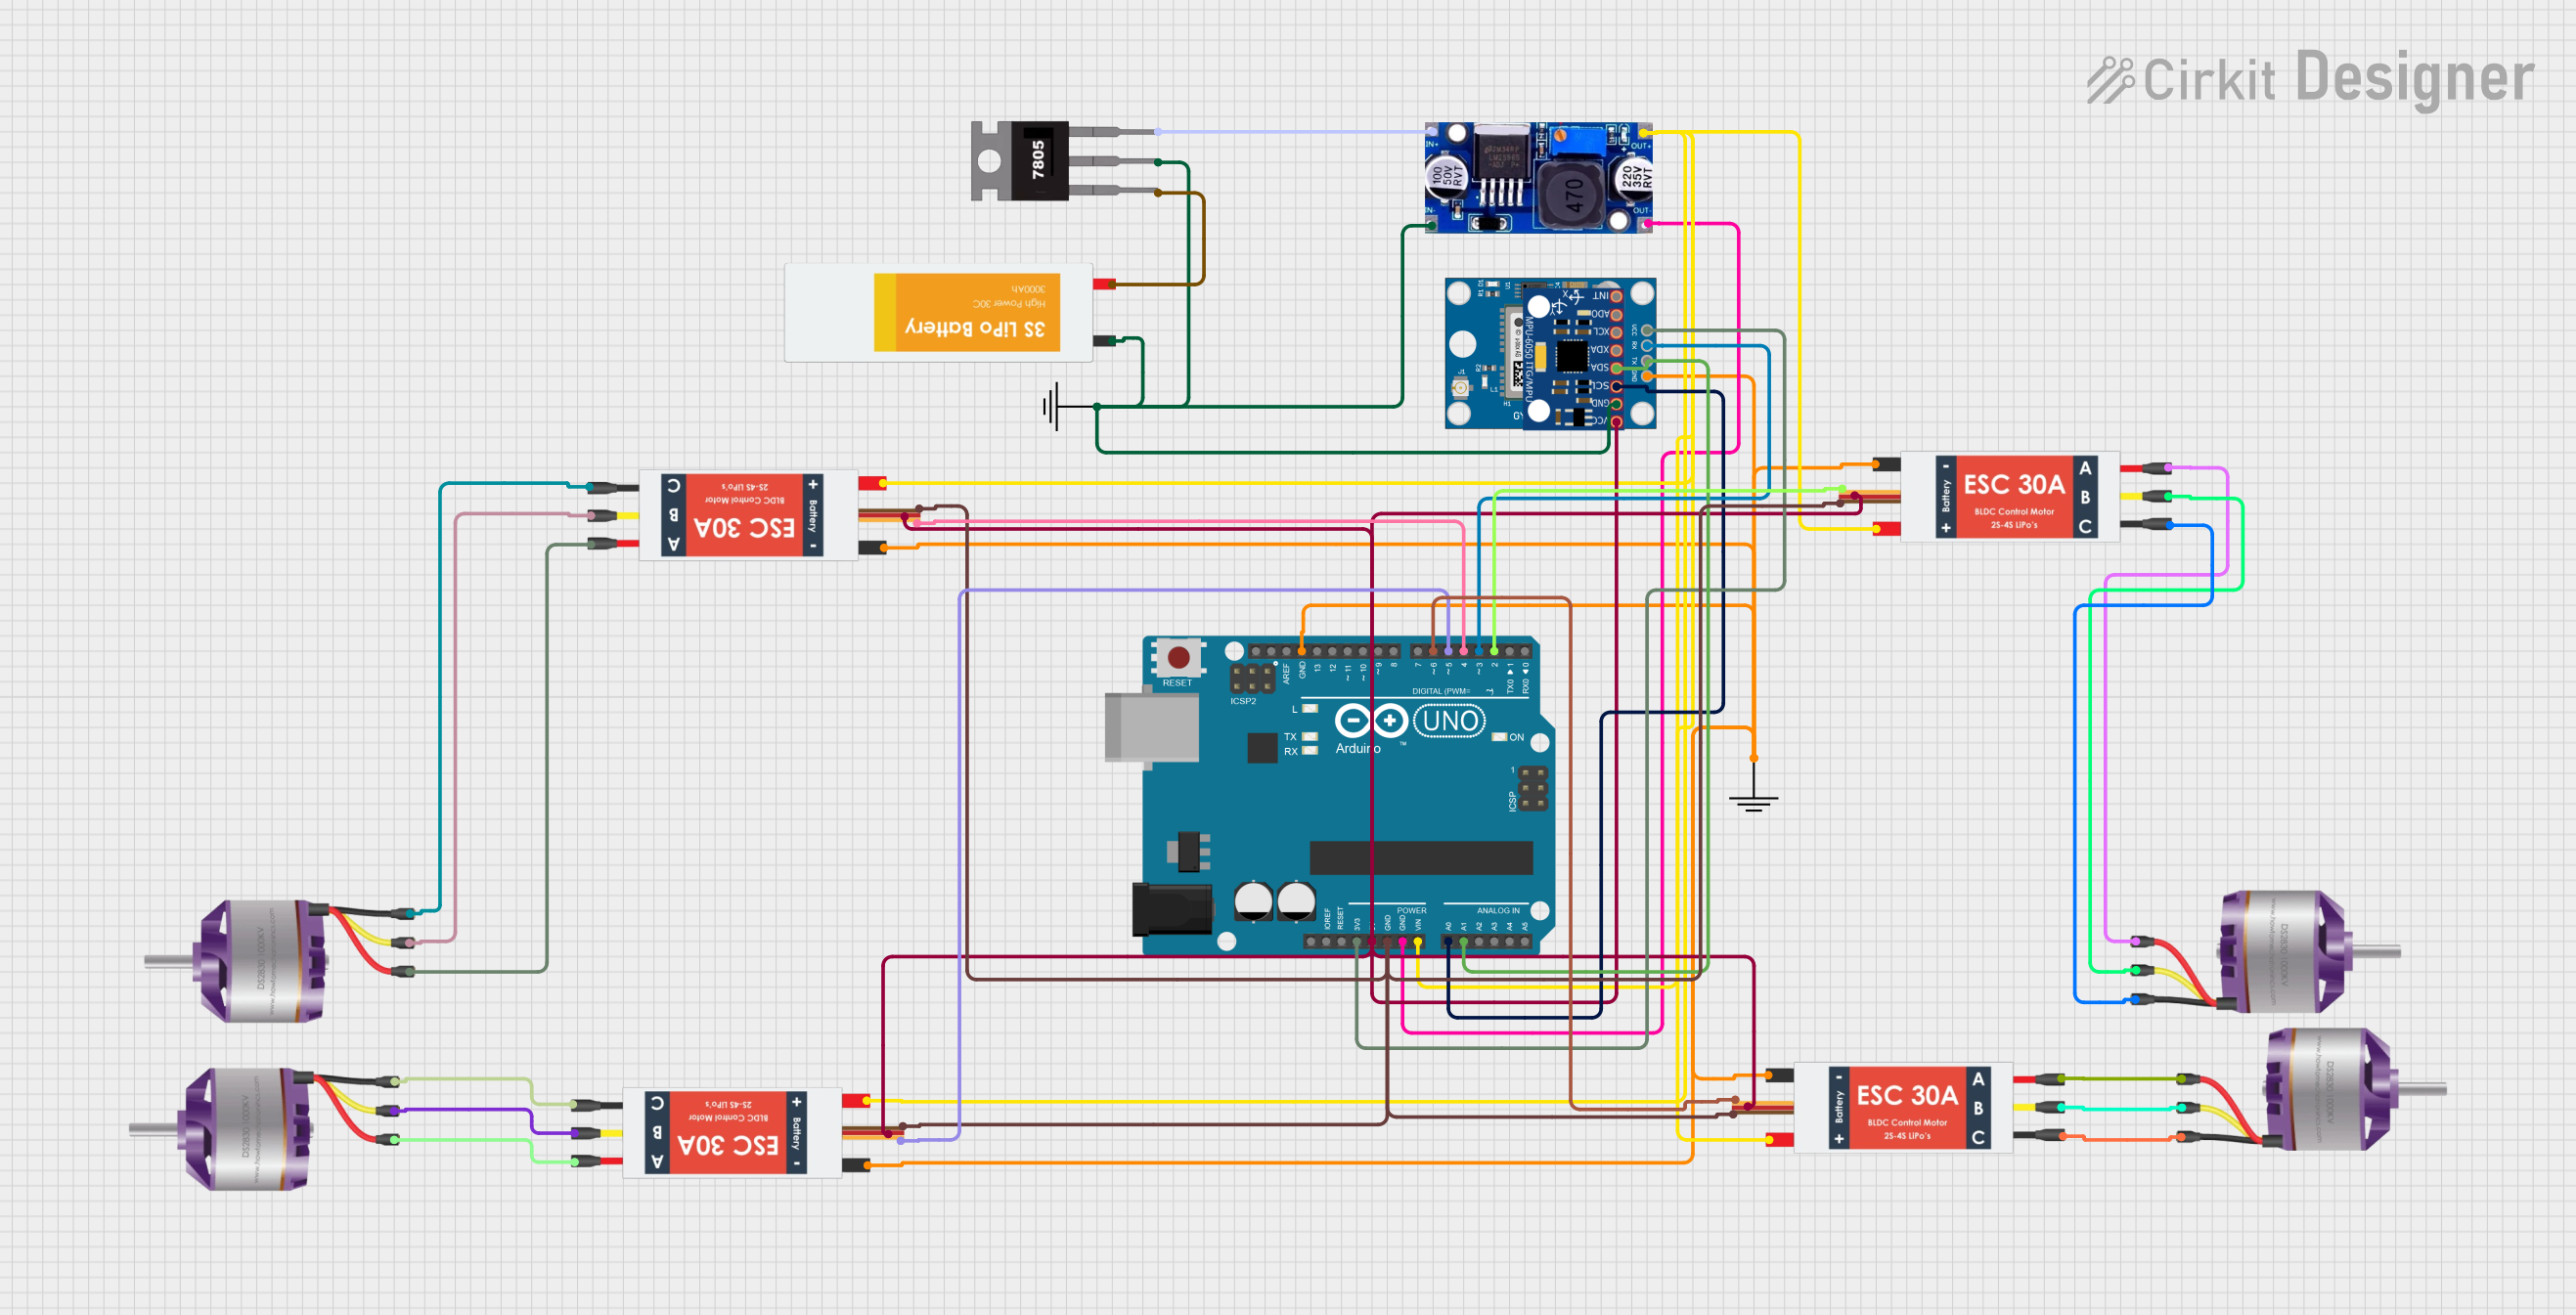
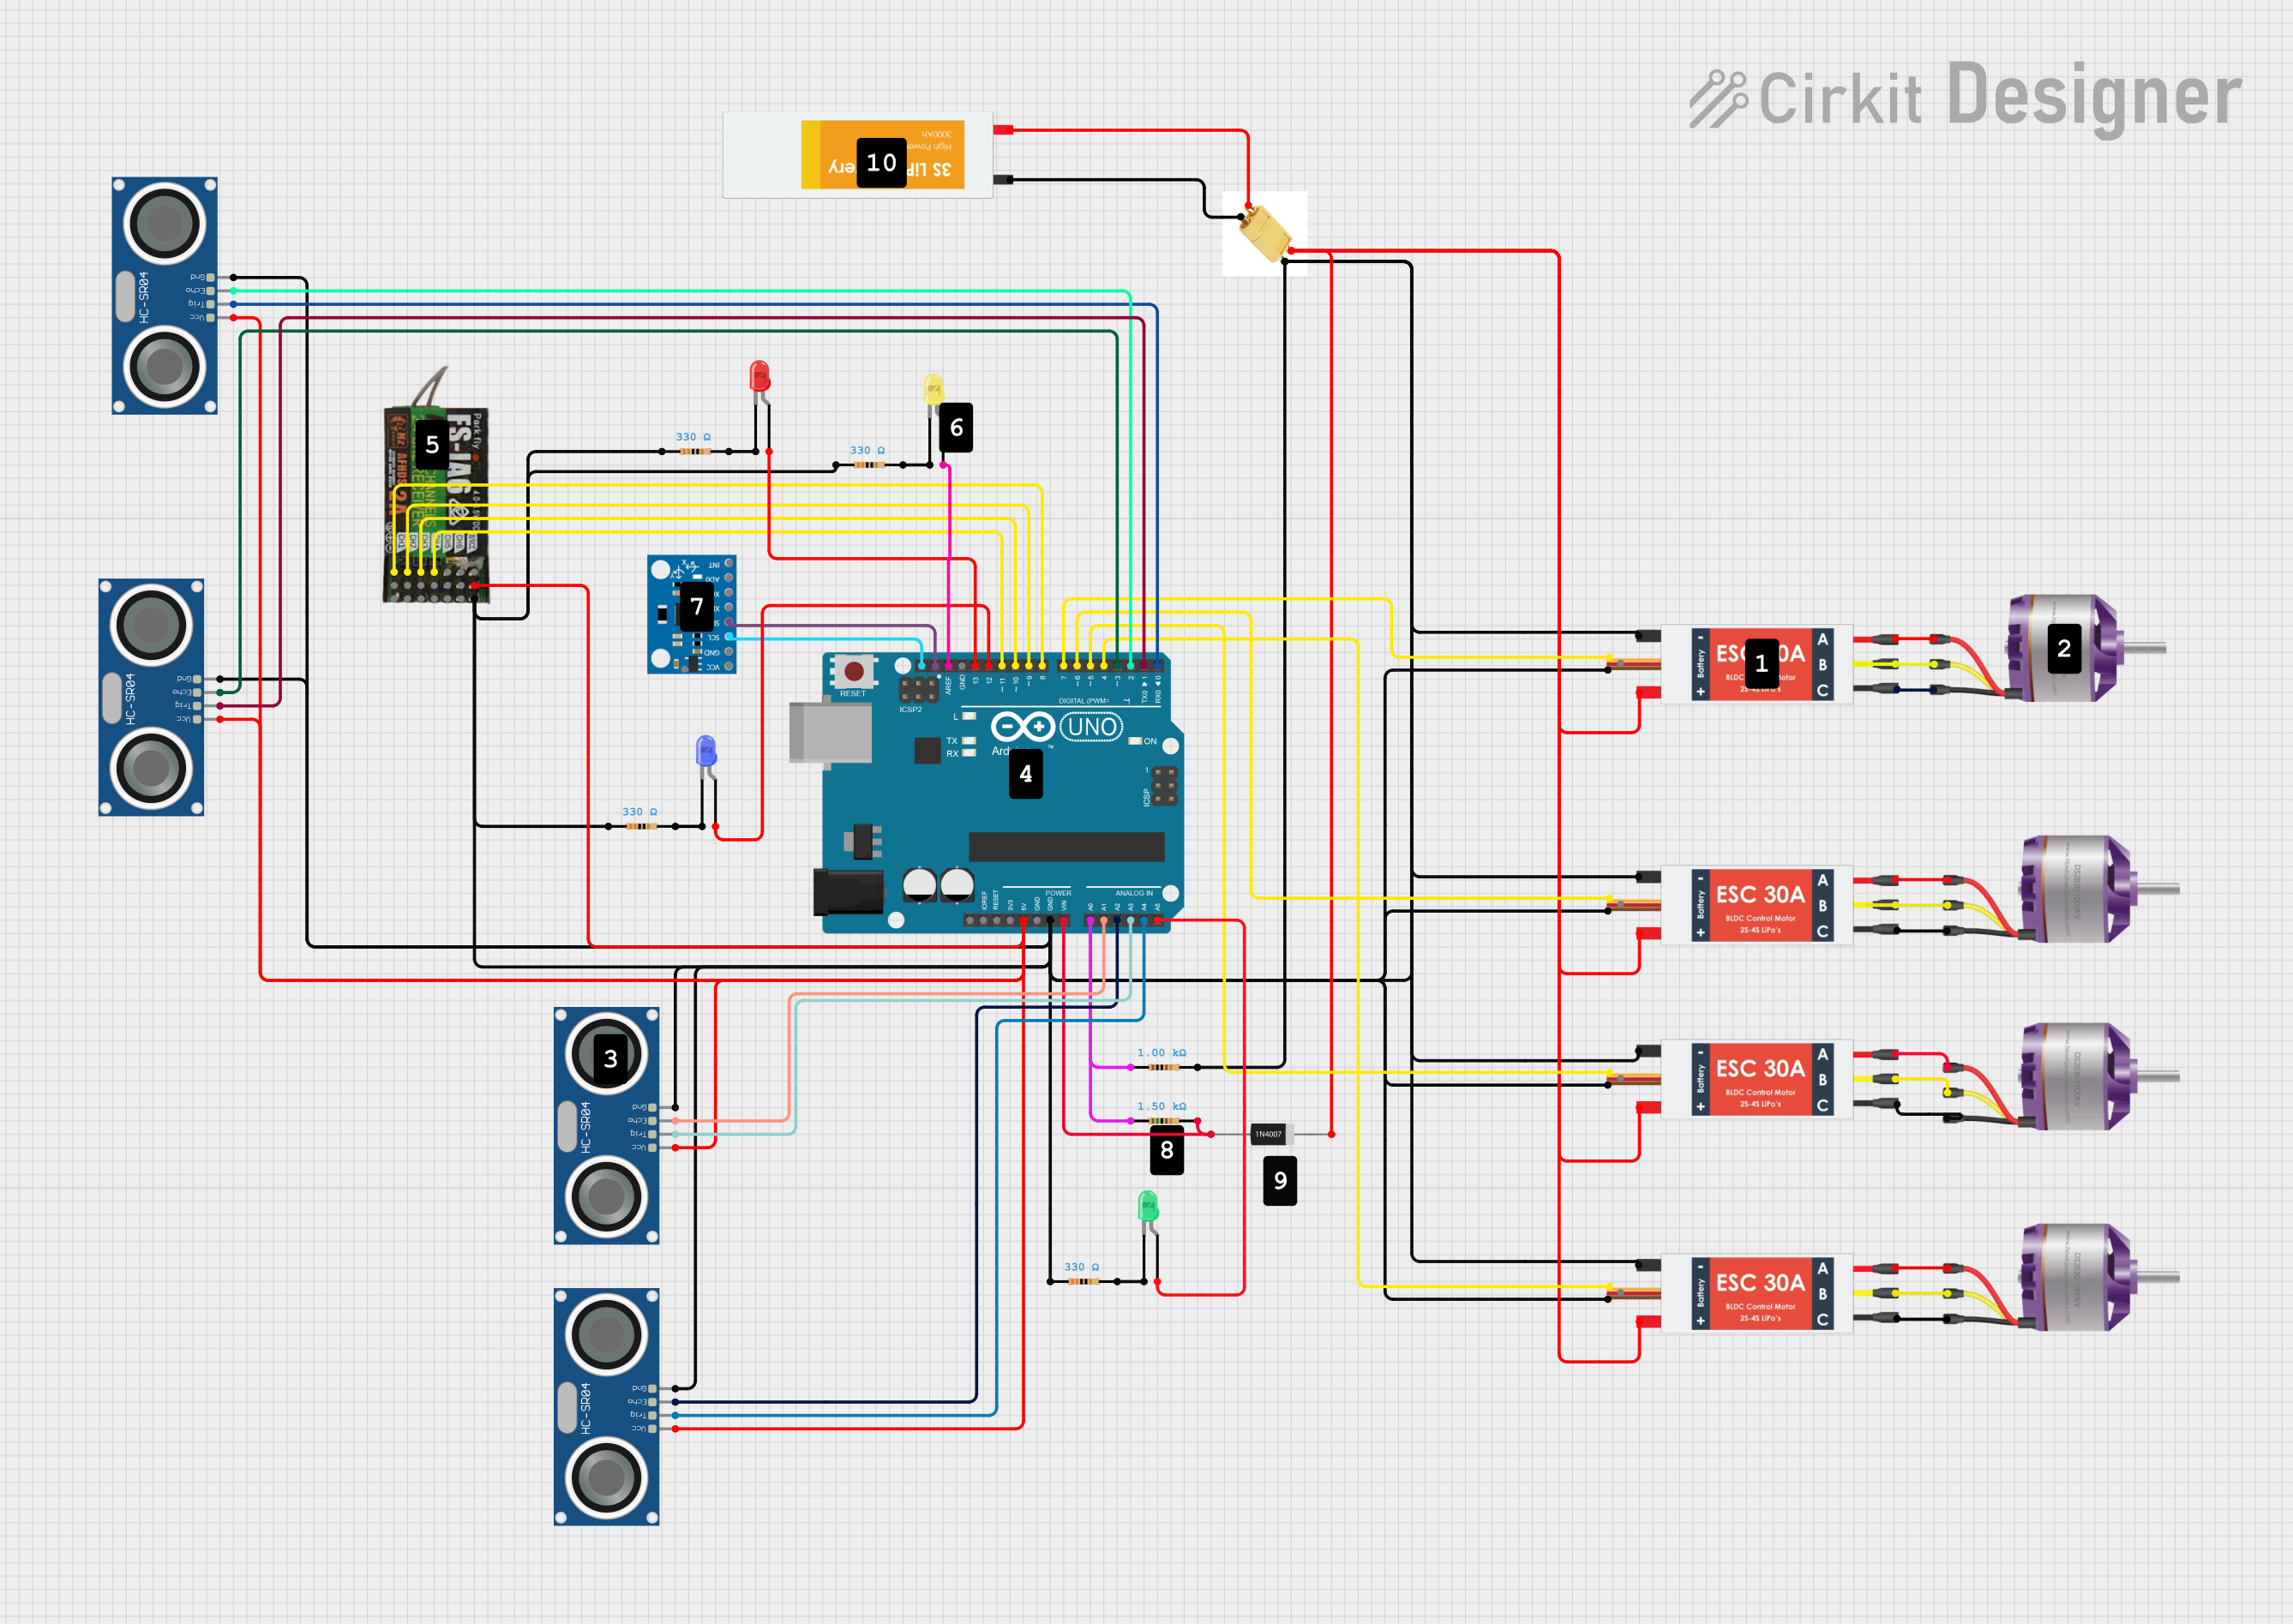
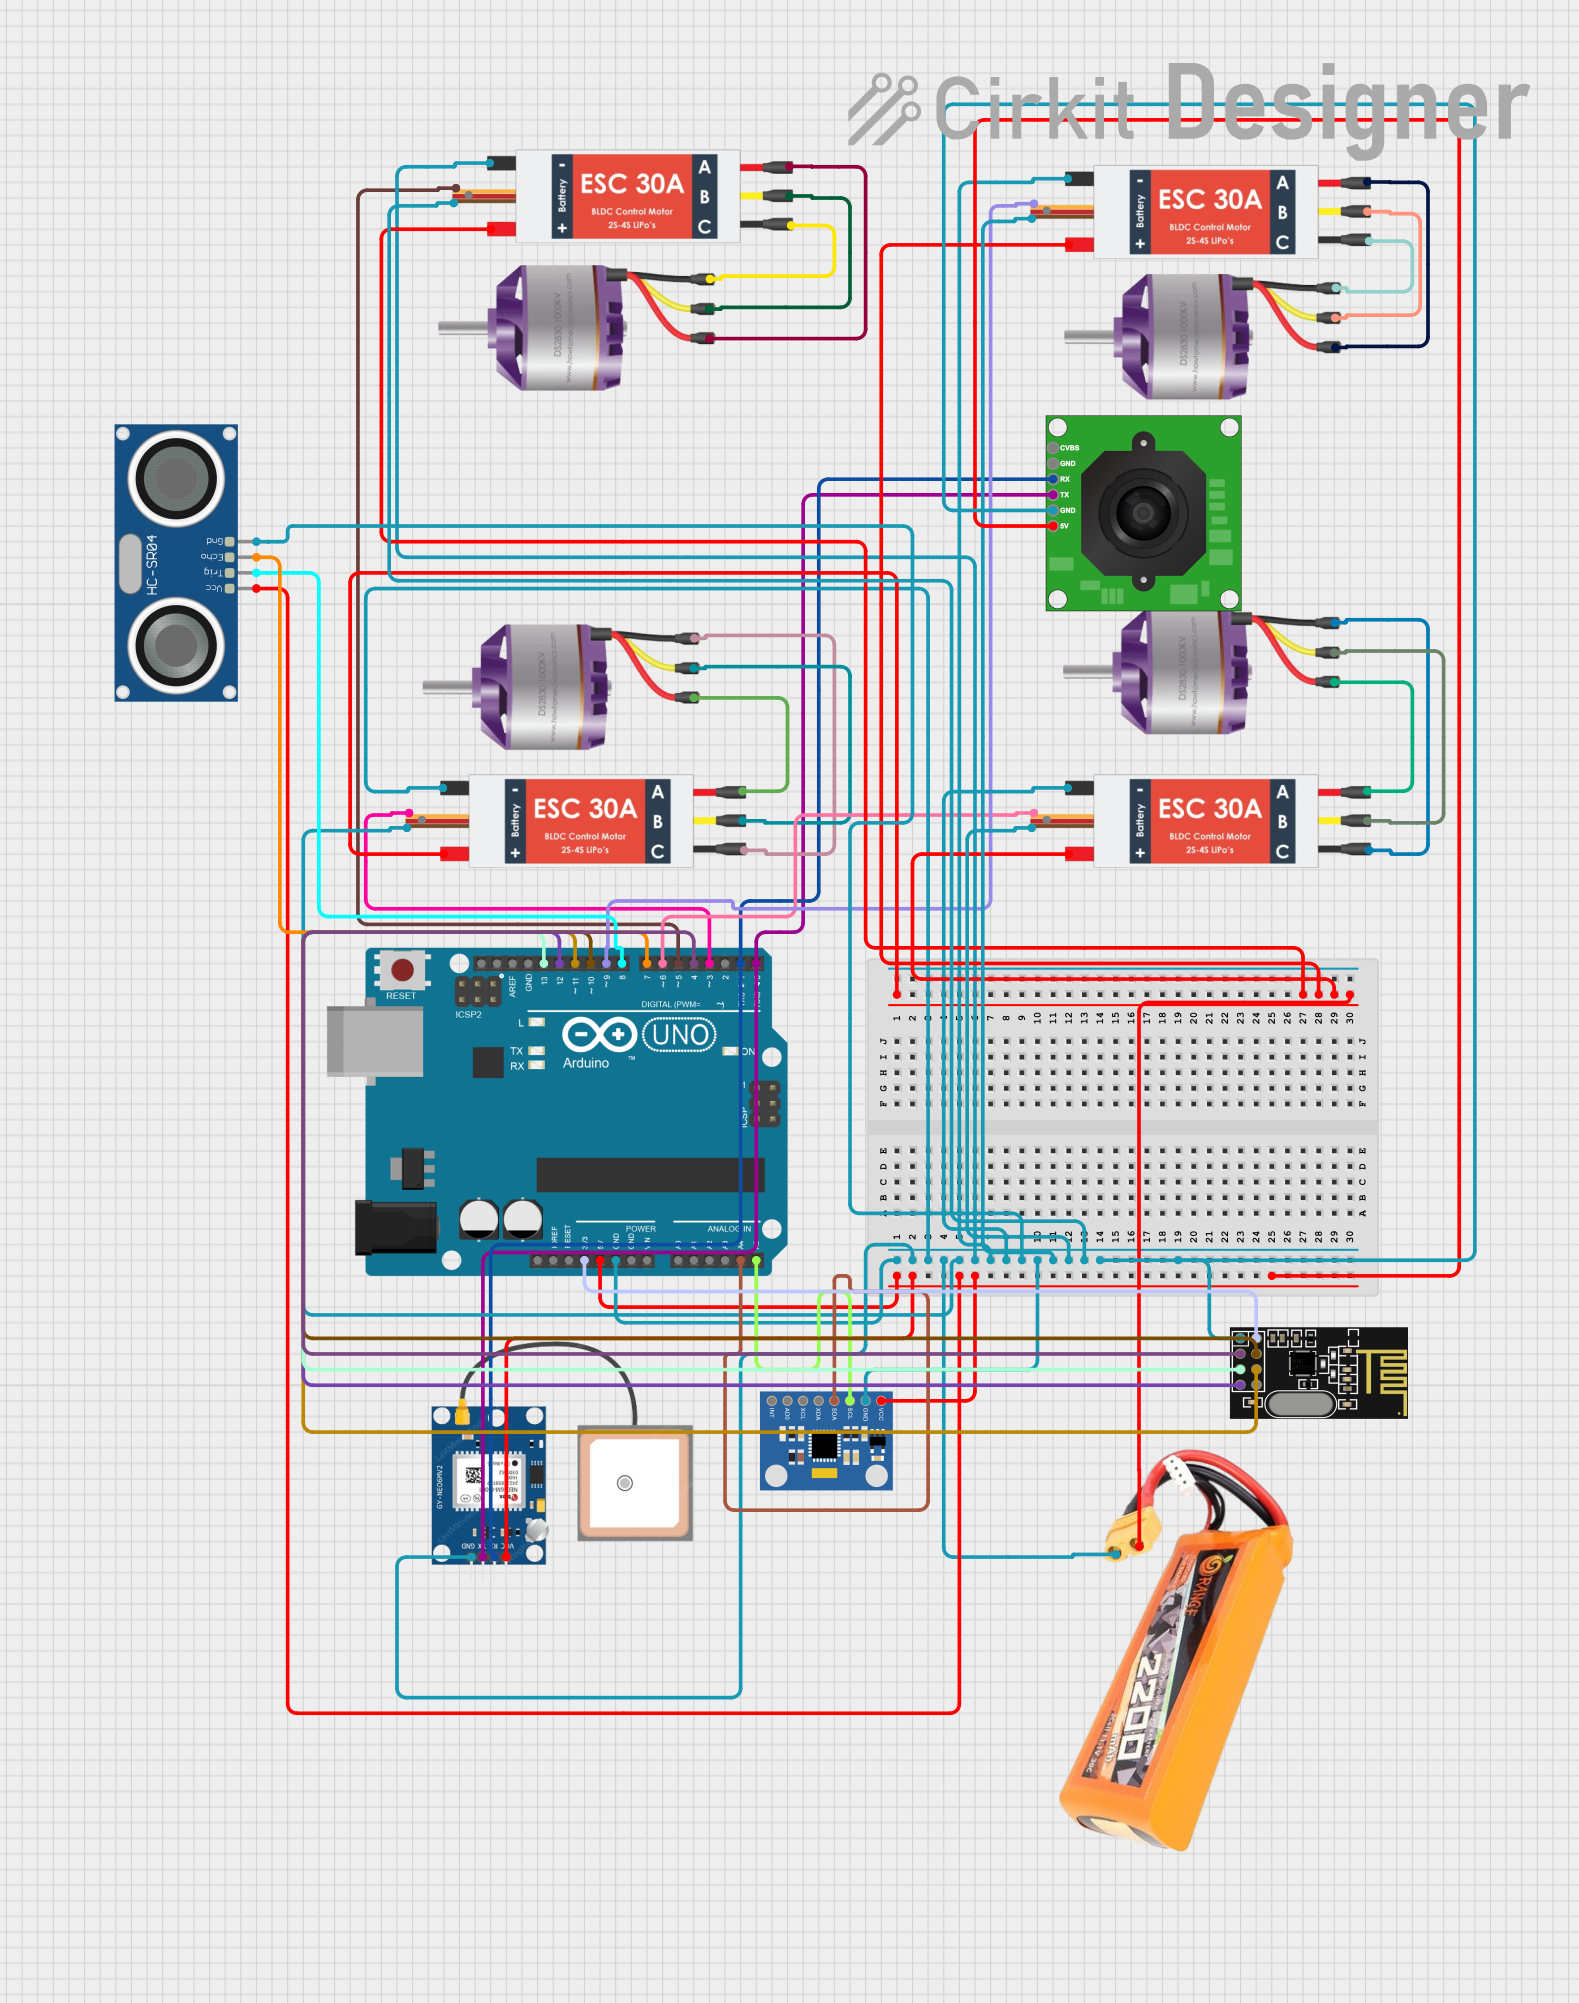
Explore Projects Built with Electrocookie Uno Propboard
Common Applications and Use Cases
- Rapid prototyping of Arduino-based circuits
- Educational projects and STEM learning
- Testing and debugging electronic components
- Building and experimenting with sensor modules
- Creating small-scale IoT or robotics projects
Technical Specifications
The Electrocookie Uno Propboard is designed to complement the Arduino Uno and includes features that enhance usability and flexibility.
Key Technical Details
- Dimensions: Matches the Arduino Uno footprint (70mm x 55mm)
- Material: High-quality FR4 PCB with solder mask
- Breadboard Layout: 400 tie-points equivalent
- Integrated Power Rails: 5V and GND rails for easy power distribution
- Voltage Compatibility: Supports 3.3V and 5V logic levels
- Connection Type: Solderable pads and pre-routed traces
- Weight: Approximately 30 grams
- Operating Temperature: -40°C to 85°C
Pin Configuration and Descriptions
The Electrocookie Uno Propboard includes labeled solder pads and connections that align with the Arduino Uno's pinout. Below is a table summarizing the key pin configurations:
| Pin Name | Description |
|---|---|
| VIN | Input voltage pin for external power (7-12V recommended) |
| GND | Ground connection for the circuit |
| 5V | Regulated 5V output from the Arduino Uno |
| 3.3V | Regulated 3.3V output from the Arduino Uno |
| Digital Pins | D0-D13: Digital I/O pins for general-purpose use |
| Analog Pins | A0-A5: Analog input pins for reading sensor data |
| Reset | Reset pin to restart the Arduino Uno |
| Power Rails | Dedicated 5V and GND rails for easy power distribution across the board |
Usage Instructions
The Electrocookie Uno Propboard is designed for ease of use, even for beginners. Follow the steps below to get started:
How to Use the Component in a Circuit
- Attach the Propboard to the Arduino Uno: Align the Propboard with the Arduino Uno's pin headers and press it firmly into place.
- Plan Your Circuit: Use the breadboard-style layout to design your circuit. The integrated power rails simplify power distribution.
- Connect Components: Solder components to the Propboard or use jumper wires for temporary connections.
- Upload Code to Arduino Uno: Write and upload your Arduino sketch using the Arduino IDE.
- Test Your Circuit: Power the Arduino Uno and observe the behavior of your circuit.
Important Considerations and Best Practices
- Avoid Short Circuits: Double-check connections to ensure there are no unintended shorts.
- Use Proper Voltage Levels: Ensure components are compatible with the 3.3V or 5V logic levels provided by the Arduino Uno.
- Secure Connections: For permanent projects, solder components to the Propboard for reliable connections.
- Label Your Circuit: Use the labeled pinouts on the Propboard to keep track of connections.
Example Code for Arduino Uno
Below is an example of how to use the Electrocookie Uno Propboard with an LED and a resistor:
// Example: Blink an LED using the Electrocookie Uno Propboard
// Connect the LED's anode (+) to digital pin 13 and cathode (-) to GND
// Use a 220-ohm resistor in series with the LED to limit current

const int ledPin = 13; // Pin connected to the LED

void setup() {
  pinMode(ledPin, OUTPUT); // Set the LED pin as an output
}

void loop() {
  digitalWrite(ledPin, HIGH); // Turn the LED on
  delay(1000);               // Wait for 1 second
  digitalWrite(ledPin, LOW);  // Turn the LED off
  delay(1000);               // Wait for 1 second
}
Troubleshooting and FAQs
Common Issues Users Might Face
- Loose Connections: Components may not work if connections are not secure.
- Solution: Ensure all components are firmly soldered or connected with jumper wires.
- Power Issues: The circuit may not function if the power supply is insufficient.
- Solution: Verify that the Arduino Uno is powered correctly and that the Propboard's power rails are connected.
- Incorrect Pin Mapping: Misaligned connections can cause unexpected behavior.
- Solution: Double-check the pin labels on the Propboard and ensure they match your circuit design.
Solutions and Tips for Troubleshooting
- Use a Multimeter: Check for continuity and proper voltage levels across the circuit.
- Inspect Solder Joints: Ensure solder joints are clean and free of bridges.
- Test Components Individually: Isolate and test each component to identify potential issues.
- Refer to Arduino IDE Serial Monitor: Use the Serial Monitor to debug your code and verify sensor readings.
By following this documentation, you can effectively use the Electrocookie Uno Propboard to prototype and test your electronic circuits with ease.