
How to Use CANhat: Examples, Pinouts, and Specs
 Design with CANhat in Cirkit Designer
Introduction
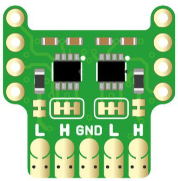
The CANhat by Fusion Tech (Part ID: Dual CAN-Bus adapter for Teensy 4.0) is a versatile CAN (Controller Area Network) interface board designed for use with Raspberry Pi. It enables seamless communication with CAN bus systems, which are widely used in automotive, industrial, and embedded applications. The CANhat simplifies the process of integrating Raspberry Pi into CAN-based networks, making it an ideal choice for prototyping, diagnostics, and real-world deployments.
Explore Projects Built with CANhat
 Open Project in Cirkit Designer
 Open Project in Cirkit Designer
 Open Project in Cirkit Designer
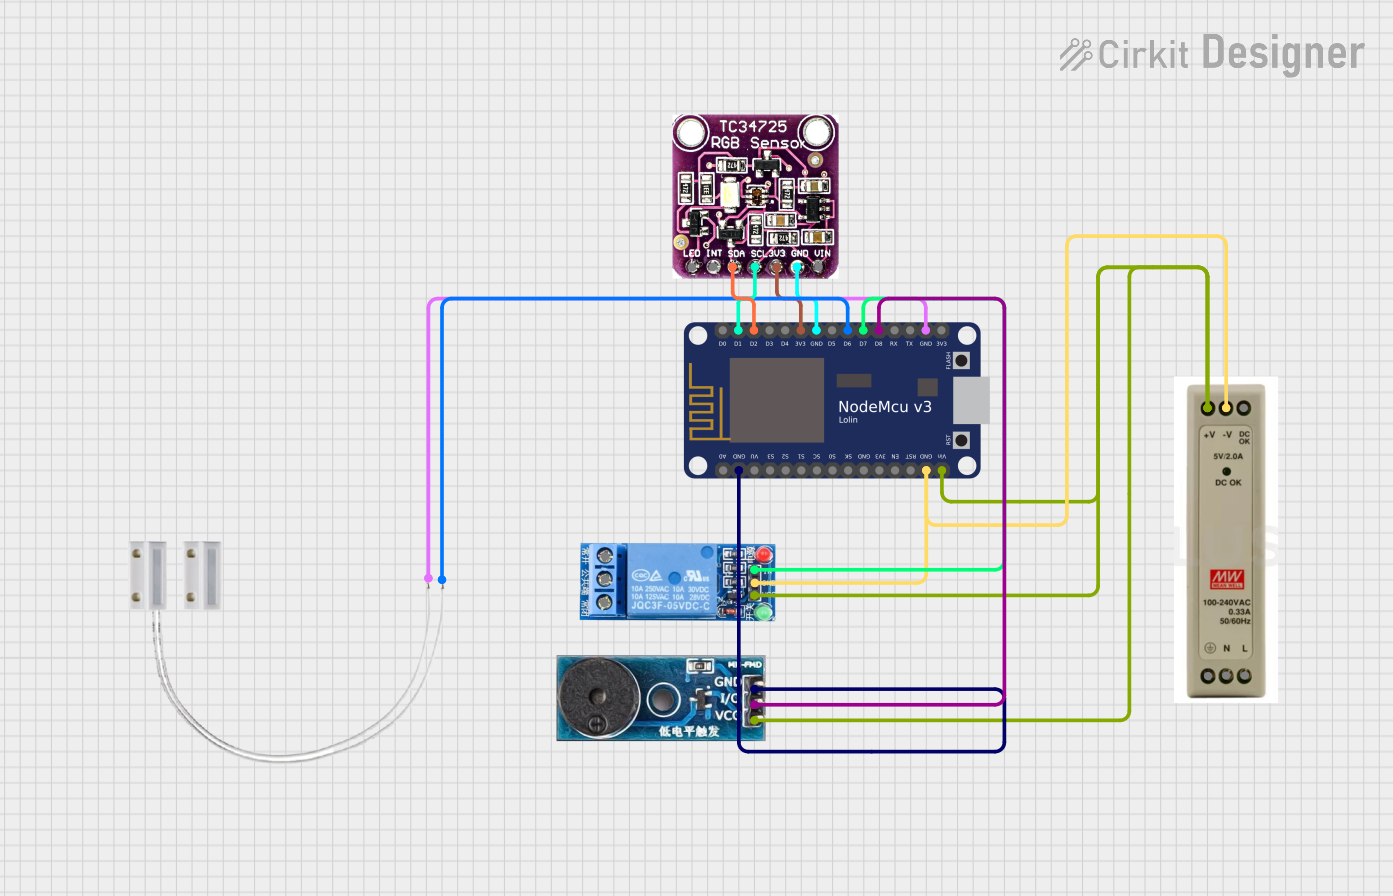
 Open Project in Cirkit Designer
Explore Projects Built with CANhat

 Open Project in Cirkit Designer
 Open Project in Cirkit Designer
 Open Project in Cirkit Designer
 Open Project in Cirkit Designer
Common Applications and Use Cases
- Automotive diagnostics and communication
- Industrial automation and control systems
- Robotics and embedded systems
- IoT devices requiring CAN bus communication
- Data logging and monitoring in CAN networks
Technical Specifications
The CANhat is designed to provide robust and reliable communication with CAN bus systems. Below are its key technical details:
General Specifications
| Parameter | Value |
|---|---|
| Manufacturer | Fusion Tech |
| Part ID | Dual CAN-Bus adapter for Teensy 4.0 |
| Communication Protocol | CAN (Controller Area Network) |
| Operating Voltage | 3.3V / 5V (via Raspberry Pi GPIO) |
| CAN Transceivers | Dual MCP2551 transceivers |
| Supported CAN Speeds | Up to 1 Mbps |
| Dimensions | 65mm x 56mm x 15mm |
| Operating Temperature | -40°C to 85°C |
Pin Configuration and Descriptions
The CANhat connects to the Raspberry Pi via the GPIO header. Below is the pinout for the CANhat:
| Pin Number | Pin Name | Description |
|---|---|---|
| 2 | 5V | Power supply for the CANhat |
| 6 | GND | Ground connection |
| 8 | TXD | UART transmit pin for CAN communication |
| 10 | RXD | UART receive pin for CAN communication |
| 12 | INT | Interrupt pin for CAN controller |
| 16 | CS | Chip Select for SPI communication |
| 19 | MOSI | SPI Master Out Slave In |
| 21 | MISO | SPI Master In Slave Out |
| 23 | SCK | SPI Clock |
Usage Instructions
The CANhat is designed to be plug-and-play with Raspberry Pi. Follow the steps below to use the CANhat in your project:
Step 1: Hardware Setup
- Attach the CANhat: Align the CANhat with the Raspberry Pi GPIO header and press it firmly into place.
- Connect to the CAN bus: Use the onboard screw terminals to connect the CAN_H (high) and CAN_L (low) lines to your CAN bus network.
- Power the Raspberry Pi: The CANhat will draw power directly from the Raspberry Pi's 5V GPIO pin.
Step 2: Software Setup
Install Required Libraries: The CANhat uses the MCP2515 CAN controller. Install the necessary libraries and drivers:
sudo apt-get update
sudo apt-get install can-utils
Enable SPI on Raspberry Pi: Use
raspi-configto enable SPI:sudo raspi-configNavigate to
Interfacing Options > SPIand enable it.Configure CAN Interface: Add the following lines to
/boot/config.txtto configure the CANhat:dtparam=spi=on dtoverlay=mcp2515-can0,oscillator=16000000,interrupt=25 dtoverlay=spi-bcm2835Reboot the Raspberry Pi:
sudo rebootBring up the CAN Interface:
sudo ip link set can0 up type can bitrate 500000
Step 3: Sending and Receiving CAN Messages
Send a CAN Message:
cansend can0 123#DEADBEEFThis sends a CAN message with ID
123and dataDEADBEEF.Receive CAN Messages:
candump can0This listens for incoming CAN messages on the
can0interface.
Important Considerations and Best Practices
- Ensure the CAN bus is properly terminated with 120-ohm resistors at both ends.
- Use a stable power supply for the Raspberry Pi to avoid communication issues.
- Match the CAN bus bitrate with the devices on the network to ensure compatibility.
- Avoid long, unshielded wires to minimize noise and signal degradation.
Troubleshooting and FAQs
Common Issues and Solutions
Issue: CANhat is not detected by the Raspberry Pi.
- Solution: Ensure SPI is enabled in
raspi-config. Check the GPIO connections and ensure the CANhat is seated properly.
- Solution: Ensure SPI is enabled in
Issue: Unable to send or receive CAN messages.
- Solution: Verify the CAN bus wiring and ensure proper termination with 120-ohm resistors. Check that the bitrate matches the other devices on the network.
Issue:
candumpshows no messages.- Solution: Ensure the CAN bus is active and other devices are transmitting messages. Double-check the CAN_H and CAN_L connections.
Issue: Raspberry Pi fails to boot after modifying
/boot/config.txt.- Solution: Remove the CANhat and edit
/boot/config.txtto correct any errors. Ensure the overlay parameters are entered correctly.
- Solution: Remove the CANhat and edit
FAQs
Q: Can I use the CANhat with other single-board computers?
A: The CANhat is designed for Raspberry Pi but can be adapted for other SBCs with SPI and GPIO support.
Q: What is the maximum supported CAN speed?
A: The CANhat supports speeds up to 1 Mbps.
Q: Does the CANhat support dual CAN channels?
A: No, this version of the CANhat supports a single CAN channel.
Q: Can I use the CANhat for automotive applications?
A: Yes, the CANhat is suitable for automotive diagnostics and communication, provided it is used within its operating specifications.
By following this documentation, you can effectively integrate the CANhat into your Raspberry Pi projects and leverage its capabilities for CAN bus communication.