How to Use saklar: Examples, Pinouts, and Specs
Introduction
A saklar, commonly referred to as a switch, is an essential electronic component used to open or close an electrical circuit. By toggling its state, a saklar either allows or interrupts the flow of current, enabling control over connected devices or systems.
Explore Projects Built with saklar

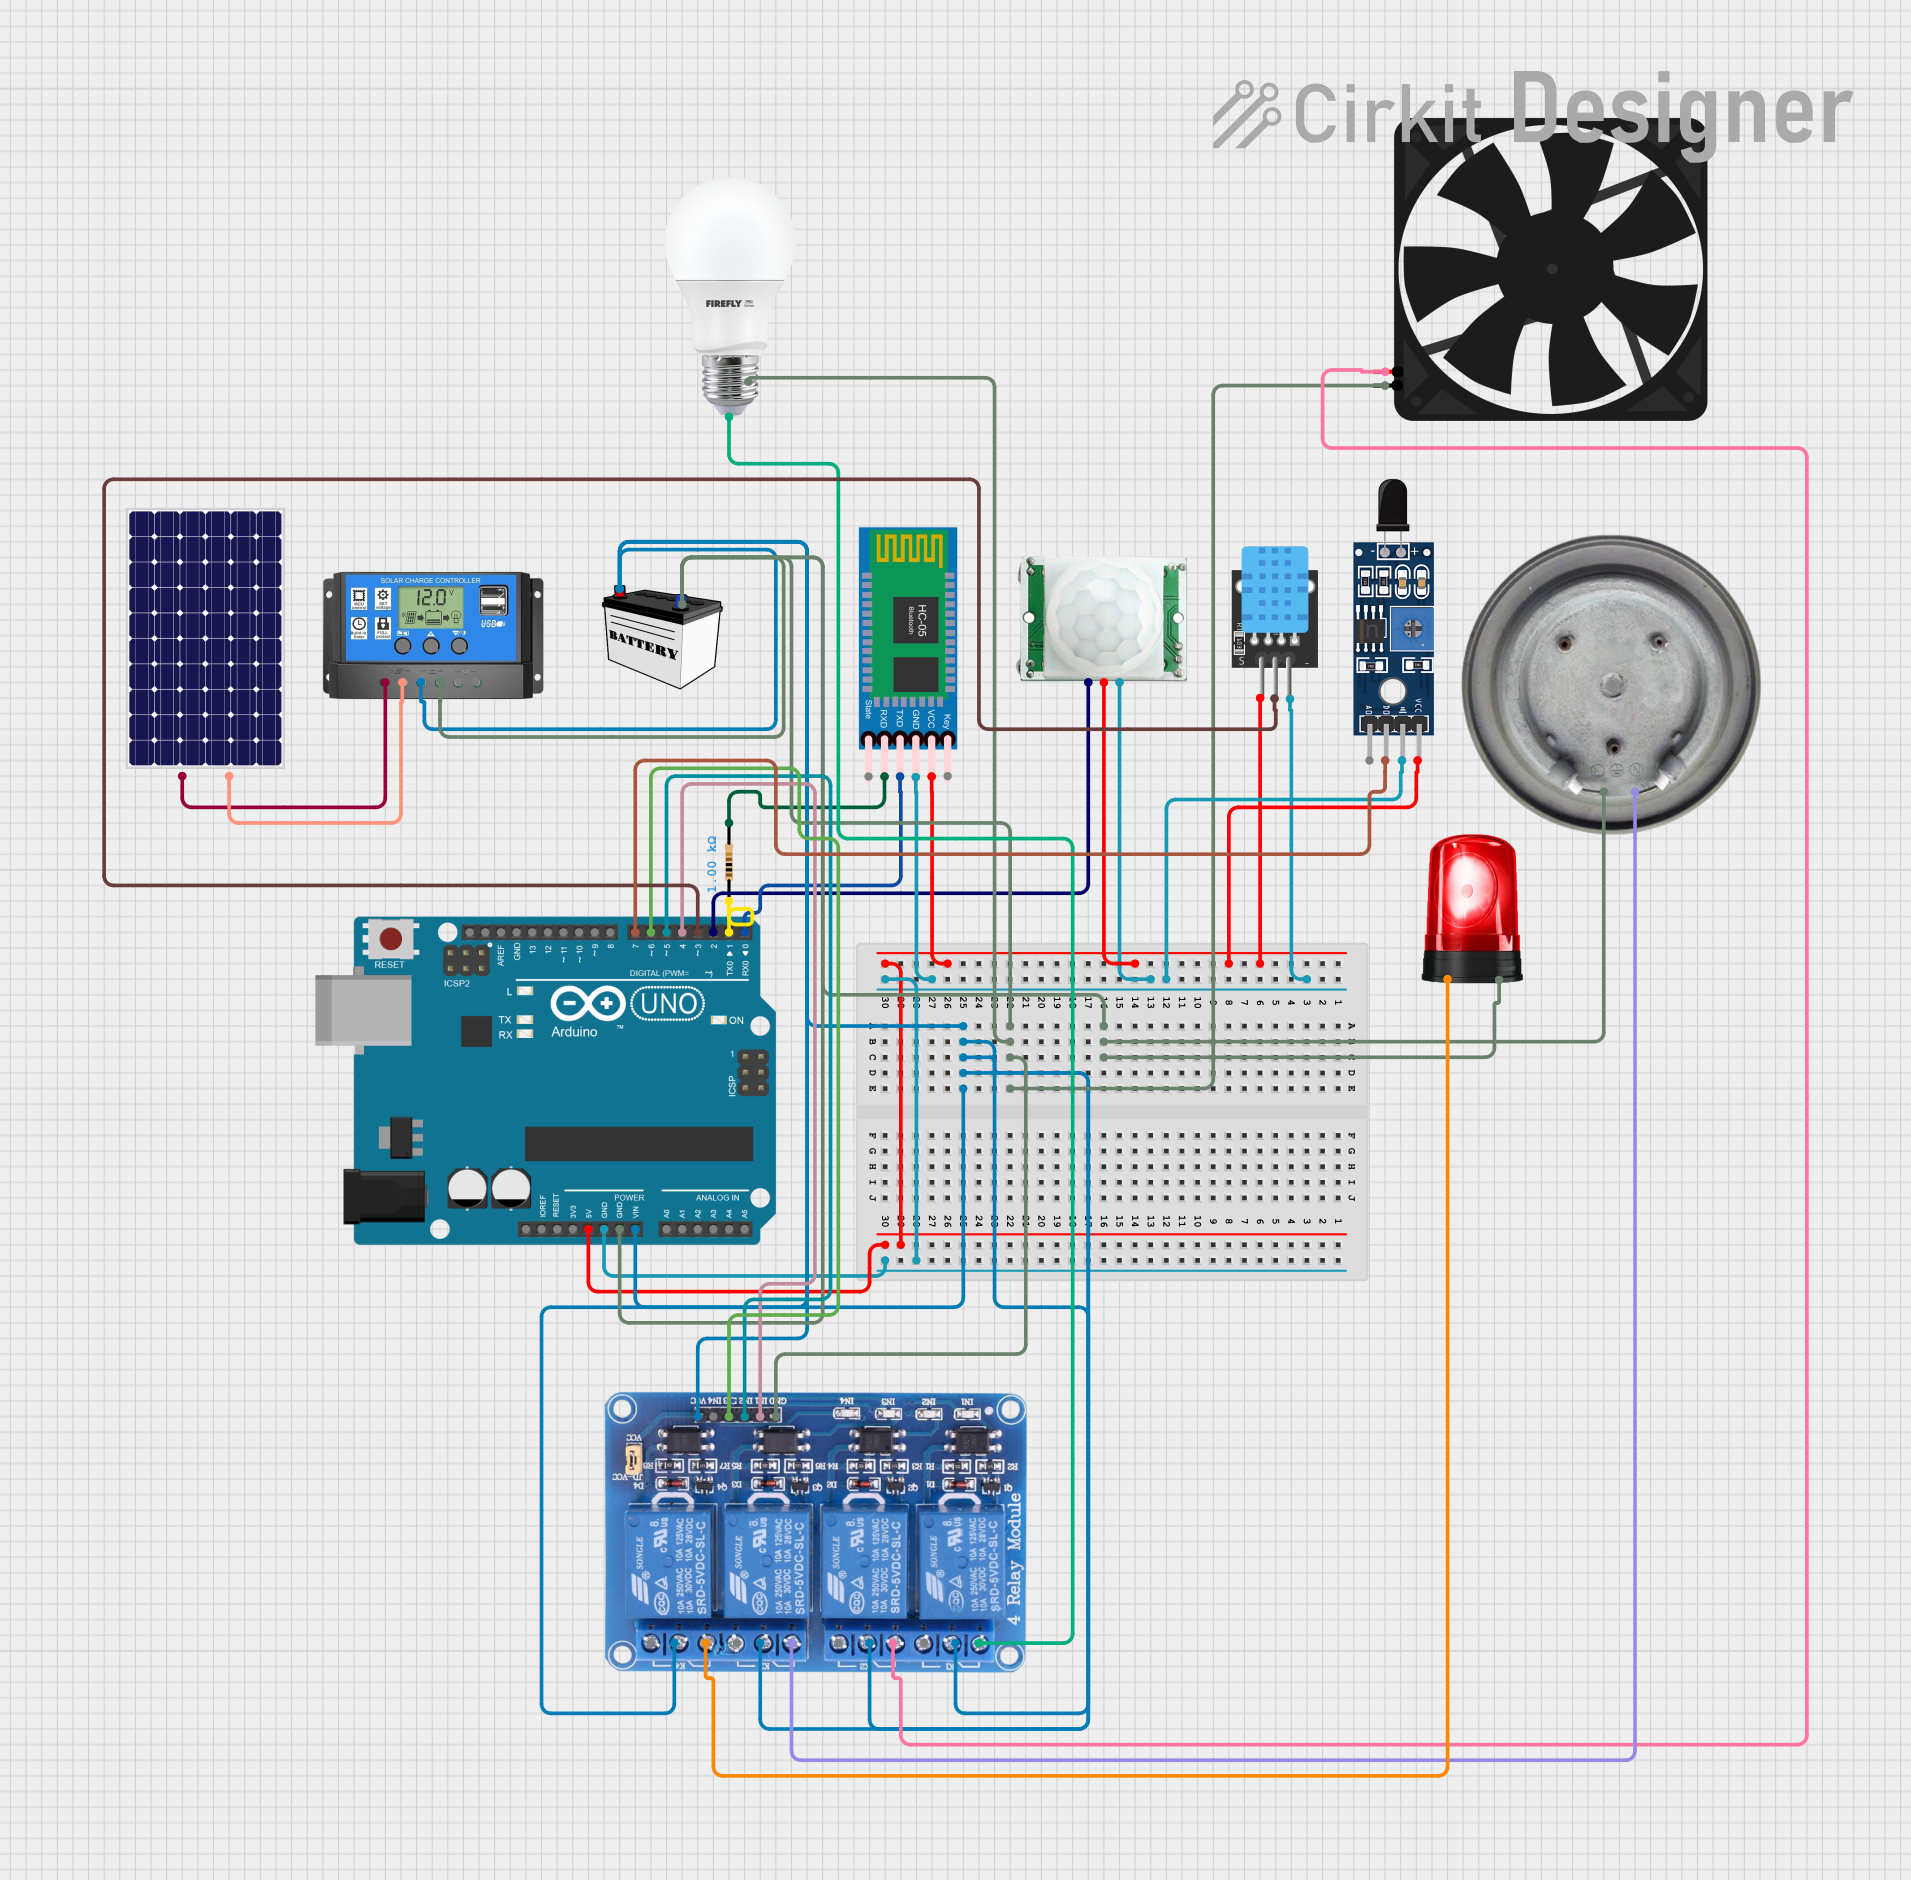
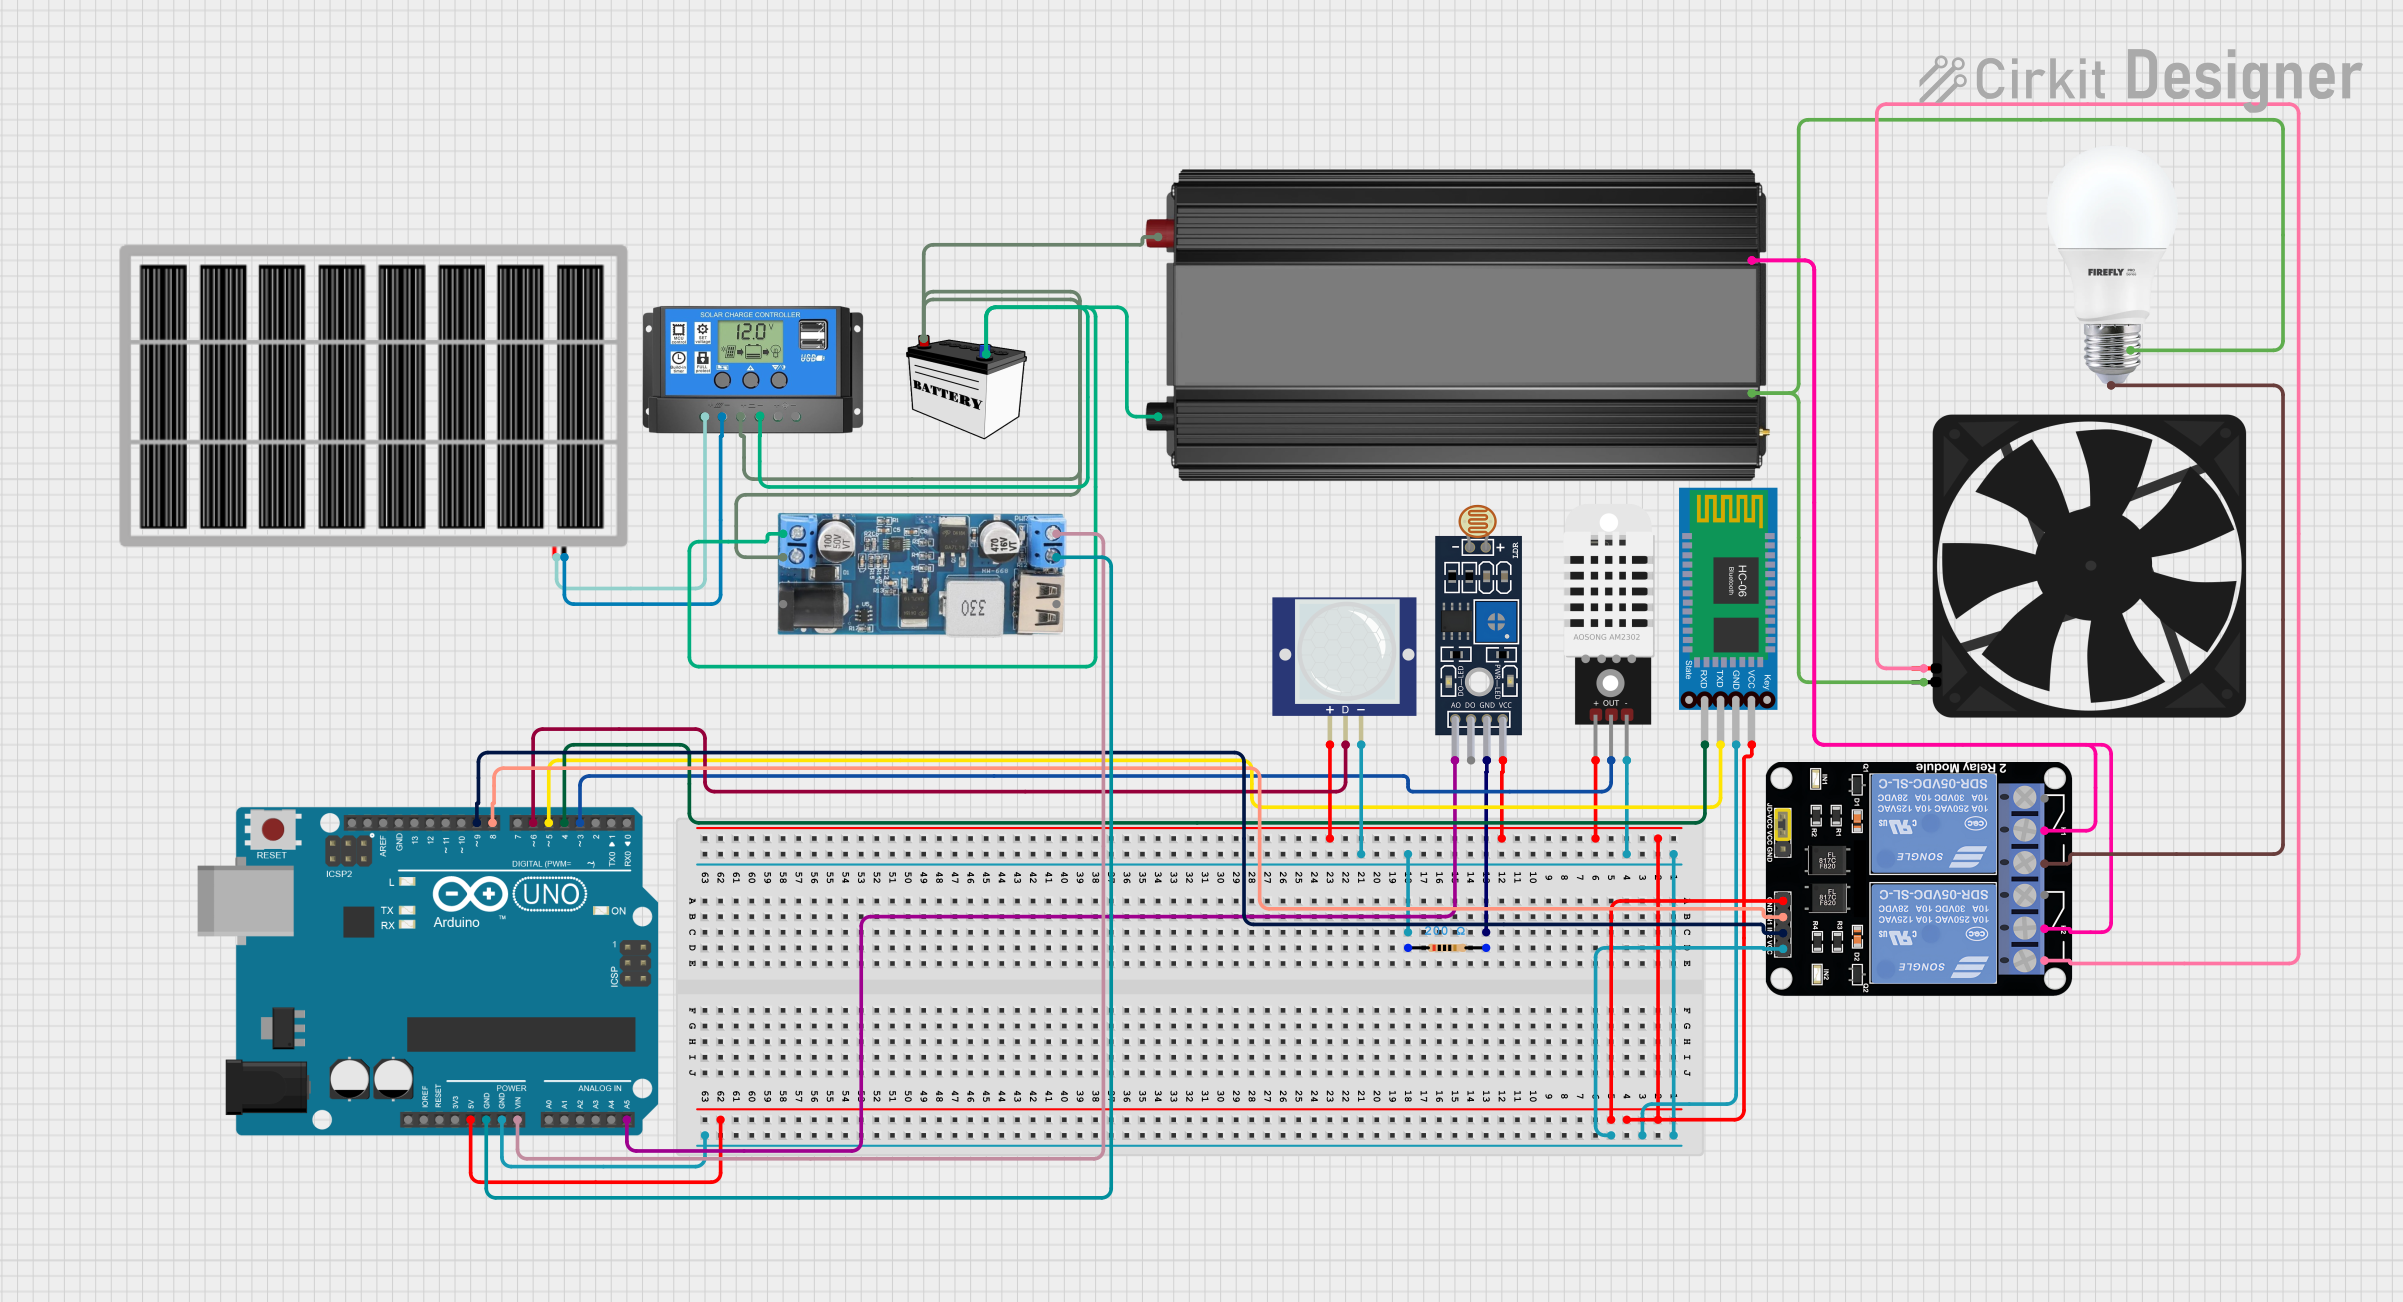
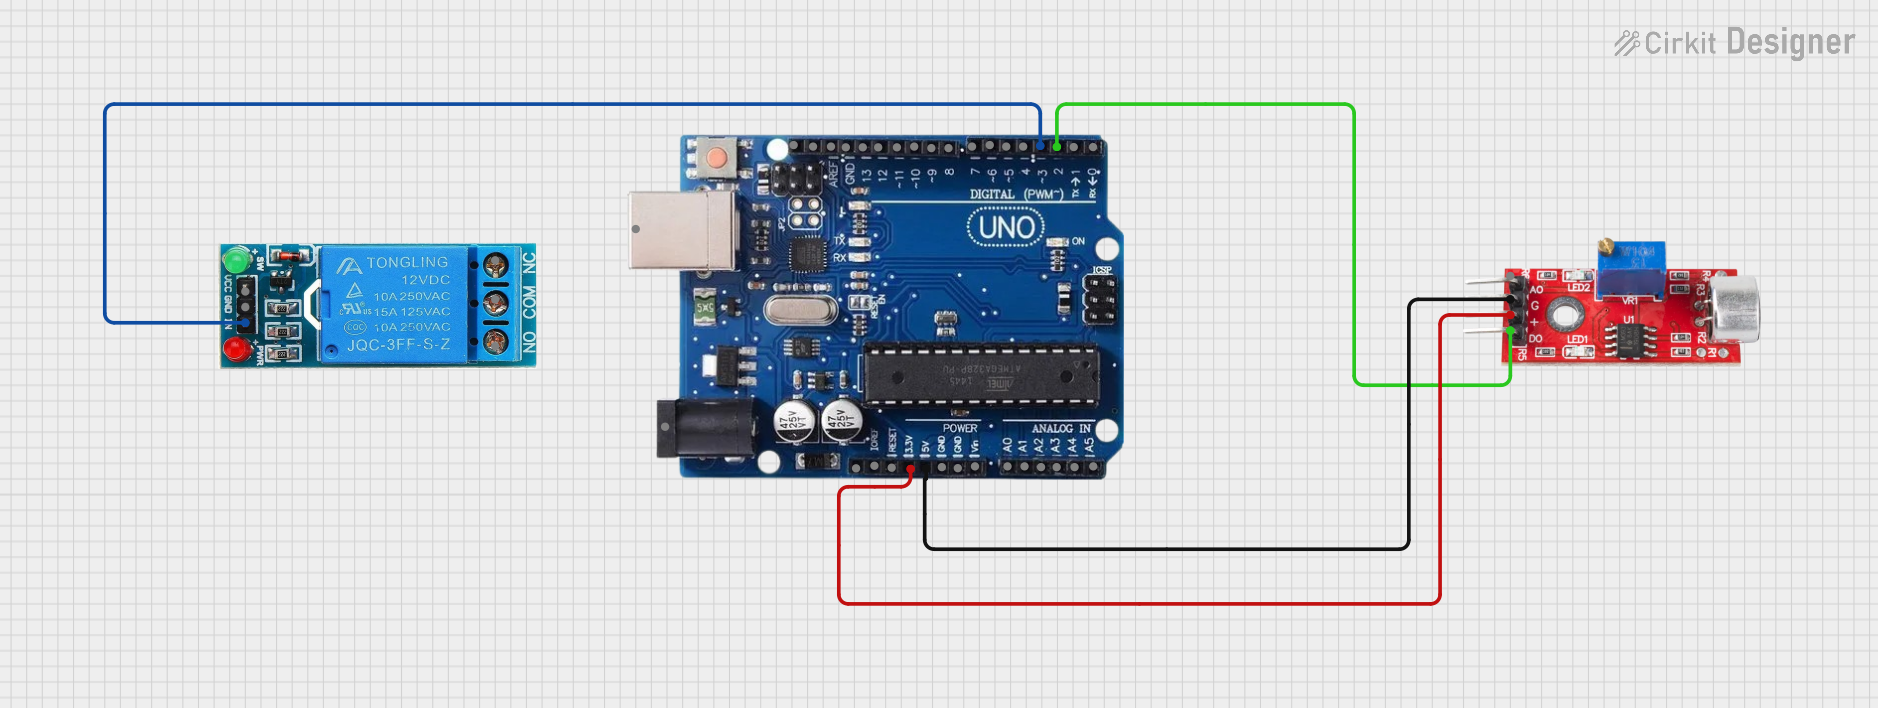
Explore Projects Built with saklar
Common Applications and Use Cases
- Turning electrical devices on or off (e.g., lights, fans, appliances)
- Controlling circuits in electronic projects
- Acting as a user interface in embedded systems
- Used in safety mechanisms to disconnect power in emergencies
Technical Specifications
The technical specifications of a saklar can vary depending on its type (e.g., toggle switch, push-button switch, rocker switch). Below are general specifications for a standard saklar:
| Parameter | Value |
|---|---|
| Voltage Rating | 3V to 250V (AC/DC, depending on type) |
| Current Rating | 0.5A to 15A |
| Contact Resistance | ≤ 50 mΩ |
| Insulation Resistance | ≥ 100 MΩ |
| Mechanical Life | 10,000 to 100,000 cycles |
| Operating Temperature | -20°C to 85°C |
Pin Configuration and Descriptions
The pin configuration of a saklar depends on its type. Below is an example for a Single Pole Single Throw (SPST) switch:
| Pin Name | Description |
|---|---|
| Pin 1 | Input terminal for the electrical circuit |
| Pin 2 | Output terminal for the electrical circuit |
For a Double Pole Double Throw (DPDT) switch, the configuration is as follows:
| Pin Name | Description |
|---|---|
| Pin 1 | Input terminal for the first circuit |
| Pin 2 | Output terminal for the first circuit (normally open) |
| Pin 3 | Output terminal for the first circuit (normally closed) |
| Pin 4 | Input terminal for the second circuit |
| Pin 5 | Output terminal for the second circuit (normally open) |
| Pin 6 | Output terminal for the second circuit (normally closed) |
Usage Instructions
How to Use the Saklar in a Circuit
- Identify the Type of Saklar: Determine whether the saklar is SPST, SPDT, DPDT, or another type.
- Connect the Terminals:
- For SPST: Connect one terminal to the power source and the other to the load.
- For DPDT: Follow the pin configuration table to connect multiple circuits.
- Secure the Saklar: Mount the saklar securely in its designated location to prevent movement or damage.
- Test the Circuit: Toggle the saklar to ensure it properly opens and closes the circuit.
Important Considerations and Best Practices
- Voltage and Current Ratings: Ensure the saklar's ratings match or exceed the circuit's requirements to avoid overheating or failure.
- Debouncing: Mechanical switches may produce noise or "bouncing" when toggled. Use a capacitor or software debouncing in microcontroller applications.
- Safety: Always disconnect power before wiring or modifying the saklar in a circuit.
- Environment: Use a saklar rated for the operating environment (e.g., waterproof switches for outdoor use).
Example: Connecting a Saklar to an Arduino UNO
Below is an example of using a push-button saklar with an Arduino UNO to control an LED:
// Define pin numbers
const int buttonPin = 2;  // Pin connected to the saklar
const int ledPin = 13;    // Pin connected to the LED

// Variable to store the button state
int buttonState = 0;

void setup() {
  pinMode(buttonPin, INPUT);  // Set the saklar pin as input
  pinMode(ledPin, OUTPUT);    // Set the LED pin as output
}

void loop() {
  // Read the state of the saklar
  buttonState = digitalRead(buttonPin);

  // If the saklar is pressed, turn on the LED
  if (buttonState == HIGH) {
    digitalWrite(ledPin, HIGH);  // Turn on the LED
  } else {
    digitalWrite(ledPin, LOW);   // Turn off the LED
  }
}
Troubleshooting and FAQs
Common Issues
Saklar Does Not Work:
- Cause: Loose or incorrect wiring.
- Solution: Double-check the connections and ensure the saklar is properly wired.
Saklar Overheats:
- Cause: Exceeding the voltage or current rating.
- Solution: Use a saklar with appropriate ratings for the circuit.
LED or Load Does Not Respond:
- Cause: Faulty saklar or incorrect pin configuration.
- Solution: Test the saklar with a multimeter to ensure it is functioning correctly.
FAQs
Q: Can I use a saklar to control high-power devices?
A: Yes, but ensure the saklar's voltage and current ratings are sufficient for the device. For very high-power applications, consider using a relay in conjunction with the saklar.
Q: How do I debounce a saklar in software?
A: Implement a delay in your code after detecting a state change, or use a library like Bounce2 for Arduino.
Q: What is the difference between SPST and DPDT saklars?
A: SPST (Single Pole Single Throw) controls a single circuit, while DPDT (Double Pole Double Throw) can control two circuits and offers more switching options.
By following this documentation, you can effectively use a saklar in various electronic applications.