Cirkit Designer Logo
Cirkit Designer
Your all-in-one circuit design IDE
Home / 
Component Documentation

How to Use 74HC4017: Examples, Pinouts, and Specs

Image of 74HC4017
Cirkit Designer LogoDesign with 74HC4017 in Cirkit Designer

Introduction

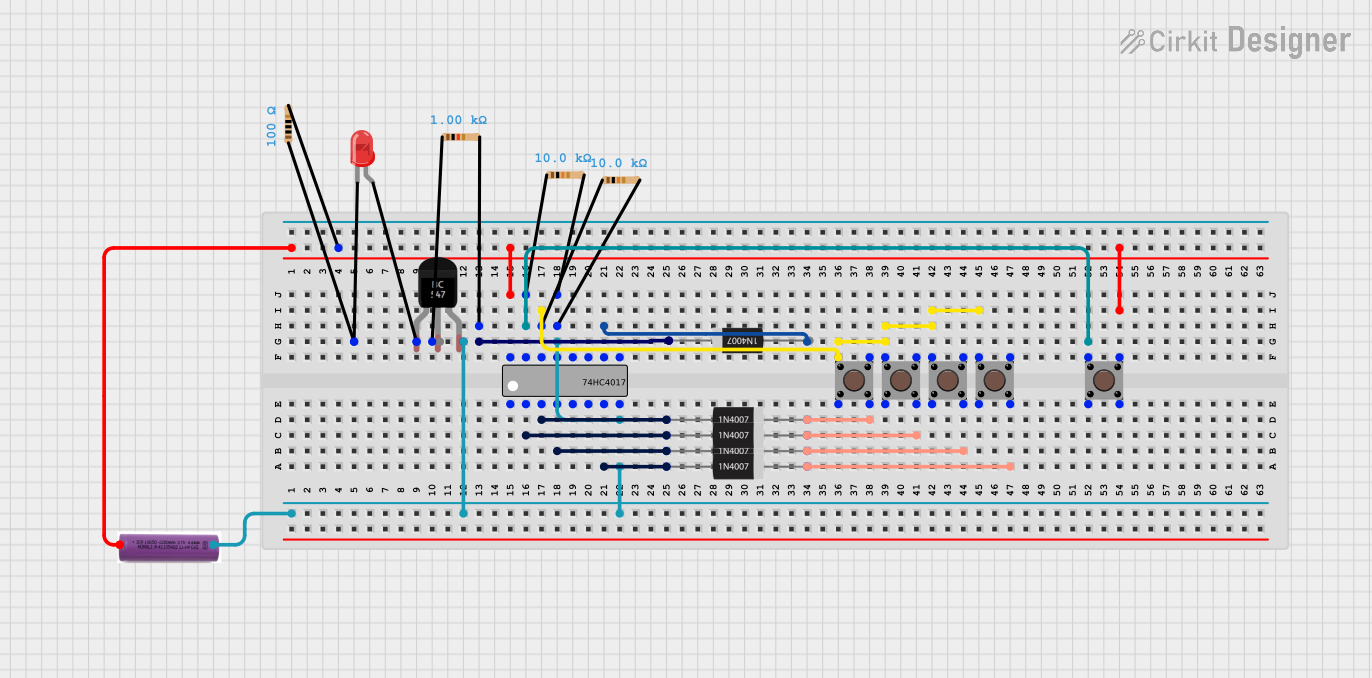
The 74HC4017 is a high-speed CMOS device that serves as a 5-stage Johnson decade counter with 10 decoded outputs. It is designed to produce a sequence of output pulses, one at a time, for every input pulse received. This component is widely used in digital logic circuits for creating LED chasers, frequency dividers, and various timing and counting applications.

Explore Projects Built with 74HC4017

Use Cirkit Designer to design, explore, and prototype these projects online. Some projects support real-time simulation. Click "Open Project" to start designing instantly!
74HC4017-Based Sequential LED Flasher with Pushbutton Control
Image of mynew: A project utilizing 74HC4017 in a practical application
This circuit includes a decade counter (74HC4017) that likely sequences through outputs based on pushbutton inputs. A BC547 transistor is used to drive an LED, indicating one of the counter's states. Diodes and resistors are included for current direction control and limiting, respectively.
Cirkit Designer LogoOpen Project in Cirkit Designer
Portable Decade Counter Circuit with LED Indicator and Pushbutton Control
Image of mynew: A project utilizing 74HC4017 in a practical application
This circuit uses a 74HC4017 decade counter to control the sequence of an LED array. Pushbuttons are used to interact with the counter, advancing or resetting the sequence, while a BC547 transistor is used to switch an LED on and off. Diodes are included to prevent reverse current, ensuring proper operation of the counter.
Cirkit Designer LogoOpen Project in Cirkit Designer
Teensy 4.0 and MAX7219-Based 7-Segment Display Counter
Image of dispay: A project utilizing 74HC4017 in a practical application
This circuit uses a Teensy 4.0 microcontroller to control a MAX7219 LED driver, which in turn drives three 7-segment displays. The microcontroller runs code to display numbers from 0 to 999 on the 7-segment displays, with the SN74AHCT125N buffer providing signal integrity and the necessary capacitors and resistors ensuring stable operation.
Cirkit Designer LogoOpen Project in Cirkit Designer
STM32-Controlled LED Display with 74HC595 Shift Register and 12-Bit DAC
Image of Harry Stim Breadboard: A project utilizing 74HC4017 in a practical application
This circuit uses a 74HC595 shift register to control multiple LEDs via a common ground configuration, with a microcontroller providing serial data input. It includes decoupling capacitors for stability and a 12-Bit DAC, potentially for analog signal generation or reference voltage application.
Cirkit Designer LogoOpen Project in Cirkit Designer

Explore Projects Built with 74HC4017

Use Cirkit Designer to design, explore, and prototype these projects online. Some projects support real-time simulation. Click "Open Project" to start designing instantly!
Image of mynew: A project utilizing 74HC4017 in a practical application
74HC4017-Based Sequential LED Flasher with Pushbutton Control
This circuit includes a decade counter (74HC4017) that likely sequences through outputs based on pushbutton inputs. A BC547 transistor is used to drive an LED, indicating one of the counter's states. Diodes and resistors are included for current direction control and limiting, respectively.
Cirkit Designer LogoOpen Project in Cirkit Designer
Image of mynew: A project utilizing 74HC4017 in a practical application
Portable Decade Counter Circuit with LED Indicator and Pushbutton Control
This circuit uses a 74HC4017 decade counter to control the sequence of an LED array. Pushbuttons are used to interact with the counter, advancing or resetting the sequence, while a BC547 transistor is used to switch an LED on and off. Diodes are included to prevent reverse current, ensuring proper operation of the counter.
Cirkit Designer LogoOpen Project in Cirkit Designer
Image of dispay: A project utilizing 74HC4017 in a practical application
Teensy 4.0 and MAX7219-Based 7-Segment Display Counter
This circuit uses a Teensy 4.0 microcontroller to control a MAX7219 LED driver, which in turn drives three 7-segment displays. The microcontroller runs code to display numbers from 0 to 999 on the 7-segment displays, with the SN74AHCT125N buffer providing signal integrity and the necessary capacitors and resistors ensuring stable operation.
Cirkit Designer LogoOpen Project in Cirkit Designer
Image of Harry Stim Breadboard: A project utilizing 74HC4017 in a practical application
STM32-Controlled LED Display with 74HC595 Shift Register and 12-Bit DAC
This circuit uses a 74HC595 shift register to control multiple LEDs via a common ground configuration, with a microcontroller providing serial data input. It includes decoupling capacitors for stability and a 12-Bit DAC, potentially for analog signal generation or reference voltage application.
Cirkit Designer LogoOpen Project in Cirkit Designer

Common Applications and Use Cases

  • LED chaser circuits
  • Frequency division
  • Digital counters
  • Sequential logic operations
  • Signal decoding

Technical Specifications

Key Technical Details

  • Supply Voltage (Vcc): 2V to 6V
  • Input Voltage (Vin): -0.5V to Vcc + 0.5V
  • Output Current (Iout): 25mA per output
  • Clock Frequency (fclk): Up to 25MHz (Vcc = 6V)
  • Operating Temperature: -40°C to +125°C

Pin Configuration and Descriptions

Pin Number Name Description
1 Q5 Output 5
2 Q1 Output 1
3 Q0 Output 0
4 Q2 Output 2
5 Q6 Output 6
6 Q7 Output 7
7 Q3 Output 3
8 GND Ground
9 Q8 Output 8
10 Q4 Output 4
11 Q9 Output 9
12 CO Carry Out (for cascading)
13 MR Master Reset (active high)
14 CLOCK INHIBIT Clock Inhibit (active high)
15 CLOCK Clock Input (rising edge triggered)
16 Vcc Positive Supply Voltage

Usage Instructions

How to Use the 74HC4017 in a Circuit

  1. Power Supply: Connect Vcc to a positive supply voltage (2V to 6V) and GND to the circuit ground.
  2. Clock Input: Apply a clock signal to the CLOCK pin. The counter advances on the rising edge of the clock.
  3. Reset: Connect the MR pin to a logic high to reset the counter to zero.
  4. Clock Inhibit: Apply a logic high to the CLOCK INHIBIT pin to stop the counter from advancing.
  5. Outputs: Connect the Q0 to Q9 outputs to the devices you wish to control sequentially.
  6. Cascading: Use the CO pin to cascade multiple 74HC4017 chips for more than 10 decoded outputs.

Important Considerations and Best Practices

  • Ensure that the supply voltage does not exceed the maximum rating to prevent damage.
  • Use a pull-down resistor on the MR pin to prevent accidental resets due to noise.
  • Decouple the power supply with a 0.1µF capacitor close to the Vcc pin to filter out noise.
  • Avoid floating inputs by connecting unused pins to an appropriate logic level.

Example Circuit: LED Chaser

// Define the output pins connected to the 74HC4017
int outputs[] = {2, 3, 4, 5, 6, 7, 8, 9, 10, 11};

void setup() {
  // Set all the output pins as outputs
  for (int i = 0; i < 10; i++) {
    pinMode(outputs[i], OUTPUT);
  }
  // Set the clock pin as output
  pinMode(12, OUTPUT);
}

void loop() {
  // Send a clock pulse to the 74HC4017
  digitalWrite(12, HIGH);
  delay(10); // Short delay to ensure the clock pulse is registered
  digitalWrite(12, LOW);
  delay(500); // Delay between each pulse to control the speed of the LED chaser
}

Troubleshooting and FAQs

Common Issues

  • LEDs are not lighting up in sequence: Check the clock signal and ensure it is connected properly and has a clean rising edge.
  • Counter resets unexpectedly: Verify that the MR pin is not floating and is connected to a stable logic level.
  • Counter skips outputs: Ensure that the CLOCK INHIBIT pin is not accidentally activated.

Solutions and Tips for Troubleshooting

  • Use an oscilloscope to check the clock signal integrity.
  • Add a pull-down resistor to the MR pin to keep it at a logic low when not in use.
  • Check for solder bridges or shorts that may cause unintended behavior.

FAQs

Q: Can I use the 74HC4017 at a voltage lower than 2V? A: No, the device is not guaranteed to function correctly below its minimum rated supply voltage.

Q: How can I increase the number of outputs beyond 10? A: You can cascade multiple 74HC4017 counters by connecting the CO pin of the first to the CLOCK pin of the next.

Q: Is it necessary to use all the outputs? A: No, you can leave unused outputs unconnected. However, it is good practice to ensure they are not floating.

Q: Can the 74HC4017 be used with an Arduino? A: Yes, the 74HC4017 can be easily interfaced with an Arduino or any other microcontroller platform.