How to Use Digital VTX DJI: Examples, Pinouts, and Specs
Introduction
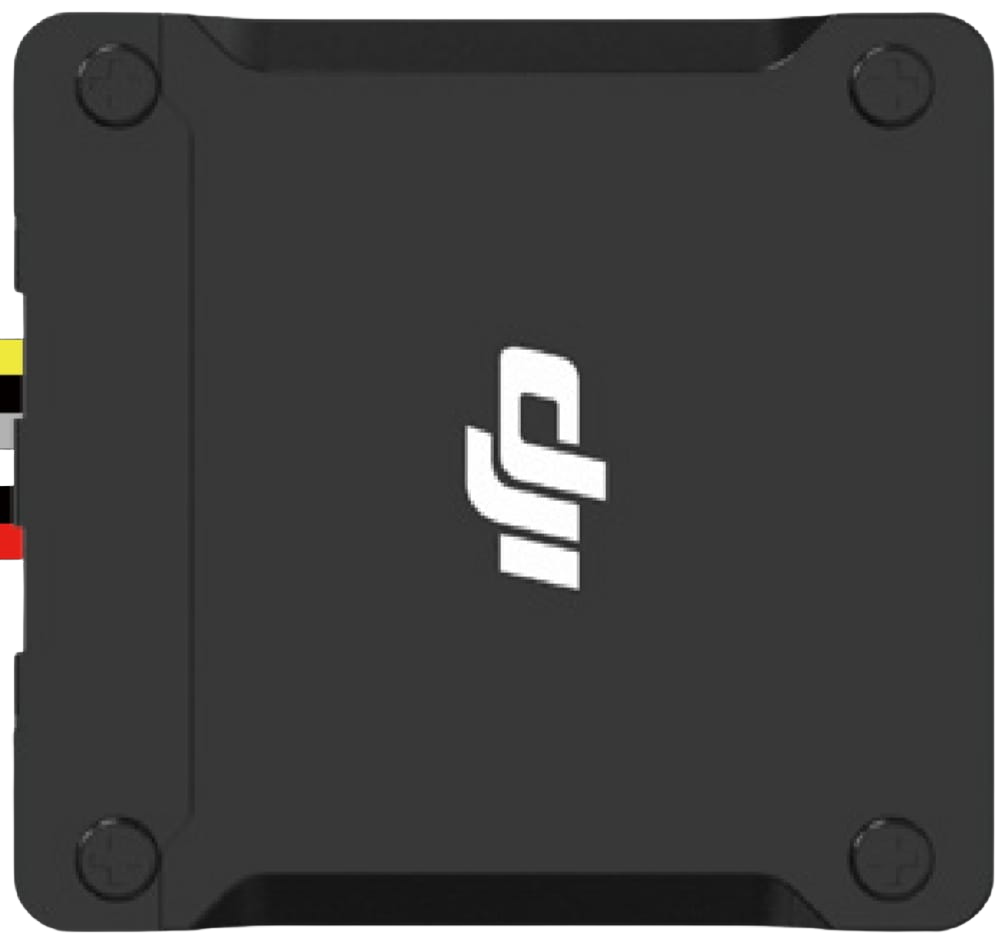
The Digital VTX DJI is a high-performance digital video transmitter designed by DJI to deliver high-definition video signals from drones or cameras to a receiver. It is widely used in FPV (first-person view) applications, offering low-latency and high-quality video transmission. This component is ideal for drone enthusiasts, professional videographers, and FPV racers who require reliable and real-time video feeds.
Explore Projects Built with Digital VTX DJI


Explore Projects Built with Digital VTX DJI
Common Applications and Use Cases
- FPV drone racing and freestyle flying
- Aerial photography and videography
- Real-time video monitoring for industrial drones
- Search and rescue operations requiring live video feeds
- Cinematic drone applications for high-quality video transmission
Technical Specifications
The Digital VTX DJI is engineered for robust performance and seamless integration with DJI FPV systems. Below are its key technical specifications:
General Specifications
| Parameter | Value |
|---|---|
| Video Resolution | Up to 720p at 120 fps |
| Transmission Range | Up to 4 km (line of sight) |
| Latency | As low as 28 ms |
| Frequency Band | 5.8 GHz |
| Power Output | Adjustable (25 mW to 1200 mW) |
| Input Voltage | 7.4V to 26.4V (2S-6S LiPo) |
| Weight | ~20 g |
| Dimensions | 45 mm x 32 mm x 9.5 mm |
Pin Configuration and Descriptions
The Digital VTX DJI features a connector with the following pinout:
| Pin Number | Name | Description |
|---|---|---|
| 1 | GND | Ground connection |
| 2 | VBAT | Power input (7.4V to 26.4V) |
| 3 | TX | UART Transmit (for communication with flight controller) |
| 4 | RX | UART Receive (for communication with flight controller) |
| 5 | S.Bus | Signal input for remote control (optional) |
| 6 | Video Out | Video signal output to camera |
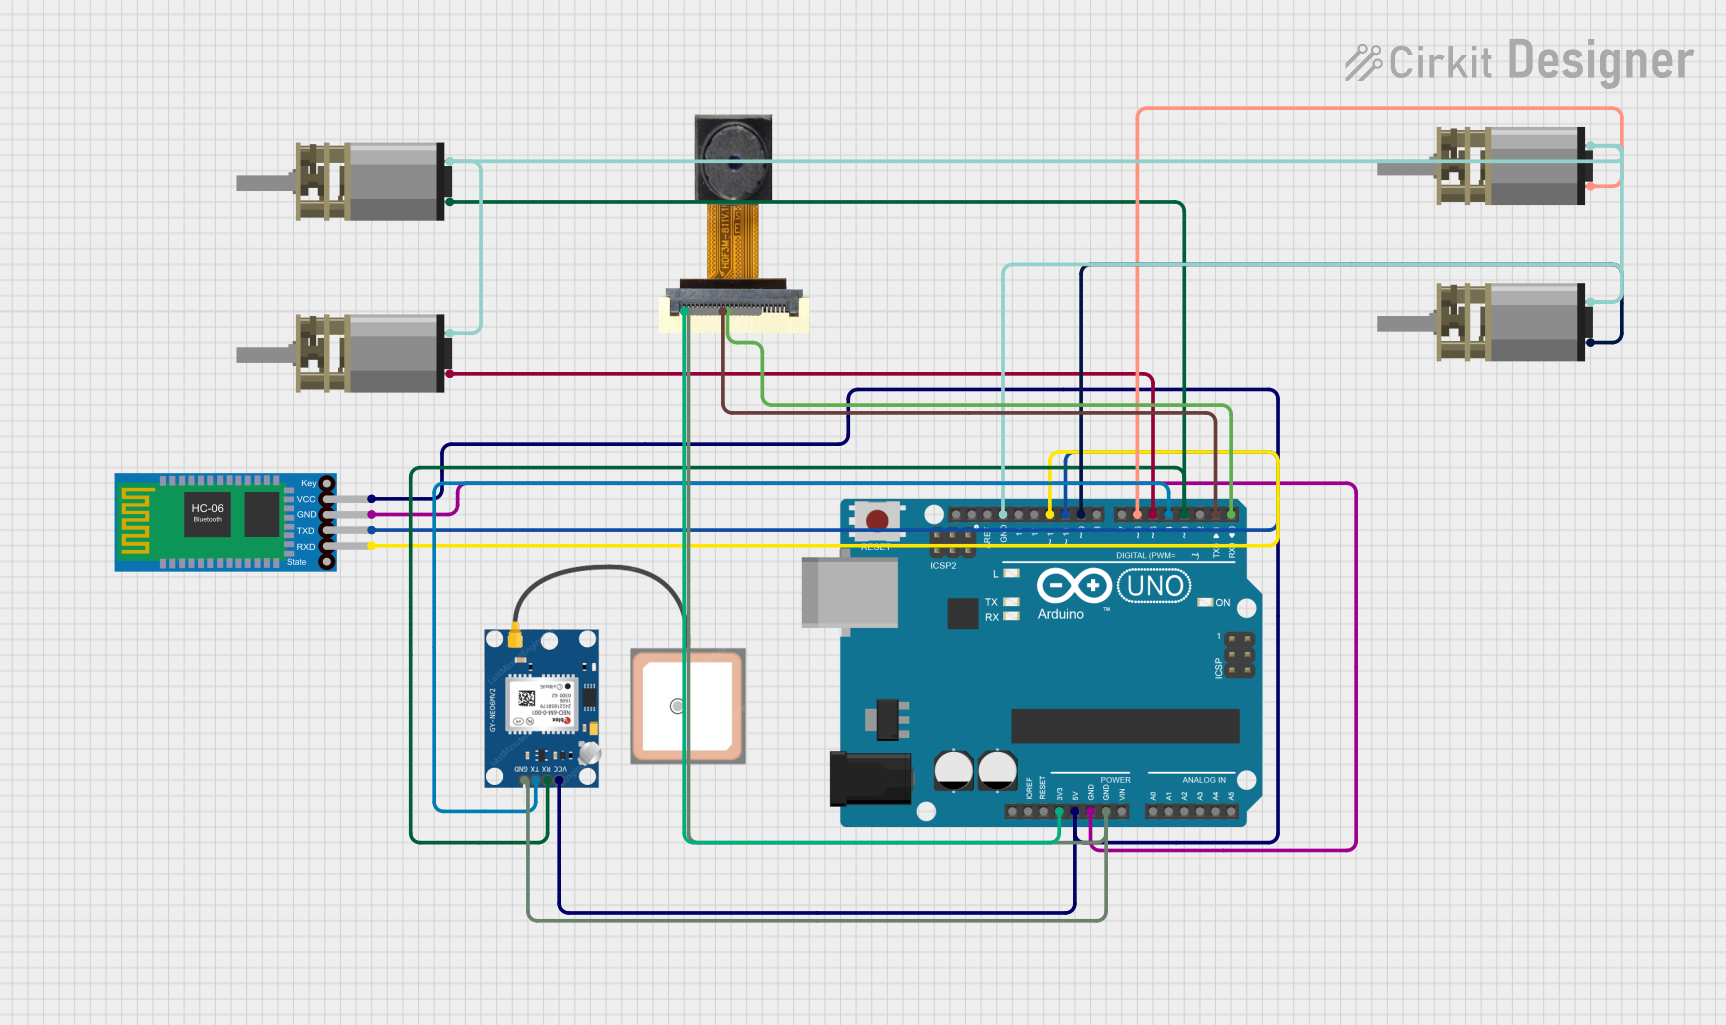
Usage Instructions
How to Use the Digital VTX DJI in a Circuit
- Power Connection: Connect the VBAT pin to a 2S-6S LiPo battery (7.4V to 26.4V). Ensure the GND pin is connected to the ground of the power source.
- Camera Connection: Attach the camera's video output to the Video Out pin of the VTX.
- Flight Controller Integration: Use the TX and RX pins to connect the VTX to the UART port of your flight controller for telemetry and control.
- Antenna Installation: Securely attach a compatible 5.8 GHz antenna to the VTX to ensure proper signal transmission.
- Configuration: Use the DJI FPV system or a compatible flight controller to configure the VTX settings, such as power output and frequency channel.
Important Considerations and Best Practices
- Cooling: The VTX can generate significant heat during operation. Ensure proper airflow or install a heatsink to prevent overheating.
- Antenna: Always connect an antenna before powering on the VTX to avoid damage to the transmitter.
- Frequency Selection: Choose a frequency channel that complies with local regulations and minimizes interference.
- Power Output: Adjust the power output based on your application and legal limits in your region.
- Firmware Updates: Regularly update the firmware to ensure compatibility with the latest DJI FPV systems.
Example Code for Arduino UNO Integration
If you are using the Digital VTX DJI with an Arduino UNO for telemetry or control, you can use the following example code:
#include <SoftwareSerial.h>

// Define RX and TX pins for communication with the VTX
#define VTX_RX 10  // Arduino pin connected to VTX TX
#define VTX_TX 11  // Arduino pin connected to VTX RX

// Initialize SoftwareSerial for VTX communication
SoftwareSerial vtxSerial(VTX_RX, VTX_TX);

void setup() {
  // Start serial communication with the VTX
  vtxSerial.begin(115200); // Baud rate for VTX communication
  Serial.begin(9600);      // Serial monitor for debugging

  Serial.println("Digital VTX DJI Communication Initialized");
}

void loop() {
  // Example: Send a command to the VTX
  vtxSerial.println("SET_POWER_500MW"); // Set power output to 500 mW
  delay(1000);

  // Example: Read data from the VTX
  if (vtxSerial.available()) {
    String vtxData = vtxSerial.readString();
    Serial.println("VTX Response: " + vtxData);
  }
}
Troubleshooting and FAQs
Common Issues and Solutions
No Video Signal
- Cause: Camera not properly connected or powered.
- Solution: Verify the camera connection to the Video Out pin and ensure the camera is powered.
Overheating
- Cause: Insufficient cooling or high power output.
- Solution: Improve airflow around the VTX or reduce the power output setting.
Short Transmission Range
- Cause: Damaged or improperly installed antenna.
- Solution: Check the antenna connection and replace it if necessary.
Interference with Other Devices
- Cause: Overlapping frequency channels.
- Solution: Change the frequency channel to avoid interference.
UART Communication Issues
- Cause: Incorrect TX/RX wiring or baud rate mismatch.
- Solution: Verify the TX and RX connections and ensure the baud rate matches the VTX settings.
FAQs
Q: Can I use the Digital VTX DJI with non-DJI cameras?
A: Yes, the VTX is compatible with most cameras that output standard video signals.
Q: What is the maximum power output of the VTX?
A: The VTX supports up to 1200 mW, but ensure compliance with local regulations before using high power levels.
Q: How do I update the firmware on the VTX?
A: Use the DJI FPV system or a compatible software tool to update the firmware. Follow the manufacturer's instructions for the update process.
Q: Can I use the VTX without a flight controller?
A: Yes, the VTX can operate independently, but connecting it to a flight controller provides additional telemetry and control features.
Q: Is the VTX waterproof?
A: No, the VTX is not waterproof. Protect it from water and moisture during use.