How to Use Gravity: H2S Sensor (Calibrated) - I2C & UART: Examples, Pinouts, and Specs
Introduction
The Gravity: H2S Sensor (Calibrated) - I2C & UART (Manufacturer Part ID: SEN0467) is a high-precision sensor designed by DFRobot to detect hydrogen sulfide (H2S) gas concentrations in the environment. This sensor is pre-calibrated, ensuring accurate and reliable measurements right out of the box. It supports both I2C and UART communication protocols, making it versatile and easy to integrate into a wide range of applications.
Explore Projects Built with Gravity: H2S Sensor (Calibrated) - I2C & UART


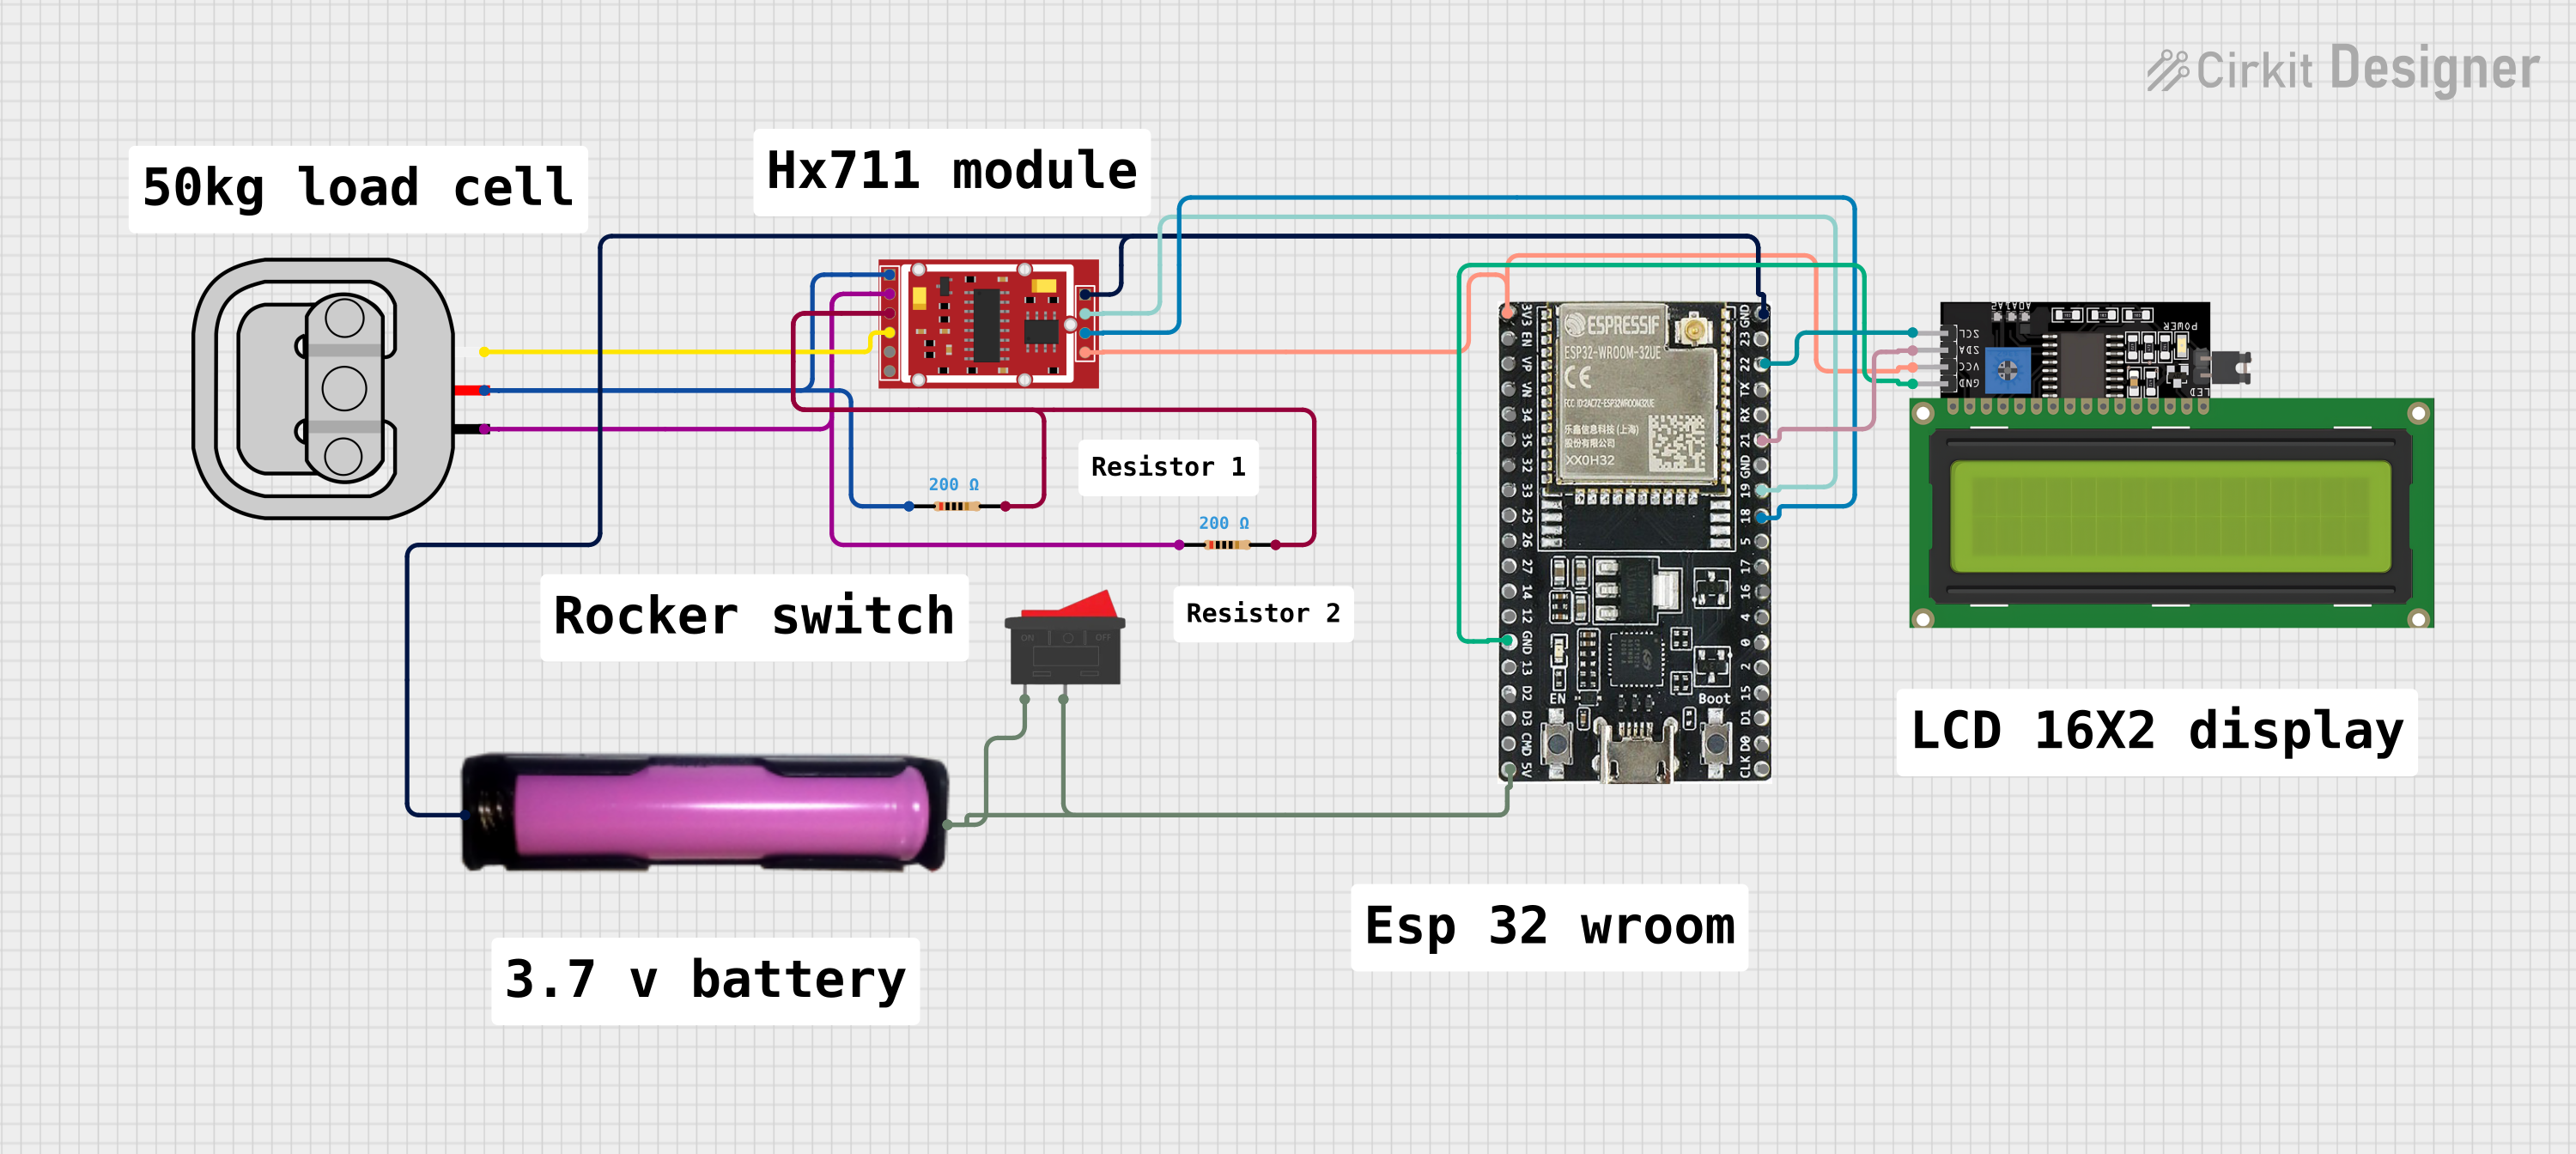
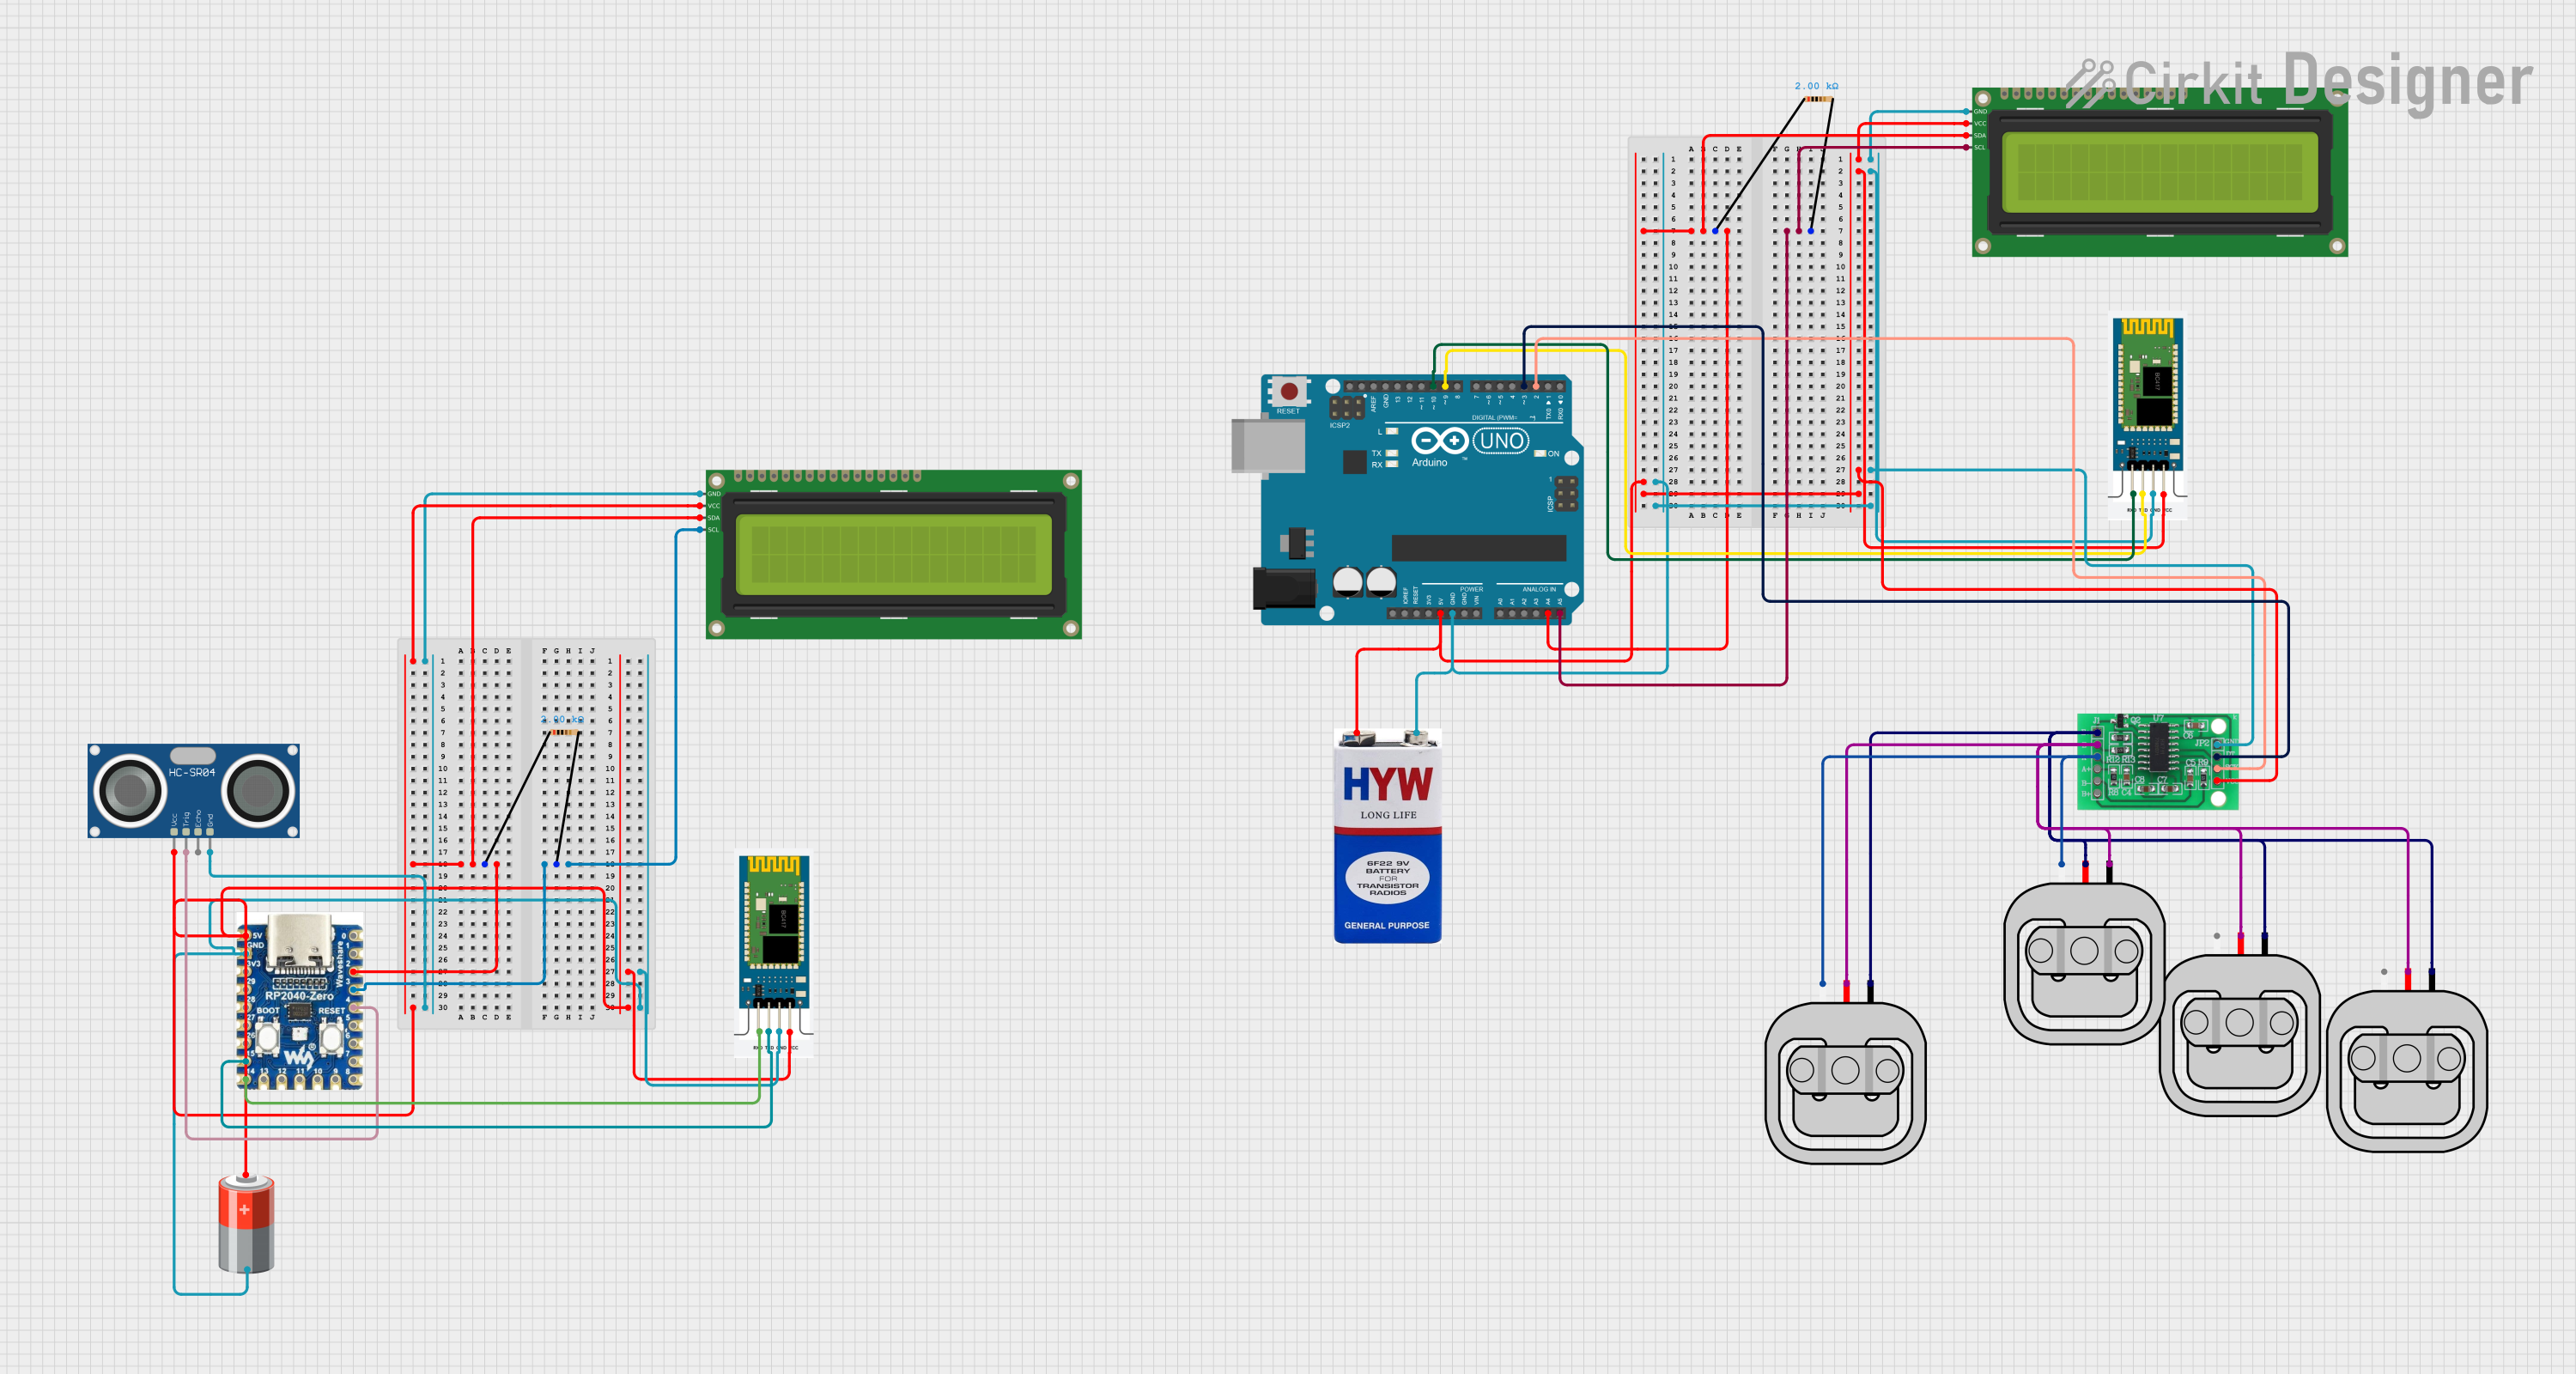
Explore Projects Built with Gravity: H2S Sensor (Calibrated) - I2C & UART
Common Applications and Use Cases
- Industrial safety monitoring
- Environmental air quality detection
- Gas leak detection systems
- Laboratory experiments and research
- Smart home and IoT applications
Technical Specifications
Below are the key technical details of the Gravity: H2S Sensor:
| Parameter | Value |
|---|---|
| Operating Voltage | 3.3V - 5.5V |
| Power Consumption | < 0.5W |
| Measurement Range | 0 - 100 ppm (parts per million) |
| Resolution | 0.1 ppm |
| Accuracy | ±3% of reading |
| Communication Protocols | I2C, UART |
| I2C Address (Default) | 0x74 |
| Operating Temperature Range | -20°C to 50°C |
| Operating Humidity Range | 15% - 90% RH (non-condensing) |
| Dimensions | 37mm x 32mm |
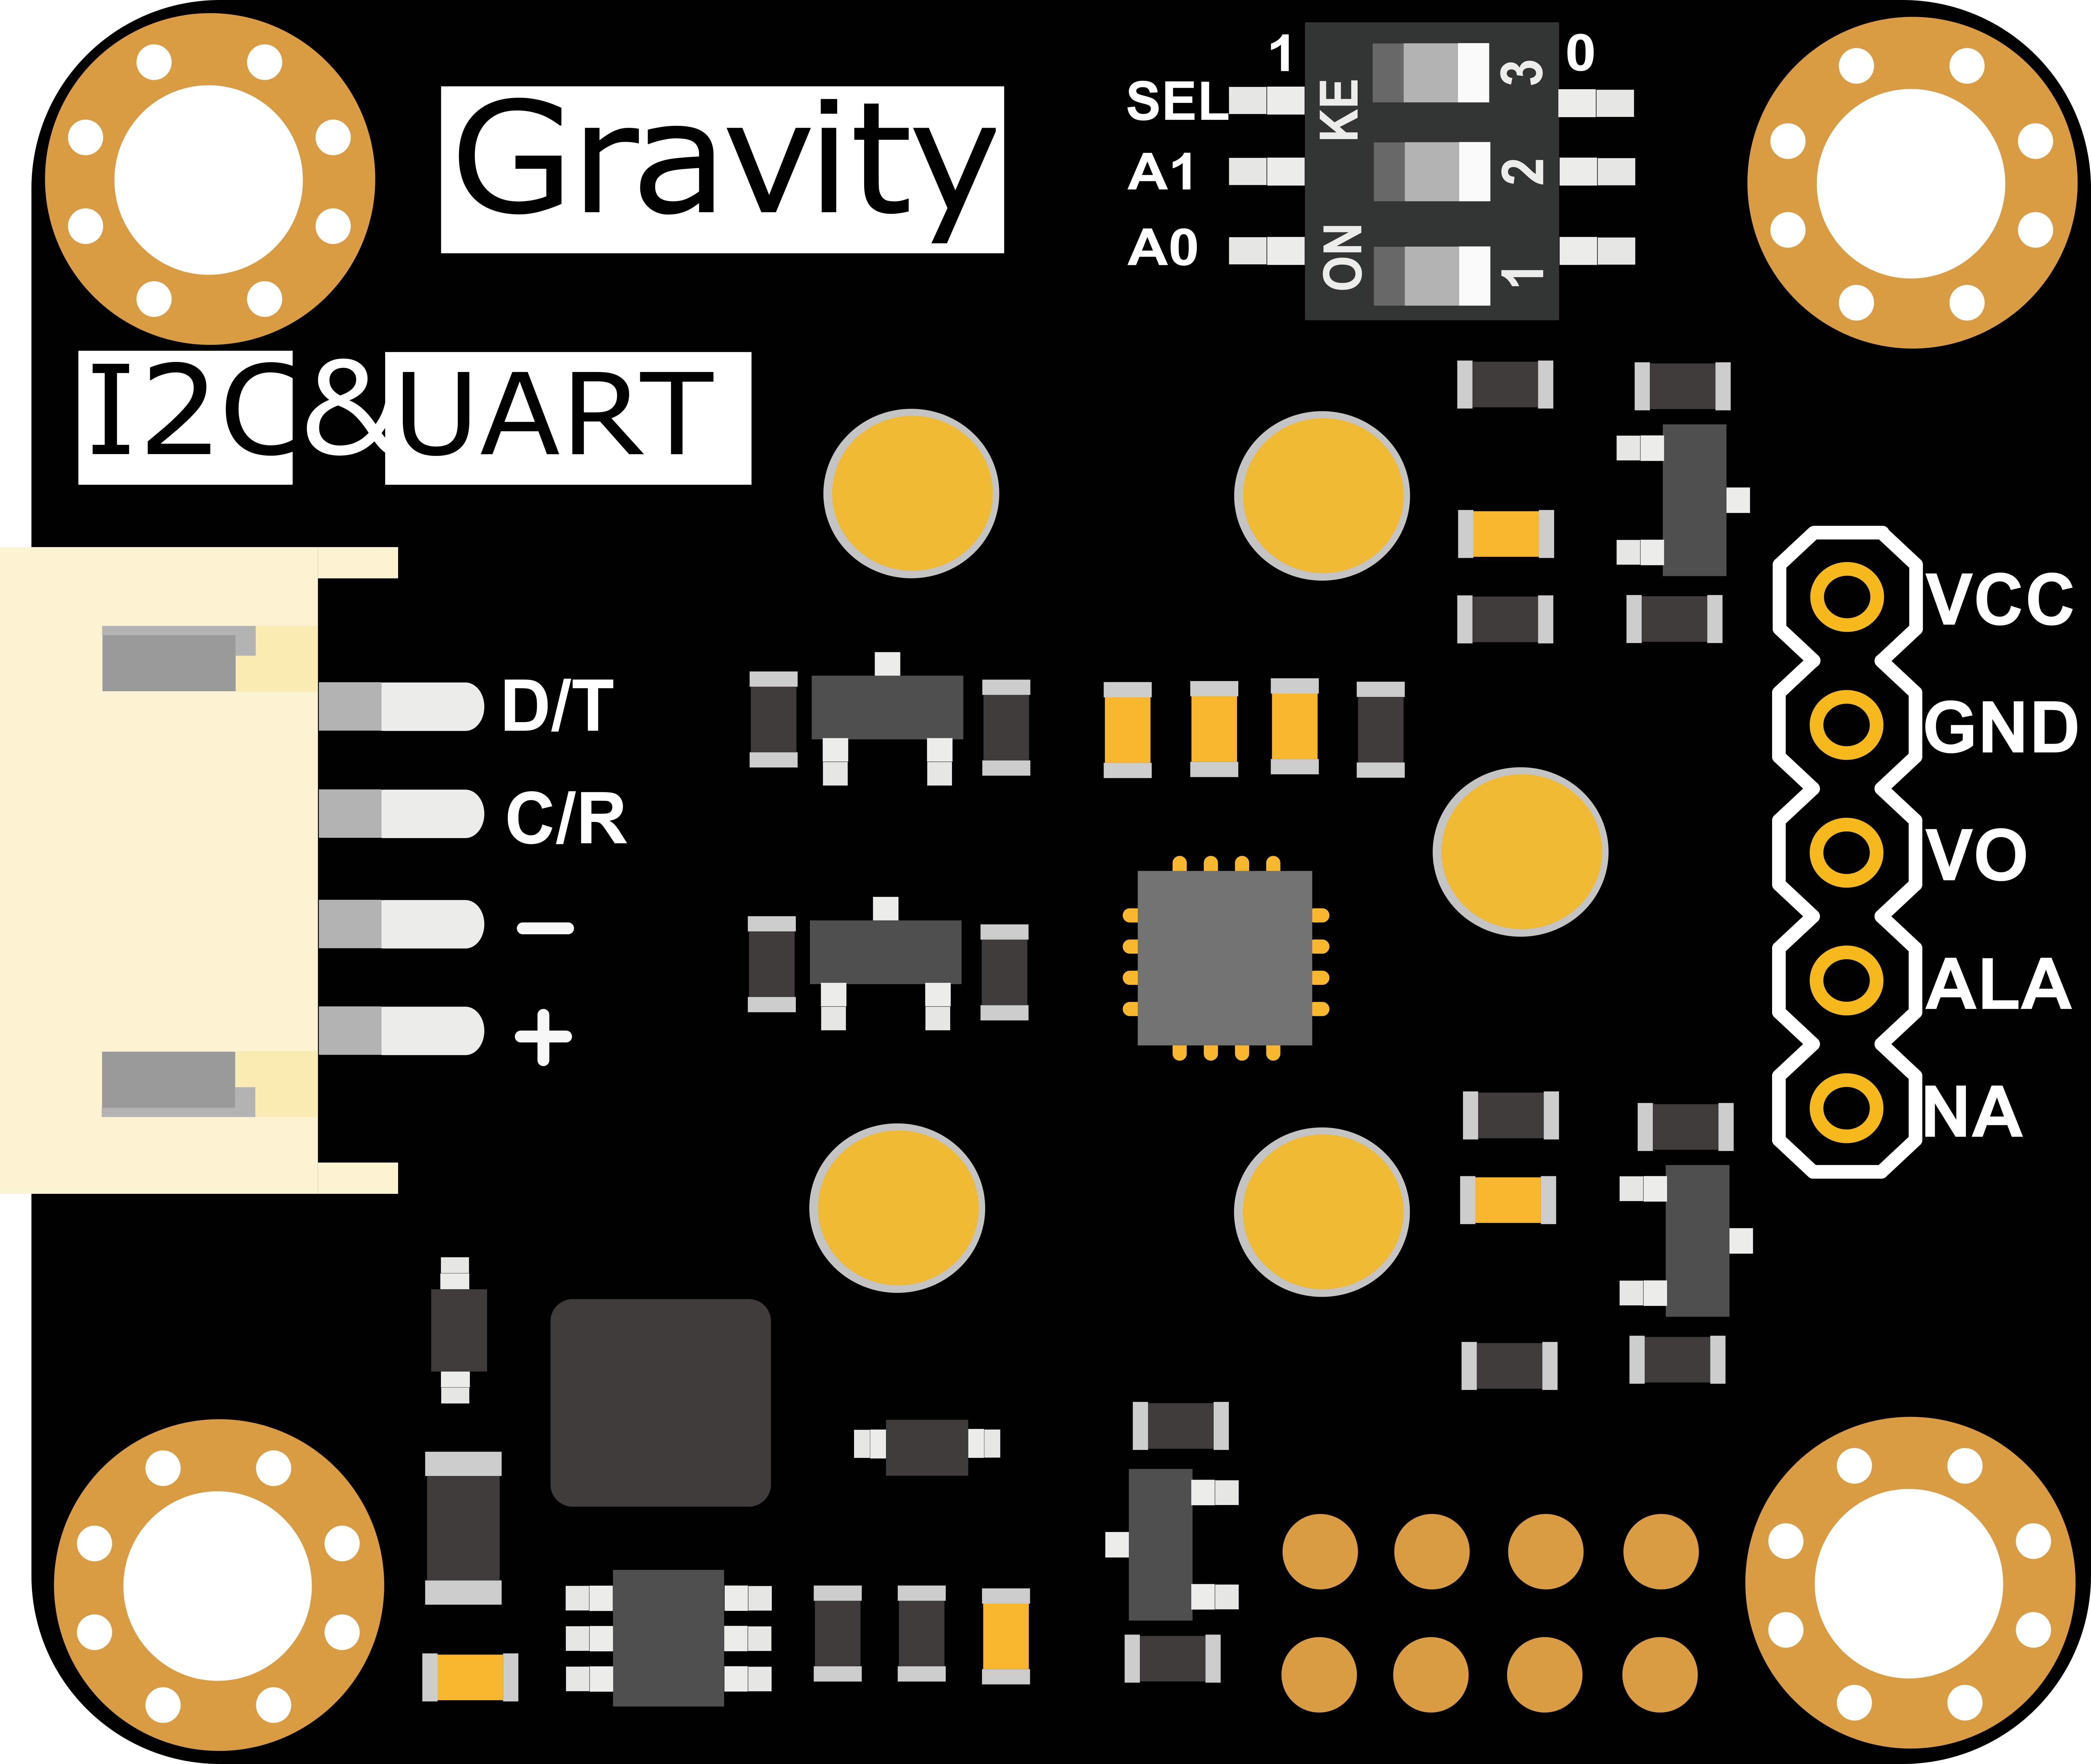
Pin Configuration and Descriptions
The sensor has a 4-pin Gravity interface for easy connection. The pinout is as follows:
| Pin | Label | Description |
|---|---|---|
| 1 | VCC | Power supply (3.3V - 5.5V) |
| 2 | GND | Ground |
| 3 | RX | UART Receive (connect to MCU TX) |
| 4 | TX | UART Transmit (connect to MCU RX) |
| 5 | SDA | I2C Data Line |
| 6 | SCL | I2C Clock Line |
Usage Instructions
How to Use the Sensor in a Circuit
- Power the Sensor: Connect the VCC pin to a 3.3V or 5V power source and the GND pin to ground.
- Choose Communication Protocol:
- For I2C: Connect the SDA and SCL pins to the corresponding I2C pins on your microcontroller.
- For UART: Connect the RX pin to the TX pin of your microcontroller and the TX pin to the RX pin of your microcontroller.
- Install Required Libraries: If using an Arduino, install the DFRobot H2S Sensor library from the Arduino Library Manager.
- Write Code: Use the provided library functions to initialize the sensor, read data, and process the H2S concentration values.
Important Considerations and Best Practices
- Avoid Exposure to Extreme Conditions: Prolonged exposure to high humidity or temperatures outside the operating range may damage the sensor.
- Calibrated Sensor: The sensor is pre-calibrated; avoid manual calibration unless necessary.
- Power Supply Stability: Ensure a stable power supply to avoid measurement inaccuracies.
- Communication Protocol Selection: Use I2C for multi-device setups or UART for simpler, direct communication.
Example Code for Arduino UNO (I2C)
#include <Wire.h>
#include "DFRobot_H2S.h"

// Create an H2S sensor object using the default I2C address (0x74)
DFRobot_H2S h2sSensor;

void setup() {
  Serial.begin(9600); // Initialize serial communication for debugging
  Wire.begin();       // Initialize I2C communication

  // Initialize the H2S sensor
  if (!h2sSensor.begin()) {
    Serial.println("H2S Sensor initialization failed!");
    while (1); // Halt execution if initialization fails
  }
  Serial.println("H2S Sensor initialized successfully.");
}

void loop() {
  // Read H2S concentration in ppm
  float h2sConcentration = h2sSensor.readH2SConcentration();

  // Check if the reading is valid
  if (h2sConcentration >= 0) {
    Serial.print("H2S Concentration: ");
    Serial.print(h2sConcentration);
    Serial.println(" ppm");
  } else {
    Serial.println("Error reading H2S concentration.");
  }

  delay(1000); // Wait 1 second before the next reading
}
Troubleshooting and FAQs
Common Issues and Solutions
Sensor Not Responding:
- Cause: Incorrect wiring or power supply issues.
- Solution: Double-check the connections and ensure the power supply is within the specified range (3.3V - 5.5V).
Inaccurate Readings:
- Cause: Environmental interference or unstable power supply.
- Solution: Ensure the sensor is used in a stable environment and the power supply is noise-free.
I2C Address Conflict:
- Cause: Another device on the I2C bus is using the same address (0x74).
- Solution: Change the I2C address of the conflicting device or use UART instead.
Library Not Found:
- Cause: Required library is not installed.
- Solution: Install the DFRobot H2S Sensor library from the Arduino Library Manager.
FAQs
Q1: Can the sensor detect gases other than H2S?
A1: No, the sensor is specifically calibrated for hydrogen sulfide (H2S) detection and may not provide accurate readings for other gases.
Q2: How often should I recalibrate the sensor?
A2: The sensor is factory-calibrated and does not require frequent recalibration. However, if you notice significant drift in readings, contact DFRobot for support.
Q3: Can I use this sensor with a Raspberry Pi?
A3: Yes, the sensor supports I2C and UART, which are compatible with Raspberry Pi. Use appropriate libraries for integration.
Q4: What is the maximum cable length for I2C communication?
A4: For reliable communication, keep the I2C cable length under 1 meter. For longer distances, consider using UART.