
How to Use Fingers Webcam: Examples, Pinouts, and Specs
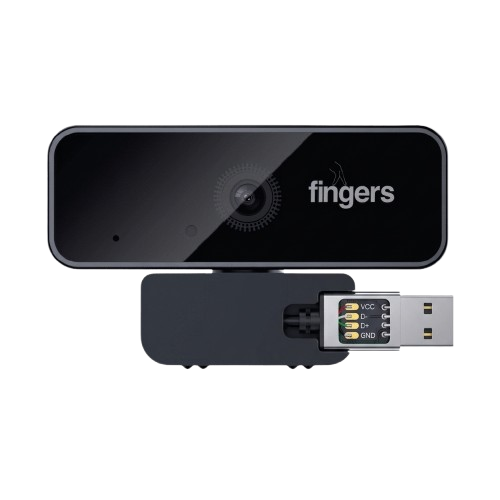
 Design with Fingers Webcam in Cirkit Designer
Introduction
The Fingers Webcam by Dynamic Conglomerate Pvt. Ltd. (Part ID: Camera) is a versatile and high-performance webcam designed for capturing video and images. It is widely used for applications such as video conferencing, live streaming, online teaching, and recording. With its built-in microphone and advanced features like autofocus and low-light correction, the Fingers Webcam ensures high-quality video and audio output, making it an ideal choice for both personal and professional use.
Explore Projects Built with Fingers Webcam
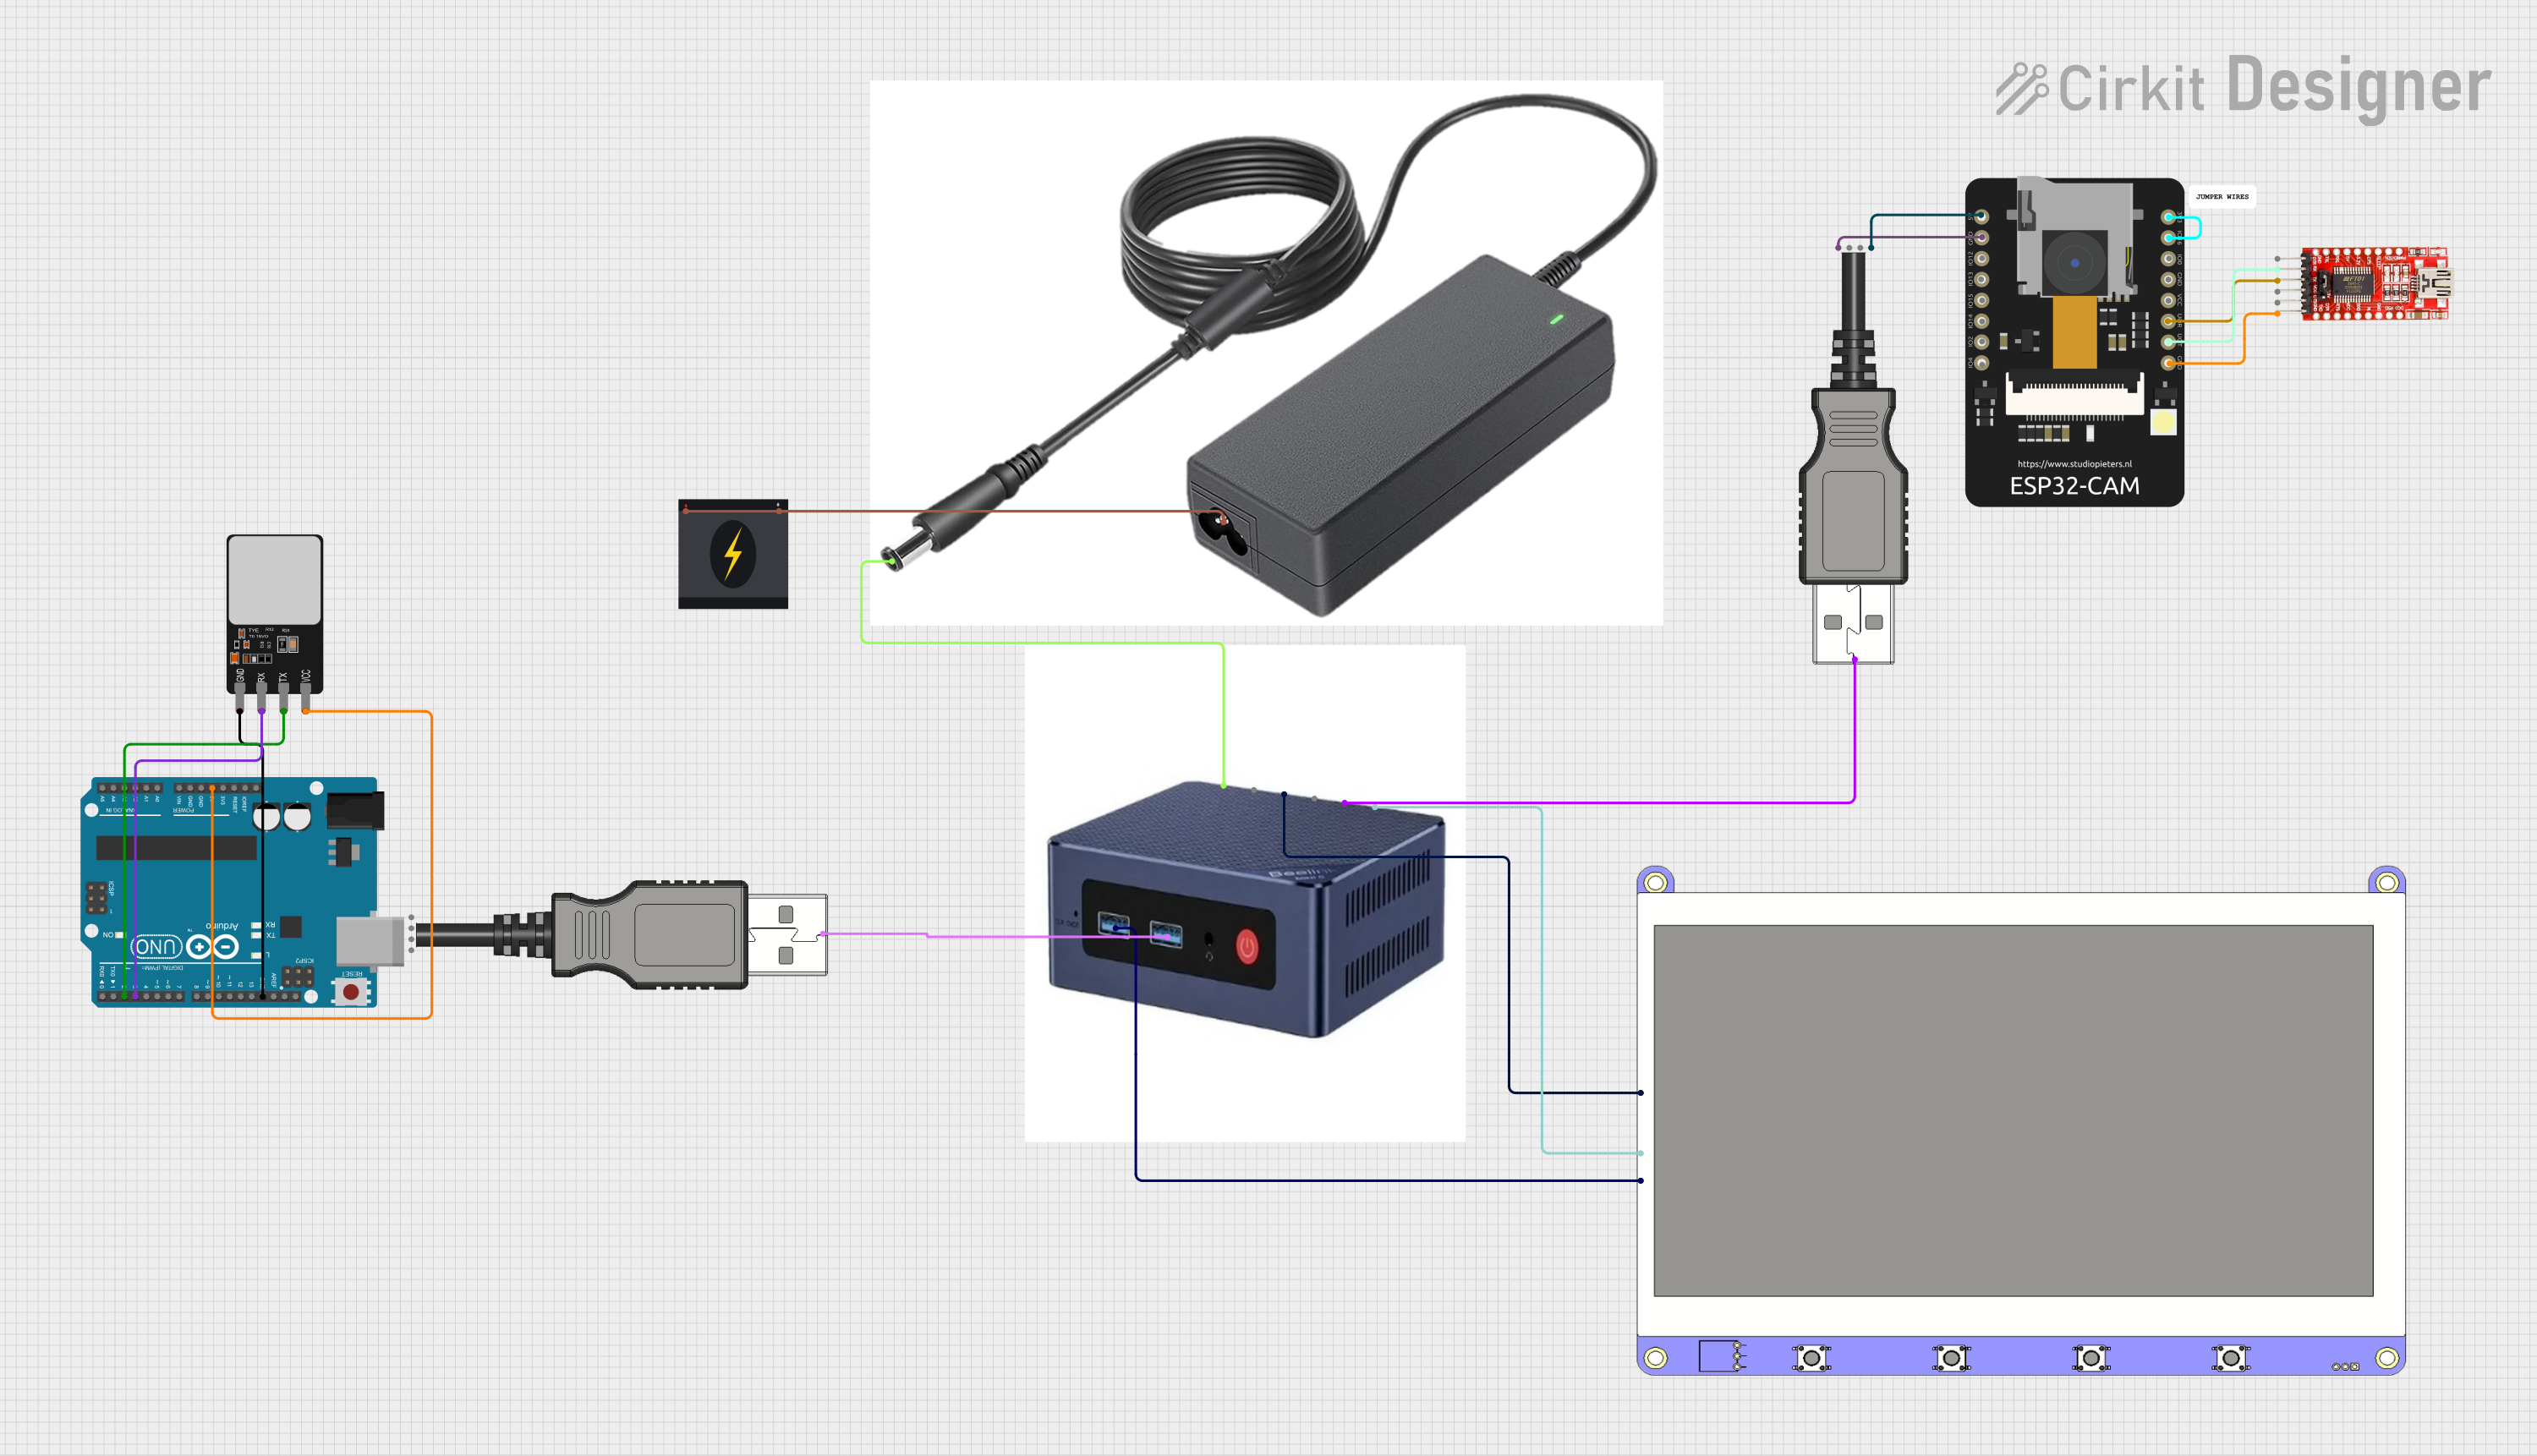 Open Project in Cirkit Designer
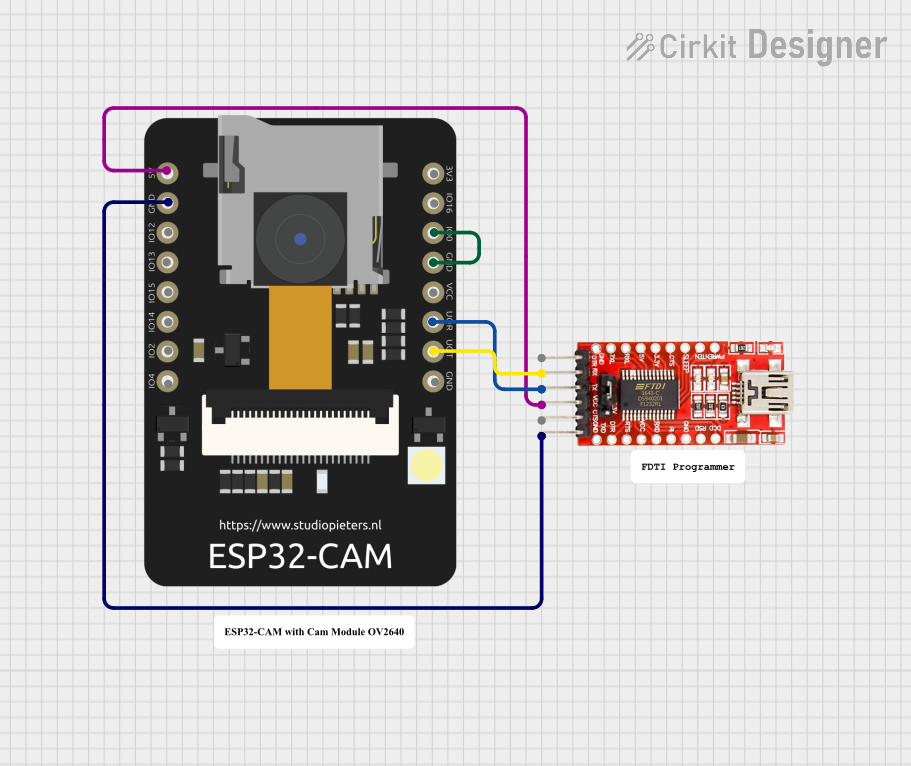 Open Project in Cirkit Designer
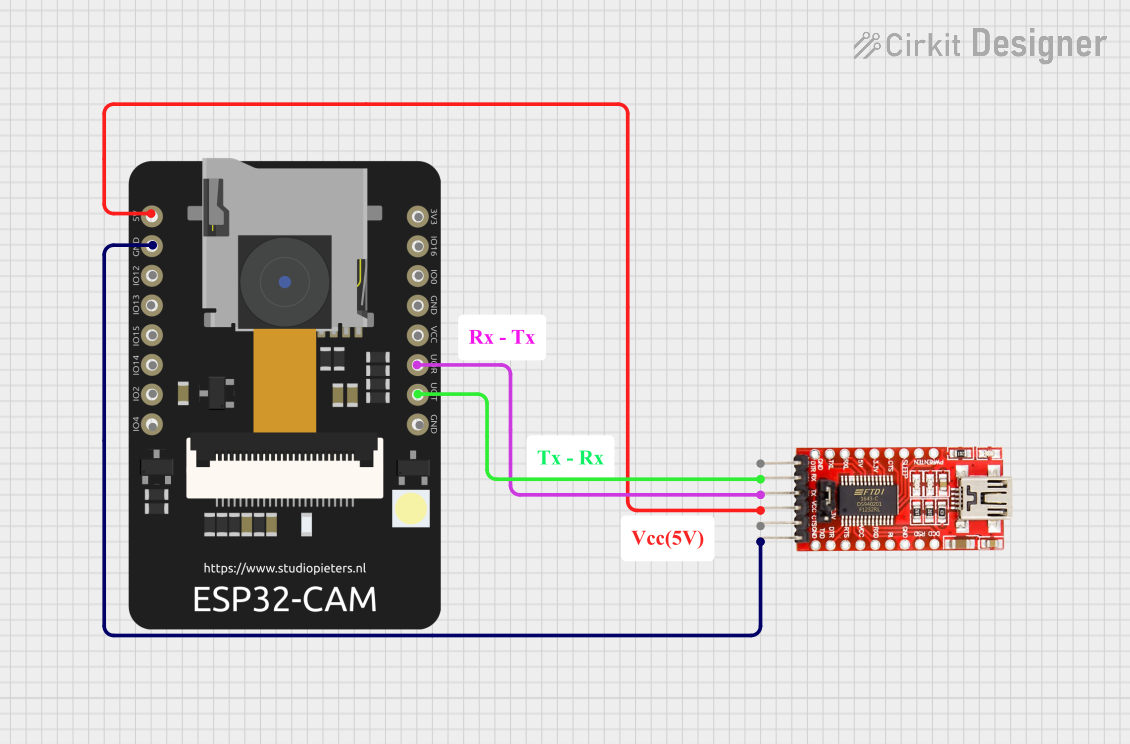 Open Project in Cirkit Designer
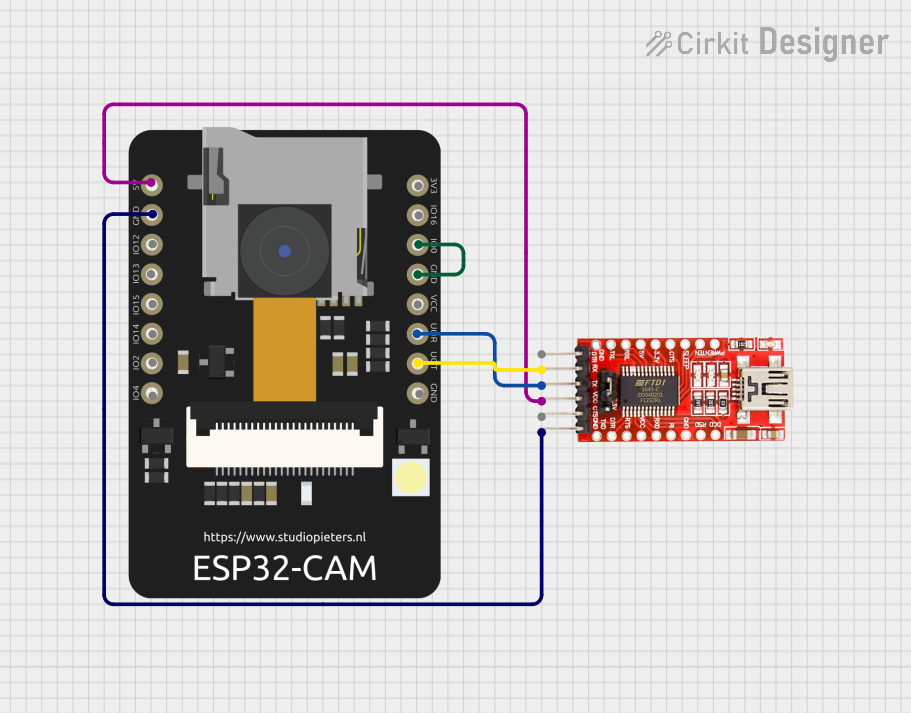 Open Project in Cirkit Designer
Explore Projects Built with Fingers Webcam
Open Project in Cirkit DesignerOpen Project in Cirkit DesignerOpen Project in Cirkit DesignerOpen Project in Cirkit DesignerTechnical Specifications
Key Technical Details
| Specification | Value |
|---|---|
| Manufacturer | Dynamic Conglomerate Pvt. Ltd. |
| Part ID | Camera |
| Resolution | Up to 1080p Full HD (1920x1080) |
| Frame Rate | 30 frames per second (fps) |
| Lens Type | Autofocus lens |
| Field of View (FOV) | 78° |
| Microphone | Built-in stereo microphone |
| Connectivity | USB 2.0 |
| Power Supply | USB-powered |
| Operating System Support | Windows, macOS, Linux |
| Dimensions | 90mm x 50mm x 40mm |
| Weight | 120g |
Pin Configuration and Descriptions
The Fingers Webcam connects via a USB interface. Below is the pin configuration for the USB connector:
| Pin Number | Pin Name | Description |
|---|---|---|
| 1 | VBUS | Power supply (+5V) |
| 2 | D- | USB data negative |
| 3 | D+ | USB data positive |
| 4 | GND | Ground |
Usage Instructions
How to Use the Fingers Webcam in a Circuit
The Fingers Webcam is a plug-and-play device that connects to a computer or microcontroller via a USB port. Follow these steps to use the webcam:
- Connect the Webcam: Plug the USB connector of the webcam into an available USB port on your computer or microcontroller.
- Install Drivers (if required): Most modern operating systems automatically detect and install the necessary drivers. If not, download the drivers from the manufacturer's website.
- Test the Webcam: Open a video conferencing application or camera software to verify that the webcam is functioning correctly.
- Adjust Settings: Use the software settings to adjust resolution, frame rate, and other parameters as needed.
Important Considerations and Best Practices
- Ensure the USB port provides sufficient power (5V, 500mA) for the webcam to function properly.
- Place the webcam in a well-lit environment for optimal video quality. Use the low-light correction feature in dimly lit conditions.
- Avoid placing the webcam near strong electromagnetic interference sources, such as large motors or unshielded power supplies.
- Use a stable mount or tripod to prevent shaky video output.
Using the Webcam with Arduino UNO
While the Fingers Webcam is primarily designed for use with computers, it can also be interfaced with an Arduino UNO for basic image or video capture tasks using a USB host shield. Below is an example of how to interface the webcam with an Arduino UNO:
Required Components
- Arduino UNO
- USB Host Shield
- Fingers Webcam
- USB cable
Sample Code
The following code demonstrates how to initialize the USB host shield to detect the webcam. Note that advanced image processing requires additional hardware and software.
#include <Usb.h>
#include <usbhub.h>

// Initialize USB host object
USB usb;

// Initialize USB hub object (if required)
USBHub hub(&usb);

void setup() {
  Serial.begin(9600);
  if (usb.Init() == -1) {
    Serial.println("USB initialization failed. Check connections.");
    while (1); // Halt execution if initialization fails
  }
  Serial.println("USB initialized successfully.");
}

void loop() {
  usb.Task(); // Continuously poll USB for connected devices
  // Add additional code here to handle webcam data if supported
}
Note: The Arduino UNO has limited processing power and memory, so it cannot directly process video streams. Use a computer or a more powerful microcontroller for advanced applications.
Troubleshooting and FAQs
Common Issues and Solutions
| Issue | Possible Cause | Solution |
|---|---|---|
| Webcam not detected by the system | Faulty USB connection or missing driver | Check the USB connection and install the driver. |
| Poor video quality | Low lighting or dirty lens | Improve lighting or clean the lens. |
| Audio not working | Microphone muted or driver issue | Unmute the microphone or reinstall the driver. |
| Webcam disconnects intermittently | Insufficient power from USB port | Use a powered USB hub or check the power supply. |
FAQs
Can the Fingers Webcam be used with Raspberry Pi? Yes, the webcam is compatible with Raspberry Pi. Use the
fswebcamormotionsoftware for video capture.Does the webcam support 4K resolution? No, the Fingers Webcam supports up to 1080p Full HD resolution.
Is the webcam compatible with Linux? Yes, the webcam is compatible with Linux and works with most distributions without additional drivers.
Can I use the webcam for outdoor applications? The webcam is not weatherproof. Use it indoors or in a protected environment.
By following this documentation, users can effectively utilize the Fingers Webcam for a variety of applications while addressing common issues and maximizing performance.