
How to Use 12V LED Driver: Examples, Pinouts, and Specs
 Design with 12V LED Driver in Cirkit Designer
Introduction
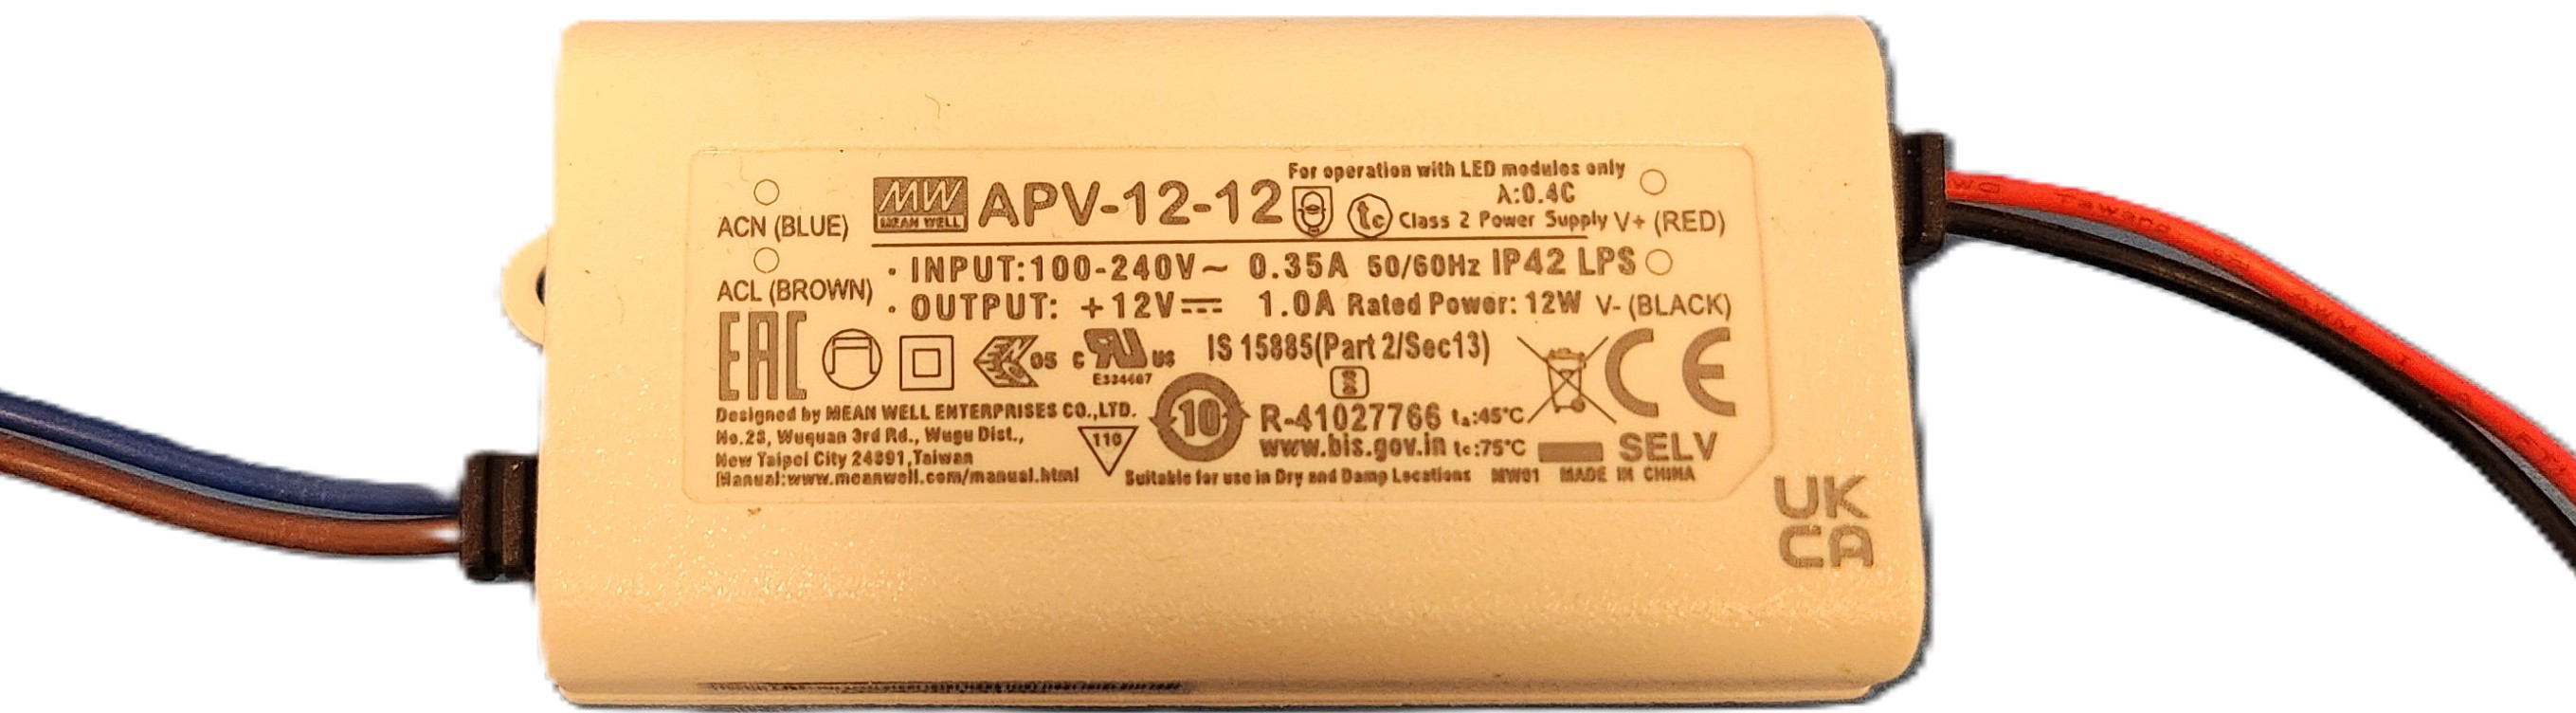
The 12V LED Driver (Mean Well APV-12-12) is a compact and reliable device designed to regulate and supply a constant 12V DC output for powering LED lights. It ensures optimal brightness and protects LEDs from damage caused by voltage fluctuations. This driver is ideal for low-power LED lighting applications and is widely used in residential, commercial, and industrial settings.
Explore Projects Built with 12V LED Driver
 Open Project in Cirkit Designer
 Open Project in Cirkit Designer
 Open Project in Cirkit Designer
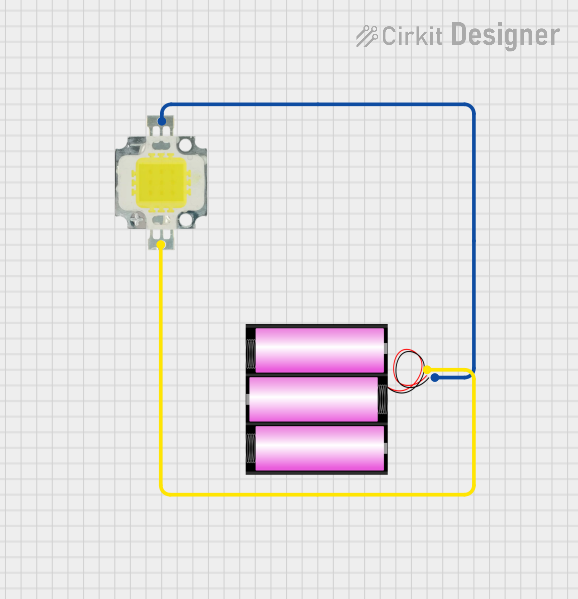 Open Project in Cirkit Designer
Explore Projects Built with 12V LED Driver
Open Project in Cirkit DesignerOpen Project in Cirkit DesignerOpen Project in Cirkit DesignerOpen Project in Cirkit DesignerCommon Applications and Use Cases
- LED strip lighting for home and office decor
- Cabinet and display lighting
- Signage and advertising boards
- Low-power LED fixtures in industrial environments
- DIY LED lighting projects
Technical Specifications
The following table outlines the key technical details of the Mean Well APV-12-12 LED driver:
| Parameter | Value |
|---|---|
| Input Voltage Range | 90-264V AC |
| Output Voltage | 12V DC |
| Output Current | 1A |
| Output Power | 12W |
| Efficiency | 83% |
| Dimensions | 77 x 40 x 29 mm |
| Operating Temperature | -30°C to +70°C |
| Protection Features | Short circuit, Overload |
| Certifications | UL, CE, FCC |
Pin Configuration and Descriptions
The Mean Well APV-12-12 has two sets of wires for input and output connections:
| Wire Color | Function | Description |
|---|---|---|
| Black | AC Line (L) | Connect to the live wire of the AC power source. |
| White | AC Neutral (N) | Connect to the neutral wire of the AC power source. |
| Red | DC Positive (+) | Connect to the positive terminal of the LED load. |
| Black | DC Negative (-) | Connect to the negative terminal of the LED load. |
Usage Instructions
How to Use the Component in a Circuit
Input Connection:
- Connect the black wire (AC Line) to the live wire of the AC power source.
- Connect the white wire (AC Neutral) to the neutral wire of the AC power source.
- Ensure the input voltage is within the range of 90-264V AC.
Output Connection:
- Connect the red wire (DC Positive) to the positive terminal of the LED load.
- Connect the black wire (DC Negative) to the negative terminal of the LED load.
- Ensure the total power consumption of the LED load does not exceed 12W.
Mounting:
- Secure the driver in a well-ventilated area to prevent overheating.
- Avoid placing the driver in damp or enclosed spaces without proper airflow.
Power On:
- After verifying all connections, power on the AC source. The driver will regulate the output to a constant 12V DC.
Important Considerations and Best Practices
- Load Compatibility: Ensure the connected LED load operates at 12V DC and does not exceed 12W.
- Ventilation: Install the driver in a location with adequate ventilation to maintain optimal operating temperature.
- Polarity: Double-check the polarity of the output connections to avoid damaging the LEDs.
- Safety: Disconnect the driver from the AC source before making any wiring changes.
Example: Connecting to an Arduino UNO
The Mean Well APV-12-12 can be used to power 12V LED strips controlled by an Arduino UNO. Below is an example circuit and code for dimming an LED strip using a PWM signal.
Circuit Setup
- Connect the APV-12-12 output (red and black wires) to the LED strip.
- Use an N-channel MOSFET (e.g., IRF540N) to control the LED strip:
- Connect the MOSFET's source to the APV-12-12 black wire (DC Negative).
- Connect the MOSFET's drain to the LED strip's negative terminal.
- Connect the MOSFET's gate to an Arduino PWM pin (e.g., pin 9) through a 220-ohm resistor.
- Connect the APV-12-12 black wire (DC Negative) to the Arduino GND.
Arduino Code
// Arduino code to control the brightness of a 12V LED strip using PWM
// Ensure the LED strip is connected via a MOSFET as described in the circuit setup.

const int pwmPin = 9; // PWM pin connected to the MOSFET gate

void setup() {
  pinMode(pwmPin, OUTPUT); // Set the PWM pin as an output
}

void loop() {
  // Gradually increase brightness
  for (int brightness = 0; brightness <= 255; brightness++) {
    analogWrite(pwmPin, brightness); // Write PWM signal to the MOSFET
    delay(10); // Small delay for smooth transition
  }

  // Gradually decrease brightness
  for (int brightness = 255; brightness >= 0; brightness--) {
    analogWrite(pwmPin, brightness); // Write PWM signal to the MOSFET
    delay(10); // Small delay for smooth transition
  }
}
Troubleshooting and FAQs
Common Issues Users Might Face
LEDs Not Lighting Up:
- Cause: Incorrect wiring or polarity.
- Solution: Verify all connections and ensure the polarity matches the LED load.
Flickering LEDs:
- Cause: Overloading the driver or poor connections.
- Solution: Ensure the total power of the LED load does not exceed 12W. Check for loose or faulty connections.
Driver Overheating:
- Cause: Insufficient ventilation or operating beyond the temperature range.
- Solution: Install the driver in a well-ventilated area and ensure ambient temperature is within -30°C to +70°C.
No Output Voltage:
- Cause: Faulty driver or incorrect input voltage.
- Solution: Verify the input voltage is within the 90-264V AC range. Replace the driver if necessary.
Solutions and Tips for Troubleshooting
- Use a multimeter to check the output voltage of the driver.
- Inspect all connections for loose wires or damage.
- If the driver fails to operate, contact Mean Well support or refer to the warranty terms for replacement.