How to Use FLIR Lepton 3.5: Examples, Pinouts, and Specs
Introduction
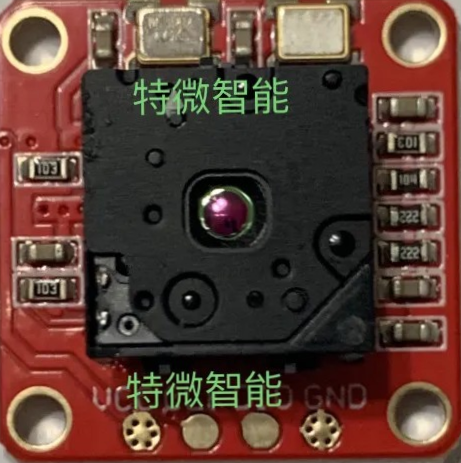
The FLIR Lepton 3.5 is a compact thermal imaging camera module designed to deliver high-resolution thermal images in a small form factor. Manufactured by FLIR, this module is ideal for applications requiring precise thermal imaging, such as robotics, drones, building inspections, and industrial monitoring. Its advanced thermal sensing capabilities make it a popular choice for developers and engineers working on innovative thermal imaging solutions.
Explore Projects Built with FLIR Lepton 3.5


Explore Projects Built with FLIR Lepton 3.5
Common Applications
- Robotics and autonomous systems
- Drones for thermal mapping and inspections
- Building diagnostics (e.g., insulation and HVAC analysis)
- Industrial equipment monitoring
- Medical and veterinary diagnostics
- Security and surveillance systems
Technical Specifications
The FLIR Lepton 3.5 is a radiometric thermal imaging module with the following key specifications:
Key Technical Details
| Parameter | Specification |
|---|---|
| Manufacturer | FLIR |
| Part ID | Thermal |
| Resolution | 160 × 120 pixels |
| Thermal Sensitivity | < 50 mK |
| Spectral Range | 8 – 14 µm |
| Frame Rate | 8.7 Hz (radiometric) |
| Field of View (FOV) | 57° × 42° |
| Operating Voltage | 2.8 V (core), 1.2 V (I/O) |
| Power Consumption | ~150 mW |
| Interface | SPI |
| Dimensions | 10.5 × 12.7 × 7.1 mm |
| Weight | 0.9 g |
Pin Configuration and Descriptions
The FLIR Lepton 3.5 module has a 20-pin interface. Below is the pinout and description:
| Pin Number | Name | Description |
|---|---|---|
| 1 | GND | Ground |
| 2 | VDD | 2.8 V power supply for the core |
| 3 | VDDIO | 1.2 V power supply for I/O |
| 4 | RESET_L | Active-low reset |
| 5 | PWR_DWN_L | Active-low power down |
| 6 | MCLK | Master clock input |
| 7 | GND | Ground |
| 8 | SCL | I2C clock line |
| 9 | SDA | I2C data line |
| 10 | GND | Ground |
| 11 | SPI_CS | SPI chip select |
| 12 | SPI_CLK | SPI clock |
| 13 | SPI_MISO | SPI master-in/slave-out |
| 14 | SPI_MOSI | SPI master-out/slave-in |
| 15 | GND | Ground |
| 16 | GPIO0 | General-purpose I/O |
| 17 | GPIO1 | General-purpose I/O |
| 18 | GPIO2 | General-purpose I/O |
| 19 | GPIO3 | General-purpose I/O |
| 20 | GND | Ground |
Usage Instructions
How to Use the FLIR Lepton 3.5 in a Circuit
- Power Supply: Provide a stable 2.8 V supply to the
VDDpin and 1.2 V to theVDDIOpin. Ensure proper grounding by connecting allGNDpins to the circuit ground. - Clock Input: Supply a 25 MHz clock signal to the
MCLKpin for proper operation. - Communication Interface: Use the SPI interface for data transfer. Connect
SPI_CS,SPI_CLK,SPI_MISO, andSPI_MOSIto the corresponding pins on your microcontroller or processor. - I2C Configuration: Use the
SCLandSDApins for I2C communication to configure the module and retrieve status information. - Reset and Power Down: Use the
RESET_LandPWR_DWN_Lpins to control the module's reset and power states.
Important Considerations
- Thermal Calibration: The Lepton 3.5 performs automatic thermal calibration. Avoid obstructing the lens during operation to ensure accurate readings.
- Lens Care: Handle the lens with care to prevent scratches or contamination, which can affect image quality.
- Heat Management: Ensure proper ventilation or heat dissipation in your design to prevent overheating of the module.
- SPI Timing: Follow the SPI timing requirements specified in the datasheet to avoid communication errors.
Example: Using FLIR Lepton 3.5 with Arduino UNO
Below is an example of interfacing the FLIR Lepton 3.5 with an Arduino UNO using the SPI interface:
#include <SPI.h>

// Define SPI pins for Arduino UNO
#define CS_PIN 10  // Chip Select
#define CLK_PIN 13 // SPI Clock
#define MOSI_PIN 11 // Master Out Slave In
#define MISO_PIN 12 // Master In Slave Out

void setup() {
  // Initialize SPI communication
  SPI.begin();
  pinMode(CS_PIN, OUTPUT);
  digitalWrite(CS_PIN, HIGH); // Set CS high to deselect the module

  Serial.begin(9600); // Initialize serial communication for debugging
  Serial.println("FLIR Lepton 3.5 Initialization...");
}

void loop() {
  // Example: Read data from the FLIR Lepton 3.5
  digitalWrite(CS_PIN, LOW); // Select the module
  byte response = SPI.transfer(0x00); // Send a dummy byte to receive data
  digitalWrite(CS_PIN, HIGH); // Deselect the module

  // Print the received data
  Serial.print("Received Data: ");
  Serial.println(response, HEX);

  delay(1000); // Wait for 1 second before the next read
}
Notes:
- Use a level shifter if your microcontroller operates at 5 V logic levels, as the Lepton 3.5 operates at 1.2 V I/O.
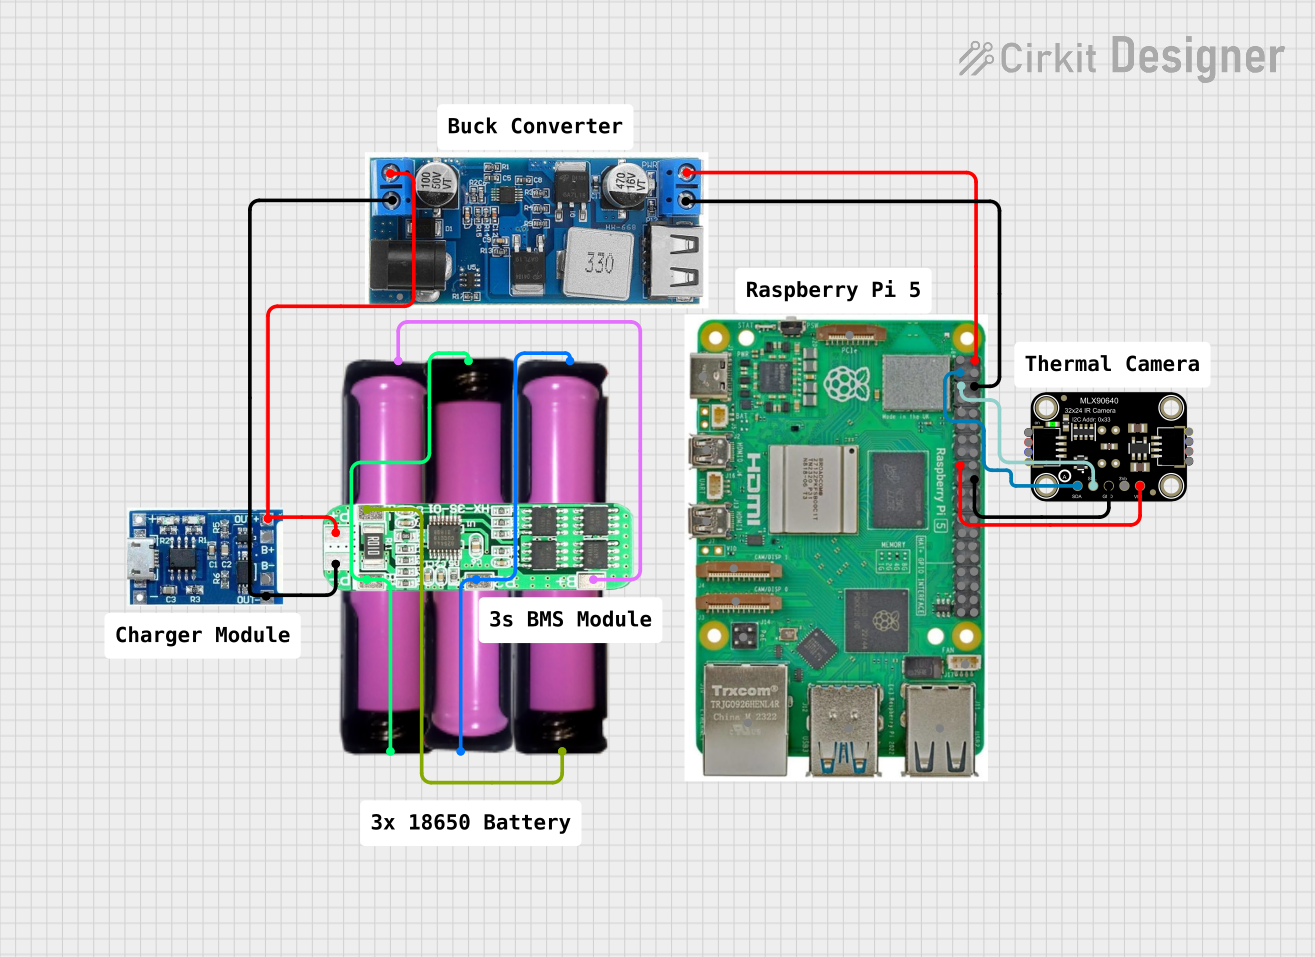
- For advanced image processing, consider using a more powerful microcontroller or single-board computer like the Raspberry Pi.
Troubleshooting and FAQs
Common Issues and Solutions
No Image Output:
- Ensure the
MCLKpin is receiving a 25 MHz clock signal. - Verify the power supply voltages (2.8 V for
VDDand 1.2 V forVDDIO). - Check SPI connections and ensure proper timing.
- Ensure the
Blurry or Distorted Images:
- Clean the lens with a soft, lint-free cloth.
- Ensure the module is not overheating.
Communication Errors:
- Verify SPI and I2C connections.
- Check for proper grounding and stable power supply.
Module Not Responding:
- Reset the module using the
RESET_Lpin. - Ensure the
PWR_DWN_Lpin is set to high (active-low power down is disabled).
- Reset the module using the
FAQs
Q: Can the FLIR Lepton 3.5 detect human body temperature?
A: Yes, the module can detect human body temperature, but it is not a medical-grade device. For accurate temperature readings, ensure proper calibration and environmental conditions.
Q: Is the FLIR Lepton 3.5 compatible with Raspberry Pi?
A: Yes, the module can be interfaced with Raspberry Pi using the SPI interface. Libraries like pylepton can simplify integration.
Q: What is the maximum operating temperature for the module?
A: The FLIR Lepton 3.5 can operate in temperatures ranging from -10°C to 65°C.
Q: Can the module be used outdoors?
A: Yes, but ensure it is protected from direct exposure to water, dust, and extreme environmental conditions.