How to Use Seeed Studio XIAO RA4M1: Examples, Pinouts, and Specs
Introduction
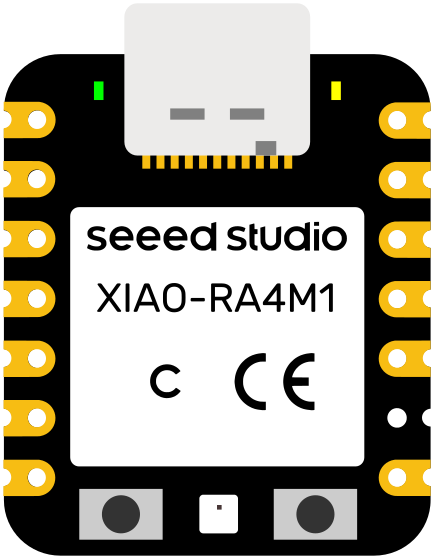
The Seeed Studio XIAO RA4M1 is a compact and powerful microcontroller board based on the RA4M1 chip from Renesas. It is designed to deliver high performance with low power consumption, making it an excellent choice for IoT applications, wearable devices, and embedded systems. With its small form factor and rich set of features, the XIAO RA4M1 is ideal for developers looking to create efficient and space-constrained projects.
Explore Projects Built with Seeed Studio XIAO RA4M1


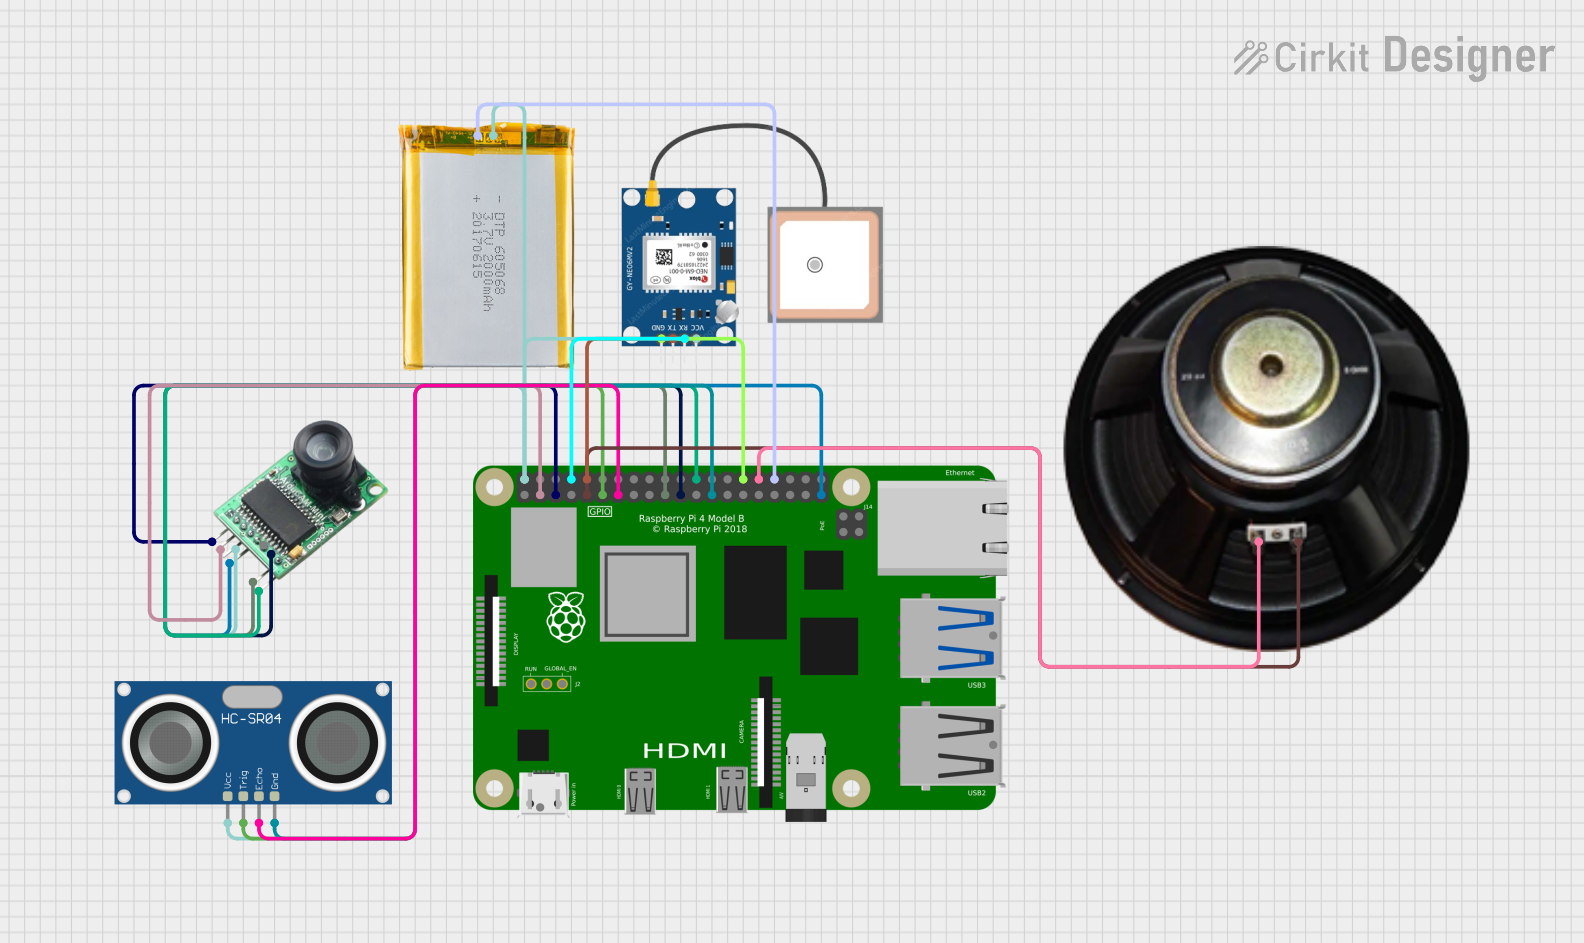

Explore Projects Built with Seeed Studio XIAO RA4M1
Common Applications and Use Cases
- IoT devices and smart home systems
- Wearable technology
- Prototyping and development of embedded systems
- Low-power data logging and monitoring
- Robotics and automation projects
Technical Specifications
The following table outlines the key technical specifications of the Seeed Studio XIAO RA4M1:
| Specification | Details |
|---|---|
| Microcontroller | Renesas RA4M1 (ARM Cortex-M4, 48 MHz) |
| Flash Memory | 256 KB |
| SRAM | 32 KB |
| Operating Voltage | 3.3V |
| Input Voltage Range | 3.3V to 5V |
| Digital I/O Pins | 11 |
| Analog Input Pins | 4 |
| PWM Output Pins | 6 |
| Communication Interfaces | I2C, SPI, UART |
| USB Interface | USB 2.0 Type-C (supports programming and power supply) |
| Power Consumption | Ultra-low power consumption (suitable for battery-powered applications) |
| Dimensions | 21 x 17.5 mm |
Pin Configuration and Descriptions
The Seeed Studio XIAO RA4M1 has 14 pins, including power, digital, and analog pins. The table below provides a detailed description of each pin:
| Pin Number | Pin Name | Function | Description |
|---|---|---|---|
| 1 | 3V3 | Power | 3.3V output for powering external components |
| 2 | GND | Ground | Ground connection |
| 3 | A0 | Analog Input / Digital I/O | Configurable as analog input or digital I/O |
| 4 | A1 | Analog Input / Digital I/O | Configurable as analog input or digital I/O |
| 5 | A2 | Analog Input / Digital I/O | Configurable as analog input or digital I/O |
| 6 | A3 | Analog Input / Digital I/O | Configurable as analog input or digital I/O |
| 7 | D0 | Digital I/O / UART RX | Digital I/O or UART receive pin |
| 8 | D1 | Digital I/O / UART TX | Digital I/O or UART transmit pin |
| 9 | D2 | Digital I/O | General-purpose digital I/O |
| 10 | D3 | Digital I/O / PWM | Digital I/O or PWM output |
| 11 | D4 | Digital I/O / PWM | Digital I/O or PWM output |
| 12 | D5 | Digital I/O / PWM | Digital I/O or PWM output |
| 13 | D6 | Digital I/O / PWM | Digital I/O or PWM output |
| 14 | USB-C | USB Interface | USB Type-C for programming and power supply |
Usage Instructions
How to Use the Component in a Circuit
- Powering the Board: Connect the XIAO RA4M1 to a power source using the USB Type-C port or supply 3.3V to the 3V3 pin.
- Programming: Use the USB Type-C port to upload code to the board. It is compatible with the Arduino IDE and other development environments.
- Connecting Peripherals: Use the digital and analog pins to connect sensors, actuators, and other peripherals. Ensure that the voltage levels of connected devices are compatible with the 3.3V logic level of the board.
- Communication: Utilize the I2C, SPI, or UART interfaces for communication with other devices.
Important Considerations and Best Practices
- Voltage Levels: Ensure that all connected components operate at 3.3V logic levels to avoid damaging the board.
- Power Supply: If using an external power source, ensure it provides a stable 3.3V or 5V input.
- Heat Management: While the board is designed for low power consumption, avoid placing it in environments with excessive heat.
- Pin Usage: Avoid exceeding the current limits of the pins (typically 4-6 mA per pin) to prevent damage.
Example Code for Arduino UNO
The following example demonstrates how to read an analog value from pin A0 and send it to the serial monitor:
// Example code for Seeed Studio XIAO RA4M1
// Reads an analog value from pin A0 and prints it to the serial monitor

void setup() {
  Serial.begin(9600); // Initialize serial communication at 9600 baud
  pinMode(A0, INPUT); // Set A0 as an input pin
}

void loop() {
  int analogValue = analogRead(A0); // Read the analog value from A0
  Serial.print("Analog Value: ");   // Print a label to the serial monitor
  Serial.println(analogValue);     // Print the analog value
  delay(500);                      // Wait for 500 milliseconds
}
Troubleshooting and FAQs
Common Issues and Solutions
Board Not Detected by Computer:
- Ensure the USB cable is properly connected and supports data transfer.
- Check if the correct board and port are selected in the Arduino IDE.
Code Upload Fails:
- Verify that the board is in bootloader mode by double-pressing the reset button.
- Ensure the correct COM port is selected in the IDE.
Peripherals Not Working:
- Check the wiring and ensure proper connections.
- Verify that the peripherals are compatible with 3.3V logic levels.
Board Overheating:
- Reduce the load on the pins and ensure proper ventilation.
- Avoid exceeding the current limits of the pins.
FAQs
Q: Can the XIAO RA4M1 be powered by a battery?
A: Yes, the board can be powered by a 3.7V LiPo battery connected to the 3V3 pin, but ensure proper voltage regulation.
Q: Is the XIAO RA4M1 compatible with Arduino libraries?
A: Yes, the board is compatible with most Arduino libraries, but some may require minor modifications.
Q: How do I reset the board?
A: Press the reset button once to restart the board or double-press it to enter bootloader mode.
Q: Can I use the XIAO RA4M1 for low-power applications?
A: Absolutely! The board is designed for ultra-low power consumption, making it ideal for battery-powered projects.