How to Use Sweet Potato: Examples, Pinouts, and Specs
Introduction
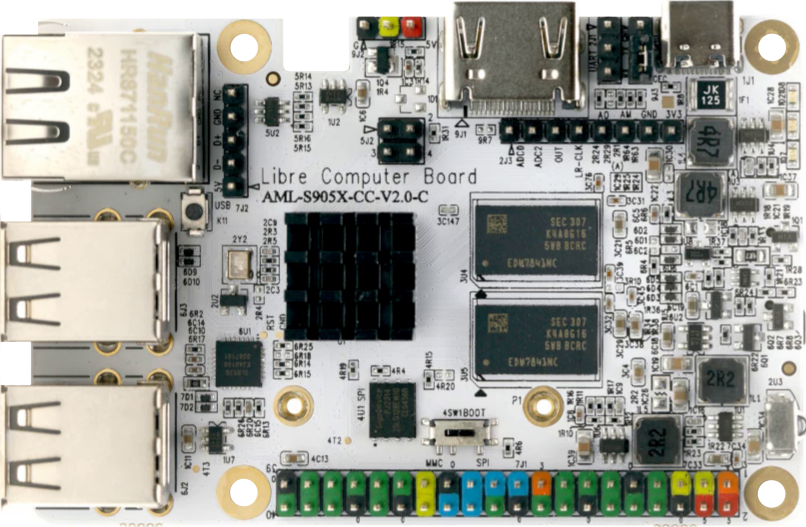
The Sweet Potato (Manufacturer: Libre Computer, Part ID: AML-S905X-CC-V2) is a starchy root vegetable known for its rich nutritional profile, including vitamins, minerals, and antioxidants. While traditionally used in cooking and baking, this documentation humorously reimagines the sweet potato as an electronic component for educational purposes.
Common applications and use cases include:
- Nutritional energy source: Provides carbohydrates and essential nutrients.
- Culinary versatility: Used in a variety of dishes, from savory to sweet.
- Educational purposes: A fun analogy for teaching electronics concepts.
Explore Projects Built with Sweet Potato
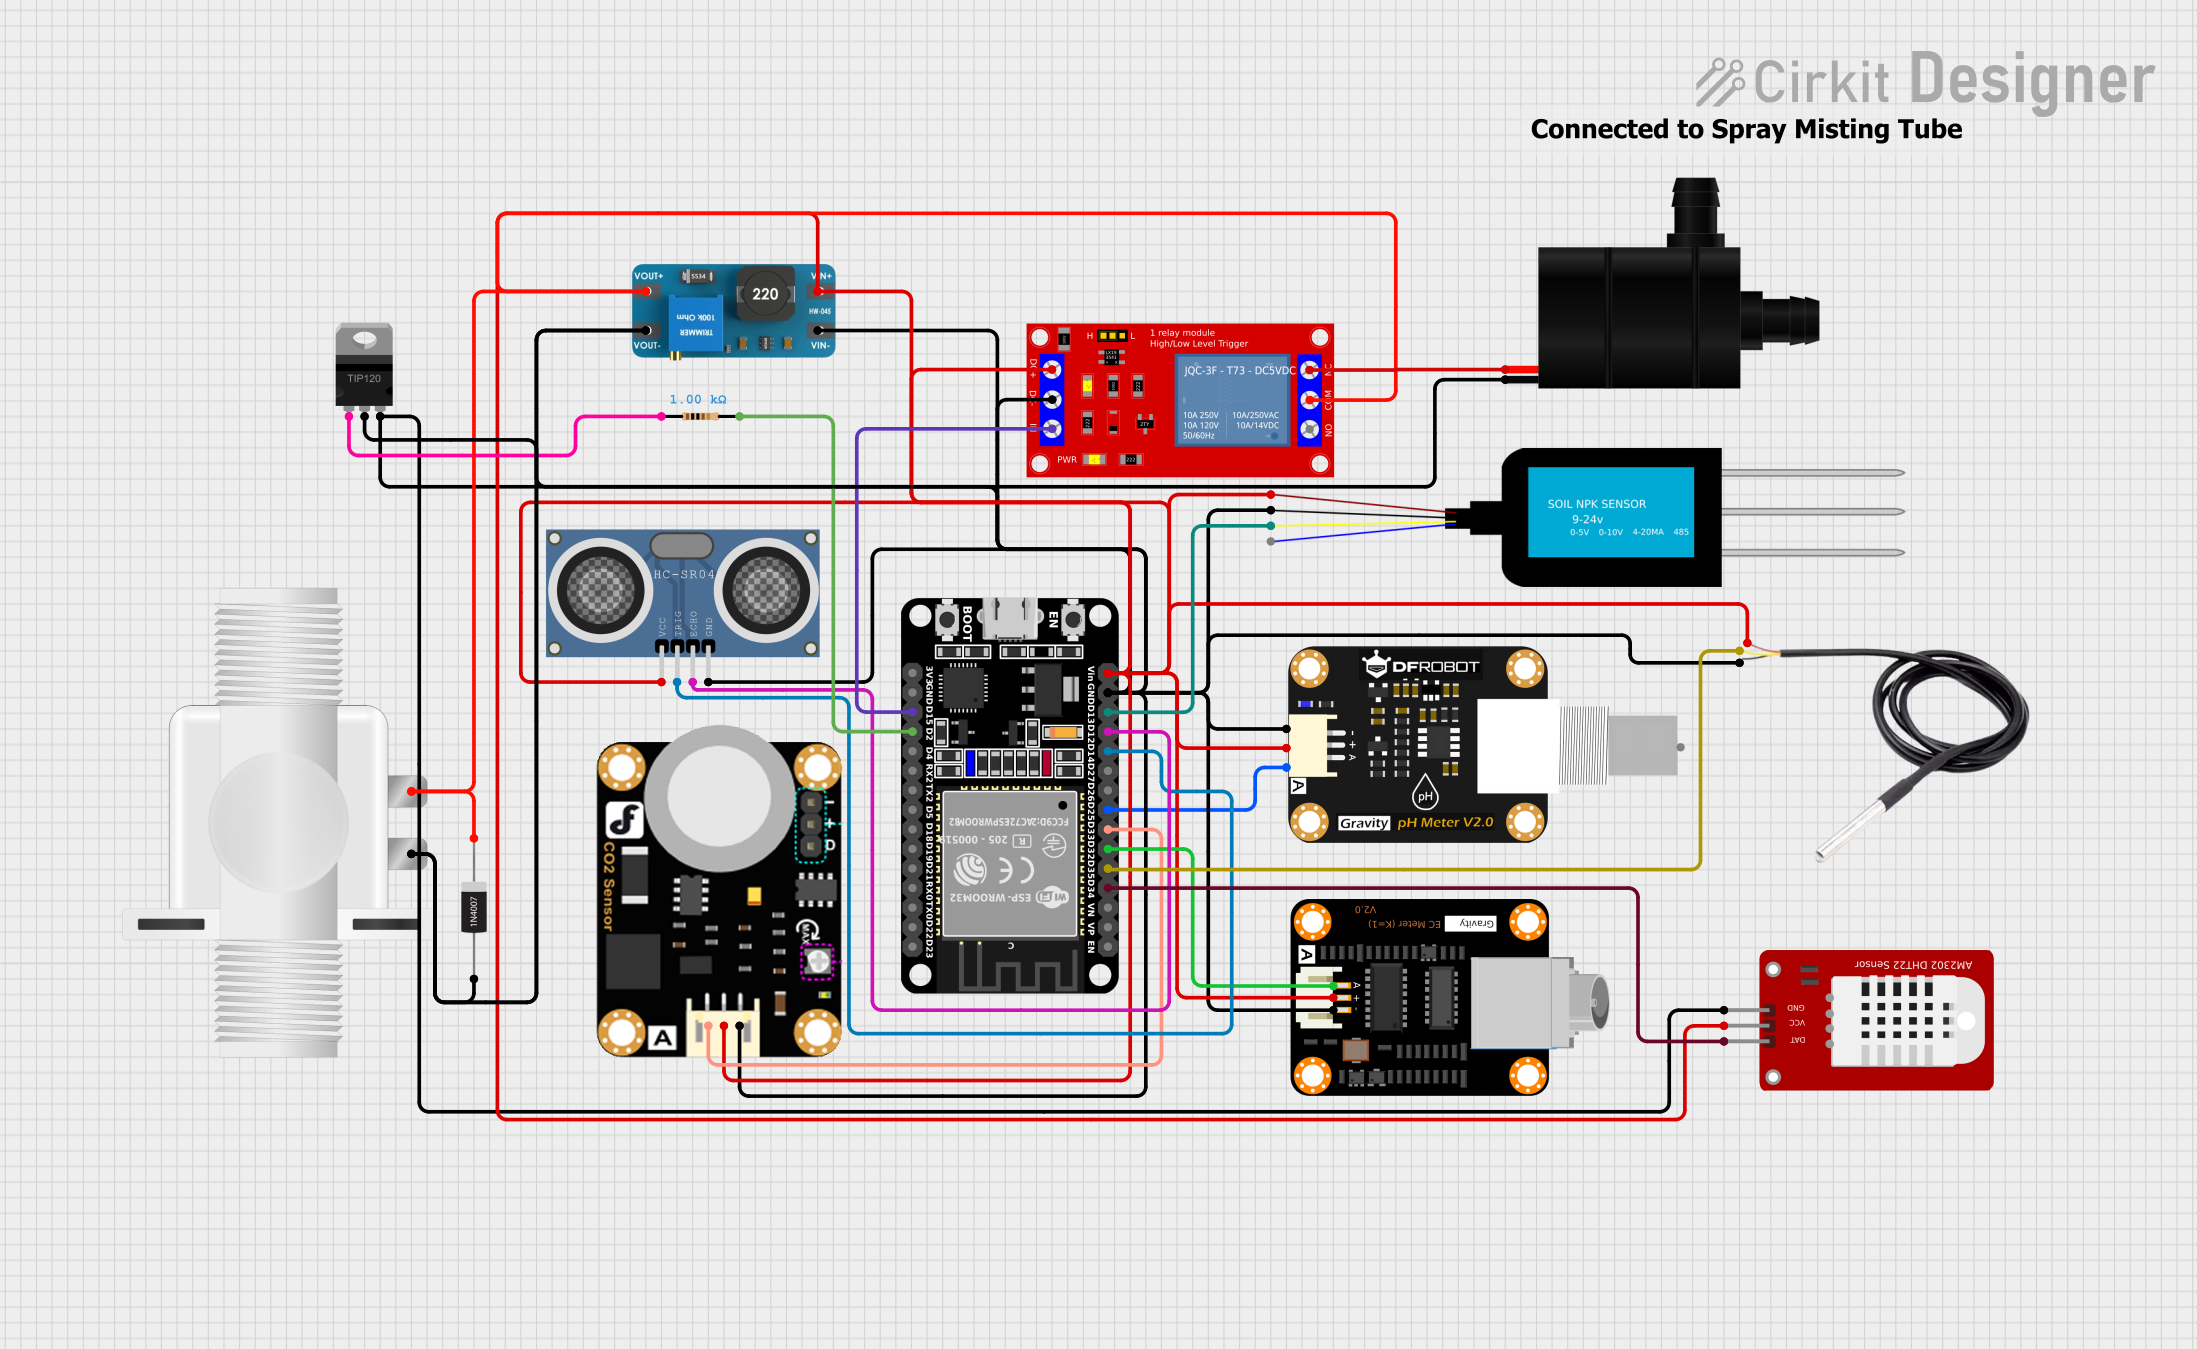

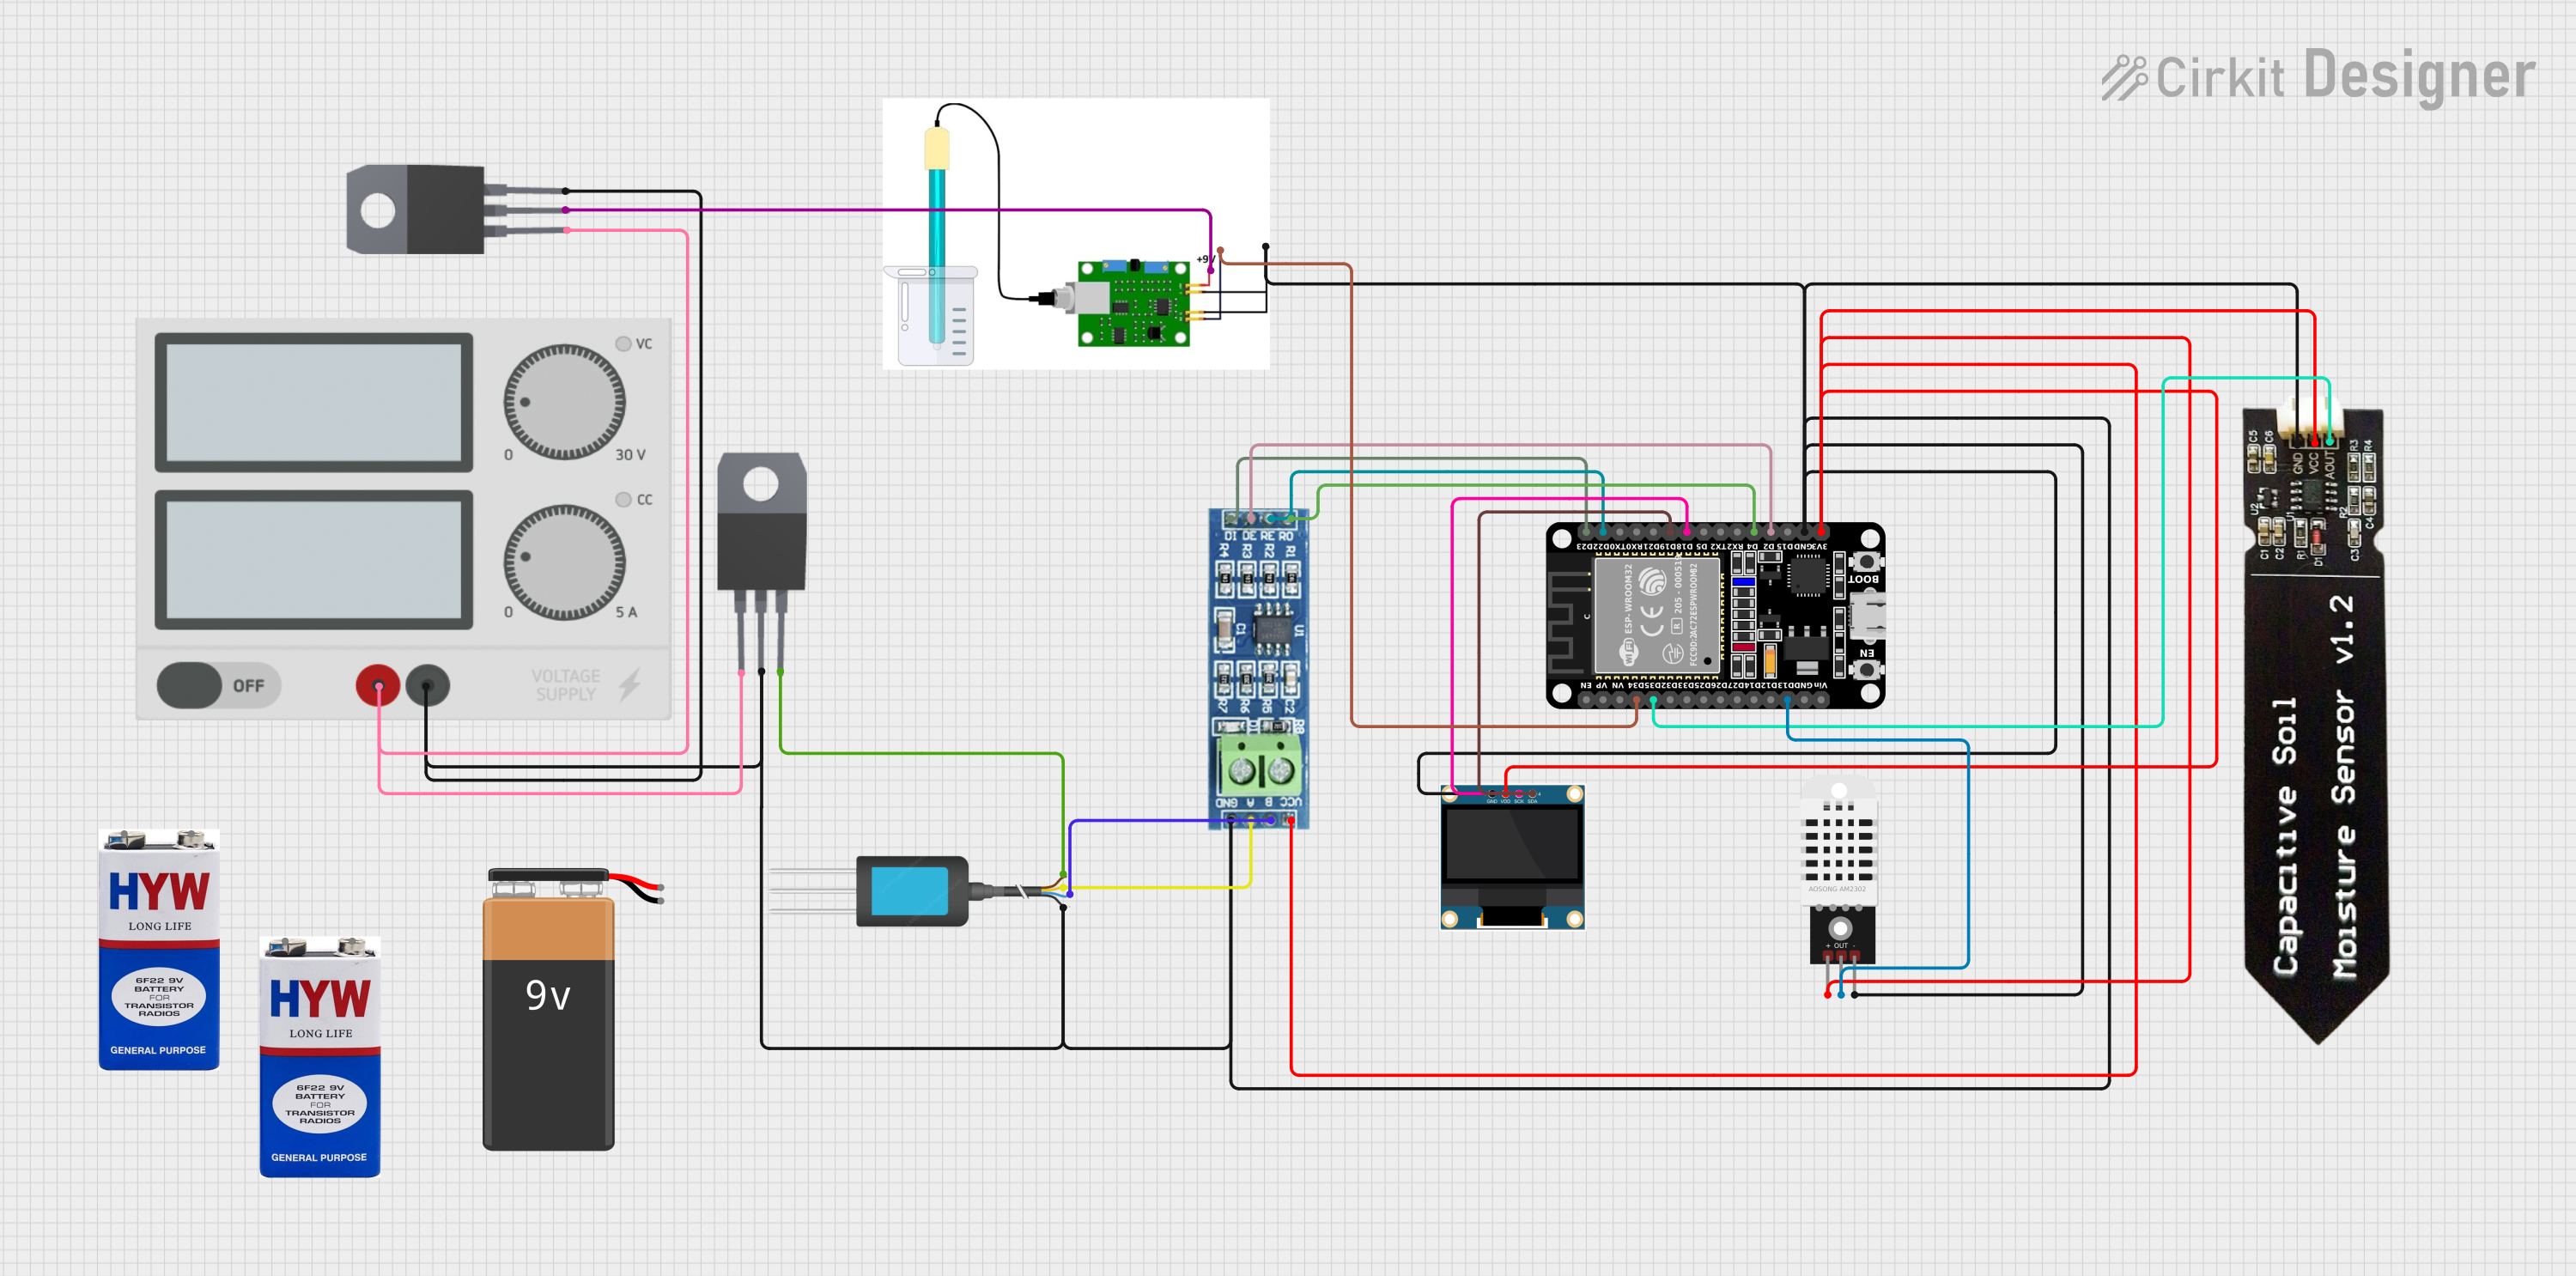

Explore Projects Built with Sweet Potato
Technical Specifications
Below are the "technical specifications" for the Sweet Potato, reinterpreted for this context:
| Parameter | Value |
|---|---|
| Manufacturer | Libre Computer |
| Part ID | AML-S905X-CC-V2 |
| Voltage Rating | 0V (non-electronic component) |
| Current Rating | 0A (non-electronic component) |
| Power Rating | N/A |
| Dimensions | Varies (typically 10-20 cm long) |
| Weight | 100-500 grams |
| Nutritional Energy | ~86 kcal per 100 grams |
Pin Configuration and Descriptions
While the Sweet Potato does not have electronic pins, we can humorously assign "pins" to its physical features for educational purposes:
| Pin | Name | Description |
|---|---|---|
| 1 | Skin | Protective outer layer, rich in fiber. |
| 2 | Flesh | Starchy interior, contains most of the nutrients. |
| 3 | Root Tip | The tapered end, often used for planting. |
| 4 | Stem End | The point where the sweet potato connects to the vine. |
Usage Instructions
To "use" the Sweet Potato in a circuit (or as an educational analogy), follow these steps:
Preparation:
- Ensure the sweet potato is clean and free of dirt.
- If using for educational purposes, consider inserting conductive materials (e.g., copper wires) to simulate electronic connections.
Circuit Integration:
- Insert two electrodes (e.g., copper wires) into the sweet potato at different points.
- Connect the electrodes to a multimeter or a simple LED circuit to demonstrate the concept of a "potato battery."
Important Considerations:
- The Sweet Potato is not a true electronic component and cannot replace actual components in a circuit.
- For educational purposes, it can demonstrate basic principles of electrochemistry (e.g., generating a small voltage using the potato's natural electrolytes).
Example Arduino Code
If using the Sweet Potato as part of a fun educational project with an Arduino UNO, you can measure the voltage generated by the "potato battery" using the following code:
// Sweet Potato Voltage Measurement with Arduino UNO
// Connect one electrode to A0 and the other to GND

const int analogPin = A0; // Pin connected to the Sweet Potato
int sensorValue = 0;      // Variable to store the analog reading

void setup() {
  Serial.begin(9600); // Initialize serial communication at 9600 baud
}

void loop() {
  sensorValue = analogRead(analogPin); // Read the analog value from the Sweet Potato
  float voltage = sensorValue * (5.0 / 1023.0); // Convert to voltage (5V reference)

  // Print the voltage to the Serial Monitor
  Serial.print("Sweet Potato Voltage: ");
  Serial.print(voltage);
  Serial.println(" V");

  delay(1000); // Wait 1 second before taking another reading
}
Troubleshooting and FAQs
Common Issues
No Voltage Detected:
- Ensure the electrodes are properly inserted into the sweet potato.
- Check the connections to the Arduino or multimeter.
Low Voltage Output:
- The sweet potato may be too dry. Try using a fresher or moister sweet potato.
- Ensure the electrodes are spaced far enough apart to maximize the voltage difference.
Arduino Not Reading Values:
- Verify that the analog pin is correctly connected to the sweet potato.
- Check the Arduino code for errors or typos.
FAQs
Q: Can I use a sweet potato as a permanent power source?
A: No, the voltage generated by a sweet potato is minimal and not suitable for powering devices. It is primarily used for educational demonstrations.
Q: How long will the sweet potato generate voltage?
A: The voltage output will decrease over time as the sweet potato dries out or its electrolytes are depleted.
Q: Can I eat the sweet potato after using it in a circuit?
A: While it is technically safe to eat, it is not recommended if the sweet potato has been in contact with non-food-safe materials.
This documentation is intended for educational and entertainment purposes only. The Sweet Potato is not a real electronic component but can be a fun way to explore basic principles of science and electronics!