How to Use SHT45: Examples, Pinouts, and Specs

Introduction
The SHT45 is a high-precision digital humidity and temperature sensor manufactured by Adafruit. It is designed to provide accurate environmental measurements with low power consumption, making it ideal for applications such as environmental monitoring, HVAC systems, weather stations, and IoT devices. The sensor features a robust I2C interface for easy integration with microcontrollers and other digital systems.
Explore Projects Built with SHT45
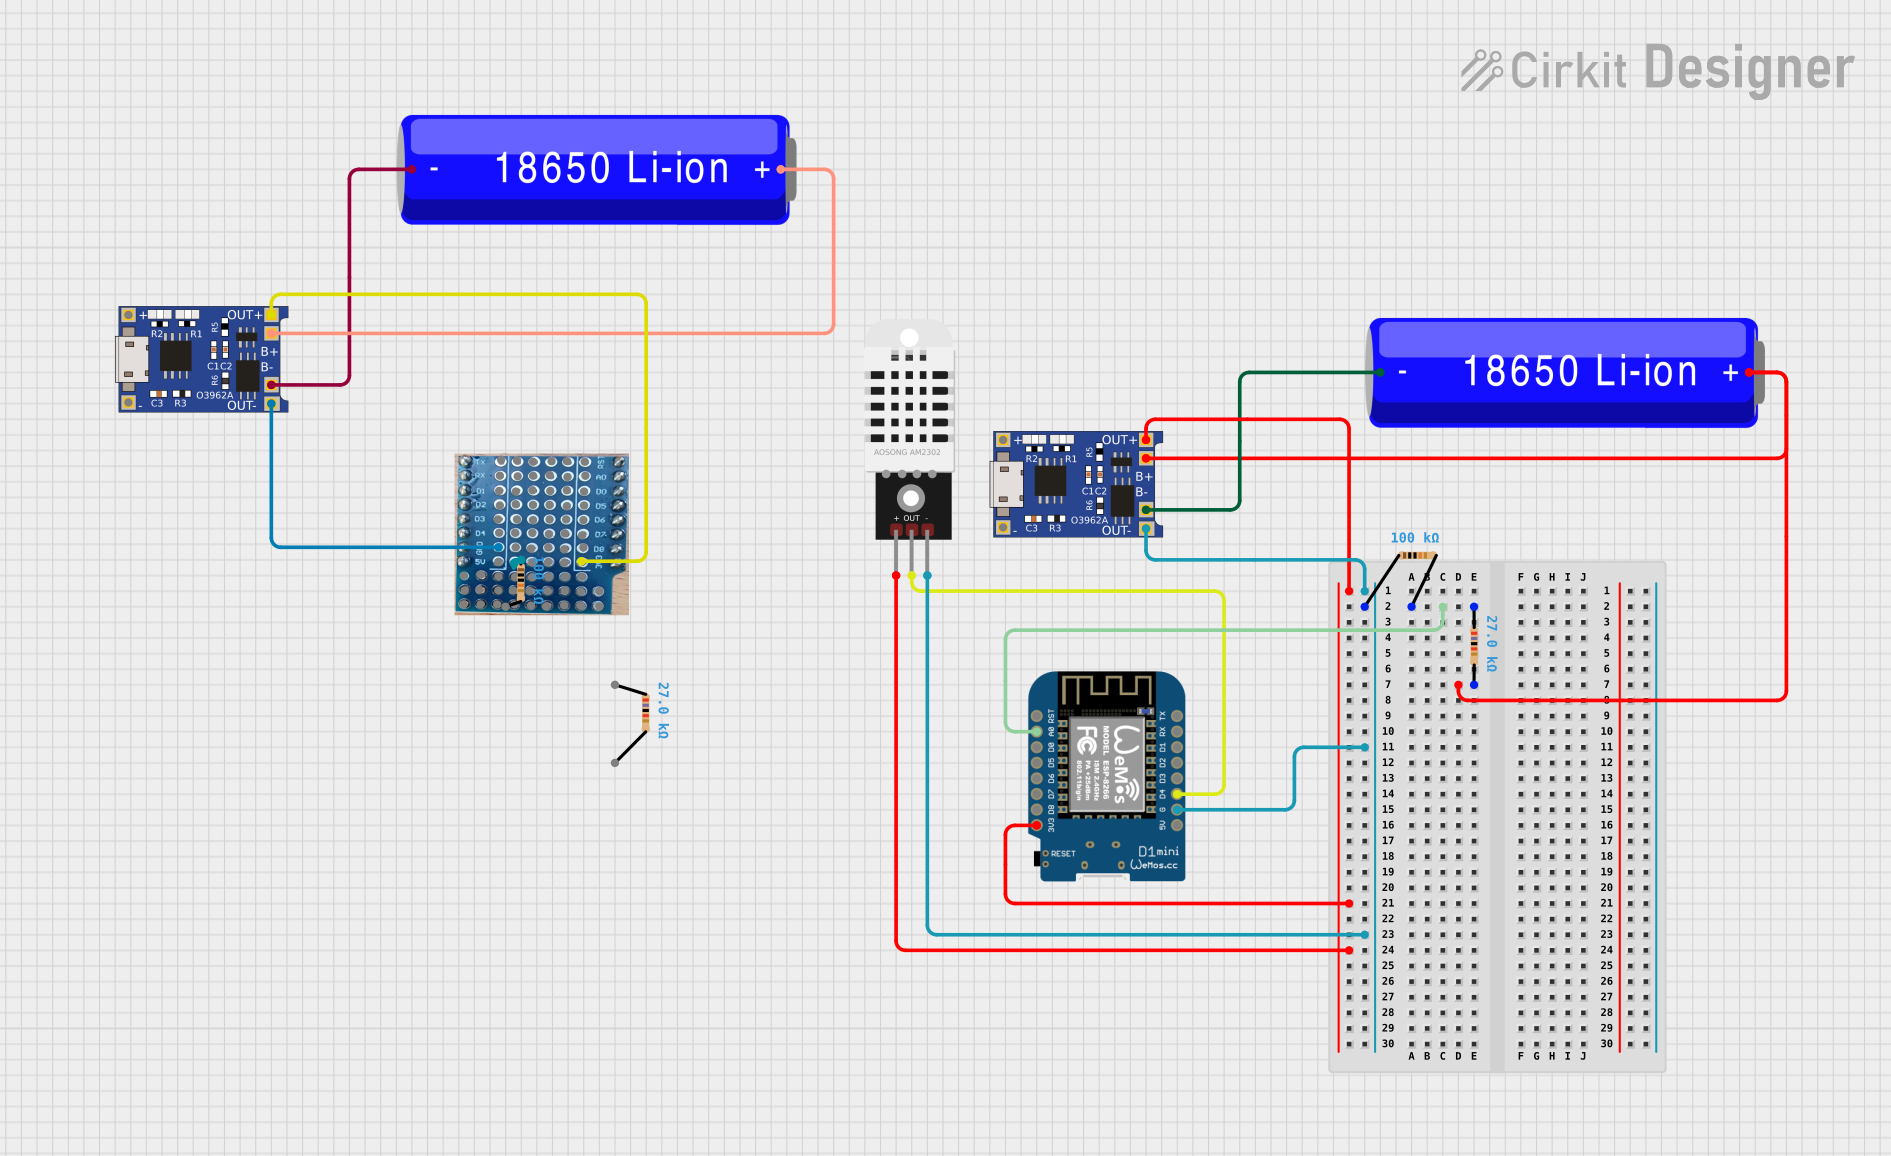
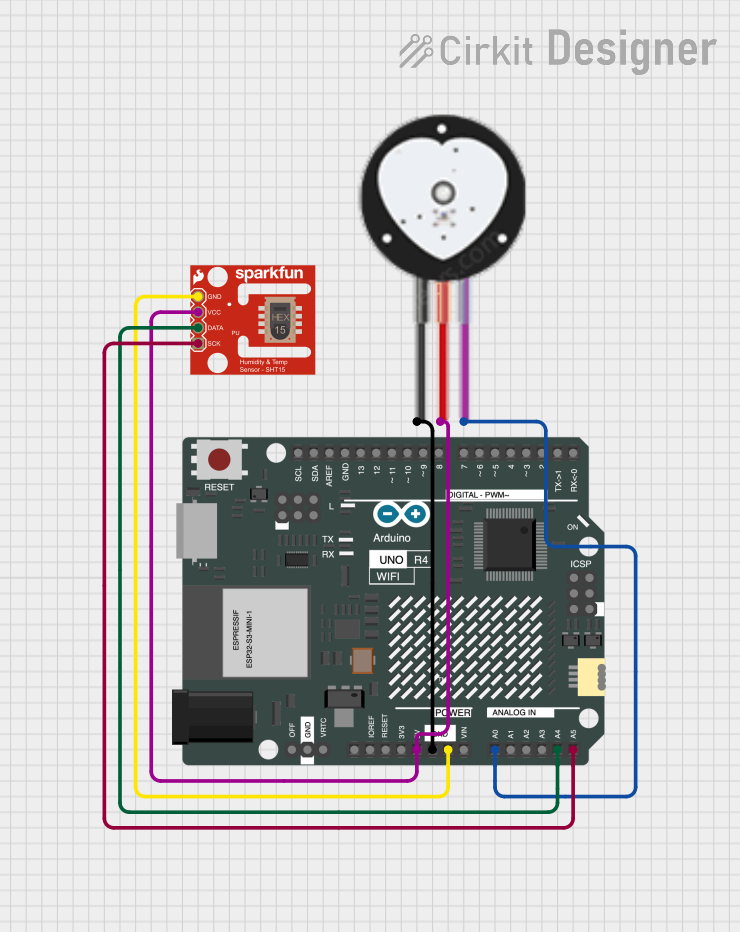
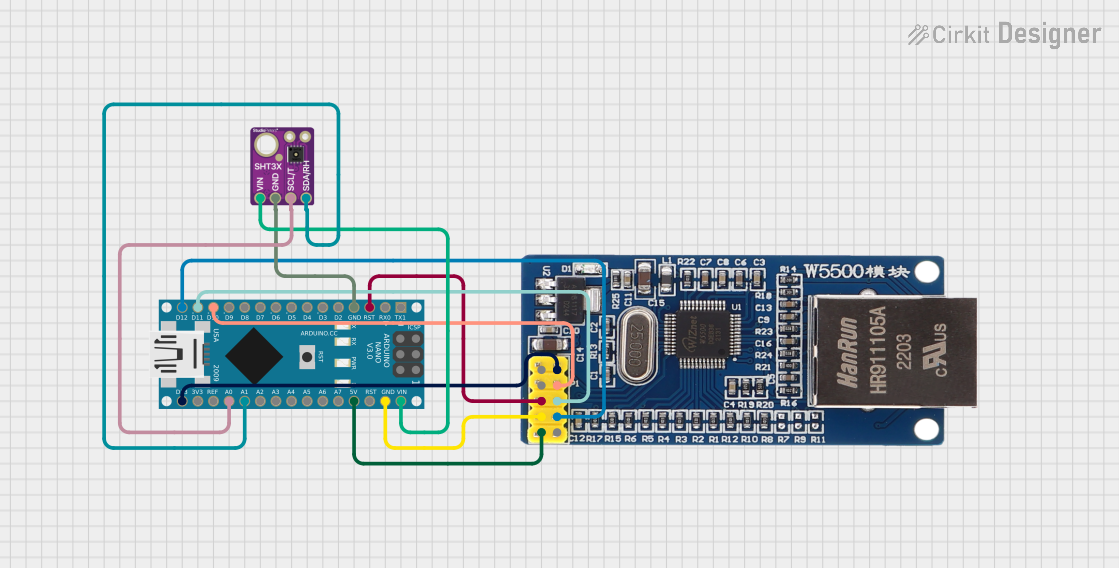
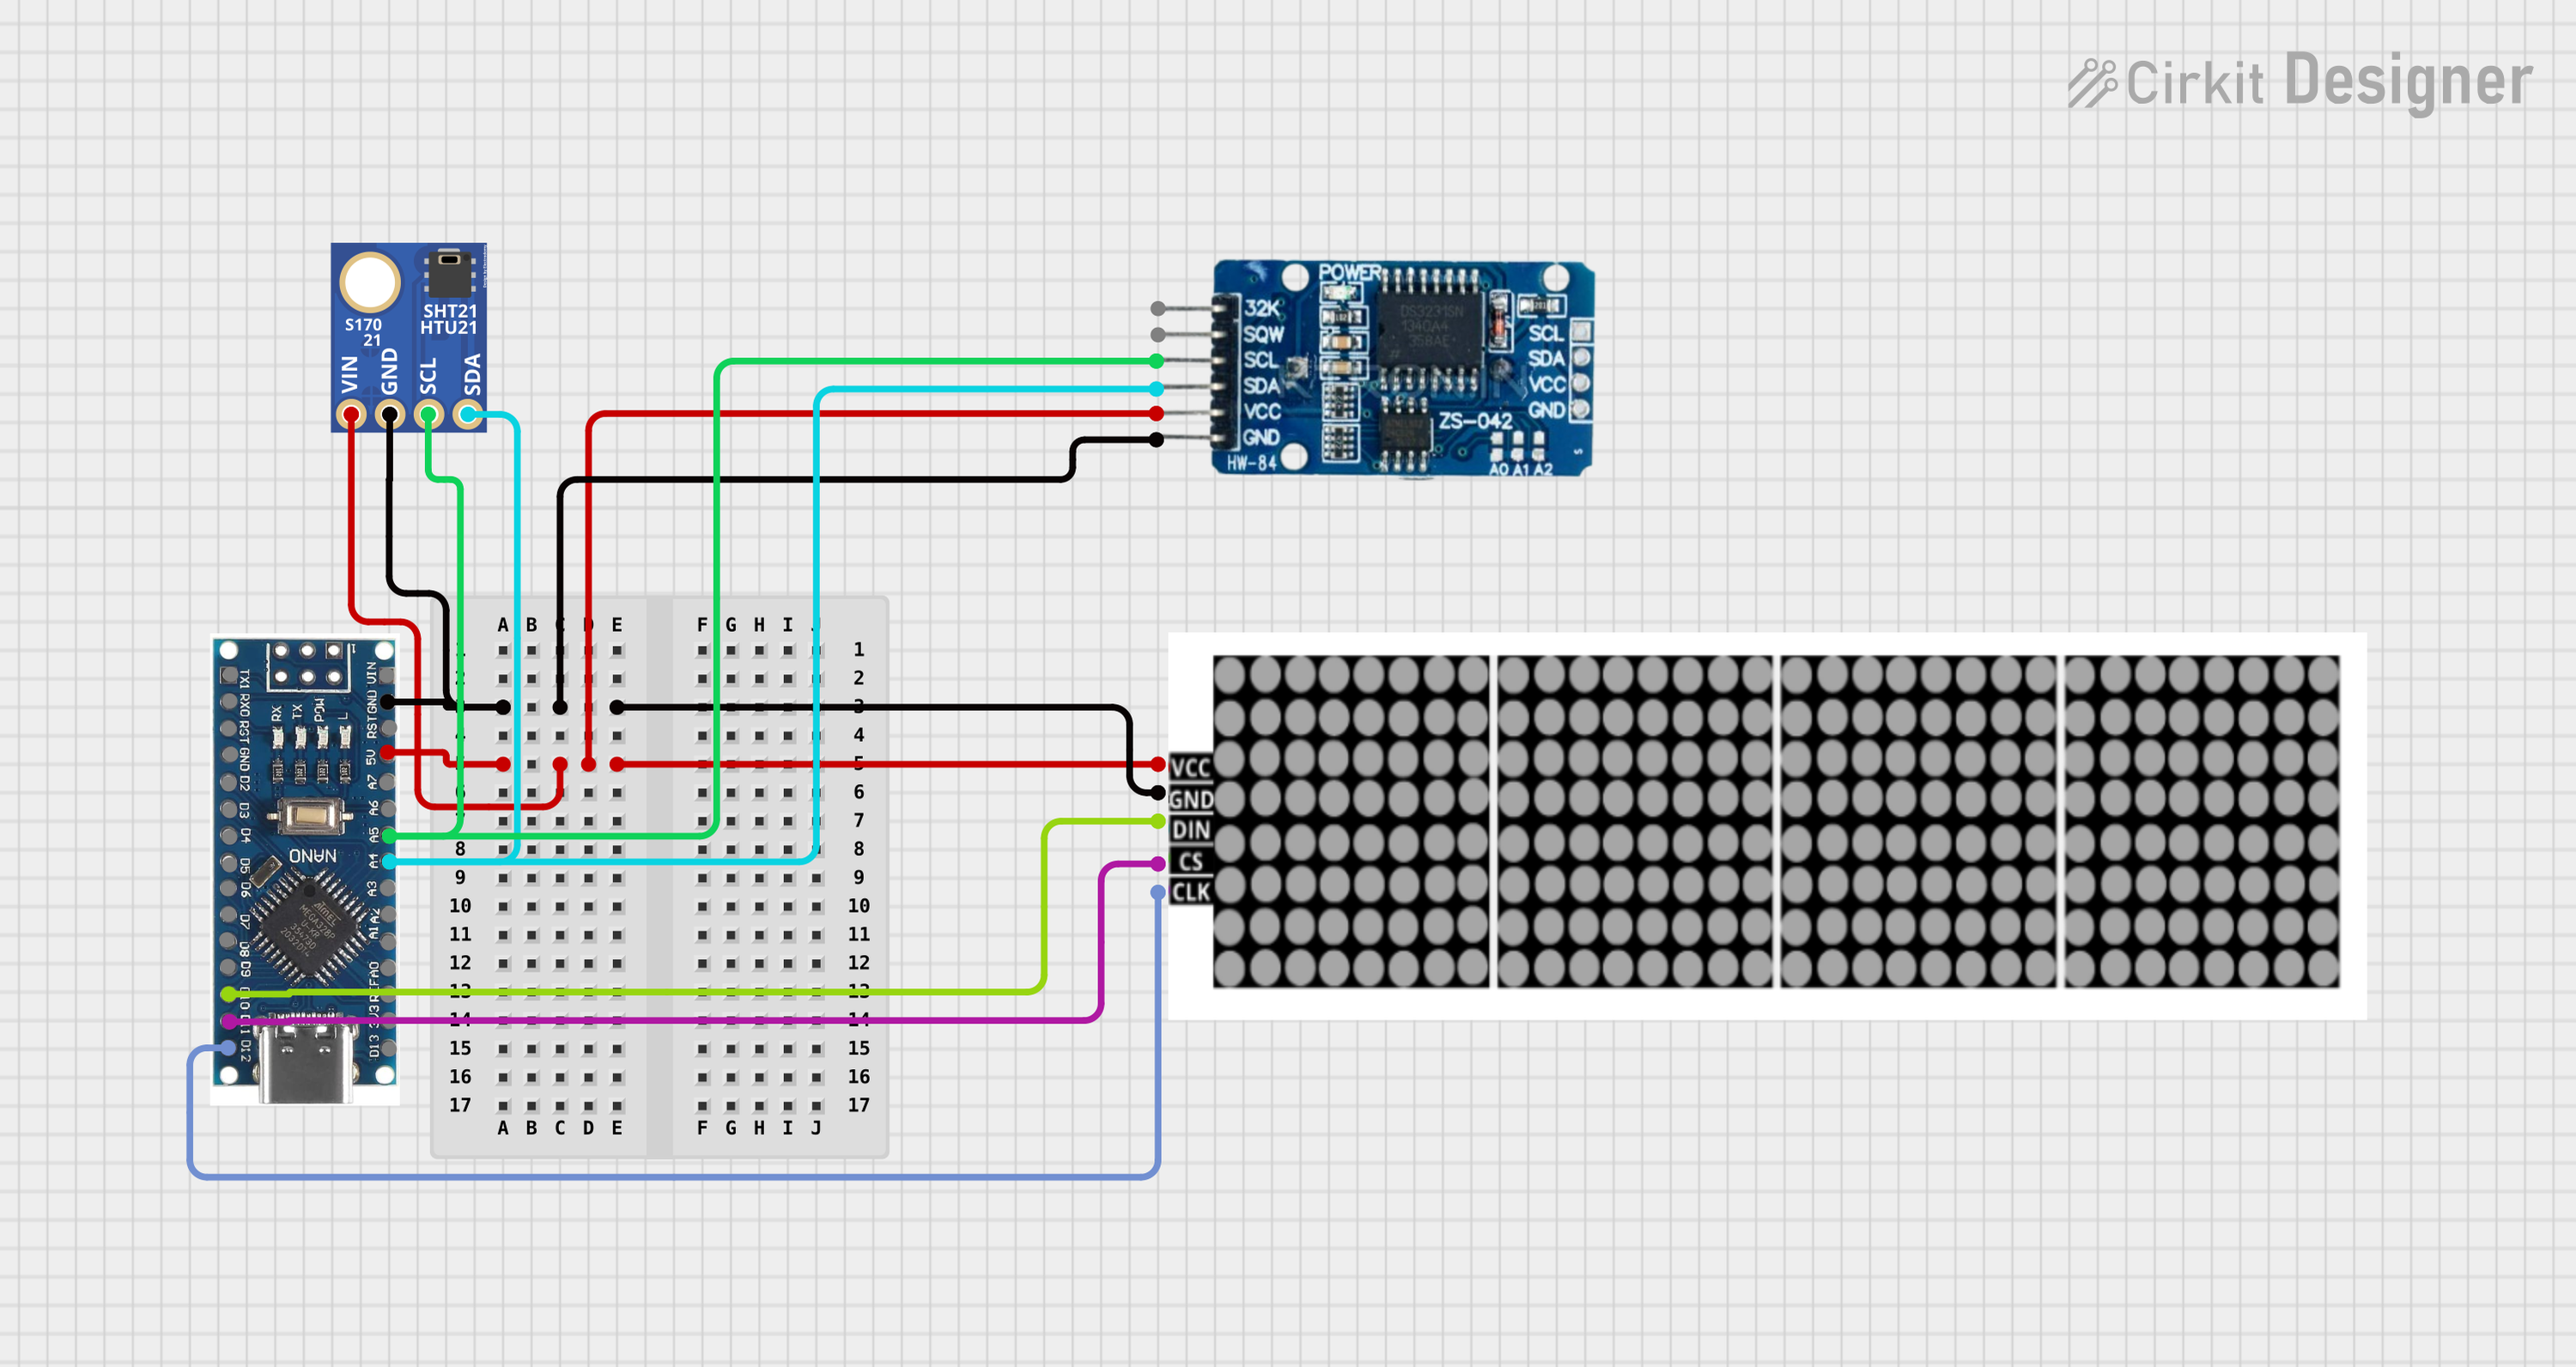
Explore Projects Built with SHT45
Common Applications
- Environmental monitoring systems
- HVAC (Heating, Ventilation, and Air Conditioning) control
- Weather stations
- IoT (Internet of Things) devices
- Industrial process monitoring
Technical Specifications
The SHT45 sensor offers excellent performance and reliability. Below are its key technical specifications:
| Parameter | Value |
|---|---|
| Supply Voltage (VDD) | 2.4V to 5.5V |
| Average Current Consumption | 0.4 µA (at 1 Hz measurement rate) |
| Humidity Measurement Range | 0% to 100% RH |
| Humidity Accuracy | ±1.5% RH (typical) |
| Temperature Measurement Range | -40°C to +125°C |
| Temperature Accuracy | ±0.1°C (typical) |
| Communication Interface | I2C |
| I2C Address (default) | 0x44 |
| Operating Temperature Range | -40°C to +125°C |
| Dimensions | 4 mm x 4 mm x 1.1 mm |
Pin Configuration
The SHT45 sensor has four pins, as described in the table below:
| Pin Name | Description |
|---|---|
| VDD | Power supply (2.4V to 5.5V) |
| GND | Ground |
| SDA | I2C data line |
| SCL | I2C clock line |
Usage Instructions
The SHT45 sensor is straightforward to use in a circuit, thanks to its I2C interface. Below are the steps to integrate and use the sensor:
Circuit Connection
- Connect the VDD pin to a 3.3V or 5V power supply.
- Connect the GND pin to the ground of your circuit.
- Connect the SDA pin to the I2C data line of your microcontroller.
- Connect the SCL pin to the I2C clock line of your microcontroller.
- Use appropriate pull-up resistors (typically 4.7 kΩ) on the SDA and SCL lines if not already present.
Important Considerations
- Ensure the supply voltage is within the specified range (2.4V to 5.5V).
- Avoid exposing the sensor to extreme environmental conditions (e.g., condensation or dust) to maintain accuracy.
- Use proper decoupling capacitors (e.g., 0.1 µF) near the VDD pin to stabilize the power supply.
Example Code for Arduino UNO
Below is an example Arduino sketch to read humidity and temperature data from the SHT45 sensor using the Adafruit SHT4x library:
#include <Wire.h>
#include "Adafruit_SHT4x.h"

// Create an instance of the SHT4x sensor
Adafruit_SHT4x sht4 = Adafruit_SHT4x();

void setup() {
  Serial.begin(115200);
  while (!Serial) delay(10); // Wait for Serial Monitor to open

  // Initialize the sensor
  if (!sht4.begin()) {
    Serial.println("Failed to find SHT4x sensor!");
    while (1) delay(10);
  }
  Serial.println("SHT4x sensor initialized.");

  // Set the sensor to high precision mode
  sht4.setPrecision(SHT4X_HIGH_PRECISION);
  Serial.println("Sensor set to high precision mode.");
}

void loop() {
  sensors_event_t humidity, temp;

  // Read humidity and temperature
  if (!sht4.getEvent(&humidity, &temp)) {
    Serial.println("Failed to read data from SHT4x sensor!");
    return;
  }

  // Print the results to the Serial Monitor
  Serial.print("Temperature: ");
  Serial.print(temp.temperature);
  Serial.println(" °C");

  Serial.print("Humidity: ");
  Serial.print(humidity.relative_humidity);
  Serial.println(" %");

  delay(1000); // Wait 1 second before the next reading
}
Notes on the Code
- Install the Adafruit SHT4x library via the Arduino Library Manager before running the code.
- The code sets the sensor to high precision mode for maximum accuracy.
- Modify the
delay()value in theloop()function to adjust the measurement frequency.
Troubleshooting and FAQs
Common Issues
Sensor not detected by the microcontroller:
- Ensure the I2C address (default: 0x44) matches the address in your code.
- Check the wiring for loose or incorrect connections.
- Verify that pull-up resistors are present on the SDA and SCL lines.
Incorrect or fluctuating readings:
- Ensure the sensor is not exposed to condensation or contaminants.
- Verify that the power supply is stable and within the specified range.
- Check for electromagnetic interference (EMI) from nearby components.
Library installation errors:
- Ensure the Adafruit SHT4x library is installed correctly in the Arduino IDE.
- Restart the Arduino IDE after installing the library.
FAQs
Q: Can the SHT45 sensor operate at 5V logic levels?
A: Yes, the SHT45 supports a supply voltage range of 2.4V to 5.5V, making it compatible with both 3.3V and 5V systems.
Q: How often can I take measurements?
A: The sensor can take measurements as frequently as 1 Hz (once per second) with minimal power consumption.
Q: Is the sensor waterproof?
A: No, the SHT45 is not waterproof. Avoid exposing it to water or condensation to maintain accuracy and longevity.
Q: Can I use multiple SHT45 sensors on the same I2C bus?
A: The SHT45 has a fixed I2C address (0x44), so using multiple sensors on the same bus requires an I2C multiplexer.
By following this documentation, you can effectively integrate and use the SHT45 sensor in your projects.