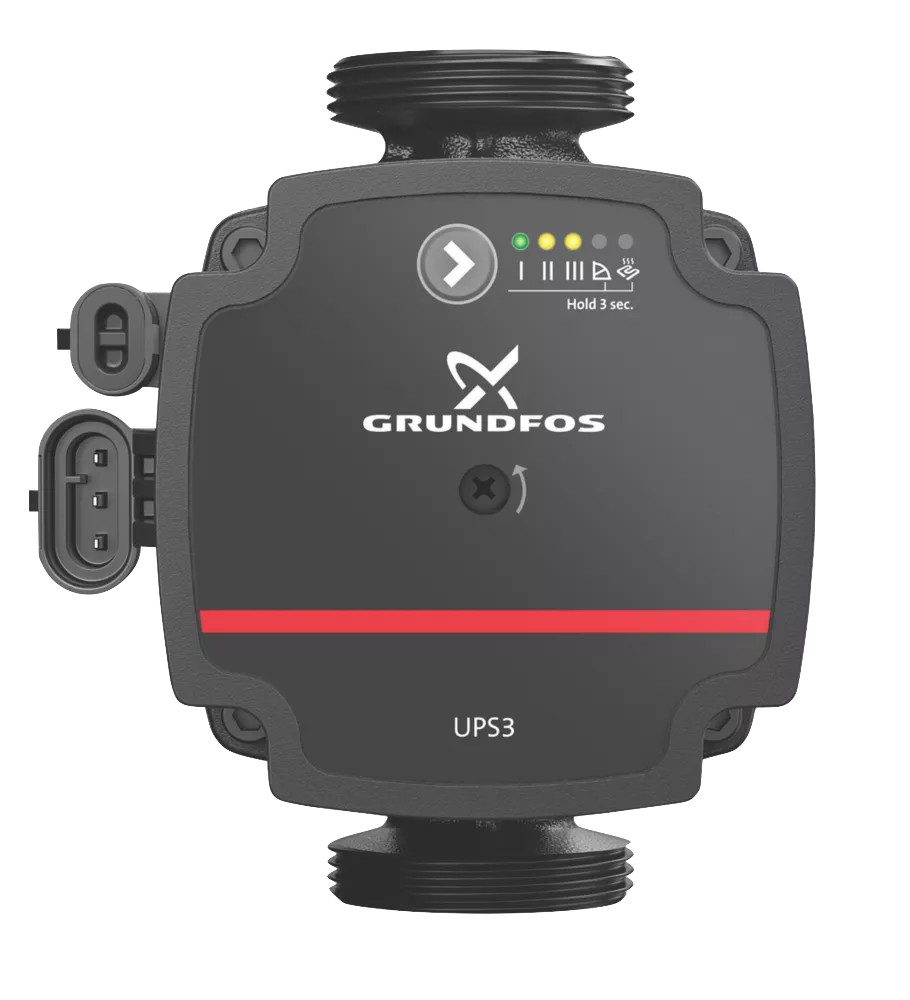
The Grundfos UPS3 is a high-efficiency hot water pump designed for circulating hot water in heating systems. It is commonly used in residential and commercial applications to ensure efficient heating and a reliable hot water supply. The pump is known for its energy efficiency, quiet operation, and ease of installation, making it a popular choice for modern heating systems.
Explore Projects Built with Hot water pump
Use Cirkit Designer to design, explore, and prototype these projects online. Some projects support real-time simulation. Click "Open Project" to start designing instantly!
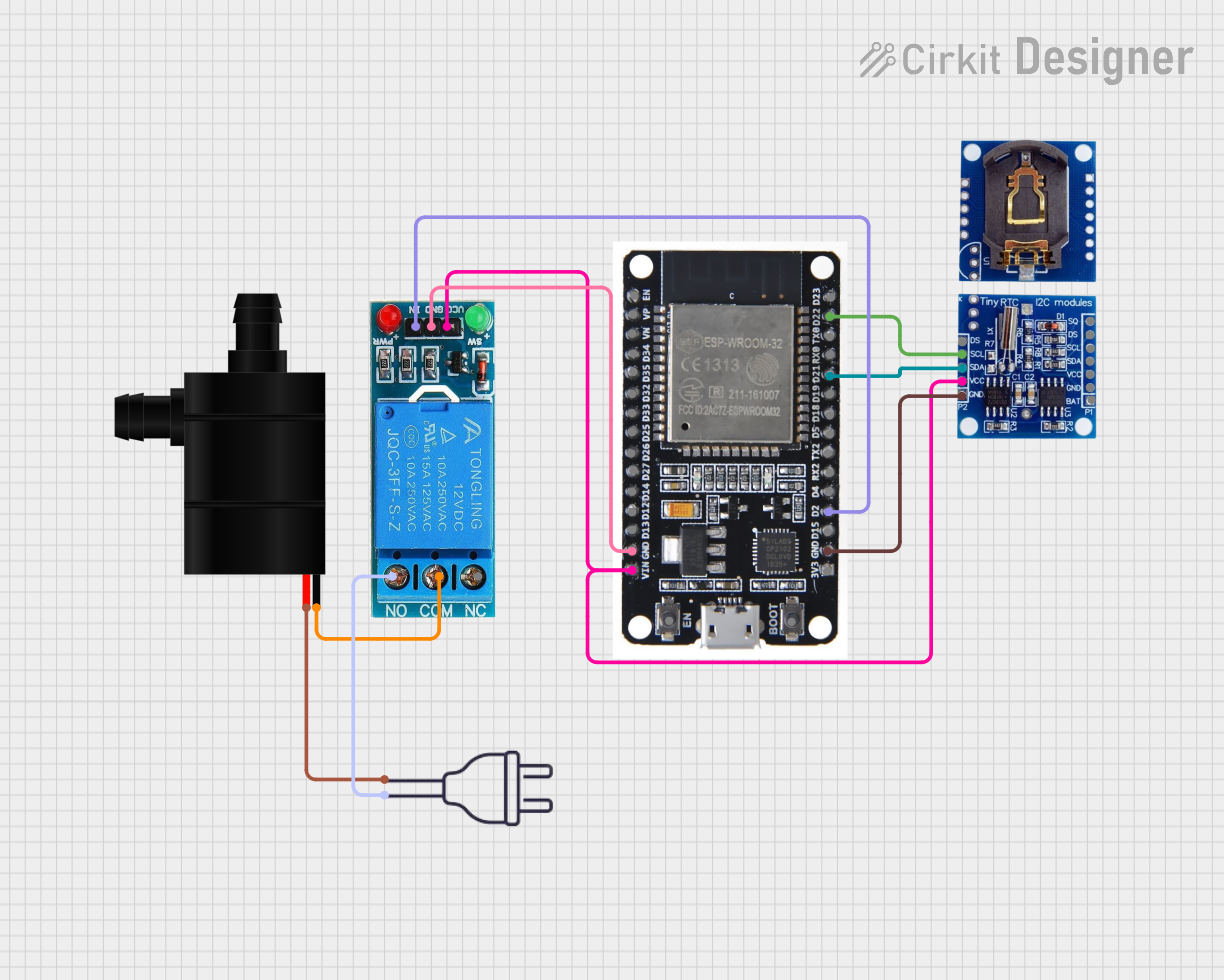
This circuit is an automated water pump control system using an ESP32 microcontroller, an RTC DS1307 for timekeeping, and a 12V single channel relay to switch the water pump. The system activates the pump every 3 hours based on the RTC time and integrates with Blynk for remote monitoring and control via WiFi.
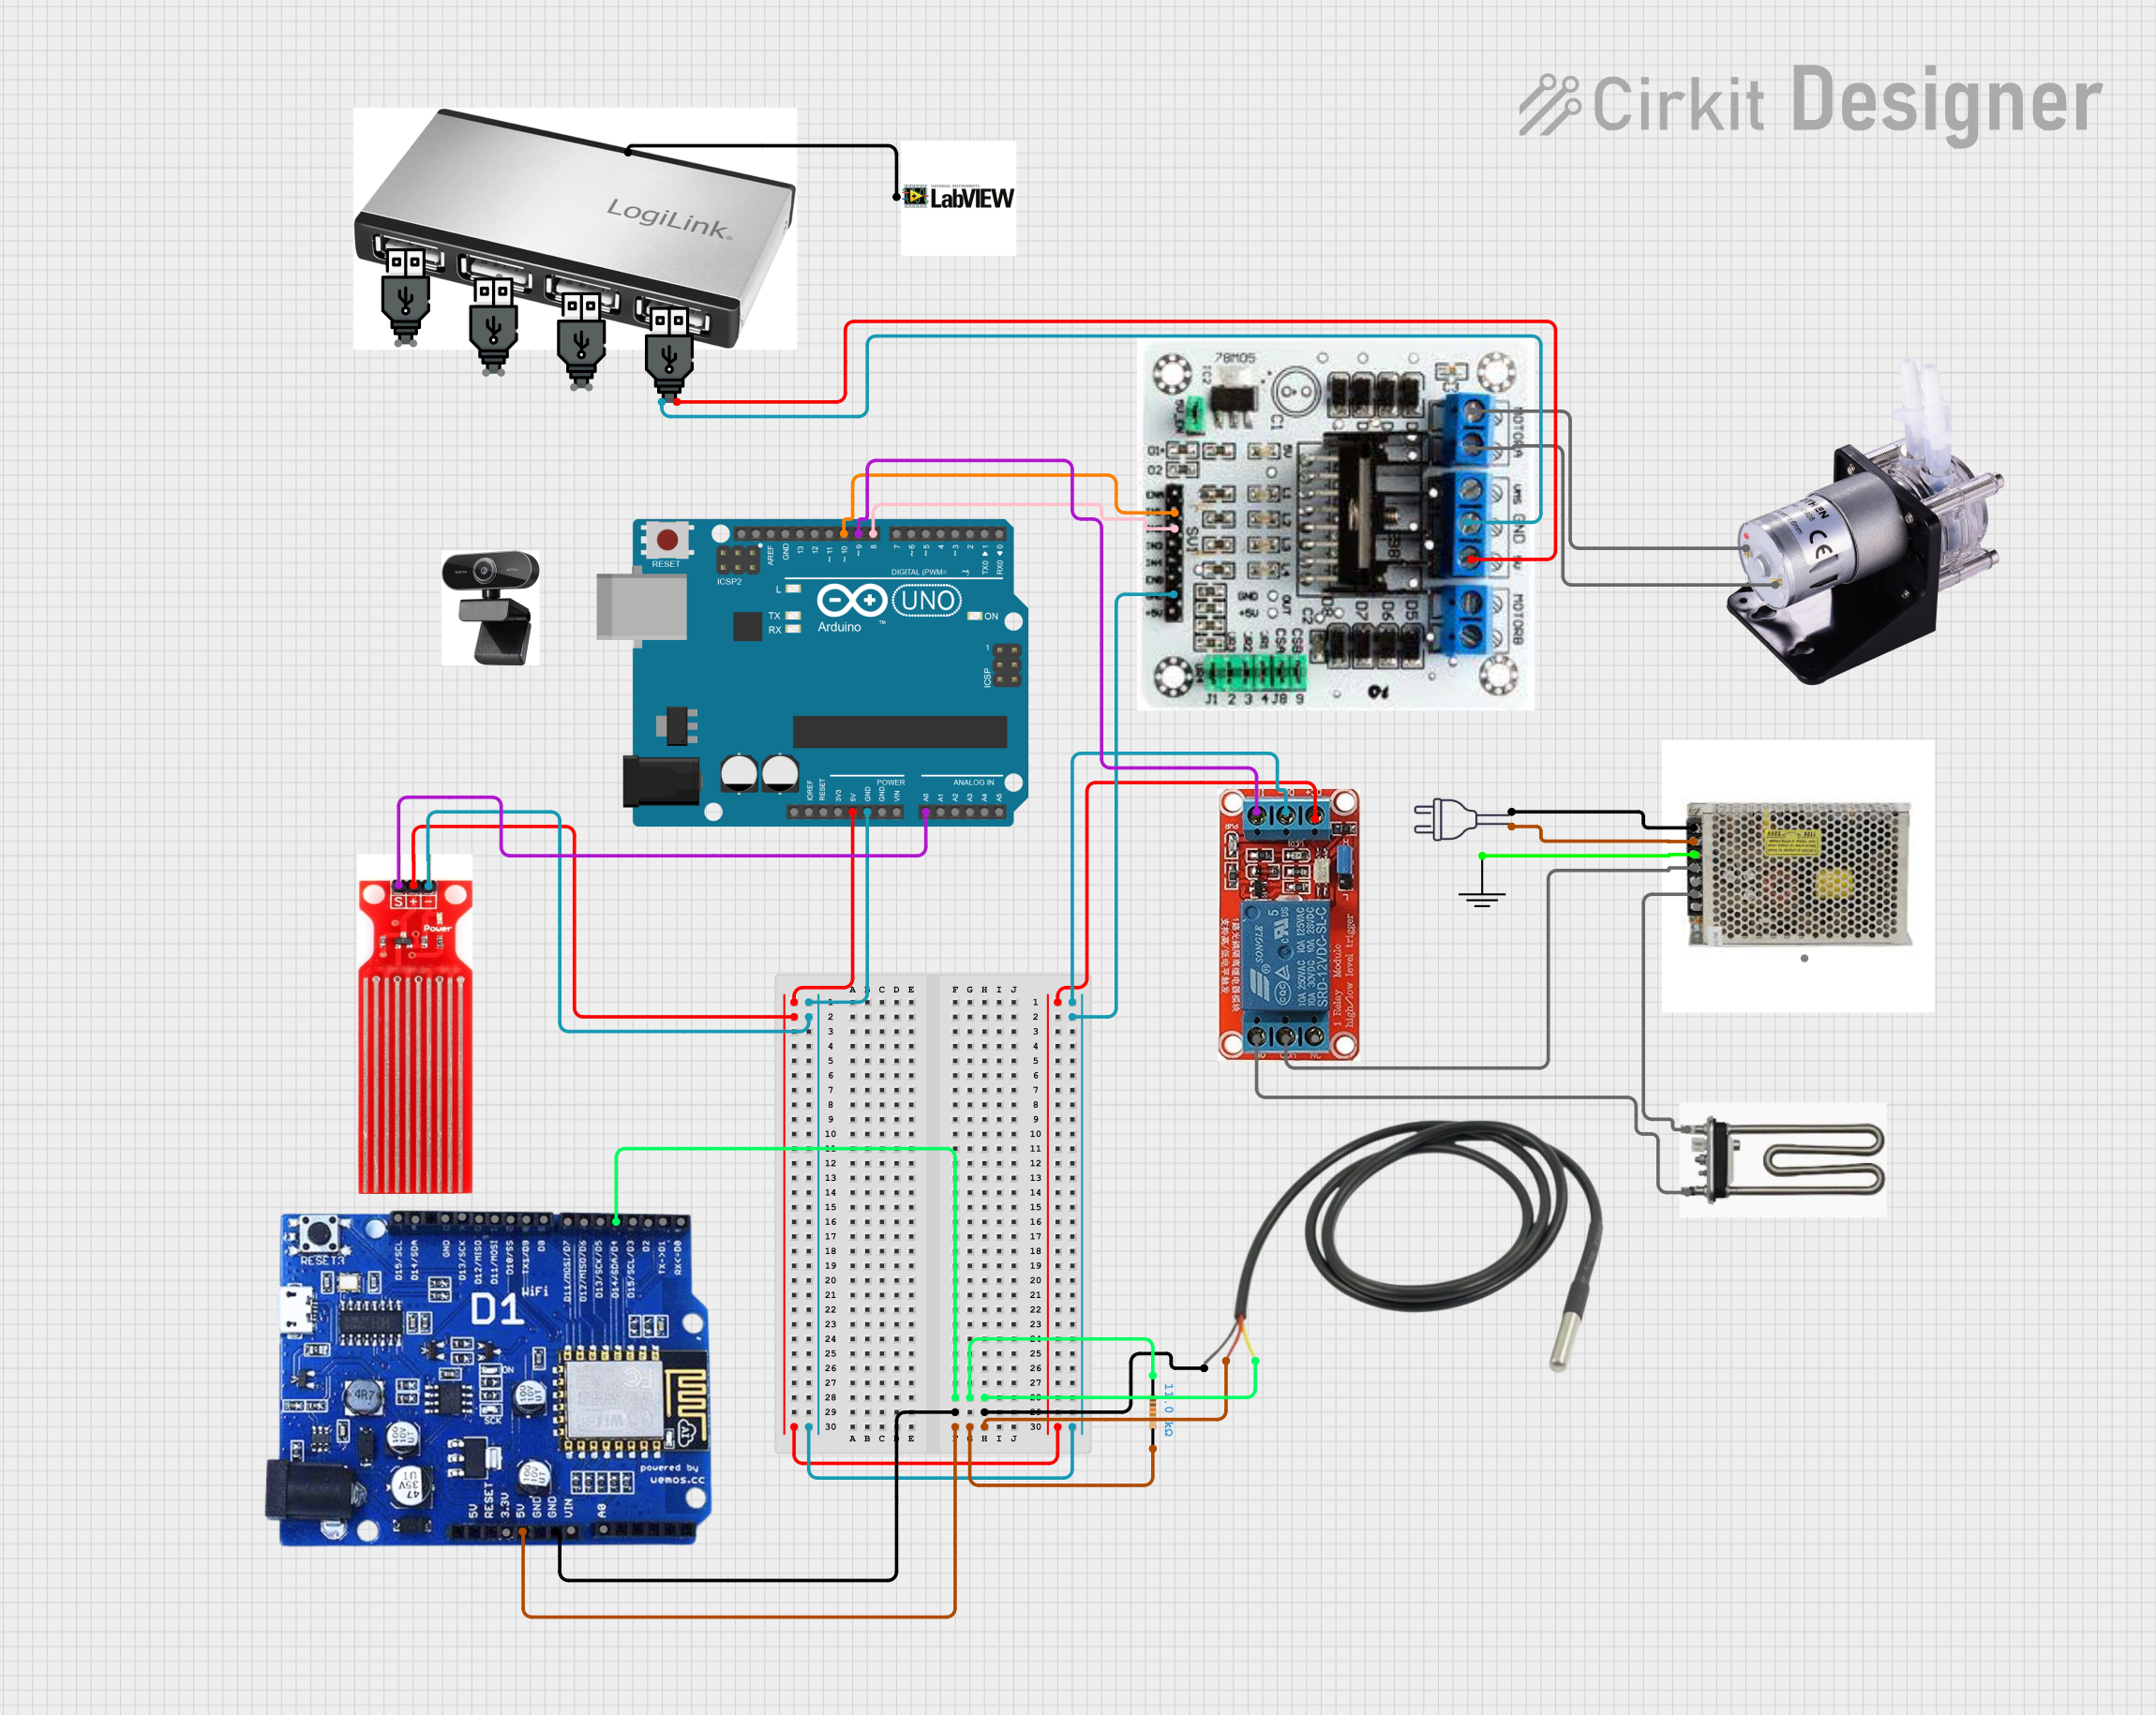
This circuit is a smart water monitoring and control system. It uses an Arduino UNO to read data from a water sensor and control a relay, which in turn controls a heating element. Additionally, a WeMOS ESP8266 reads temperature data and communicates with other components, while a motor driver controls a peristaltic pump.
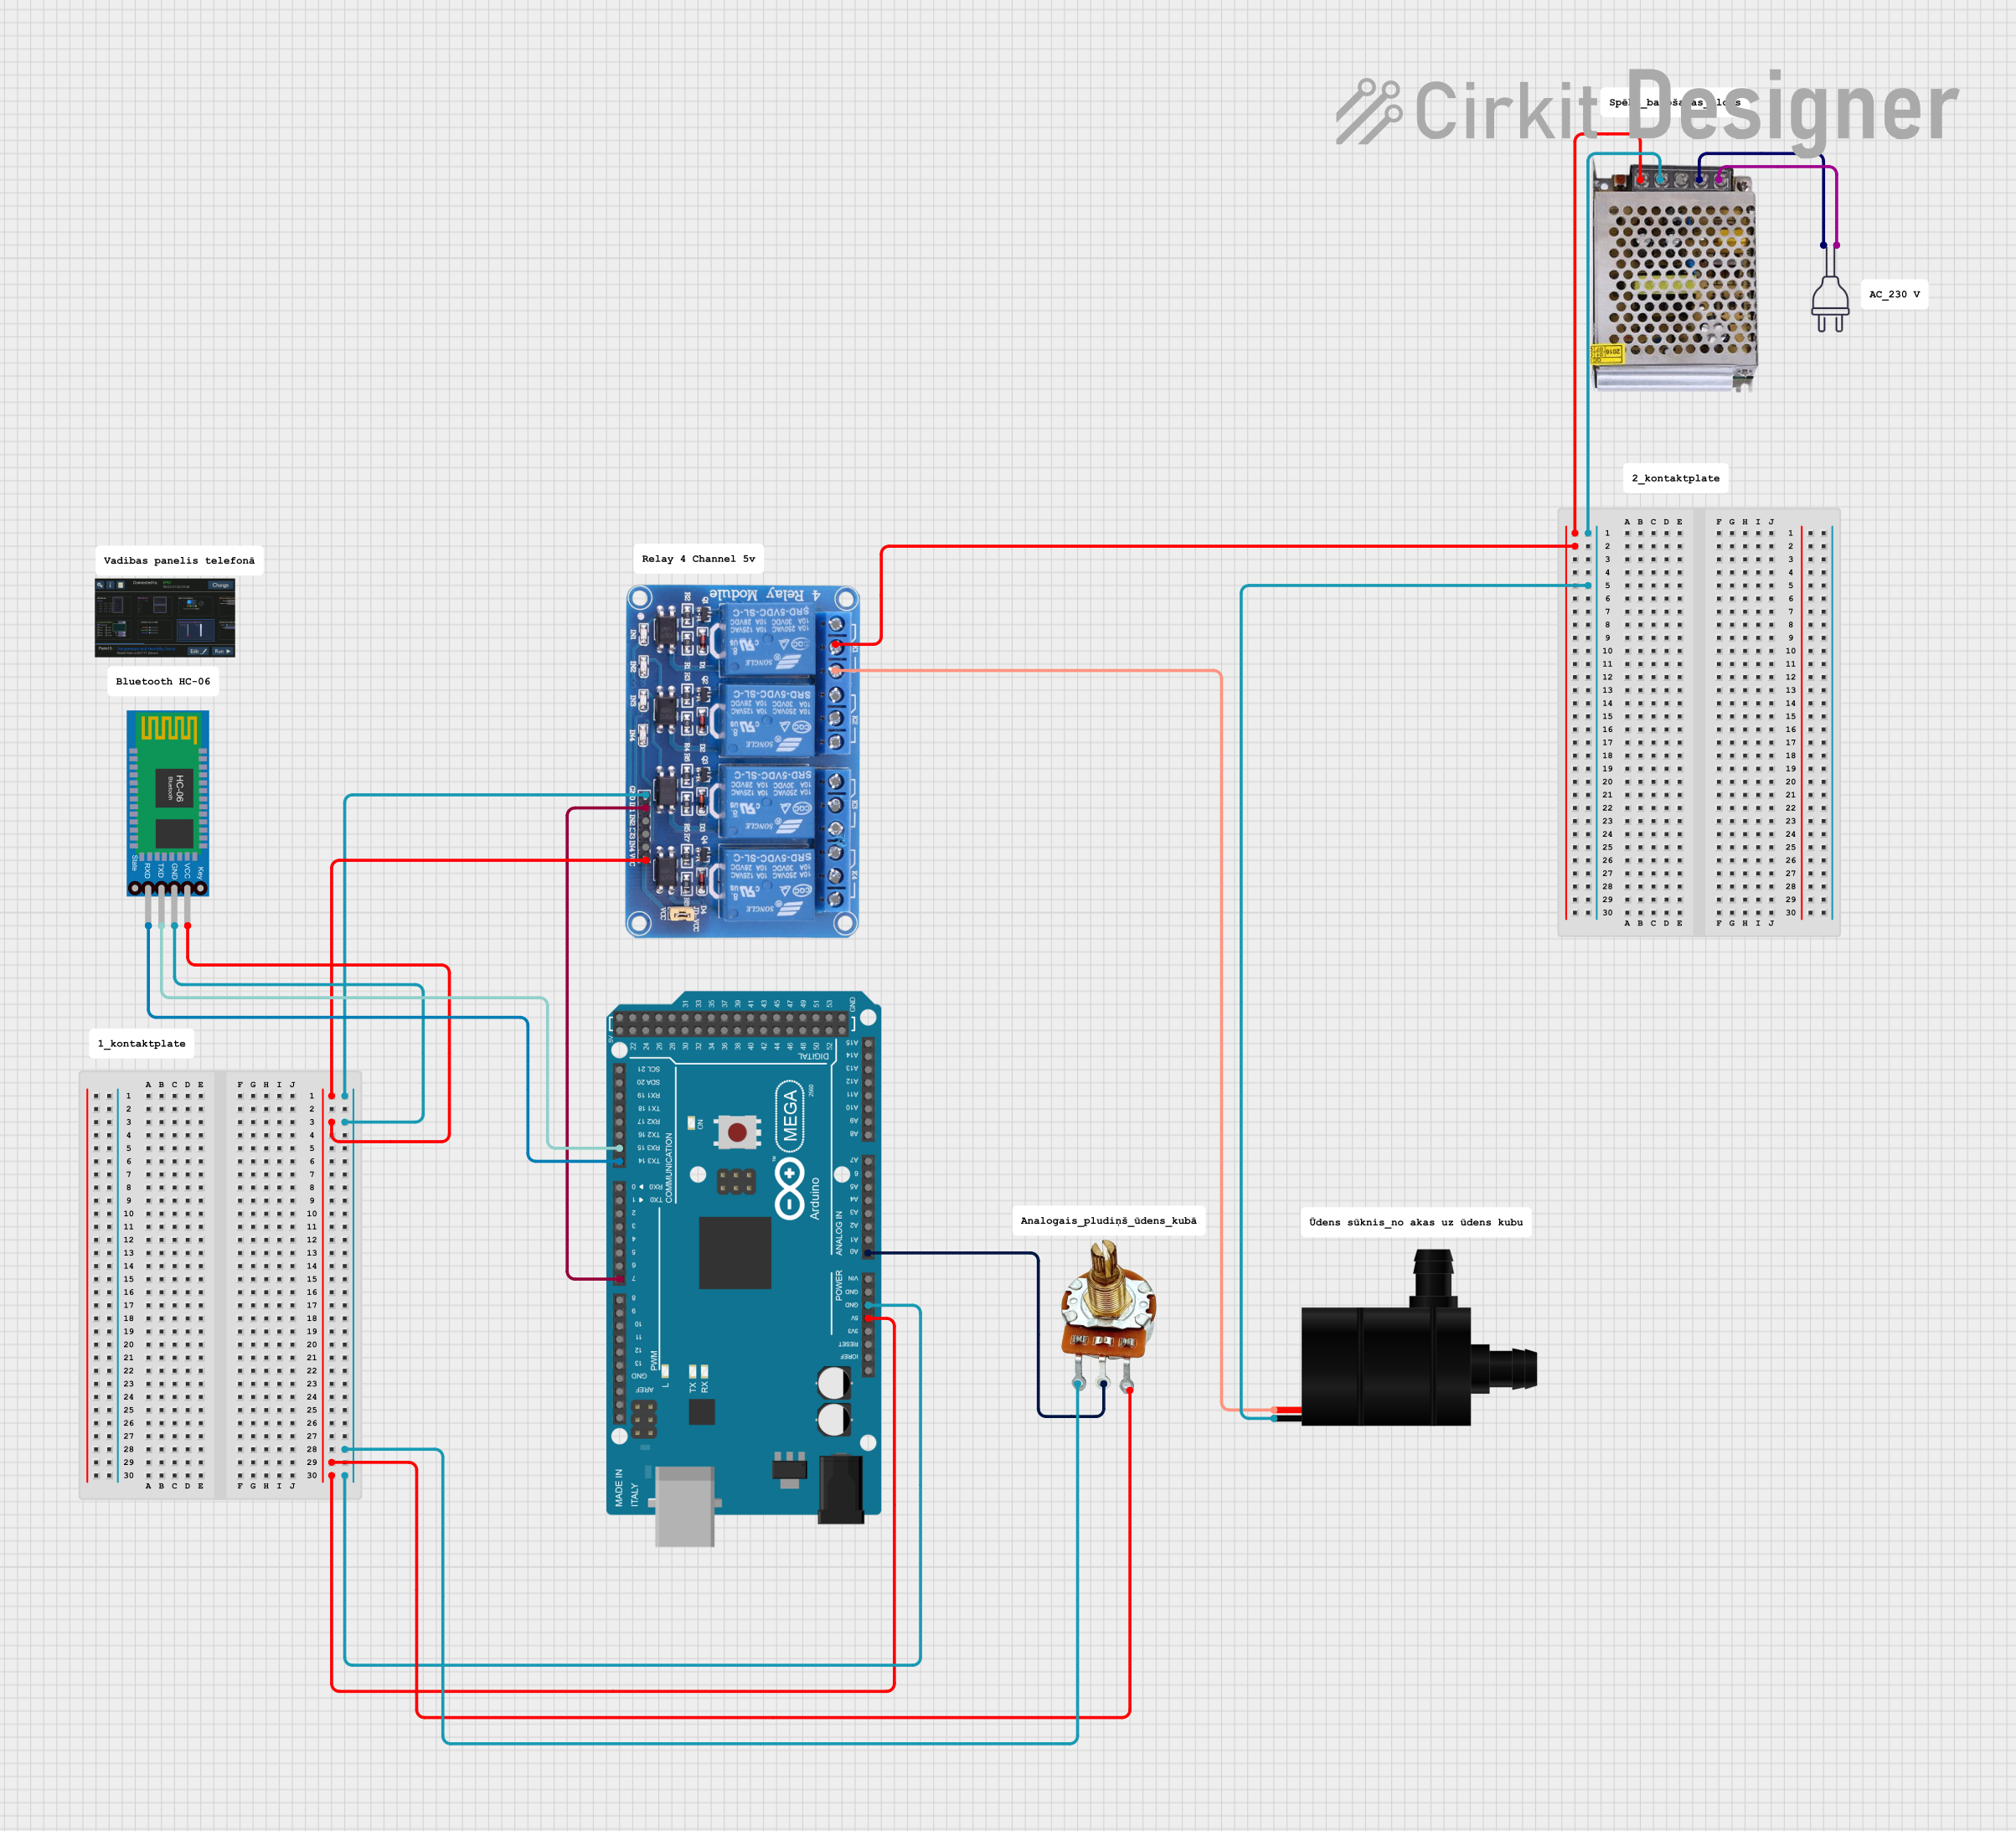
This circuit is a remotely controlled water pump system using an Arduino Mega 2560. The Arduino controls a 4-channel relay module to switch the water pump on and off, based on input from a rotary potentiometer and commands received via a Bluetooth HC-06 module. The system is powered by a 12V power supply.
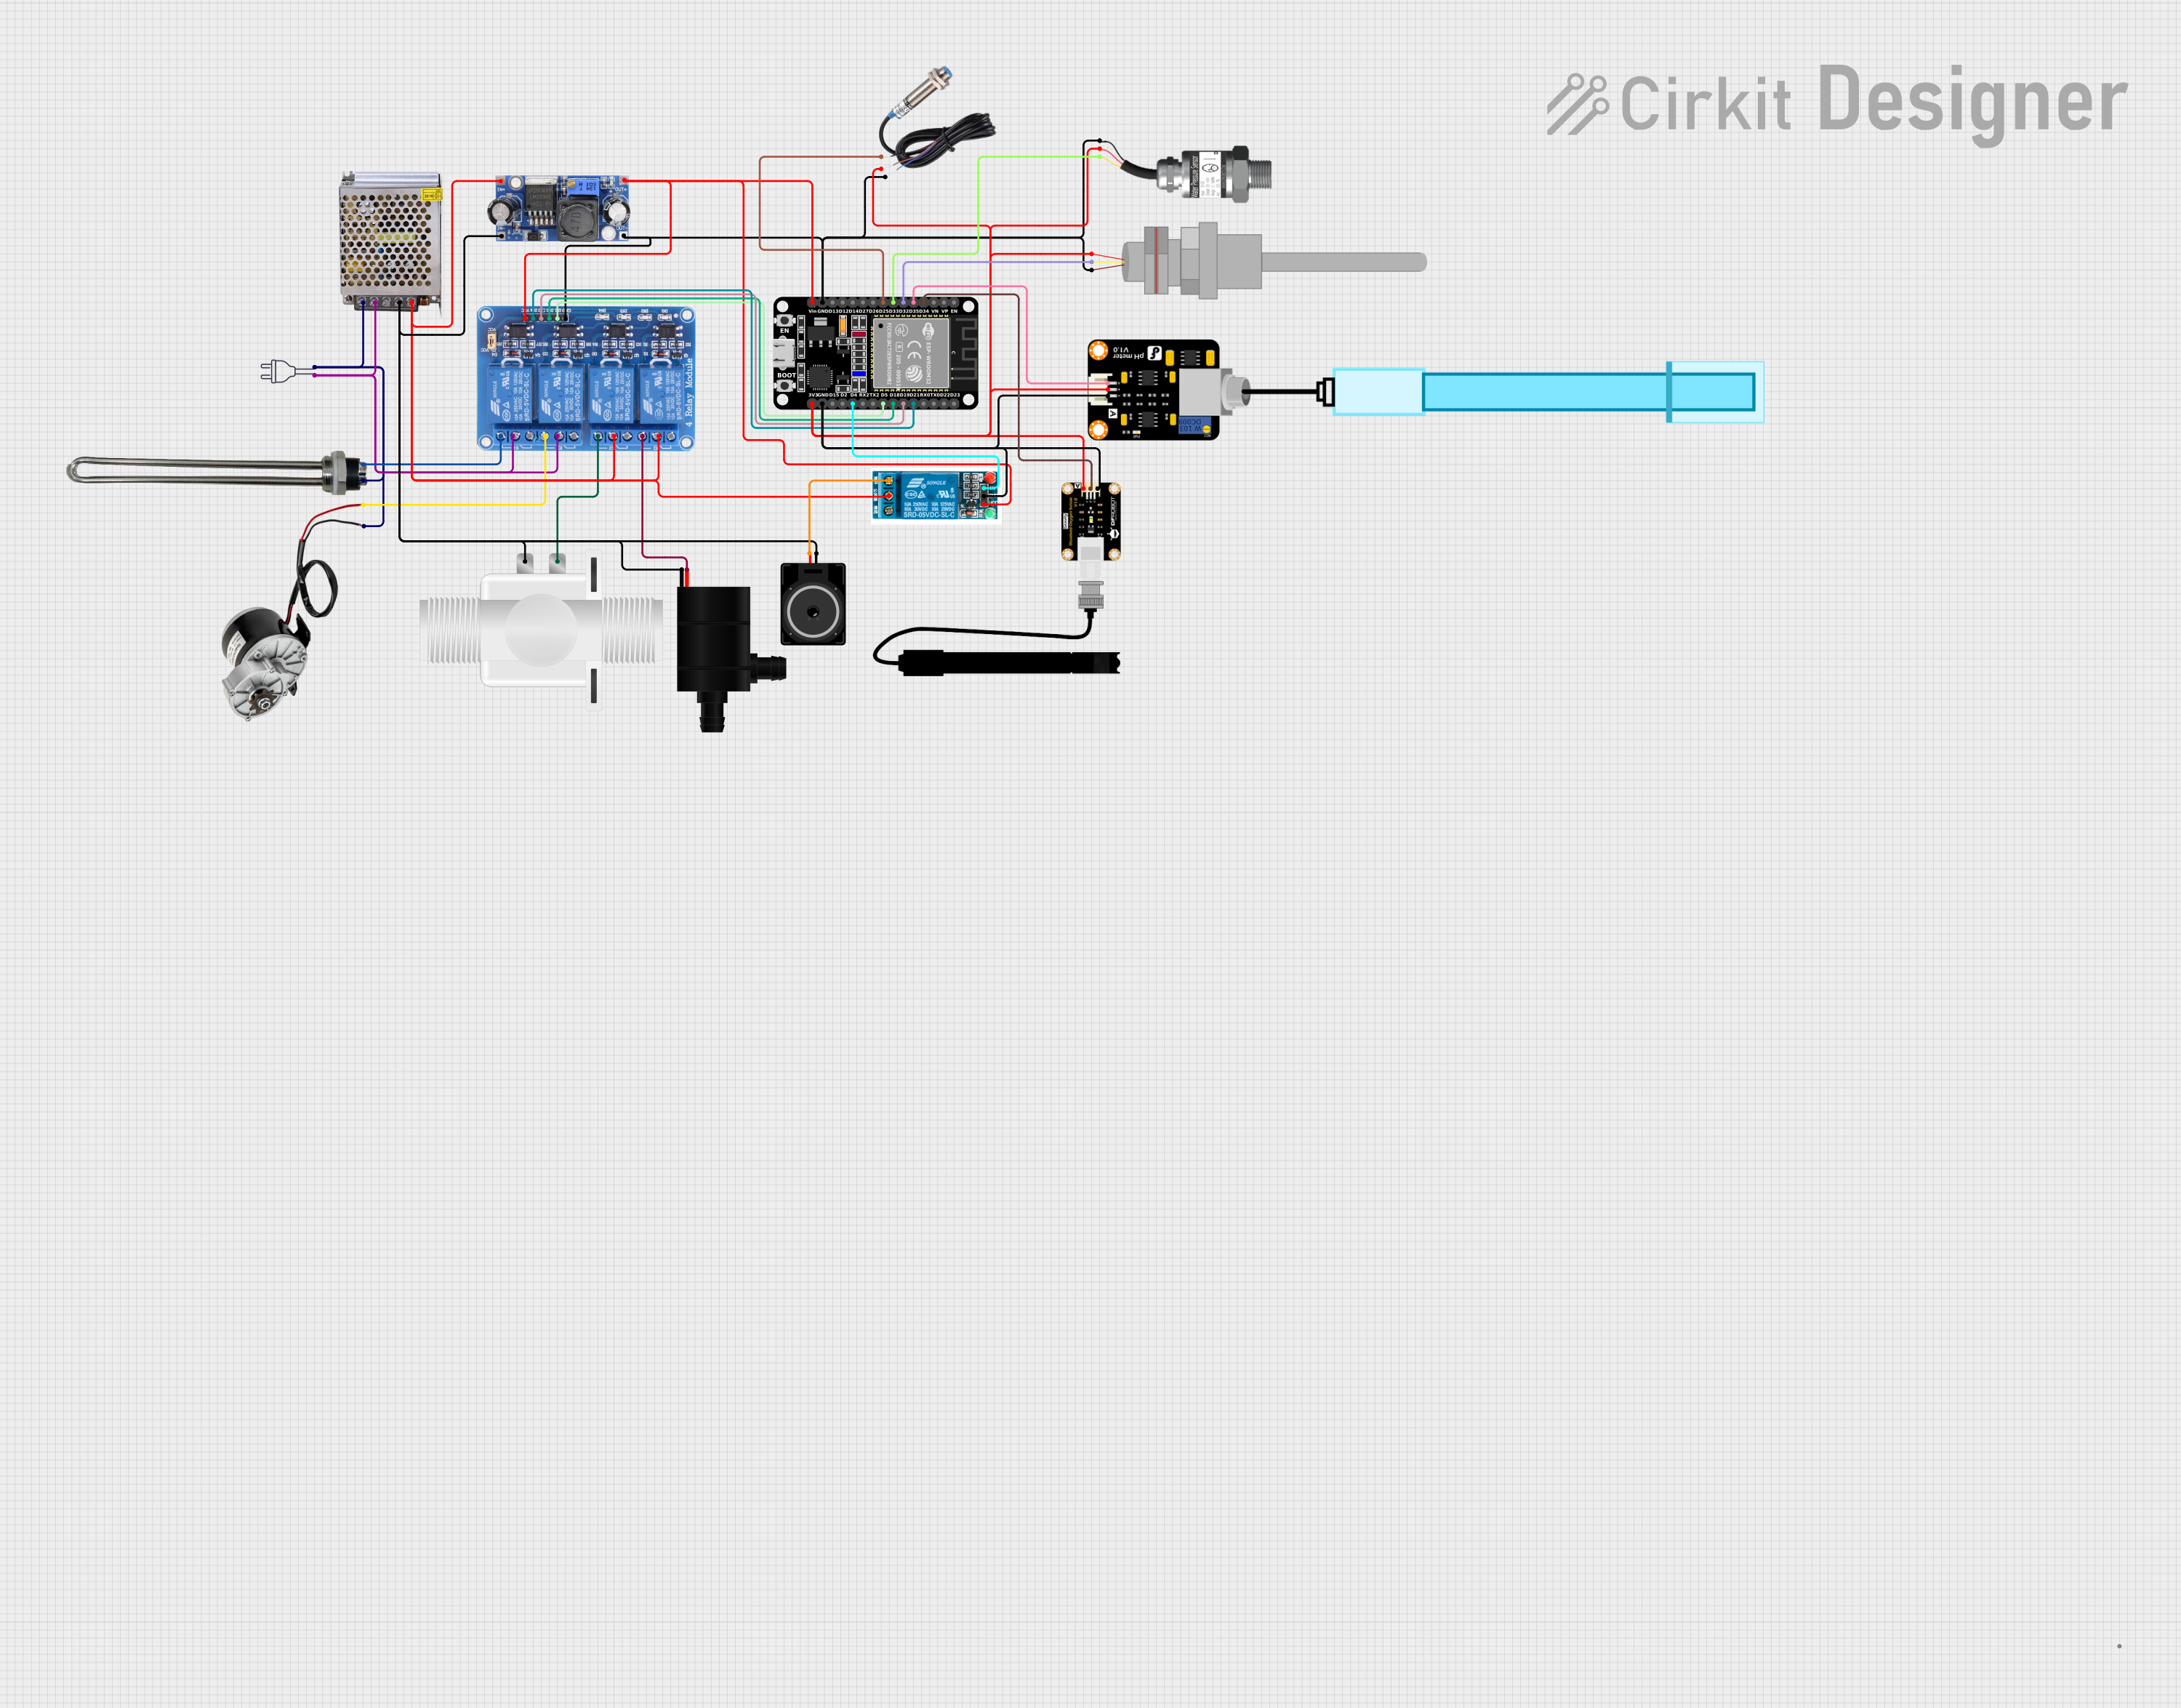
This circuit is designed to control a water heating system with various sensors and actuators. It uses an ESP32 microcontroller to manage inputs from a DO sensor, PH meter, PT100 temperature sensor, water pressure sensor, and an inductive sensor, and to control outputs including a water heater, electric motor, water pump, and solenoid valve through a 4-channel relay. The power supply converts 220V AC to 12V DC, which is further regulated by a DC-DC converter for the ESP32 and sensors, while the actuators are directly powered by the 12V output.
Replacement for older Grundfos pumps in existing systems
Technical Specifications
The Grundfos UPS3 is engineered to meet the demands of modern heating systems. Below are its key technical details:
Key Technical Details
Parameter
Value
Manufacturer
Grundfos
Part ID
UPS3
Voltage
230V AC
Frequency
50/60 Hz
Power Consumption
3W to 38W (depending on settings)
Maximum Head
5.5 meters
Maximum Flow Rate
3.4 m³/h
Temperature Range
+2°C to +95°C
Energy Efficiency Index
≤ 0.20
Protection Class
IP44
Connection Size
G 1½"
Pin Configuration and Descriptions
The Grundfos UPS3 does not have traditional "pins" like electronic components but instead features a terminal block for electrical connections. Below is a description of the terminal connections:
Terminal Label
Description
L
Live (230V AC input)
N
Neutral (230V AC input)
PE
Protective Earth (Ground connection)
Usage Instructions
The Grundfos UPS3 is straightforward to install and operate. Follow the steps below to integrate it into your heating system:
Installation Steps
Preparation:
Ensure the power supply is turned off before installation.
Verify that the pump's specifications match your system's requirements.
Check that the pipe connections are clean and free of debris.
Mounting:
Install the pump in the correct orientation (horizontal shaft position is recommended).
Use the appropriate fittings to connect the pump to the pipework.
Electrical Connection:
Connect the Live (L), Neutral (N), and Protective Earth (PE) wires to the terminal block.
Ensure all connections are secure and comply with local electrical codes.
Operation:
Turn on the power supply and select the desired pump setting (low, medium, or high speed).
Monitor the pump for proper operation and check for leaks.
Important Considerations and Best Practices
Always ensure the pump is filled with water before operation to prevent damage.
Use the pump's built-in control panel to adjust settings for optimal performance.
Regularly inspect the pump for signs of wear or blockages.
If replacing an older pump, ensure compatibility with the existing system.
Arduino Integration
While the Grundfos UPS3 is not typically controlled by an Arduino, it is possible to monitor its operation using sensors (e.g., flow sensors or temperature sensors) connected to an Arduino. Below is an example of Arduino code to monitor a flow sensor:
// Example: Monitor water flow using a flow sensor with Arduino
// Connect the flow sensor's signal pin to Arduino pin 2

const int flowSensorPin = 2;  // Pin connected to the flow sensor
volatile int pulseCount = 0;  // Variable to store pulse count

void setup() {
  pinMode(flowSensorPin, INPUT_PULLUP);  // Set pin as input with pull-up
  attachInterrupt(digitalPinToInterrupt(flowSensorPin), countPulse, RISING);
  Serial.begin(9600);  // Initialize serial communication
}

void loop() {
  delay(1000);  // Wait for 1 second
  Serial.print("Flow pulses in last second: ");
  Serial.println(pulseCount);  // Print pulse count
  pulseCount = 0;  // Reset pulse count
}

// Interrupt service routine to count pulses
void countPulse() {
  pulseCount++;
}
Troubleshooting and FAQs
Common Issues and Solutions
Issue
Possible Cause
Solution
Pump not running
No power supply
Check electrical connections and fuse
No water circulation
Airlock in the system
Bleed the system to remove air
Unusual noise during operation
Debris in the pump or pipework
Clean the pump and pipe connections
Overheating
Insufficient water flow
Check for blockages or restrictions
FAQs
Q: Can the UPS3 be used with solar heating systems?
A: Yes, the UPS3 is compatible with solar thermal systems, provided the temperature and flow requirements are within its specifications.
Q: How do I know if the pump is operating efficiently?
A: Monitor the pump's energy consumption and ensure the system is properly balanced. The built-in control panel can also provide performance feedback.
Q: Can I install the pump vertically?
A: The pump can be installed vertically, but the shaft must remain horizontal for optimal performance.
Q: How often should the pump be serviced?
A: Regular maintenance is recommended every 1-2 years, depending on usage and water quality.

 Open Project in Cirkit Designer