How to Use Mtiny ESP32 WROOM-32E: Examples, Pinouts, and Specs
Introduction
The Mtiny ESP32 WROOM-32E is a powerful microcontroller module designed by Makerlabvn, featuring the ESP32 chip at its core. This module is known for its compact form factor while integrating both Wi-Fi and Bluetooth capabilities, making it an ideal choice for a wide range of Internet of Things (IoT) applications. Common use cases include smart home devices, wireless sensors, and IoT nodes, as well as more complex applications like robotics and wearable technology.
Explore Projects Built with Mtiny ESP32 WROOM-32E


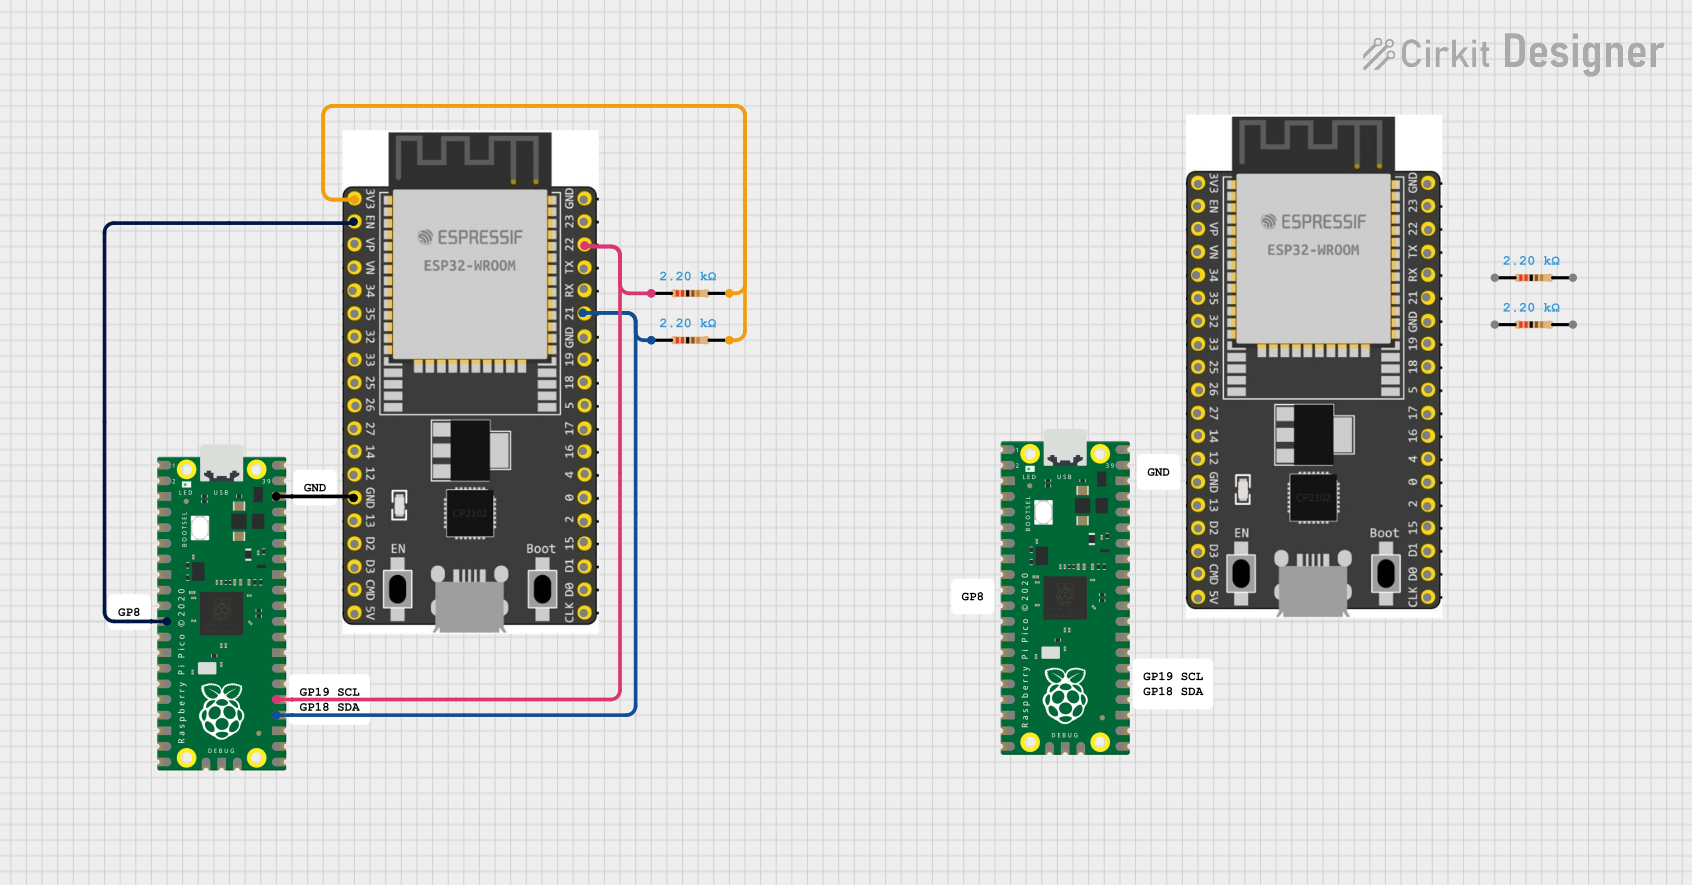
Explore Projects Built with Mtiny ESP32 WROOM-32E
Technical Specifications
Key Technical Details
- Microcontroller: ESP32-D0WD
- Operating Voltage: 3.3V
- Input Voltage: 3.3V to 7V
- Digital I/O Pins: 22
- Analog Input Pins: 6 (VP, VN, 32, 33, 34, 35)
- Flash Memory: 4MB
- SRAM: 520 KB
- Clock Speed: Up to 240MHz
- Wi-Fi: 802.11 b/g/n
- Bluetooth: v4.2 BR/EDR and BLE
- Operating Temperature: -40°C to +85°C
Pin Configuration and Descriptions
| Pin Number | Function | Description |
|---|---|---|
| 1 | 3V3 | Power supply (3.3V input) |
| 2 | EN | Chip enable (active high) |
| 3 | VP | 12-bit SAR ADC channel |
| 4 | VN | 12-bit SAR ADC channel |
| 5 | IO34 | Digital I/O, ADC channel |
| 6 | IO35 | Digital I/O, ADC channel |
| ... | ... | ... |
| 21 | GND | Ground |
| 22 | 5V | USB power input (5V) |
Note: This table is not exhaustive and only includes a selection of pins. Please refer to the full datasheet for complete pin descriptions.
Usage Instructions
Integrating with a Circuit
To use the Mtiny ESP32 WROOM-32E in a circuit:
- Powering the Module: Connect a 3.3V power supply to the 3V3 pin and ground to the GND pin. Alternatively, you can use the 5V pin if you are powering the module via USB.
- Enabling the Module: The EN pin must be pulled high to enable the module. Connect this to a 3.3V source or use a pull-up resistor.
- Connecting I/O: Digital and analog pins can be connected to sensors, actuators, or other peripherals as required by your application.
- Programming: Use a USB-to-Serial converter to connect the module to your computer for programming.
Best Practices
- Ensure that the power supply is stable and within the specified voltage range to prevent damage.
- Use decoupling capacitors close to the power pins to smooth out power supply fluctuations.
- Avoid exposing the module to temperatures outside the specified operating range.
- When designing a PCB or integrating the module, provide adequate space for heat dissipation.
Troubleshooting and FAQs
Common Issues
- Module Does Not Power On: Check the power supply connections and voltage levels. Ensure the EN pin is pulled high.
- Cannot Connect to Wi-Fi: Verify the Wi-Fi credentials and signal strength. Ensure the antenna is properly connected if using an external one.
- Intermittent Operation: Check for power supply noise or fluctuations. Use decoupling capacitors if not already in place.
FAQs
Q: Can the module be powered directly from the Arduino UNO 3.3V pin?
- A: It is not recommended as the current provided by the Arduino UNO 3.3V pin may not be sufficient for the ESP32 during peak operations.
Q: How do I program the Mtiny ESP32 WROOM-32E?
- A: You can program the module using the Arduino IDE or the Espressif IoT Development Framework (ESP-IDF). A USB-to-Serial converter is required for programming.
Q: What is the maximum current draw of the module?
- A: The module can draw a maximum current of approximately 500 mA during transmission. Ensure your power supply can handle this requirement.
Example Arduino Code
Below is an example of how to blink an LED connected to pin IO2 of the Mtiny ESP32 WROOM-32E using the Arduino IDE:
#define LED_PIN 2 // Define the LED pin

void setup() {
  pinMode(LED_PIN, OUTPUT); // Initialize the LED pin as an output
}

void loop() {
  digitalWrite(LED_PIN, HIGH); // Turn the LED on
  delay(1000);                // Wait for a second
  digitalWrite(LED_PIN, LOW);  // Turn the LED off
  delay(1000);                // Wait for a second
}
Note: Before uploading the code, select the appropriate board (ESP32 Dev Module) and port in the Arduino IDE.
This documentation provides an overview of the Mtiny ESP32 WROOM-32E module. For more detailed information, please refer to the datasheet provided by Makerlabvn.