How to Use Micro-SD-Adapter: Examples, Pinouts, and Specs
Introduction
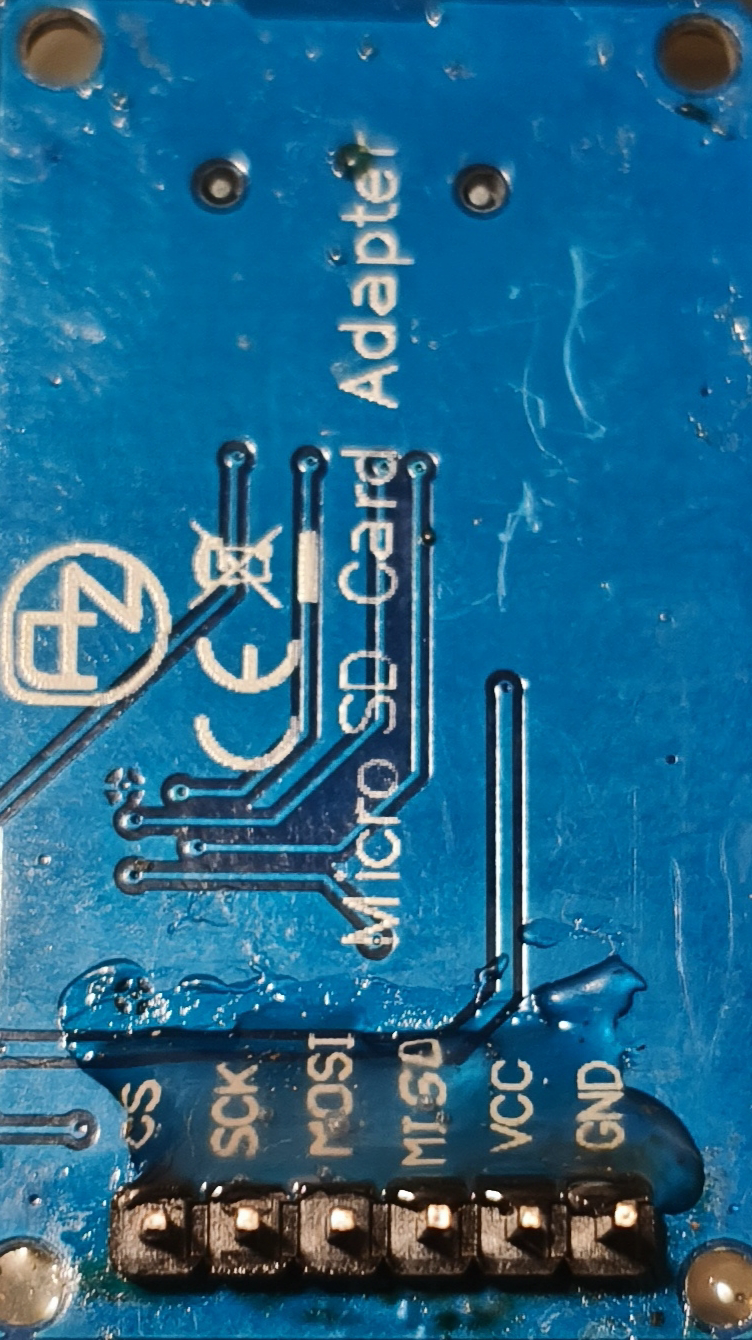
The Micro-SD-Adapter (Manufacturer: AZ, Part ID: Micro-SD-Unterseite) is a compact and versatile device designed to enable the use of Micro-SD cards in devices that only support standard SD card slots. By acting as a bridge between the two formats, this adapter ensures compatibility and seamless data transfer across a wide range of devices.
Explore Projects Built with Micro-SD-Adapter

Explore Projects Built with Micro-SD-Adapter
Common Applications and Use Cases
- Digital Cameras: Use Micro-SD cards in cameras with standard SD card slots.
- Laptops and PCs: Access Micro-SD card data via built-in SD card readers.
- Embedded Systems: Integrate Micro-SD cards into development boards or other hardware.
- Data Transfer: Easily move data between devices with different SD card slot sizes.
Technical Specifications
Key Technical Details
| Parameter | Specification |
|---|---|
| Manufacturer | AZ |
| Part ID | Micro-SD-Unterseite |
| Supported Card Types | Micro-SD, Micro-SDHC, Micro-SDXC |
| Output Interface | Standard SD card format |
| Dimensions | 24mm x 32mm x 2.1mm |
| Operating Temperature | -25°C to 85°C |
| Storage Temperature | -40°C to 85°C |
| Material | Durable plastic and metal contacts |
Pin Configuration and Descriptions
The Micro-SD-Adapter does not have active electronic components but instead provides a direct pin-to-pin connection between the Micro-SD card and the standard SD card interface. Below is the mapping of the Micro-SD card pins to the standard SD card pins:
| Micro-SD Pin | Standard SD Pin | Description |
|---|---|---|
| 1 | 1 | DAT2 (Data Line 2) |
| 2 | 2 | CD/DAT3 (Card Detect/Data 3) |
| 3 | 3 | CMD (Command Line) |
| 4 | 4 | VDD (Power Supply) |
| 5 | 5 | CLK (Clock Signal) |
| 6 | 6 | VSS (Ground) |
| 7 | 7 | DAT0 (Data Line 0) |
| 8 | 8 | DAT1 (Data Line 1) |
| 9 | 9 | Reserved |
Usage Instructions
How to Use the Component in a Circuit
- Insert the Micro-SD Card: Gently insert the Micro-SD card into the adapter, ensuring proper alignment with the contacts.
- Connect to the Device: Insert the adapter into the standard SD card slot of your device.
- Access Data: The device should recognize the Micro-SD card as a standard SD card, allowing you to read and write data seamlessly.
Important Considerations and Best Practices
- Handle with Care: Avoid bending or applying excessive force to the adapter to prevent damage.
- Check Compatibility: Ensure the device supports the file system (e.g., FAT32, exFAT) used by the Micro-SD card.
- Avoid Static Discharge: Handle the adapter and Micro-SD card in a static-free environment to prevent damage to the contacts.
- Insert Correctly: Always align the Micro-SD card and adapter properly to avoid damaging the pins.
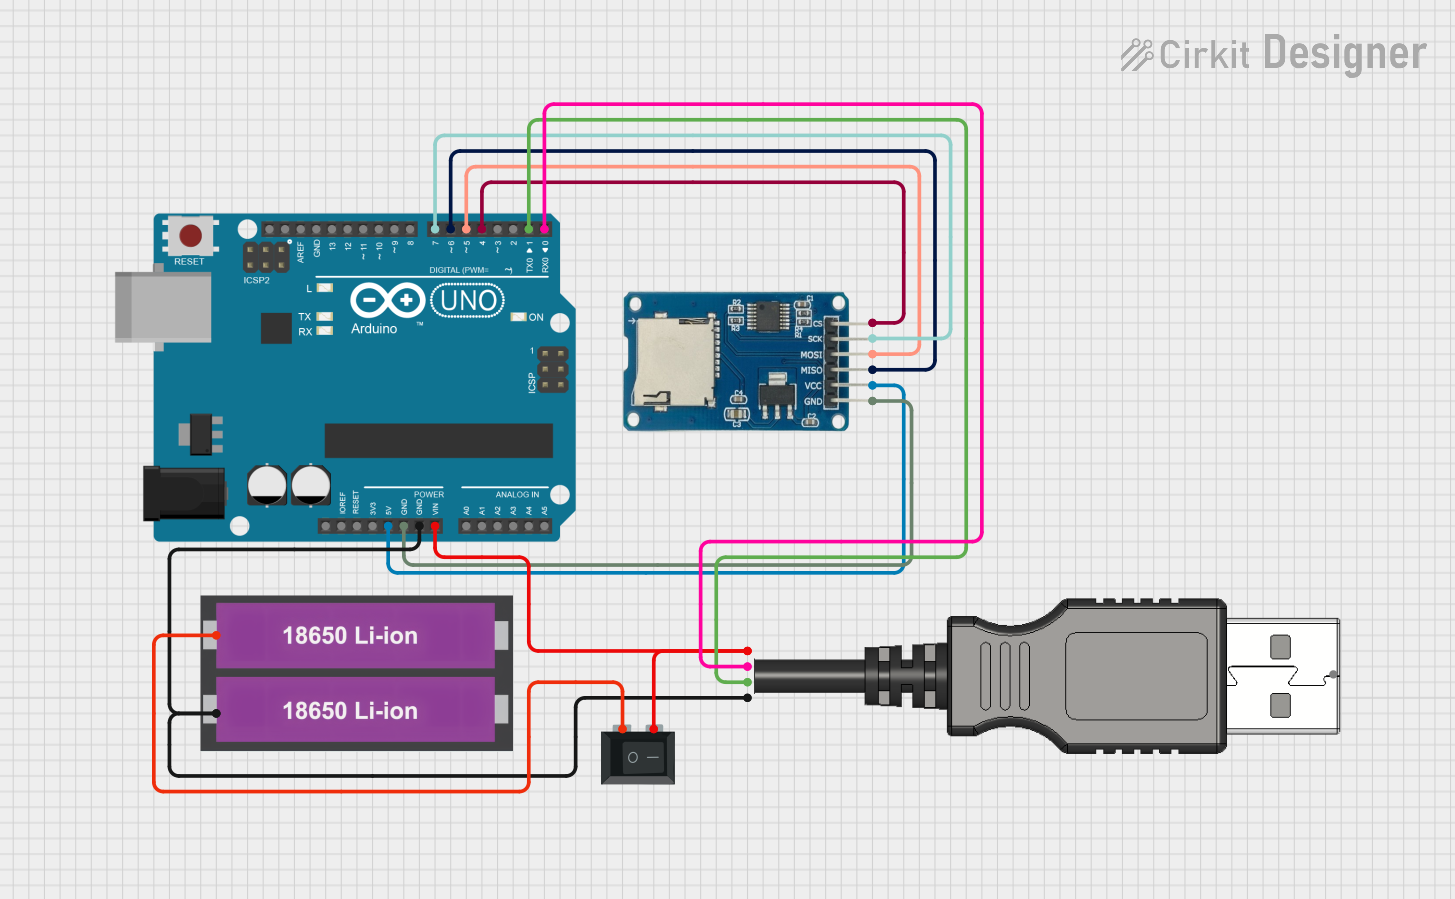
Example: Using with Arduino UNO
The Micro-SD-Adapter can be used with an Arduino UNO for data logging or file storage. Below is an example of how to interface the adapter with an Arduino UNO using the SD library.
Circuit Connections
- Connect the Micro-SD-Adapter to an SD card module.
- Wire the SD card module to the Arduino UNO as follows:
- CS (Chip Select): Pin 10
- MOSI: Pin 11
- MISO: Pin 12
- SCK: Pin 13
- VCC: 5V
- GND: GND
Example Code
#include <SPI.h>
#include <SD.h>

// Define the chip select pin for the SD card module
const int chipSelect = 10;

void setup() {
  // Initialize serial communication for debugging
  Serial.begin(9600);
  while (!Serial) {
    ; // Wait for the serial port to connect
  }

  Serial.println("Initializing SD card...");

  // Check if the SD card is available
  if (!SD.begin(chipSelect)) {
    Serial.println("Card failed, or not present");
    // Stop further execution if the card is not detected
    while (1);
  }
  Serial.println("Card initialized successfully!");
}

void loop() {
  // Example: Write data to a file on the SD card
  File dataFile = SD.open("example.txt", FILE_WRITE);

  if (dataFile) {
    dataFile.println("Hello, Micro-SD-Adapter!");
    dataFile.close(); // Close the file after writing
    Serial.println("Data written to example.txt");
  } else {
    Serial.println("Error opening example.txt");
  }

  delay(1000); // Wait for 1 second before repeating
}
Troubleshooting and FAQs
Common Issues Users Might Face
Micro-SD Card Not Detected:
- Ensure the Micro-SD card is properly inserted into the adapter.
- Verify that the adapter is fully inserted into the SD card slot.
- Check if the Micro-SD card is formatted correctly (e.g., FAT32 or exFAT).
Data Transfer Errors:
- Inspect the adapter's contacts for dirt or damage.
- Ensure the Micro-SD card is not write-protected (if applicable).
Adapter Not Fitting Properly:
- Confirm that the adapter is compatible with the device's SD card slot.
- Avoid forcing the adapter into the slot to prevent damage.
Solutions and Tips for Troubleshooting
- Clean Contacts: Use a soft, lint-free cloth to clean the adapter's metal contacts.
- Test with Another Device: Verify the functionality of the Micro-SD card and adapter by testing them in a different device.
- Reformat the Card: If the card is not recognized, try reformatting it using a computer or SD card formatting tool.
By following these guidelines, you can ensure reliable performance and longevity of your AZ Micro-SD-Adapter (Micro-SD-Unterseite).