Cirkit Designer Logo
Cirkit Designer
Your all-in-one circuit design IDE
Home / 
Component Documentation

How to Use SHT1x-Breakout: Examples, Pinouts, and Specs

Image of SHT1x-Breakout
Cirkit Designer LogoDesign with SHT1x-Breakout in Cirkit Designer

Introduction

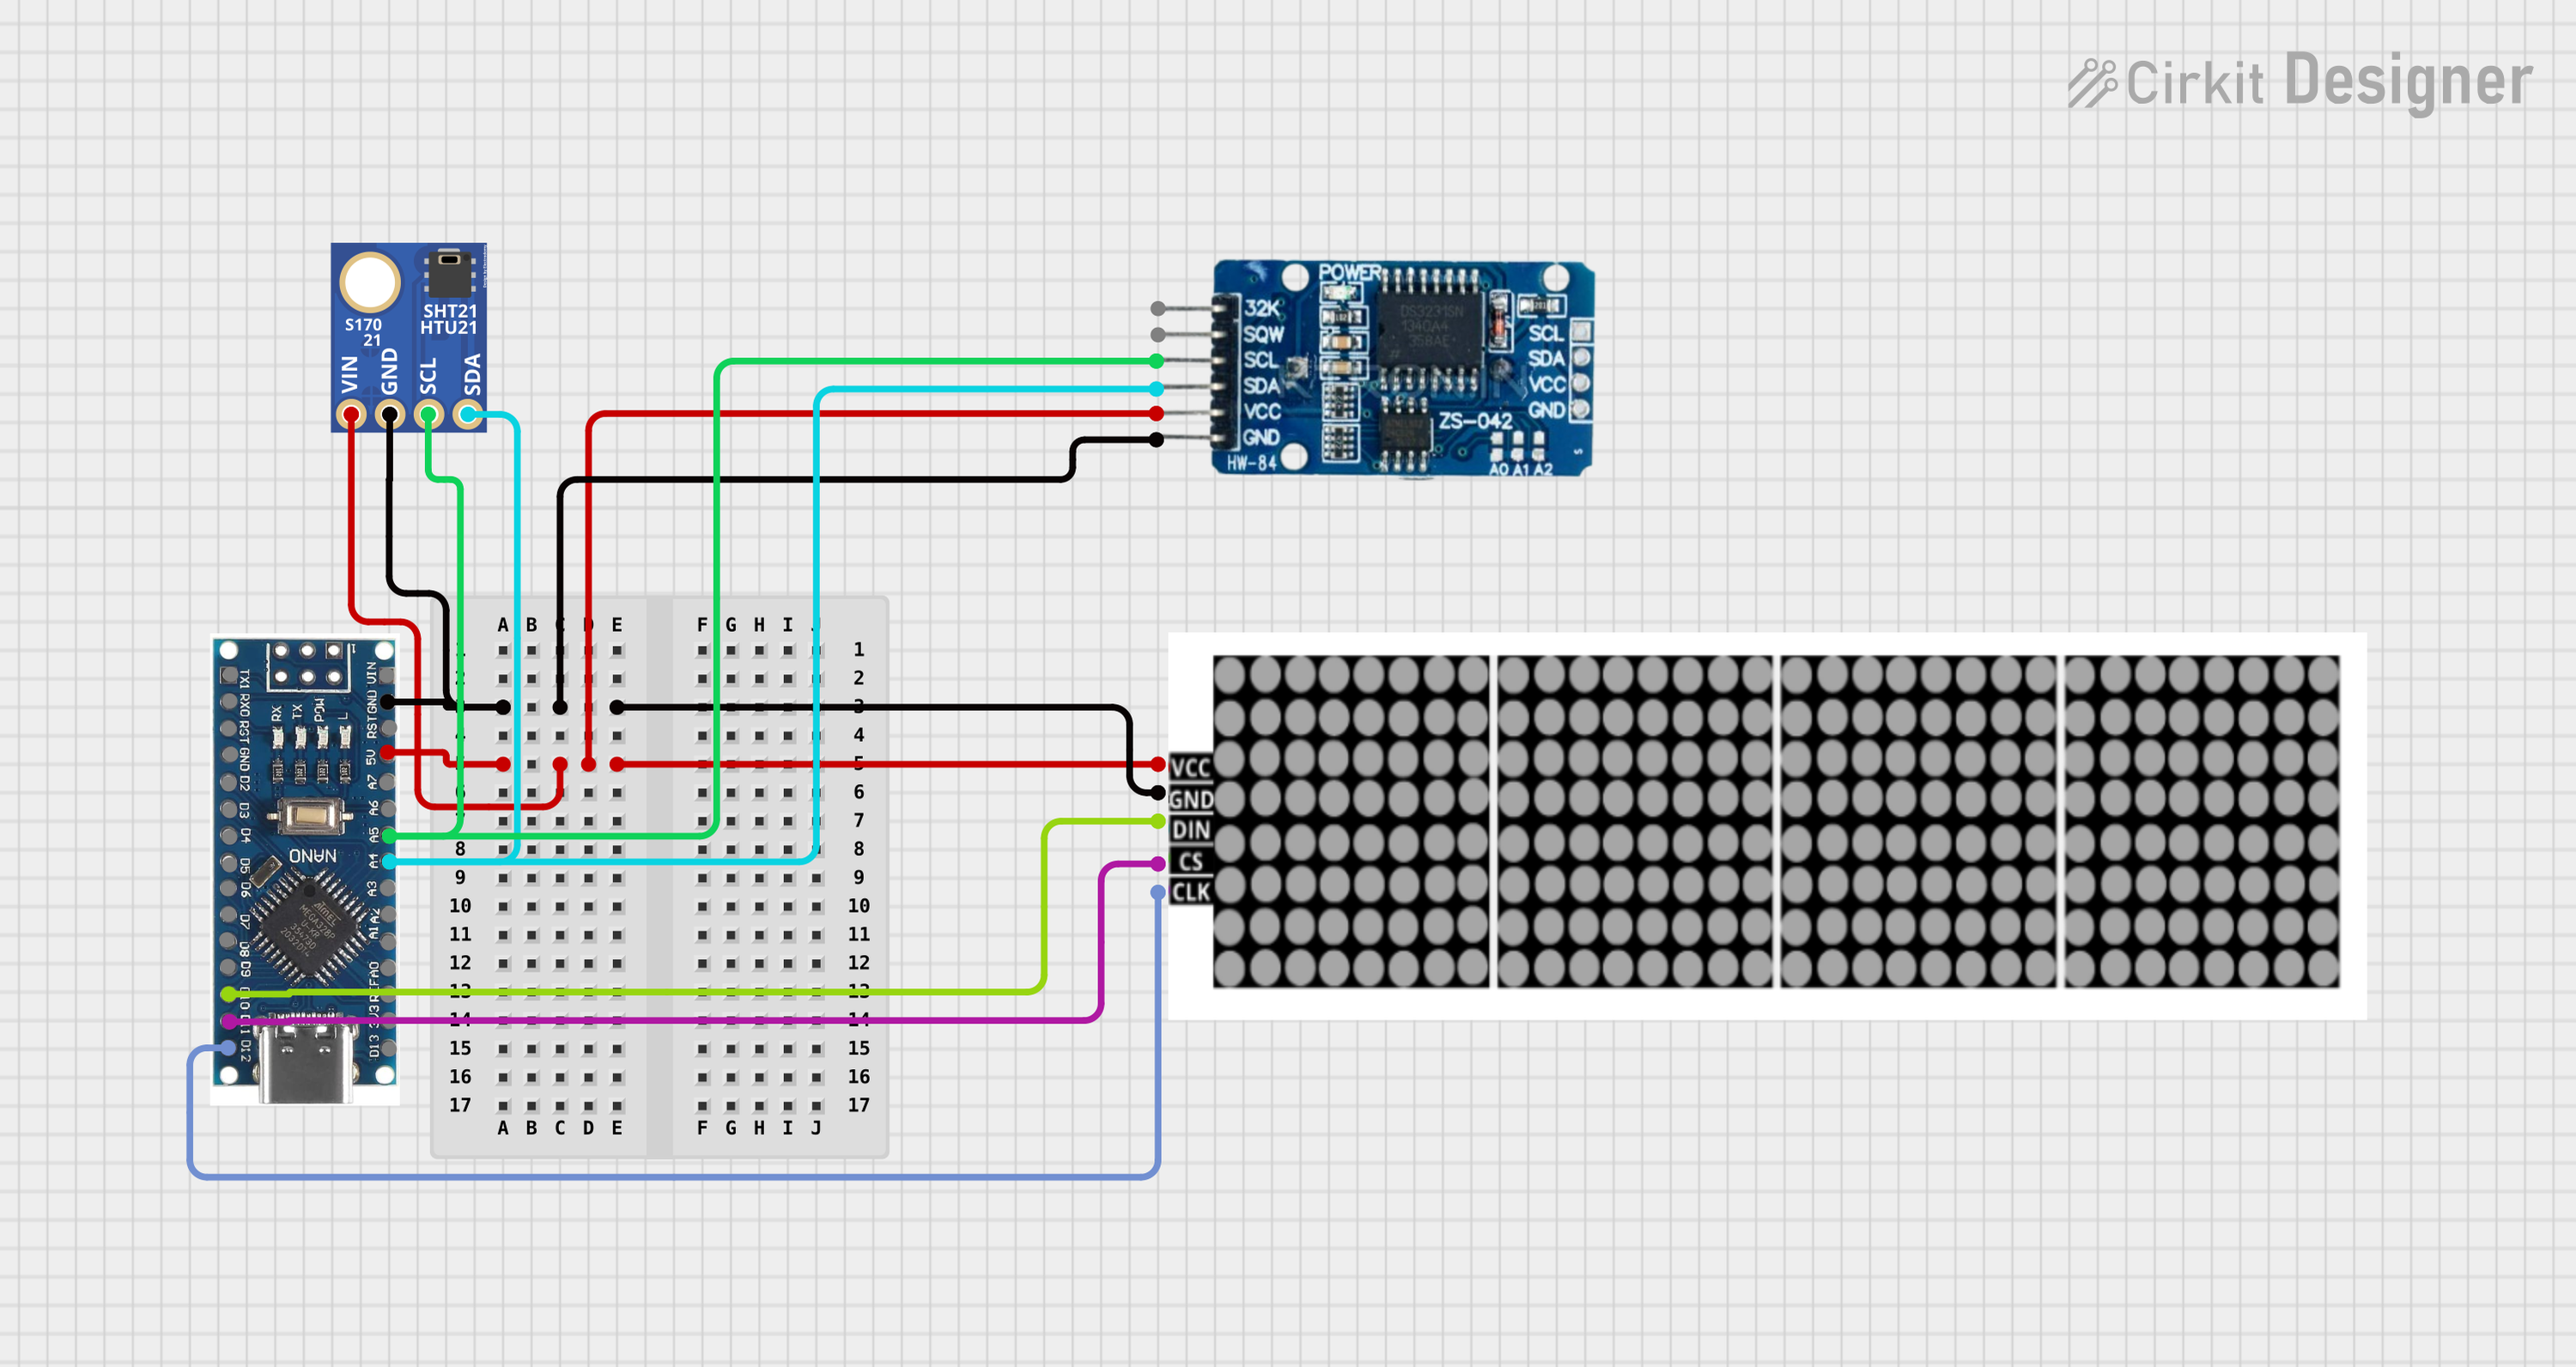
The SHT1x-Breakout is a precision sensor module designed for environmental monitoring, which incorporates the Sensirion SHT1x sensor. This sensor is capable of measuring both temperature and relative humidity with high accuracy and provides a digital output for easy interfacing with microcontrollers and computers. Common applications include weather stations, HVAC control systems, and any application where environmental conditions need to be monitored.

Explore Projects Built with SHT1x-Breakout

Use Cirkit Designer to design, explore, and prototype these projects online. Some projects support real-time simulation. Click "Open Project" to start designing instantly!
Arduino UNO WiFi with Heart Pulse and Temperature Monitoring
Image of BioTrackers: A project utilizing SHT1x-Breakout in a practical application
This circuit features an Arduino UNO R4 WiFi microcontroller connected to a Heart Pulse Sensor and an SHT1x-Breakout sensor. The Arduino is configured to read heart pulse signals from the Heart Pulse Sensor on analog pin A0 and temperature/humidity data from the SHT1x-Breakout sensor via the I2C interface on pins A4 (DATA) and A5 (SCK). Both sensors are powered by the Arduino's 5V output, and their ground pins are connected to the Arduino's ground.
Cirkit Designer LogoOpen Project in Cirkit Designer
ESP32-Based Environmental and Distance Sensing System
Image of Low Cost Water Level Sensor: A project utilizing SHT1x-Breakout in a practical application
This circuit features an ESP32 microcontroller connected to a DHT11 humidity and temperature sensor, an HC-SR04 ultrasonic sensor, and an XM125 radar breakout module. The ESP32 uses its GPIO pins to interface with the DHT11 sensor for environmental data, control and receive signals from the HC-SR04 for distance measurements, and communicate with the XM125 via I2C and control lines for radar-based detection. The circuit is likely designed for a multi-sensor monitoring or detection system, integrating environmental sensing, distance measurement, and radar signal processing.
Cirkit Designer LogoOpen Project in Cirkit Designer
Arduino Nano-Based Weather Station with Wi-Fi Connectivity and Multiple AHT10 Sensors
Image of PS2_Group 5: A project utilizing SHT1x-Breakout in a practical application
This circuit features an Arduino Nano microcontroller interfacing with three AHT10 temperature and humidity sensors, an ESP8266-01 WiFi module, and a 16x2 LCD display. It includes power regulation components to step down voltage and manage power distribution, and rocker switches for user input. The setup is designed for environmental monitoring and data display with potential for wireless communication.
Cirkit Designer LogoOpen Project in Cirkit Designer
Arduino Nano-Controlled LED Display with RTC and Humidity Sensing
Image of Alarm Clock: A project utilizing SHT1x-Breakout in a practical application
This circuit features a Nano 3.0 ATmega328P microcontroller connected to an LED dot display, a real-time clock (RTC DS3231), and a humidity and temperature sensor (SHT21). The microcontroller communicates with the RTC and SHT21 via I2C (using A4 and A5 as SDA and SCL lines, respectively), and it controls the LED display through SPI-like signals (using D10, D11, and D12 for DIN, CS, and CLK). The circuit is designed to display time and environmental data on the LED display, with all components sharing a common power supply and ground.
Cirkit Designer LogoOpen Project in Cirkit Designer

Explore Projects Built with SHT1x-Breakout

Use Cirkit Designer to design, explore, and prototype these projects online. Some projects support real-time simulation. Click "Open Project" to start designing instantly!
Image of BioTrackers: A project utilizing SHT1x-Breakout in a practical application
Arduino UNO WiFi with Heart Pulse and Temperature Monitoring
This circuit features an Arduino UNO R4 WiFi microcontroller connected to a Heart Pulse Sensor and an SHT1x-Breakout sensor. The Arduino is configured to read heart pulse signals from the Heart Pulse Sensor on analog pin A0 and temperature/humidity data from the SHT1x-Breakout sensor via the I2C interface on pins A4 (DATA) and A5 (SCK). Both sensors are powered by the Arduino's 5V output, and their ground pins are connected to the Arduino's ground.
Cirkit Designer LogoOpen Project in Cirkit Designer
Image of Low Cost Water Level Sensor: A project utilizing SHT1x-Breakout in a practical application
ESP32-Based Environmental and Distance Sensing System
This circuit features an ESP32 microcontroller connected to a DHT11 humidity and temperature sensor, an HC-SR04 ultrasonic sensor, and an XM125 radar breakout module. The ESP32 uses its GPIO pins to interface with the DHT11 sensor for environmental data, control and receive signals from the HC-SR04 for distance measurements, and communicate with the XM125 via I2C and control lines for radar-based detection. The circuit is likely designed for a multi-sensor monitoring or detection system, integrating environmental sensing, distance measurement, and radar signal processing.
Cirkit Designer LogoOpen Project in Cirkit Designer
Image of PS2_Group 5: A project utilizing SHT1x-Breakout in a practical application
Arduino Nano-Based Weather Station with Wi-Fi Connectivity and Multiple AHT10 Sensors
This circuit features an Arduino Nano microcontroller interfacing with three AHT10 temperature and humidity sensors, an ESP8266-01 WiFi module, and a 16x2 LCD display. It includes power regulation components to step down voltage and manage power distribution, and rocker switches for user input. The setup is designed for environmental monitoring and data display with potential for wireless communication.
Cirkit Designer LogoOpen Project in Cirkit Designer
Image of Alarm Clock: A project utilizing SHT1x-Breakout in a practical application
Arduino Nano-Controlled LED Display with RTC and Humidity Sensing
This circuit features a Nano 3.0 ATmega328P microcontroller connected to an LED dot display, a real-time clock (RTC DS3231), and a humidity and temperature sensor (SHT21). The microcontroller communicates with the RTC and SHT21 via I2C (using A4 and A5 as SDA and SCL lines, respectively), and it controls the LED display through SPI-like signals (using D10, D11, and D12 for DIN, CS, and CLK). The circuit is designed to display time and environmental data on the LED display, with all components sharing a common power supply and ground.
Cirkit Designer LogoOpen Project in Cirkit Designer

Technical Specifications

Key Technical Details

  • Voltage Supply: 2.4V to 5.5V
  • Temperature Range: -40°C to +123.8°C
  • Humidity Range: 0 to 100% RH
  • Output: Digital (Two-wire serial interface)
  • Accuracy (Temperature): ±0.5°C at 25°C
  • Accuracy (Humidity): ±4.5% RH
  • Resolution (Temperature): 0.01°C
  • Resolution (Humidity): 0.05% RH

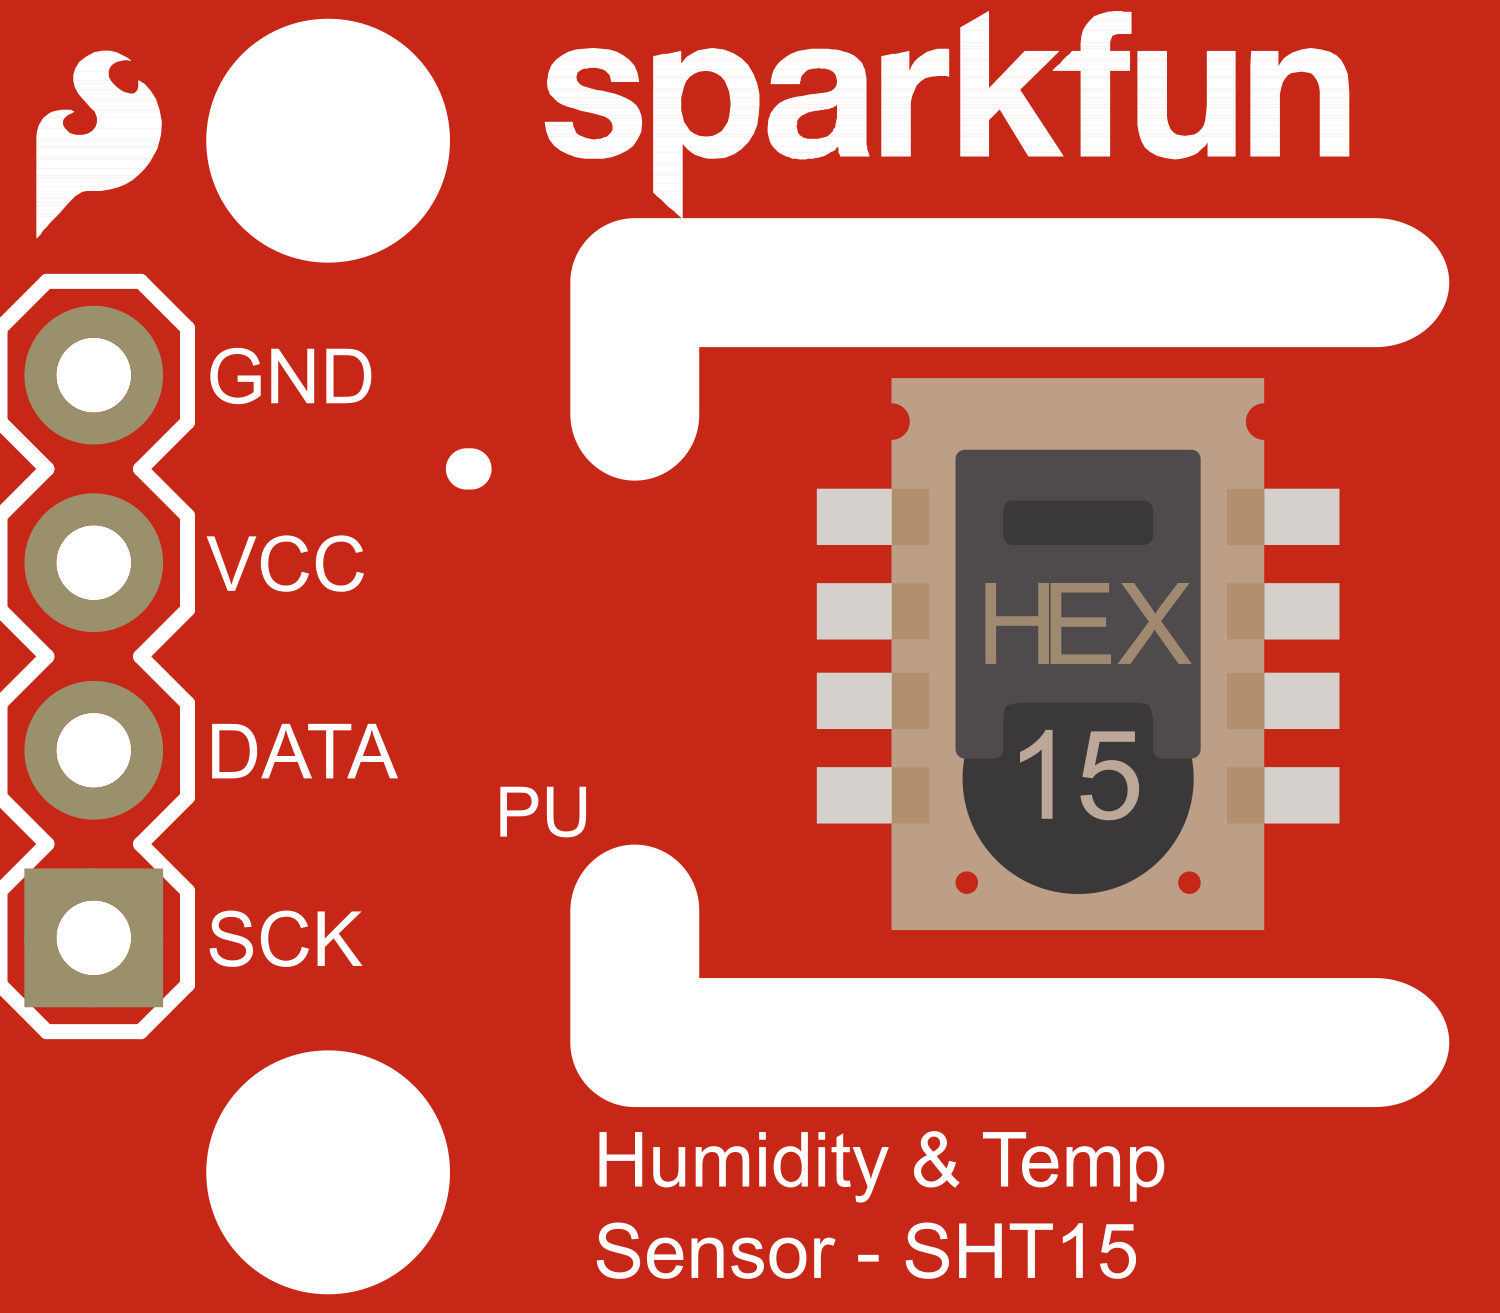
Pin Configuration and Descriptions

Pin Number Name Description
1 VDD Power supply voltage (2.4V to 5.5V)
2 DATA Serial data output/input
3 SCK Serial clock input
4 GND Ground

Usage Instructions

Interfacing with a Circuit

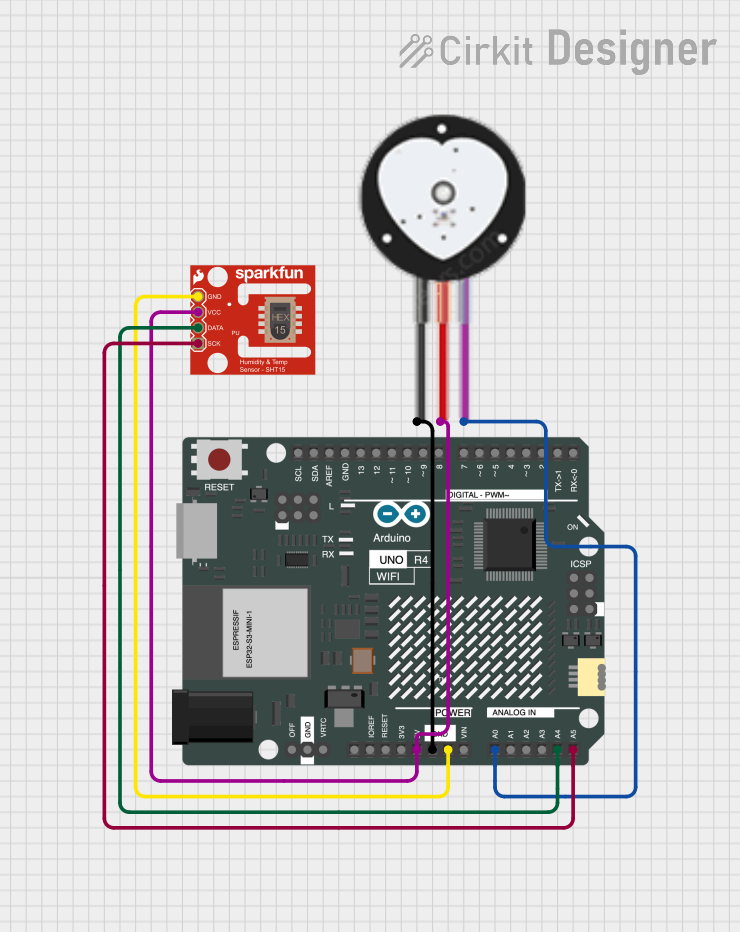
To use the SHT1x-Breakout in a circuit, connect the VDD pin to a power supply within the specified range, the GND pin to the system ground, the DATA pin to a digital I/O pin on your microcontroller, and the SCK pin to another digital I/O pin for the serial clock.

Best Practices

  • Ensure that the power supply is stable and within the specified voltage range.
  • Use pull-up resistors on the DATA and SCK lines as required by the microcontroller's specifications.
  • Avoid placing the sensor in direct sunlight or near heat sources to prevent inaccurate readings.
  • Allow the sensor to acclimatize to the environment for accurate readings.

Example Code for Arduino UNO

#include <SHT1x.h>

// Specify data and clock connections and instantiate SHT1x object
#define dataPin  10
#define clockPin 11
SHT1x sht1x(dataPin, clockPin);

void setup()
{
   Serial.begin(9600); // Start serial communication at 9600 baud
}

void loop()
{
   float temp_c;
   float humidity;

   // Read values from the sensor
   temp_c = sht1x.readTemperatureC();
   humidity = sht1x.readHumidity();

   // Print the values to the serial port
   Serial.print("Temperature: ");
   Serial.print(temp_c, DEC);
   Serial.print("C / Humidity: ");
   Serial.print(humidity);
   Serial.println("%");

   delay(2000); // Wait 2 seconds between readings
}

Ensure that you have installed the SHT1x library in the Arduino IDE before uploading this code to your Arduino UNO.

Troubleshooting and FAQs

Common Issues

  • Inaccurate Readings: Ensure the sensor is not exposed to direct sunlight or heat sources. Allow time for the sensor to acclimatize to the environment.
  • No Data on Serial: Check the wiring, especially the DATA and SCK connections to the Arduino. Ensure pull-up resistors are correctly installed if necessary.
  • Sensor Not Responding: Verify that the power supply is within the specified range and connections are secure.

Solutions and Tips

  • If you encounter erratic readings, adding a small capacitor (e.g., 0.1 µF) between VDD and GND near the sensor may stabilize the power supply.
  • For long cable runs, shielded cables can help reduce noise that may affect the readings.

FAQs

Q: Can the SHT1x-Breakout be used outdoors? A: Yes, but it should be protected from direct exposure to water and sunlight.

Q: How long does the sensor need to acclimatize? A: Typically, a few minutes should be sufficient for the sensor to stabilize and provide accurate readings.

Q: Is calibration required for the SHT1x-Breakout? A: The sensor comes pre-calibrated from the factory. However, for critical applications, periodic calibration against a known reference may be necessary.

For further assistance, consult the Sensirion SHT1x datasheet or contact technical support.