How to Use IDM Probe: Examples, Pinouts, and Specs
Introduction
The IDM (Insulated-Gate Bipolar Transistor) Probe is an essential diagnostic tool used in the field of power electronics. It is designed to measure and troubleshoot the characteristics of power electronic components, such as transistors and diodes, within power circuits. The IDM Probe offers the advantage of non-destructive testing, enabling technicians and engineers to take measurements without the need to physically access or desolder the component under test. This tool is commonly used in applications such as motor drives, power supplies, and inverter systems.
Explore Projects Built with IDM Probe
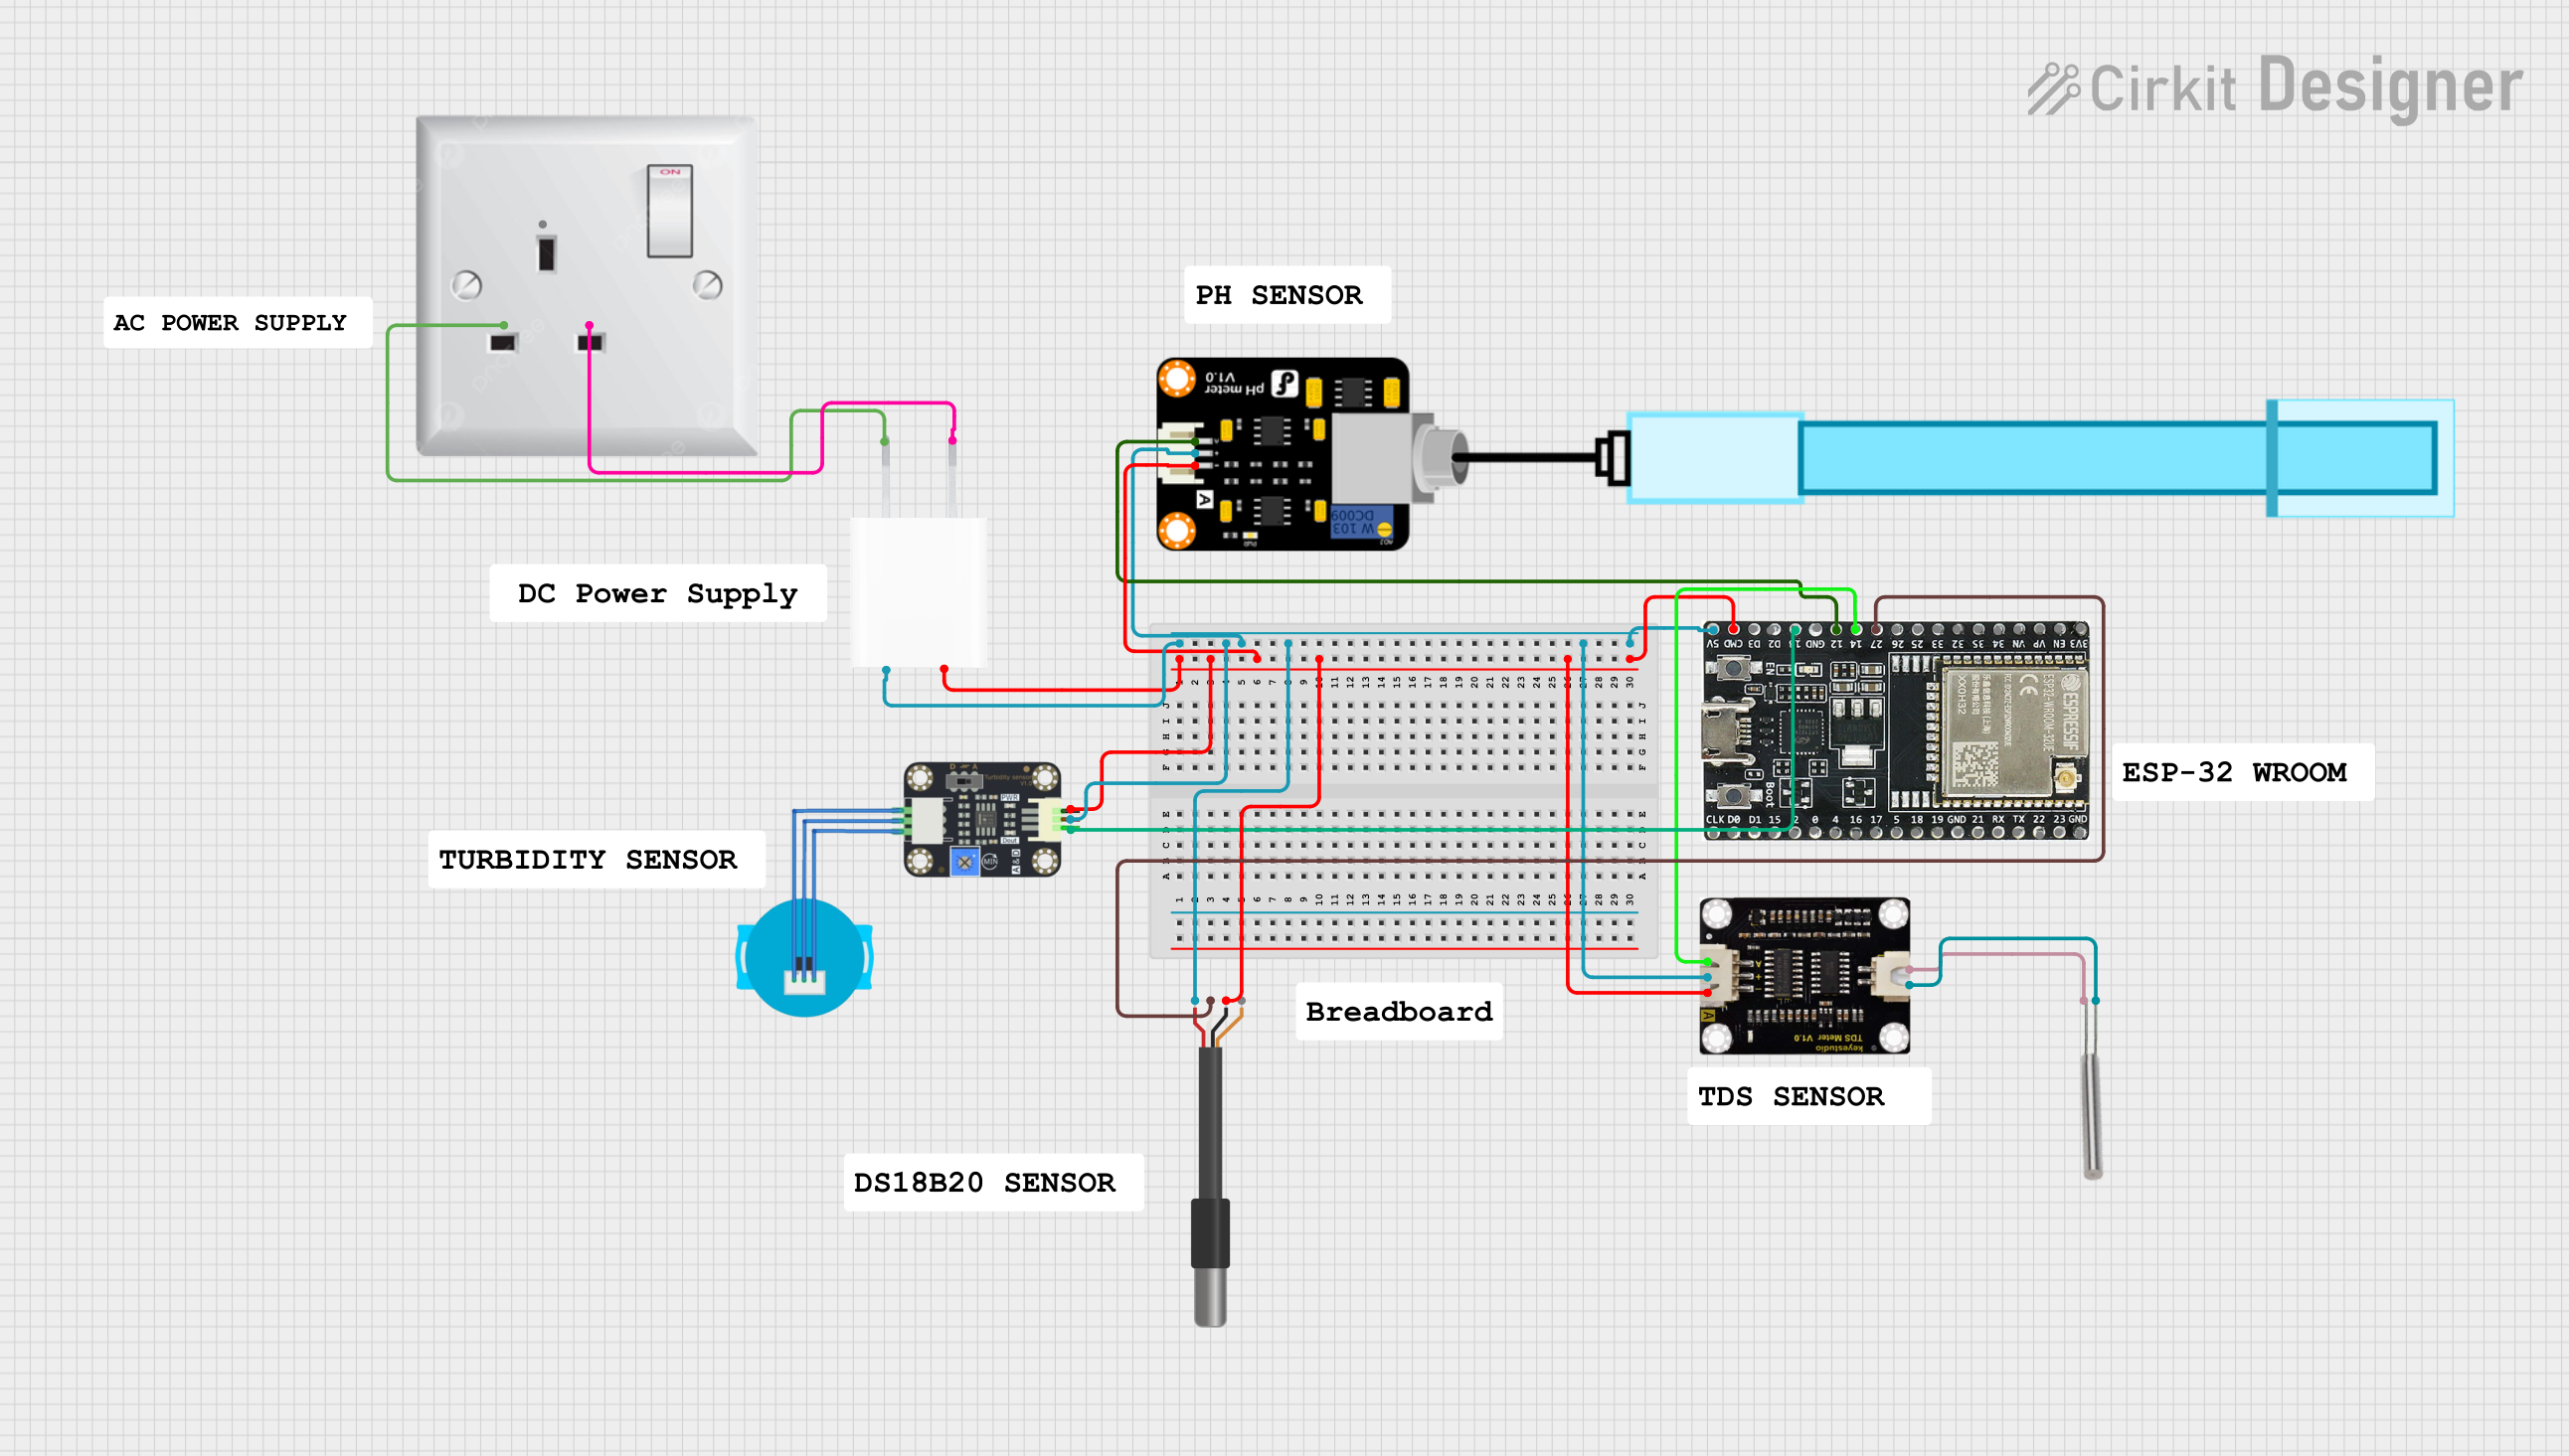
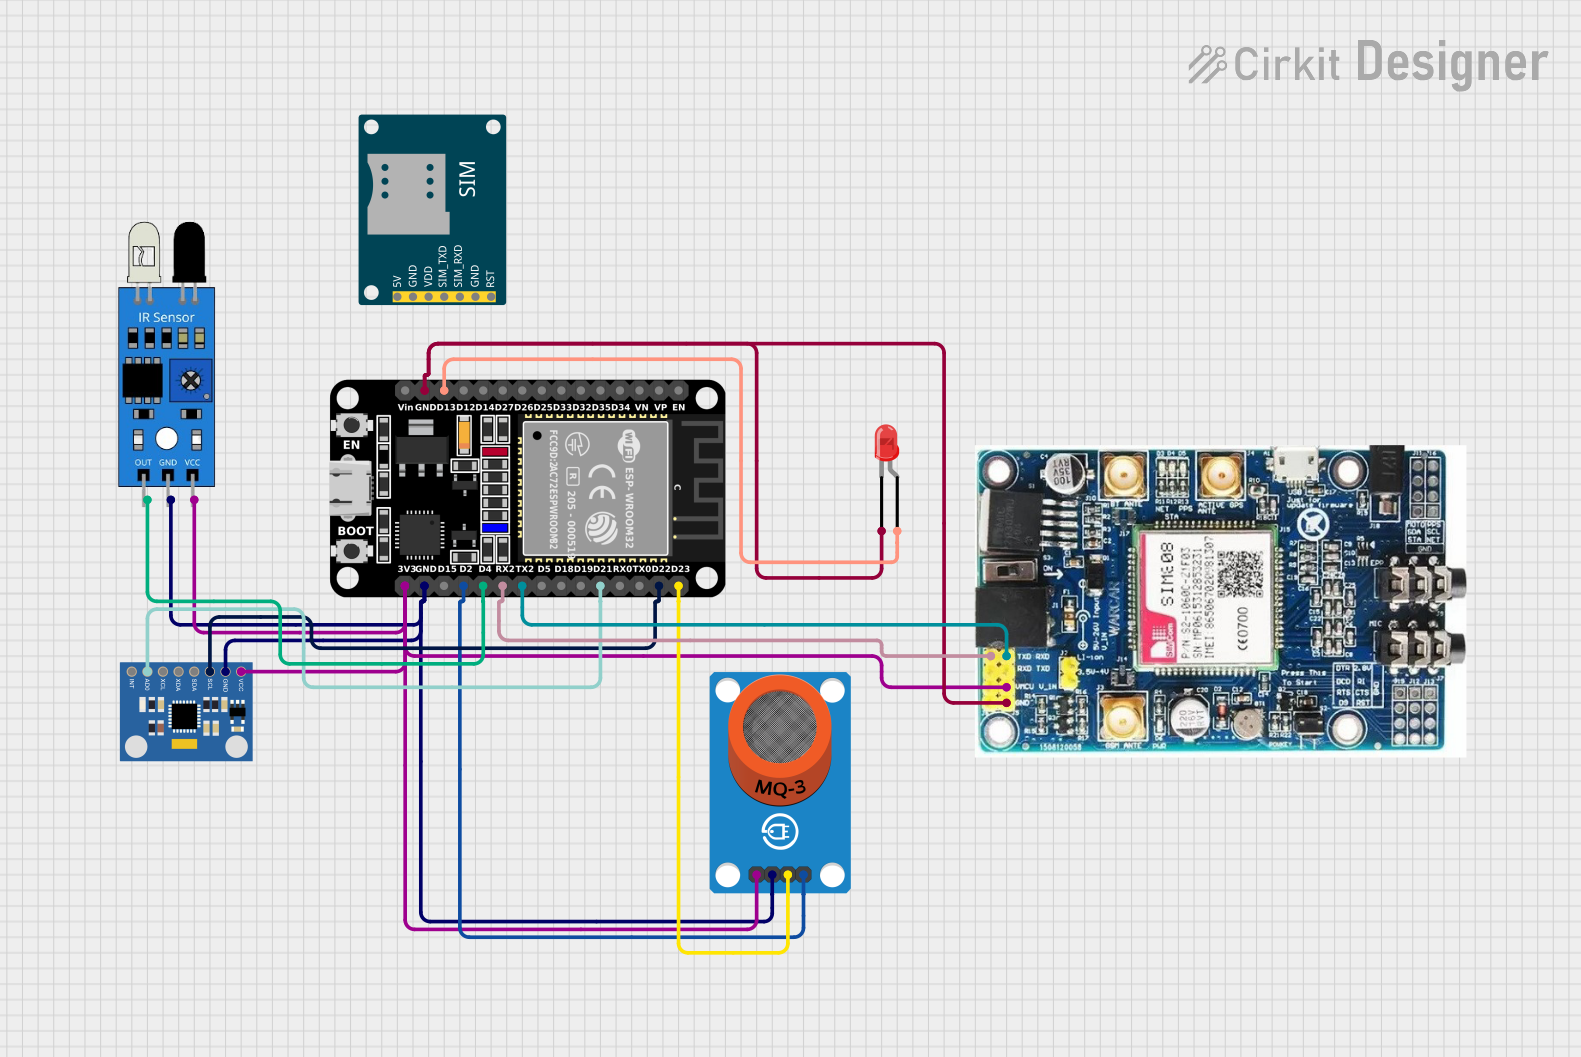
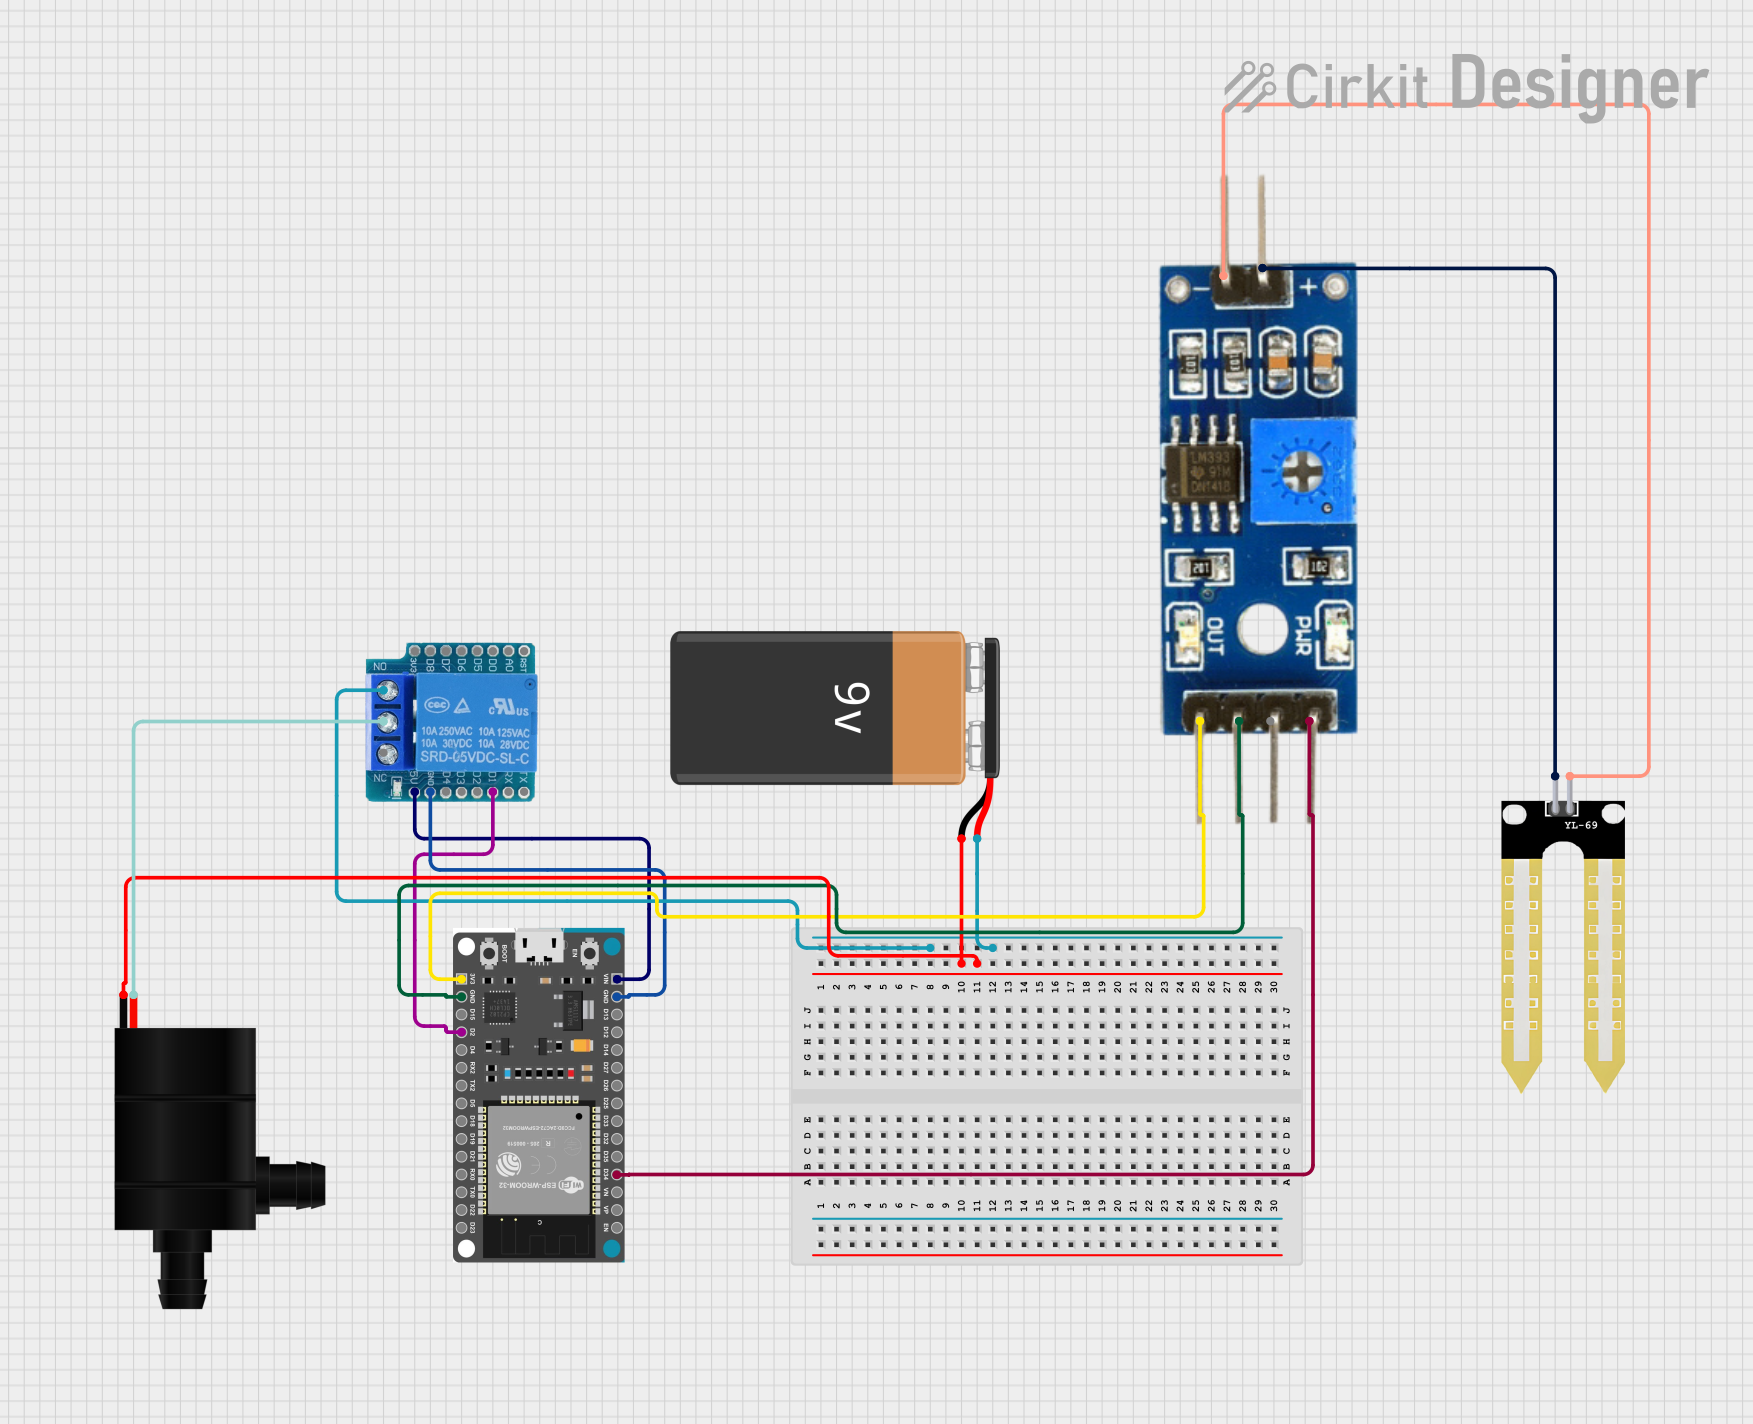
Explore Projects Built with IDM Probe
Technical Specifications
Key Technical Details
- Voltage Range: Typically up to 1000V
- Current Sensing Capability: Up to several hundred Amperes, depending on the model
- Frequency Response: Suitable for use in high-frequency power circuits
- Temperature Range: Operational over a wide temperature range, often -40°C to +85°C
- Accuracy: High precision with minimal signal distortion
Pin Configuration and Descriptions
| Pin Number | Description | Notes |
|---|---|---|
| 1 | Ground Reference | Connect to circuit ground |
| 2 | Signal Output | Oscilloscope or meter connection |
| 3 | Power Supply (+) | For probe's internal electronics |
| 4 | Power Supply (-) | For probe's internal electronics |
| 5 | (Optional) Trigger Output | For synchronized measurements |
Usage Instructions
Integrating the IDM Probe into a Circuit
Powering the Probe:
- Connect the power supply pins (3 and 4) to an appropriate DC voltage source as specified by the manufacturer.
Establishing a Ground Reference:
- Attach the ground reference pin (1) to the common ground of the circuit under test.
Signal Measurement:
- Connect the signal output pin (2) to the input of an oscilloscope or multimeter.
Triggering (if available):
- Use the optional trigger output (5) to synchronize the probe with other measurement equipment if required.
Important Considerations and Best Practices
- Safety: Always ensure that the probe is rated for the voltage and current levels present in the circuit under test.
- Signal Integrity: Use short, low-inductance connections to minimize signal distortion.
- Calibration: Regularly calibrate the probe to maintain measurement accuracy.
- Environmental Conditions: Operate the probe within the specified temperature and humidity ranges.
Troubleshooting and FAQs
Common Issues and Solutions
- Inaccurate Readings:
- Check for proper grounding and secure connections.
- Verify that the probe is within its calibration period.
- No Signal Output:
- Ensure the power supply to the probe is connected and within the specified voltage range.
- Inspect the probe's connections to the circuit for any loose wires or poor contacts.
FAQs
Q: Can the IDM Probe be used on any power electronic component?
- A: The IDM Probe is versatile but always check the component's voltage and current ratings against the probe's specifications.
Q: How often does the IDM Probe need to be calibrated?
- A: Calibration frequency depends on usage and manufacturer recommendations, typically once a year.
Q: Is it safe to use the IDM Probe on live circuits?
- A: Yes, but always follow safety protocols and ensure the probe's ratings exceed the circuit's parameters.
Example Code for Arduino UNO
// Example code to read IDM Probe signal with Arduino UNO
// Note: This is a conceptual example and may require adjustments for specific IDM Probes.

const int signalPin = A0; // Connect IDM Probe signal output to Arduino analog pin A0

void setup() {
  Serial.begin(9600);
}

void loop() {
  int signalValue = analogRead(signalPin); // Read the signal from the IDM Probe
  float voltage = (signalValue * 5.0) / 1023; // Convert to voltage assuming 5V reference
  Serial.println(voltage); // Output the voltage to the Serial Monitor
  delay(500); // Delay for half a second between readings
}
Remember to adjust the voltage conversion calculation based on the specific characteristics and output range of your IDM Probe. The example assumes a linear output and a 5V reference voltage for the Arduino ADC.