
How to Use KCX_BT_EMITTER: Examples, Pinouts, and Specs
 Design with KCX_BT_EMITTER in Cirkit Designer
Introduction
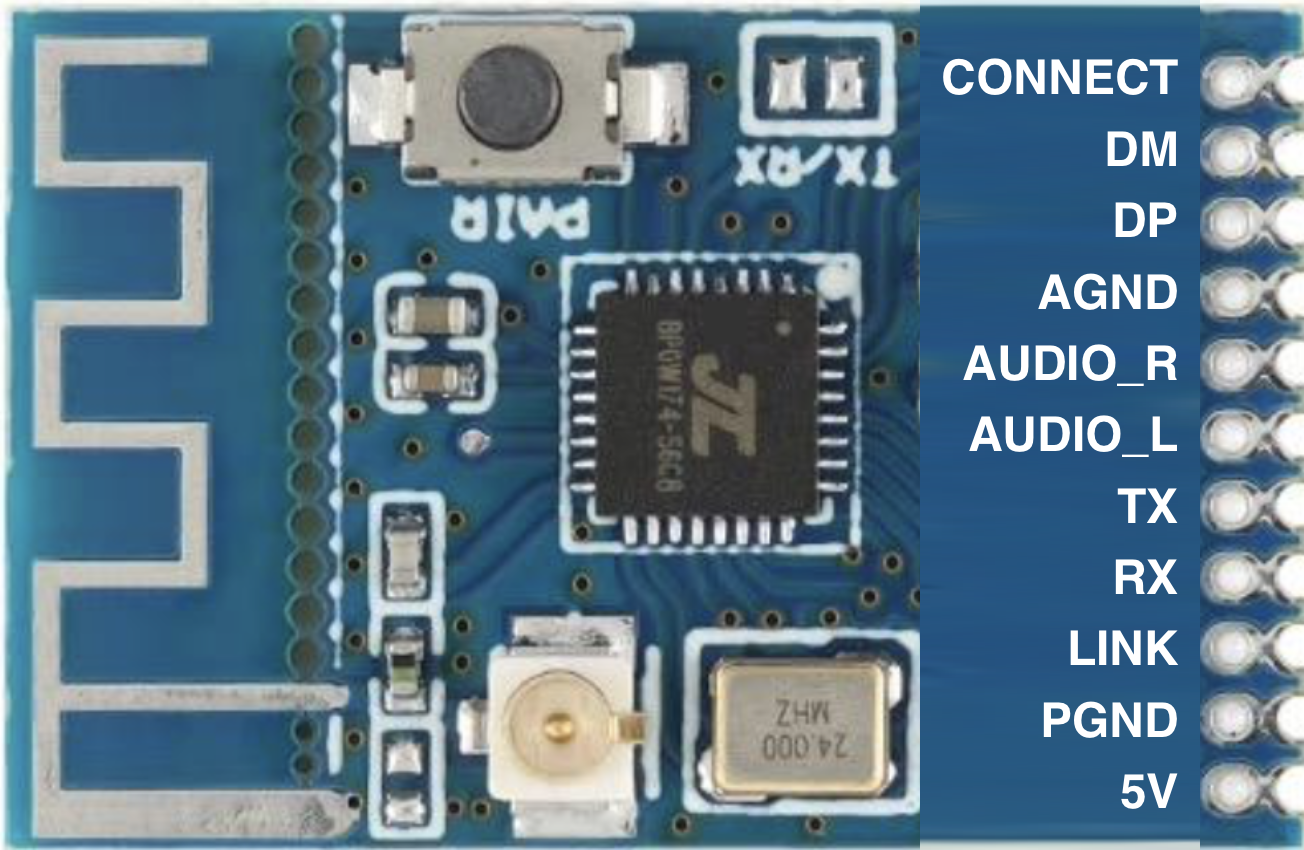
The KCX_BT_EMITTER is a Bluetooth emitter module designed to enable wireless communication by transmitting data over short distances using Bluetooth technology. This module is compact, easy to integrate, and ideal for applications requiring wireless audio or data transmission. It supports Bluetooth 4.2, ensuring reliable and efficient communication with compatible devices.
Explore Projects Built with KCX_BT_EMITTER
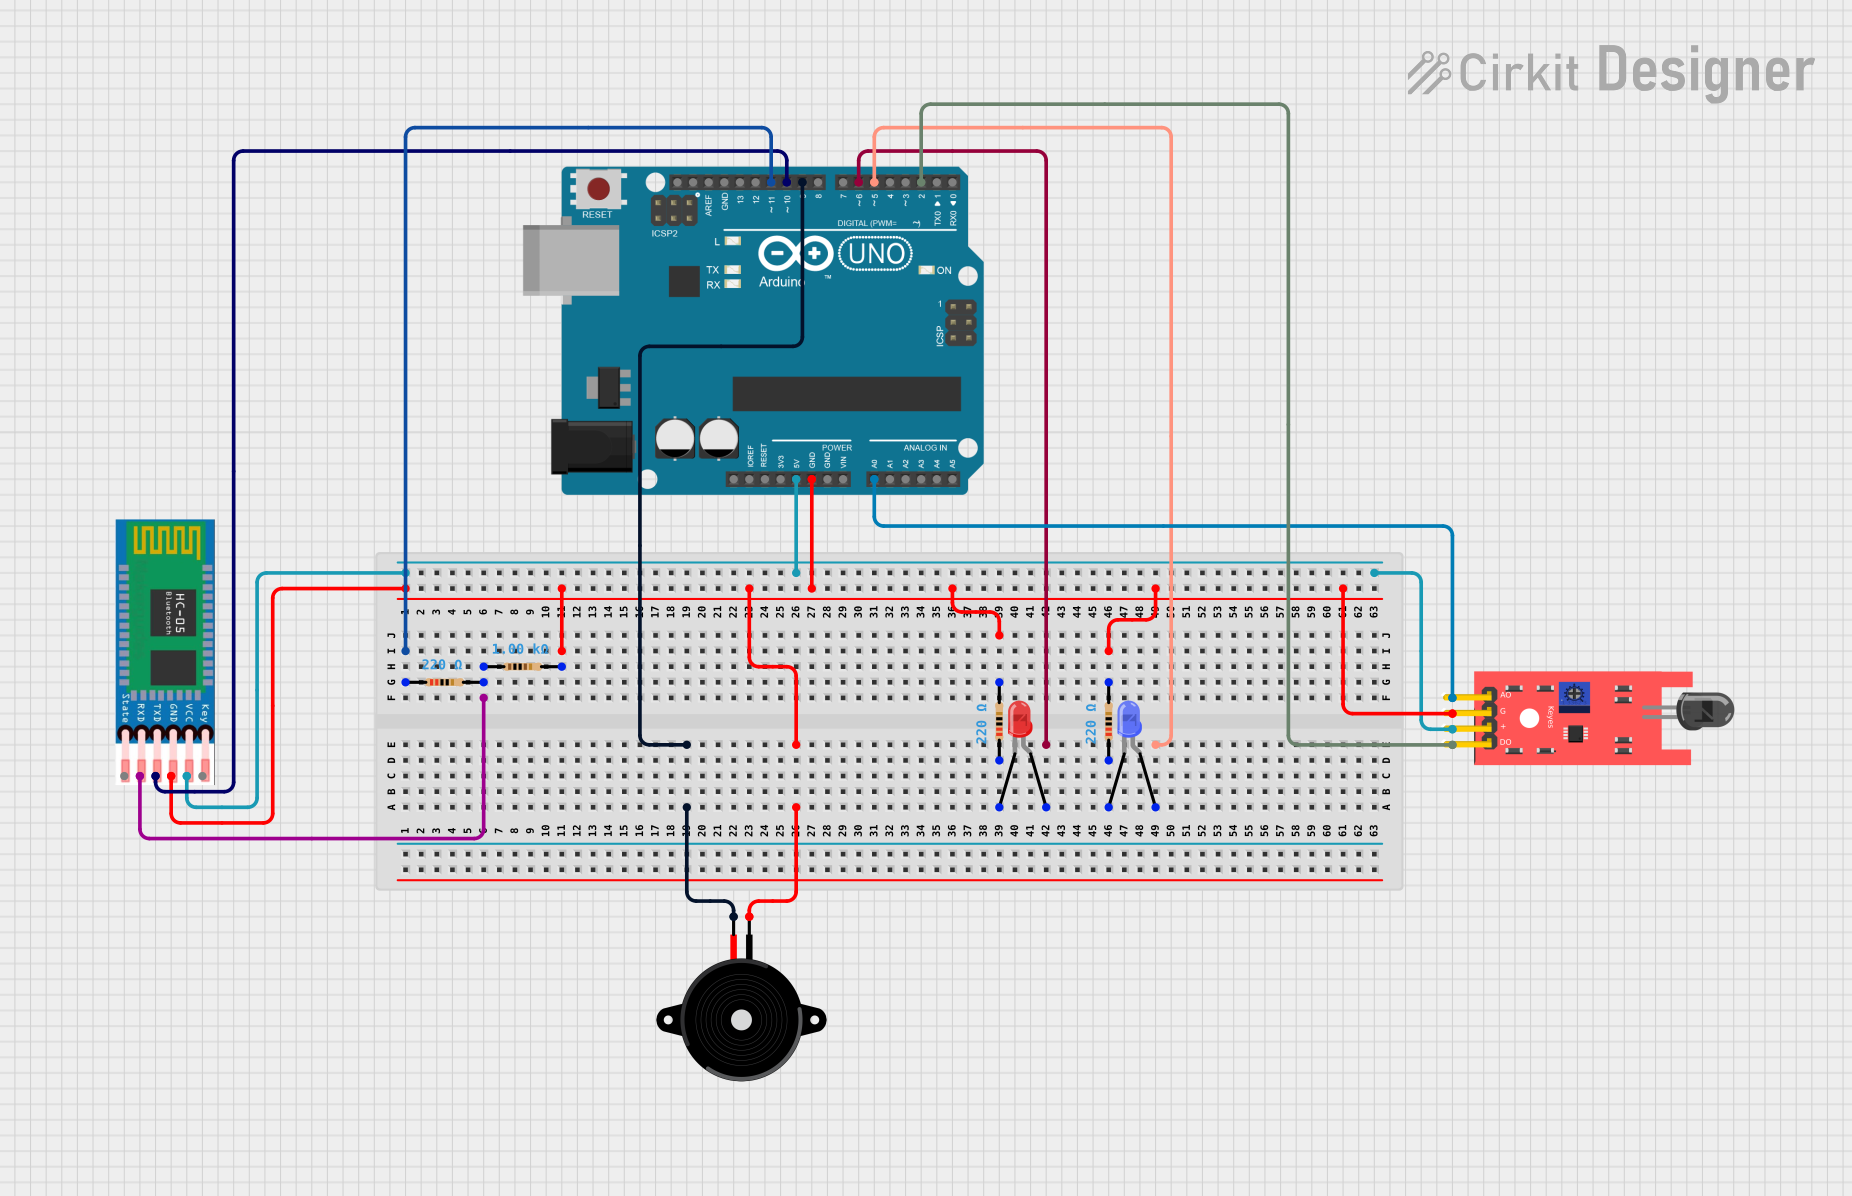 Open Project in Cirkit Designer
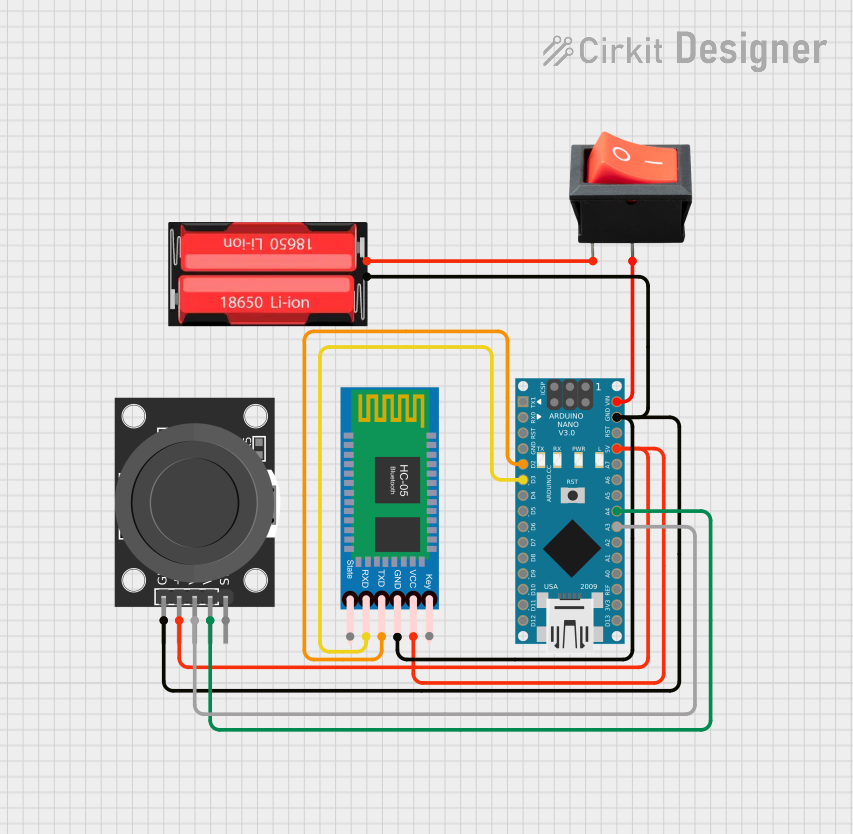 Open Project in Cirkit Designer
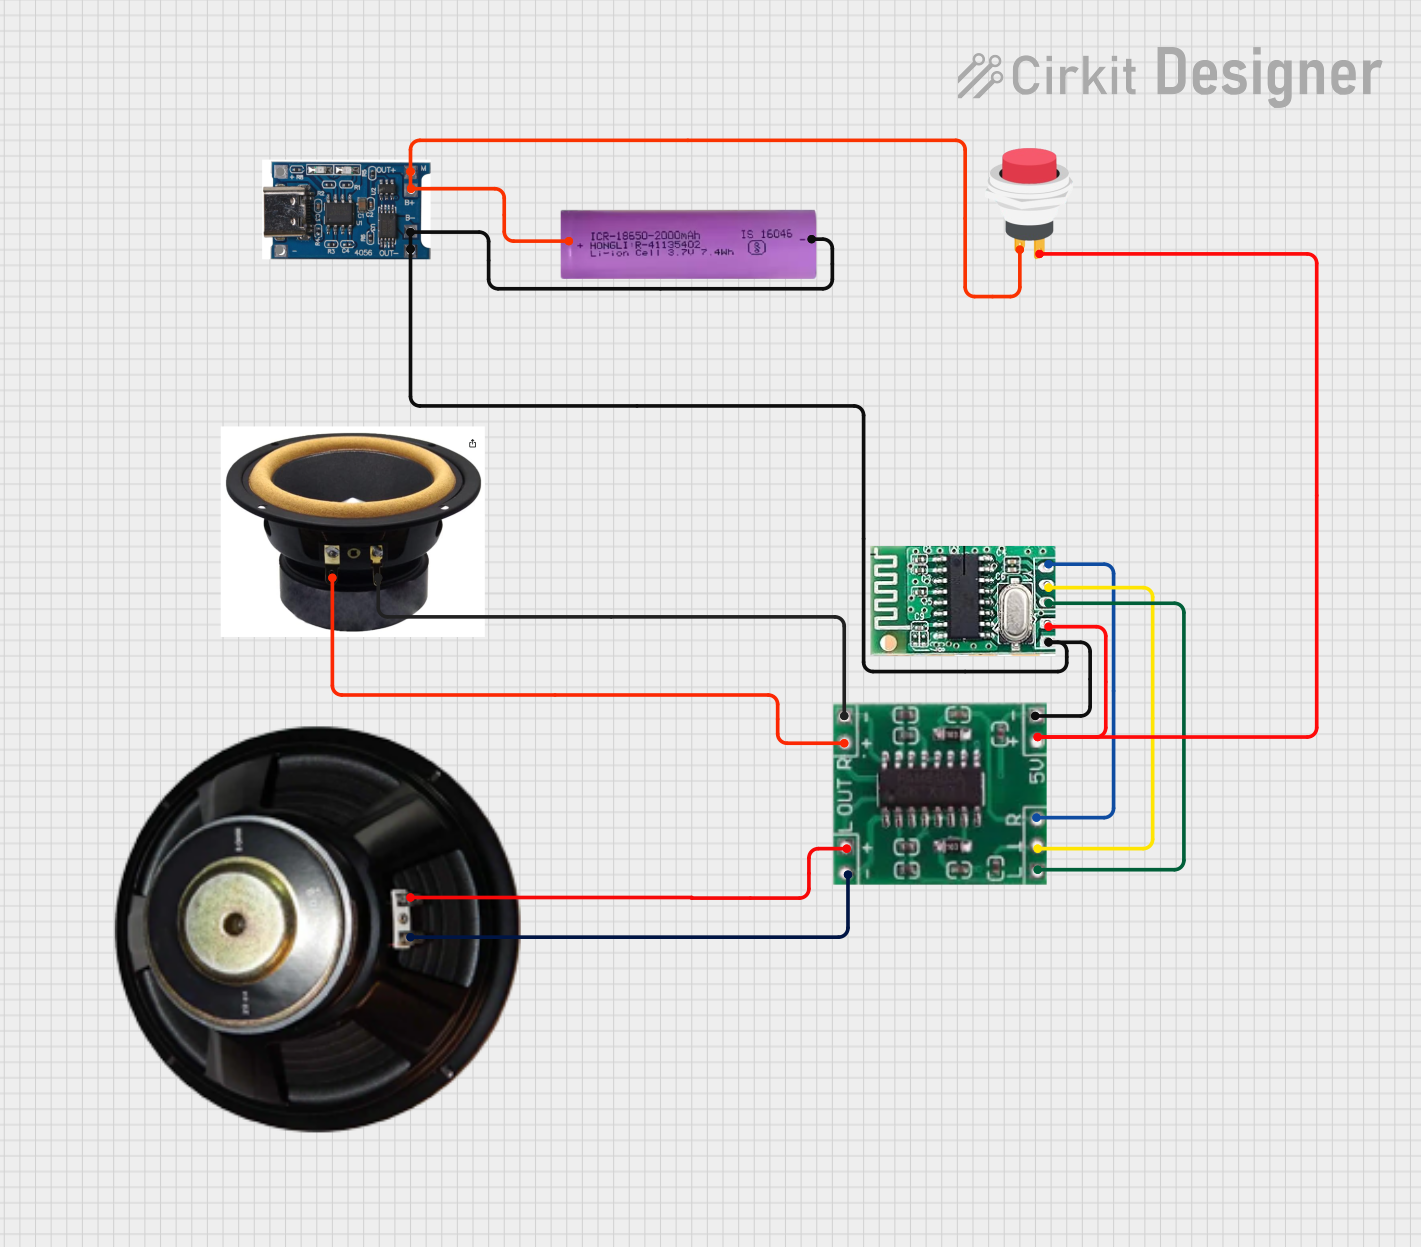 Open Project in Cirkit Designer
 Open Project in Cirkit Designer
Explore Projects Built with KCX_BT_EMITTER
Open Project in Cirkit DesignerOpen Project in Cirkit DesignerOpen Project in Cirkit DesignerOpen Project in Cirkit DesignerCommon Applications and Use Cases
- Wireless audio transmission for speakers and headphones
- Data communication in IoT devices
- Wireless control systems
- Integration into home automation systems
- Bluetooth-enabled DIY electronics projects
Technical Specifications
The KCX_BT_EMITTER module is designed to provide robust performance while maintaining low power consumption. Below are its key technical specifications:
| Parameter | Value |
|---|---|
| Bluetooth Version | 4.2 |
| Operating Voltage | 3.3V to 5V |
| Current Consumption | ≤ 40mA |
| Transmission Distance | Up to 10 meters (line of sight) |
| Communication Protocol | UART |
| Baud Rate | 9600 bps (default) |
| Dimensions | 25mm x 15mm x 3mm |
Pin Configuration and Descriptions
The KCX_BT_EMITTER module has a simple pinout for easy integration into circuits. Below is the pin configuration:
| Pin | Name | Description |
|---|---|---|
| 1 | VCC | Power supply input (3.3V to 5V) |
| 2 | GND | Ground connection |
| 3 | TXD | UART Transmit pin (connect to RX of microcontroller) |
| 4 | RXD | UART Receive pin (connect to TX of microcontroller) |
| 5 | EN | Enable pin (active HIGH to enable the module) |
Usage Instructions
How to Use the KCX_BT_EMITTER in a Circuit
- Power the Module: Connect the
VCCpin to a 3.3V or 5V power source and theGNDpin to ground. - Connect UART Pins:
- Connect the
TXDpin of the module to theRXpin of your microcontroller. - Connect the
RXDpin of the module to theTXpin of your microcontroller.
- Connect the
- Enable the Module: Set the
ENpin HIGH to activate the module. - Pairing: The module will automatically enter pairing mode when powered on. Use a Bluetooth-enabled device to search for and pair with the module.
- Data Transmission: Once paired, the module can transmit data received via UART to the connected Bluetooth device.
Important Considerations and Best Practices
- Ensure the operating voltage does not exceed 5V to avoid damaging the module.
- Use a level shifter if interfacing with a 5V microcontroller to protect the module's UART pins.
- Maintain a clear line of sight for optimal transmission distance.
- Avoid placing the module near sources of electromagnetic interference (EMI) to ensure stable communication.
Example: Connecting KCX_BT_EMITTER to Arduino UNO
Below is an example of how to connect and use the KCX_BT_EMITTER module with an Arduino UNO:
Circuit Connections
VCC→ 5V on ArduinoGND→ GND on ArduinoTXD→ Pin 10 on Arduino (configured as RX in software)RXD→ Pin 11 on Arduino (configured as TX in software)EN→ 5V on Arduino
Arduino Code
#include <SoftwareSerial.h>

// Define RX and TX pins for SoftwareSerial
SoftwareSerial BTSerial(10, 11); // RX = Pin 10, TX = Pin 11

void setup() {
  // Initialize serial communication with the Bluetooth module
  BTSerial.begin(9600); // Default baud rate for KCX_BT_EMITTER
  Serial.begin(9600);   // Serial monitor for debugging

  Serial.println("KCX_BT_EMITTER is ready for communication.");
}

void loop() {
  // Check if data is received from the Bluetooth module
  if (BTSerial.available()) {
    char received = BTSerial.read(); // Read the received data
    Serial.print("Received: ");
    Serial.println(received);        // Print the data to Serial Monitor
  }

  // Check if data is sent from the Serial Monitor
  if (Serial.available()) {
    char toSend = Serial.read();     // Read the data from Serial Monitor
    BTSerial.write(toSend);          // Send the data to the Bluetooth module
    Serial.print("Sent: ");
    Serial.println(toSend);          // Print the sent data to Serial Monitor
  }
}
Troubleshooting and FAQs
Common Issues and Solutions
Module Not Powering On
- Cause: Incorrect power supply voltage.
- Solution: Ensure the
VCCpin is connected to a 3.3V or 5V power source.
Unable to Pair with Bluetooth Device
- Cause: Module not in pairing mode or interference.
- Solution: Verify the
ENpin is HIGH and ensure no other devices are interfering with the signal.
Data Transmission Issues
- Cause: Incorrect UART connections or mismatched baud rate.
- Solution: Double-check the
TXDandRXDconnections and ensure the baud rate is set to 9600 bps.
Short Transmission Range
- Cause: Physical obstructions or EMI.
- Solution: Ensure a clear line of sight and minimize interference from other electronic devices.
FAQs
Q1: Can the KCX_BT_EMITTER module be used with a 5V microcontroller?
A1: Yes, but it is recommended to use a level shifter for the UART pins to avoid potential damage.
Q2: How do I reset the module?
A2: Power cycle the module by disconnecting and reconnecting the VCC pin.
Q3: Can the module transmit audio data?
A3: No, the KCX_BT_EMITTER is designed for UART-based data transmission, not audio streaming.
Q4: What is the default pairing name of the module?
A4: The default pairing name is typically "BT_EMITTER," but this may vary depending on the manufacturer. Check the module's datasheet for confirmation.