
How to Use Micro servo 9G: Examples, Pinouts, and Specs
 Design with Micro servo 9G in Cirkit Designer
Introduction
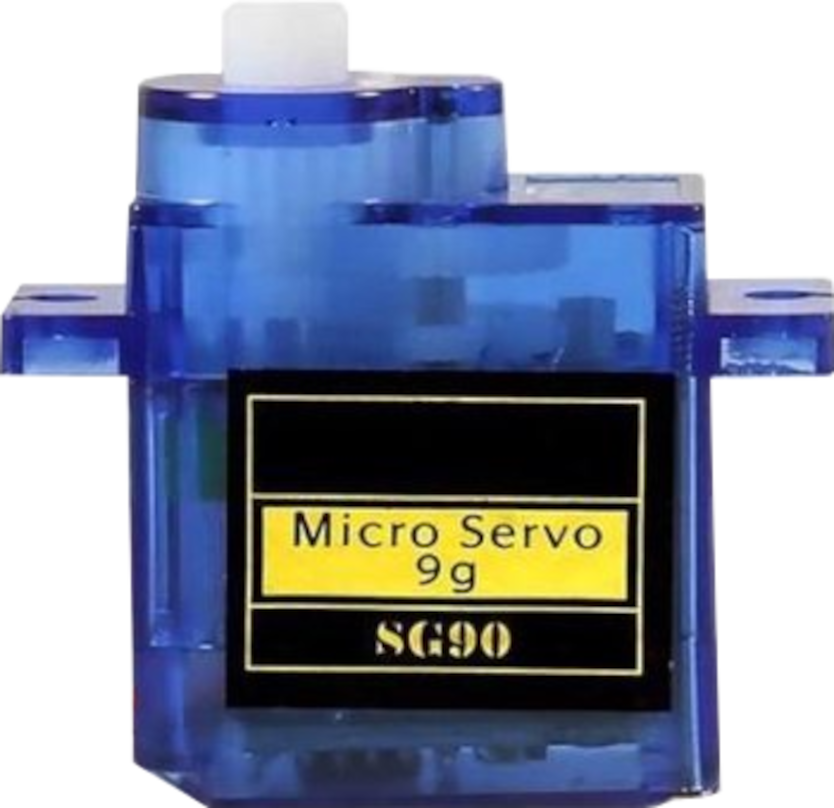
The Micro Servo 9G (SG90), manufactured by AZDelivery, is a small and lightweight servo motor designed for applications requiring precise angular position control. With its compact size and ease of use, the SG90 is a popular choice for robotics, RC vehicles, and hobby electronics projects. It operates within a typical range of 0° to 180°, making it ideal for tasks such as controlling robotic arms, steering mechanisms, or pan-tilt camera mounts.
Explore Projects Built with Micro servo 9G
 Open Project in Cirkit Designer
 Open Project in Cirkit Designer
 Open Project in Cirkit Designer
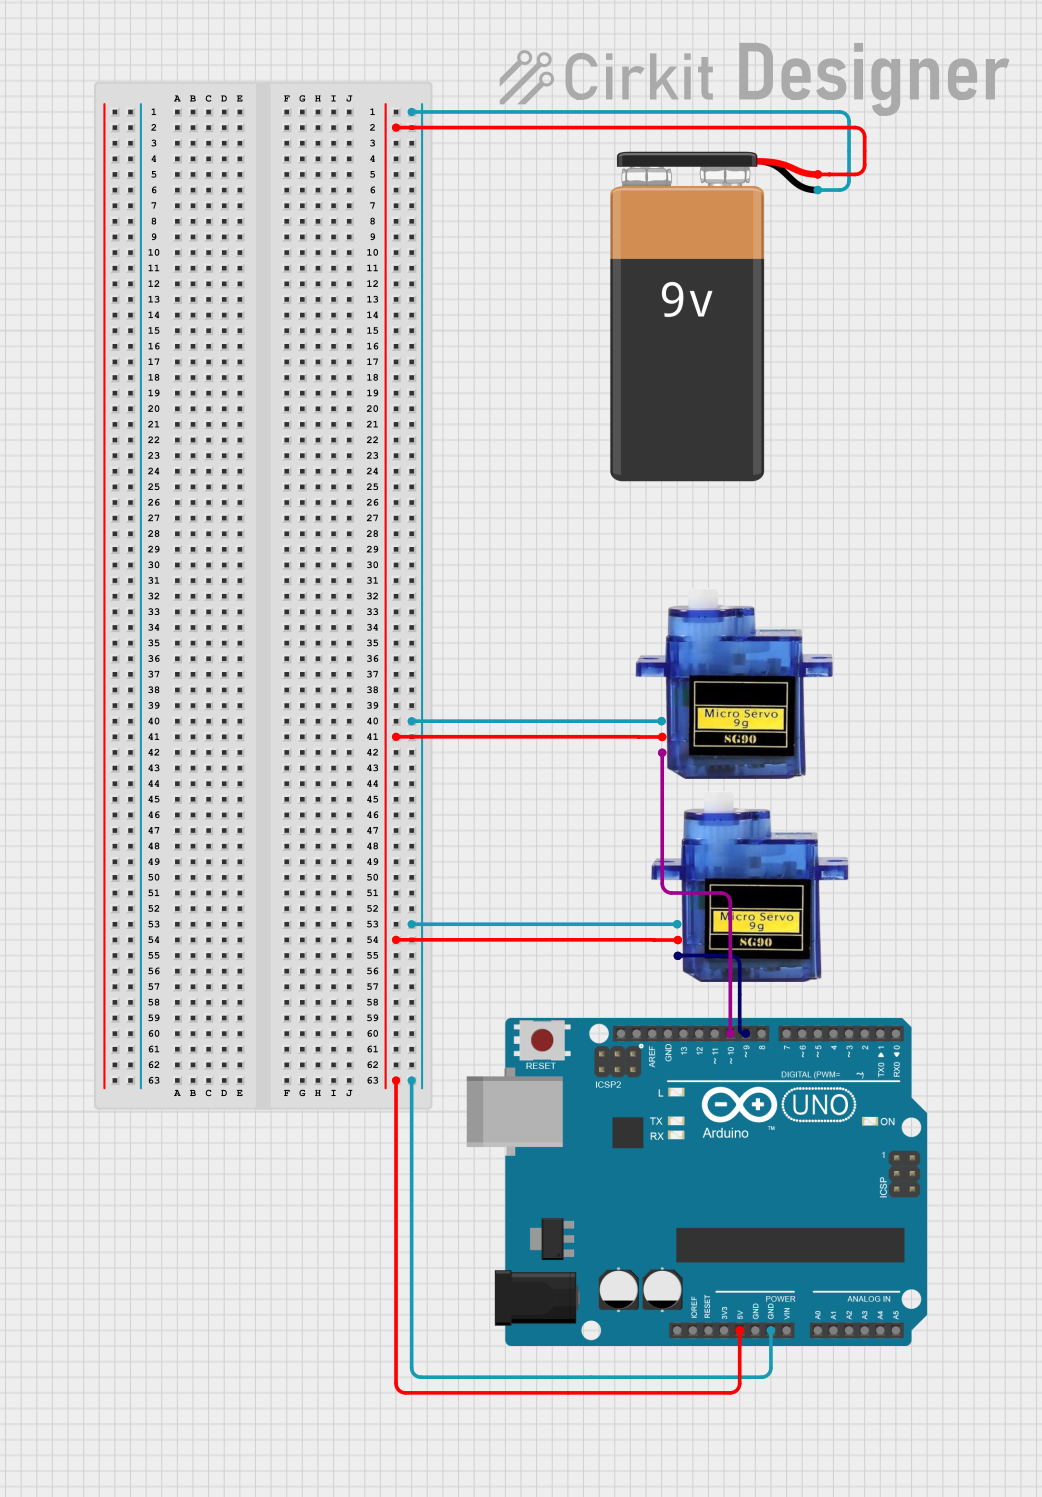 Open Project in Cirkit Designer
Explore Projects Built with Micro servo 9G
Open Project in Cirkit DesignerOpen Project in Cirkit DesignerOpen Project in Cirkit DesignerOpen Project in Cirkit DesignerCommon Applications:
- Robotics (e.g., robotic arms, grippers)
- RC vehicles (e.g., steering systems)
- Pan-tilt camera systems
- Automated mechanisms in hobby projects
- Educational electronics and prototyping
Technical Specifications
The following table outlines the key technical details of the SG90 Micro Servo:
| Parameter | Value |
|---|---|
| Manufacturer | AZDelivery |
| Part ID | SG90 |
| Operating Voltage | 4.8V to 6.0V |
| Stall Torque | 1.8 kg·cm (at 4.8V) |
| Operating Speed | 0.12 s/60° (at 4.8V) |
| Control Signal | PWM (Pulse Width Modulation) |
| PWM Pulse Range | 500 µs to 2400 µs |
| Angle Range | 0° to 180° |
| Weight | 9 grams |
| Dimensions | 22.2 x 11.8 x 31 mm |
Pin Configuration
The SG90 Micro Servo has a 3-pin connector for interfacing with a microcontroller or power source. The pinout is as follows:
| Pin | Wire Color | Function |
|---|---|---|
| 1 | Brown | Ground (GND) |
| 2 | Red | Power (VCC, 4.8V–6.0V) |
| 3 | Orange | Signal (PWM Input) |
Usage Instructions
Connecting the SG90 Micro Servo
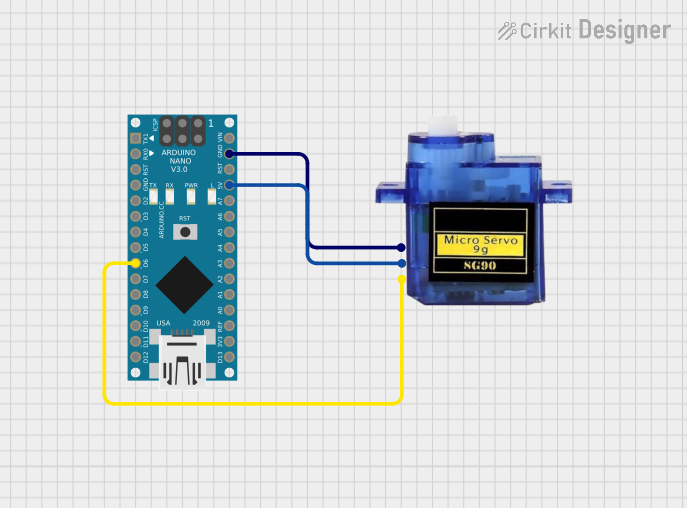
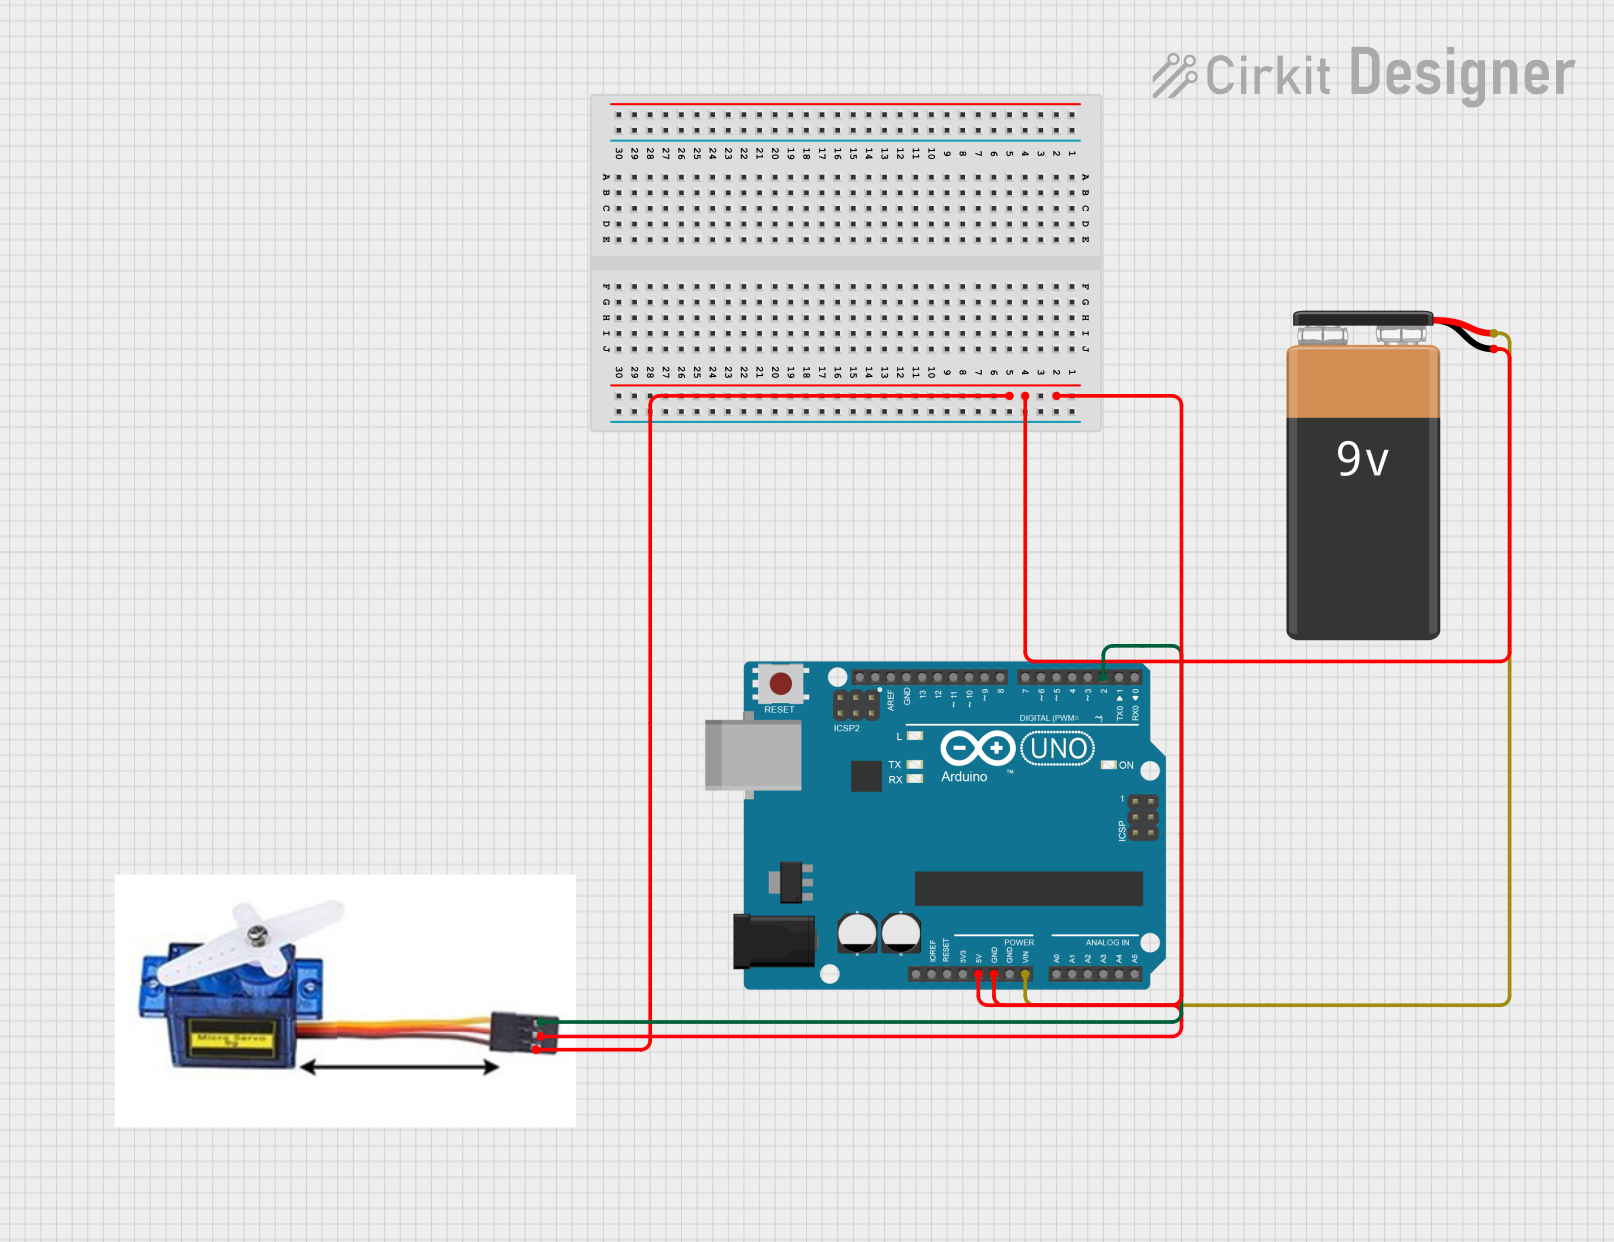
- Power Supply: Connect the red wire to a 5V power source and the brown wire to ground (GND). Ensure the power supply can provide sufficient current (at least 500 mA) to avoid voltage drops.
- Signal Input: Connect the orange wire to a PWM-capable pin on your microcontroller (e.g., Arduino UNO pin 9 or 10).
- PWM Signal: Use a PWM signal with a pulse width between 500 µs (0°) and 2400 µs (180°). A pulse width of 1500 µs corresponds to the neutral position (90°).
Example: Using the SG90 with Arduino UNO
Below is an example Arduino sketch to control the SG90 Micro Servo:
#include <Servo.h> // Include the Servo library

Servo myServo; // Create a Servo object

void setup() {
  myServo.attach(9); // Attach the servo to pin 9
}

void loop() {
  myServo.write(0); // Move servo to 0 degrees
  delay(1000);      // Wait for 1 second

  myServo.write(90); // Move servo to 90 degrees
  delay(1000);       // Wait for 1 second

  myServo.write(180); // Move servo to 180 degrees
  delay(1000);        // Wait for 1 second
}
Best Practices:
- Avoid Overloading: Do not exceed the torque rating of 1.8 kg·cm to prevent damage.
- Stable Power Supply: Use a dedicated power source for the servo to avoid voltage fluctuations that may affect other components.
- PWM Frequency: Ensure the PWM signal frequency is approximately 50 Hz (20 ms period).
- Mechanical Limits: Avoid forcing the servo beyond its physical range (0°–180°) to prevent damage to the internal gears.
Troubleshooting and FAQs
Common Issues and Solutions
Servo Not Moving:
- Cause: Incorrect wiring or insufficient power supply.
- Solution: Verify the connections and ensure the power supply provides at least 4.8V and 500 mA.
Servo Jittering or Vibrating:
- Cause: Unstable PWM signal or noisy power supply.
- Solution: Use a decoupling capacitor (e.g., 100 µF) across the power lines and ensure the PWM signal is stable.
Servo Overheating:
- Cause: Prolonged operation under high torque or stalled condition.
- Solution: Reduce the load on the servo and avoid stalling it for extended periods.
Limited Range of Motion:
- Cause: Incorrect PWM pulse width or mechanical obstruction.
- Solution: Verify the PWM pulse width is within the 500 µs to 2400 µs range and check for physical obstructions.
FAQs
Q: Can I power the SG90 directly from an Arduino UNO?
A: While it is possible, it is not recommended for prolonged use, as the Arduino's 5V pin may not provide sufficient current for the servo under load. Use an external power source for best results.
Q: What is the lifespan of the SG90 servo?
A: The lifespan depends on usage conditions, but with proper care (avoiding overloads and overheating), it can last for hundreds of hours of operation.
Q: Can the SG90 rotate continuously?
A: No, the SG90 is a positional servo with a range of 0° to 180°. For continuous rotation, consider using a continuous rotation servo.
Q: How do I control multiple SG90 servos with an Arduino?
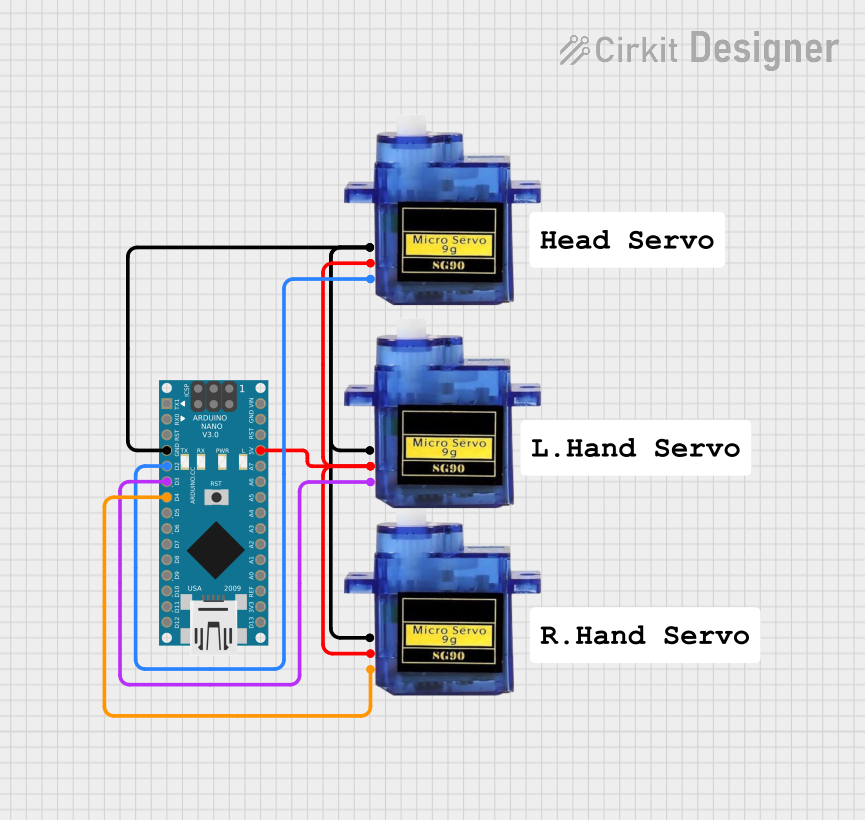
A: Use the Servo library to create multiple Servo objects and attach each to a separate PWM-capable pin. Ensure your power supply can handle the combined current draw of all servos.
By following this documentation, you can effectively integrate the SG90 Micro Servo into your projects and troubleshoot common issues with ease.