
How to Use Terminal Block: Examples, Pinouts, and Specs
 Design with Terminal Block in Cirkit Designer
Introduction
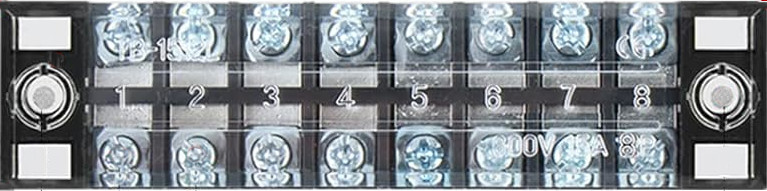
A terminal block is a modular, insulated block designed to secure two or more wires together. It provides a convenient and reliable way to connect and disconnect electrical circuits, ensuring safe and organized wiring. Terminal blocks are widely used in electrical and electronic systems due to their simplicity, durability, and versatility.
Explore Projects Built with Terminal Block
 Open Project in Cirkit Designer
 Open Project in Cirkit Designer
 Open Project in Cirkit Designer
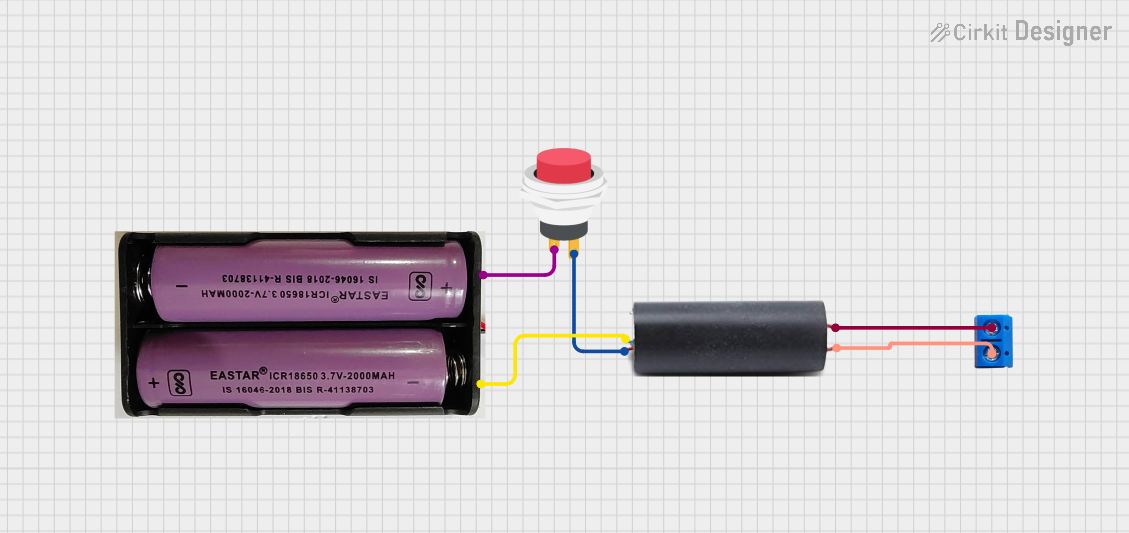 Open Project in Cirkit Designer
Explore Projects Built with Terminal Block
Open Project in Cirkit DesignerOpen Project in Cirkit DesignerOpen Project in Cirkit DesignerOpen Project in Cirkit DesignerCommon Applications and Use Cases
- Industrial control panels and automation systems
- Power distribution in electrical systems
- Connecting sensors, actuators, and other devices in circuits
- PCB-mounted terminal blocks for compact electronic designs
- Temporary or permanent wiring in prototyping and testing setups
Technical Specifications
Key Technical Details
- Voltage Rating: Typically ranges from 12V to 600V, depending on the model
- Current Rating: Commonly between 5A and 150A
- Wire Gauge Compatibility: Supports wire sizes from 26 AWG to 2 AWG
- Insulation Material: Commonly made of polyamide, thermoplastic, or other flame-retardant materials
- Mounting Options: DIN rail, PCB mount, or panel mount
- Connection Type: Screw terminals, spring clamps, or push-in connections
- Operating Temperature: -40°C to +105°C (varies by model)
Pin Configuration and Descriptions
Terminal blocks do not have "pins" in the traditional sense but instead feature connection points for wires. Below is a table describing the key parts of a typical terminal block:
| Part | Description |
|---|---|
| Terminal Slots | Openings where wires are inserted and secured. |
| Screw or Clamp Mechanism | Secures the wire in place, ensuring a reliable electrical connection. |
| Insulation Barrier | Prevents short circuits by separating adjacent terminals. |
| Mounting Base | Provides a secure way to attach the terminal block to a panel, PCB, or DIN rail. |
| Labeling Area | Space for marking or labeling connections for easy identification. |
Usage Instructions
How to Use the Component in a Circuit
- Select the Appropriate Terminal Block: Choose a terminal block that matches the voltage, current, and wire gauge requirements of your circuit.
- Prepare the Wires:
- Strip the insulation from the wire ends (typically 5-10mm, depending on the terminal block).
- Ensure the wire ends are clean and free of frayed strands.
- Insert the Wires:
- Open the terminal slot by loosening the screw or pressing the clamp mechanism.
- Insert the stripped wire end into the terminal slot.
- Secure the Connection:
- Tighten the screw or release the clamp to secure the wire in place.
- Ensure the wire is firmly held and does not pull out easily.
- Test the Connection:
- Use a multimeter to verify continuity and ensure a proper electrical connection.
Important Considerations and Best Practices
- Avoid Over-Tightening: Over-tightening screws can damage the wire or the terminal block.
- Use Proper Wire Gauge: Ensure the wire gauge matches the terminal block's specifications to avoid loose connections or overheating.
- Label Connections: Use the labeling area to mark connections for easier troubleshooting and maintenance.
- Inspect Regularly: Periodically check connections for signs of wear, corrosion, or loosening.
- Use Ferrules for Stranded Wires: When using stranded wires, consider crimping ferrules onto the wire ends for a more secure connection.
Example: Connecting a Terminal Block to an Arduino UNO
Terminal blocks can be used to connect external components, such as sensors or motors, to an Arduino UNO. Below is an example of wiring a terminal block to an LED circuit controlled by an Arduino:
Circuit Description
- The terminal block connects the Arduino's digital output pin to an LED and a resistor.
- This setup allows for easy disconnection and reconnection of the LED circuit.
Code Example
// Arduino code to blink an LED connected via a terminal block

const int ledPin = 8; // Digital pin connected to the LED via the terminal block

void setup() {
  pinMode(ledPin, OUTPUT); // Set the LED pin as an output
}

void loop() {
  digitalWrite(ledPin, HIGH); // Turn the LED on
  delay(1000);               // Wait for 1 second
  digitalWrite(ledPin, LOW);  // Turn the LED off
  delay(1000);               // Wait for 1 second
}
Troubleshooting and FAQs
Common Issues Users Might Face
Loose Connections:
- Cause: Insufficient tightening of screws or improper wire insertion.
- Solution: Reinsert the wire and ensure the screw or clamp is securely tightened.
Overheating:
- Cause: Using a wire gauge or current rating that exceeds the terminal block's specifications.
- Solution: Verify the wire gauge and current rating compatibility with the terminal block.
Corrosion or Oxidation:
- Cause: Exposure to moisture or harsh environmental conditions.
- Solution: Use terminal blocks with corrosion-resistant materials or apply protective coatings.
Wire Slipping Out:
- Cause: Stranded wires without ferrules or improper securing.
- Solution: Use ferrules for stranded wires and ensure proper tightening.
FAQs
Q: Can terminal blocks handle high-frequency signals?
A: Yes, terminal blocks can handle high-frequency signals, but ensure the block is designed for low-resistance and low-capacitance connections to minimize signal loss.
Q: Are terminal blocks reusable?
A: Yes, terminal blocks are reusable. However, ensure the screws or clamps remain in good condition after repeated use.
Q: Can I use terminal blocks for AC and DC circuits?
A: Yes, terminal blocks are suitable for both AC and DC circuits, provided they meet the voltage and current requirements of the application.
Q: How do I choose between screw and spring-clamp terminal blocks?
A: Screw terminal blocks are ideal for permanent connections, while spring-clamp terminal blocks are better for quick and frequent connections.