
How to Use Adafruit Circuit Playground E-Ink Gizmo: Examples, Pinouts, and Specs
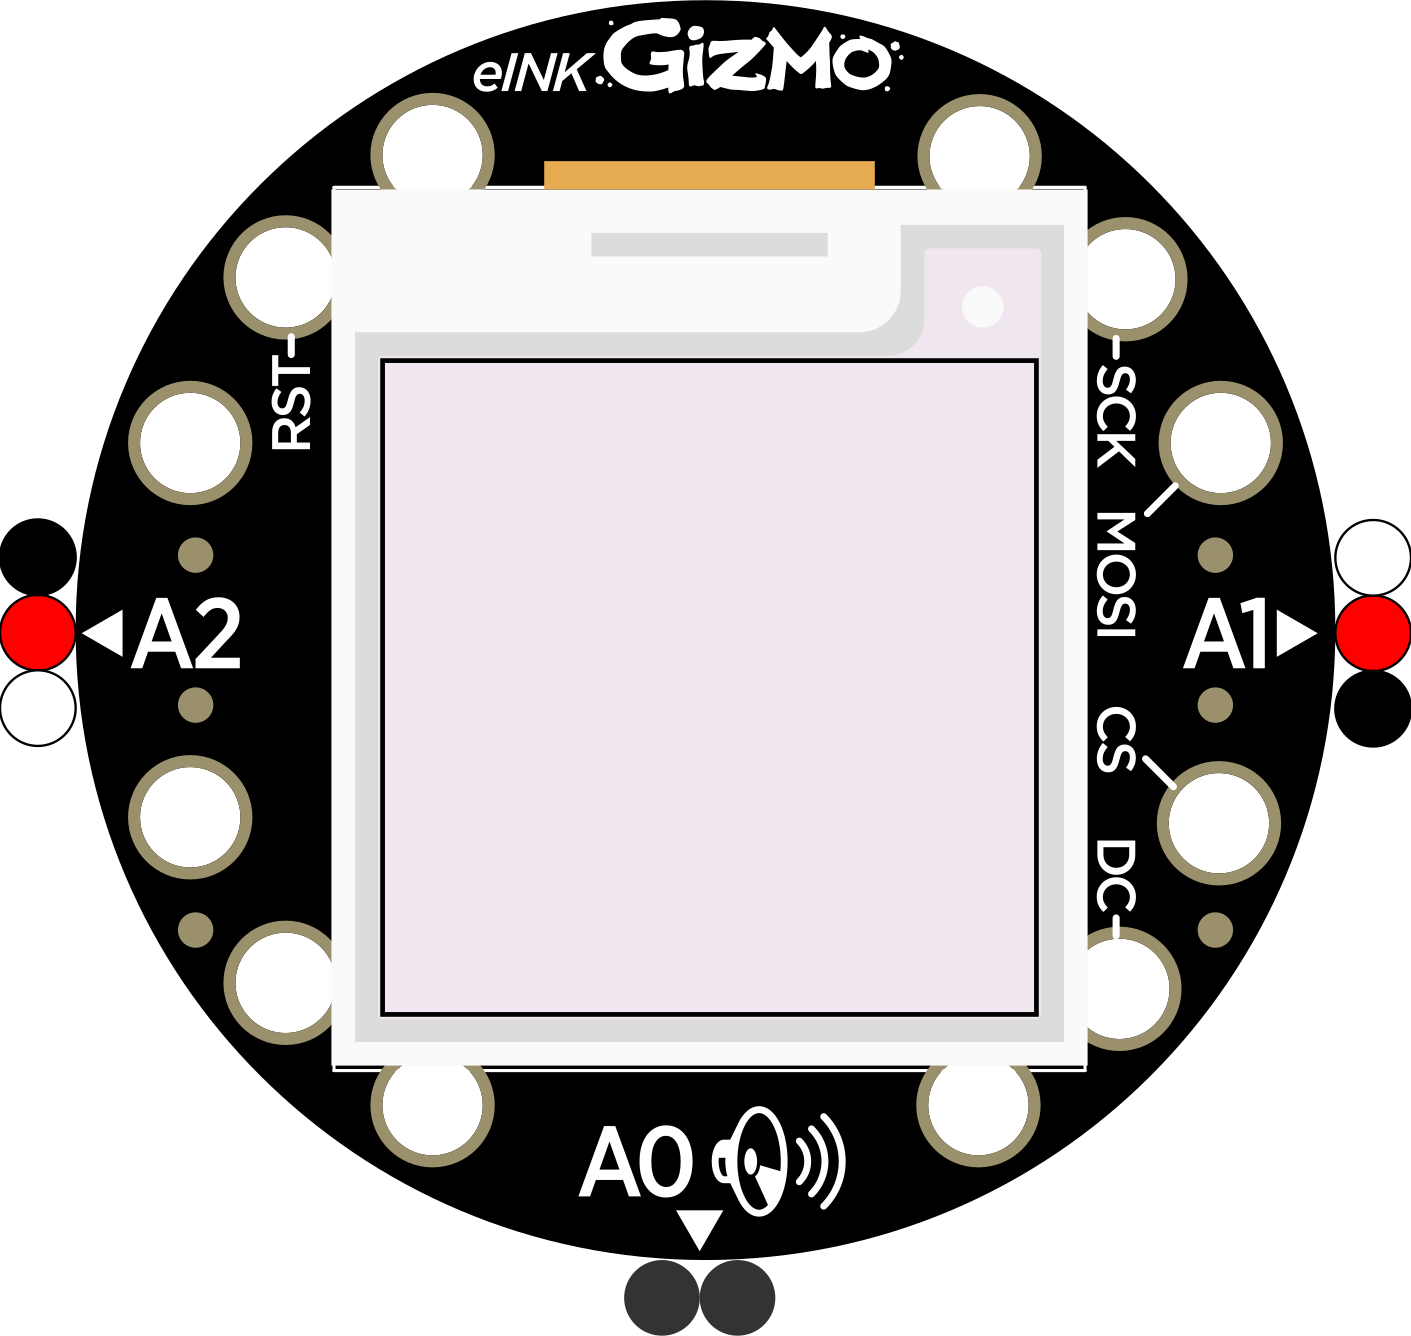
 Design with Adafruit Circuit Playground E-Ink Gizmo in Cirkit Designer
Introduction
The Adafruit Circuit Playground E-Ink Gizmo (Manufacturer Part ID: 4428) is a versatile add-on board designed to work seamlessly with the Adafruit Circuit Playground Express or Circuit Playground Bluefruit. It features a low-power, high-contrast E-Ink display, making it ideal for creating interactive displays, educational projects, and low-power IoT applications. The E-Ink Gizmo is perfect for projects that require persistent, easy-to-read visuals without continuous power consumption.
Explore Projects Built with Adafruit Circuit Playground E-Ink Gizmo
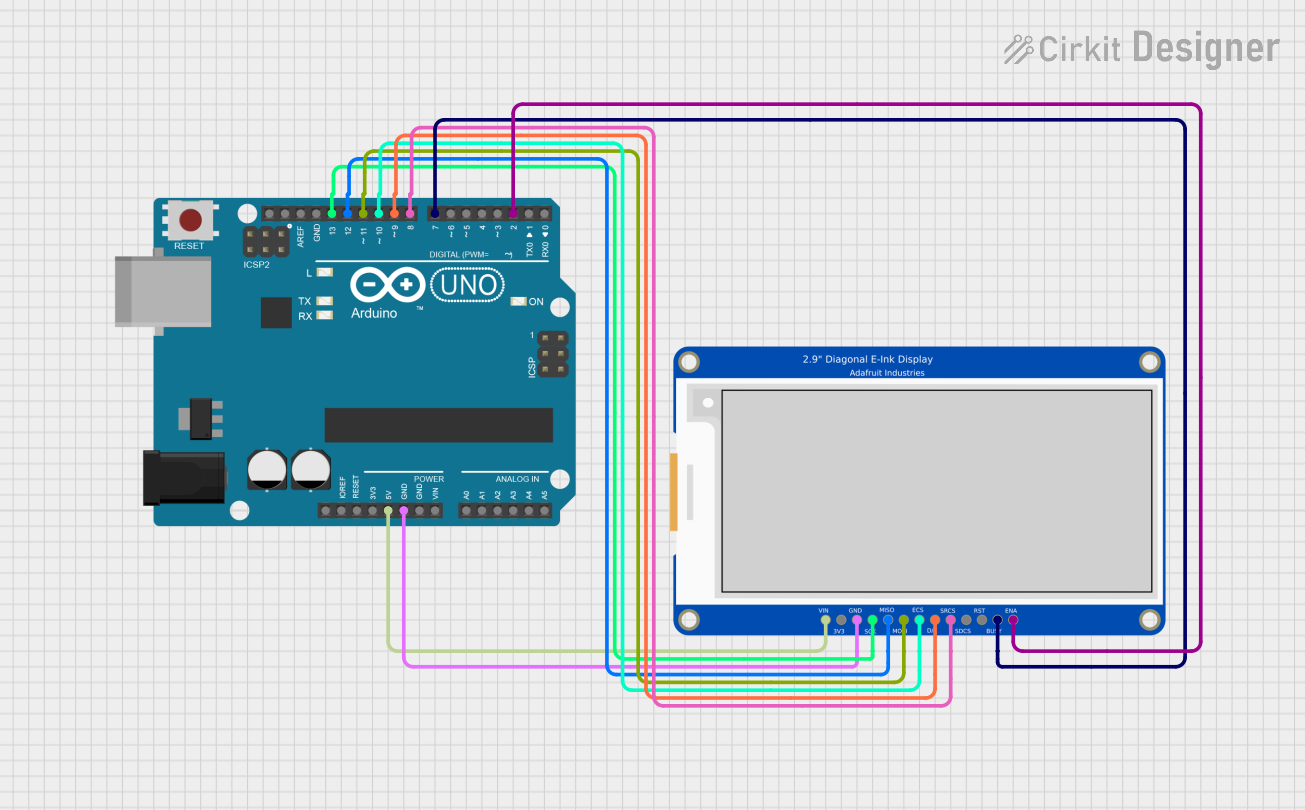 Open Project in Cirkit Designer
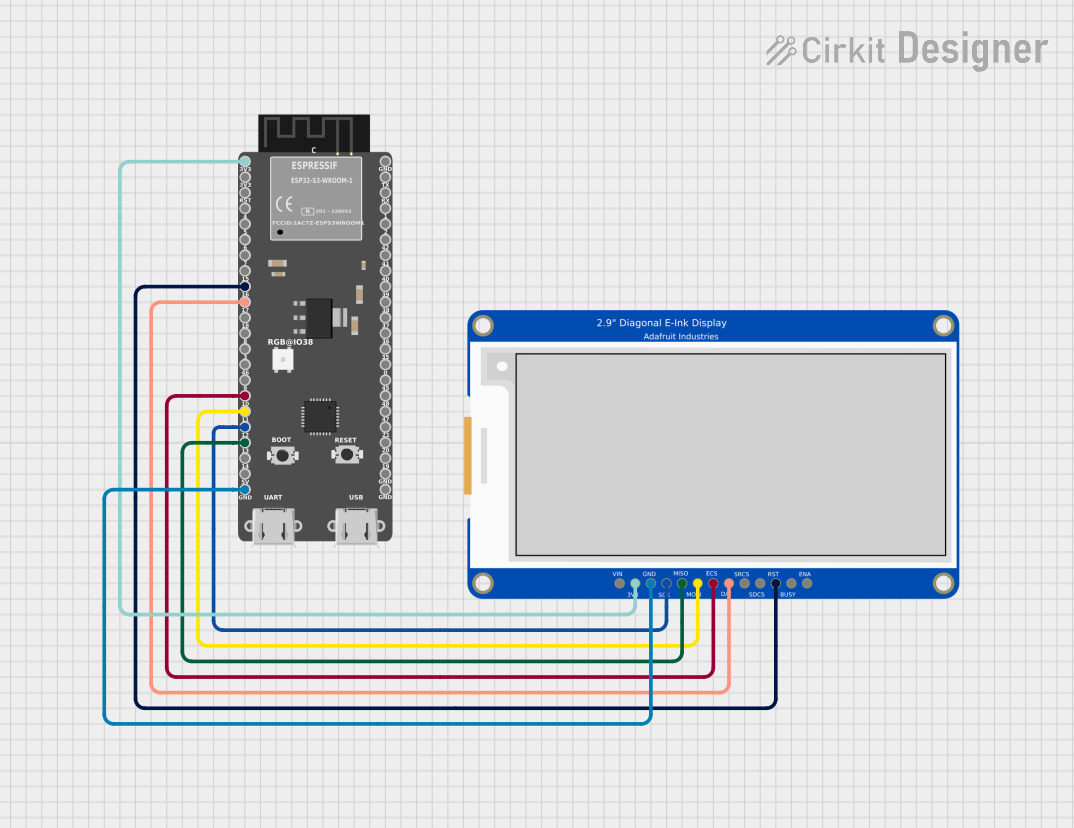 Open Project in Cirkit Designer
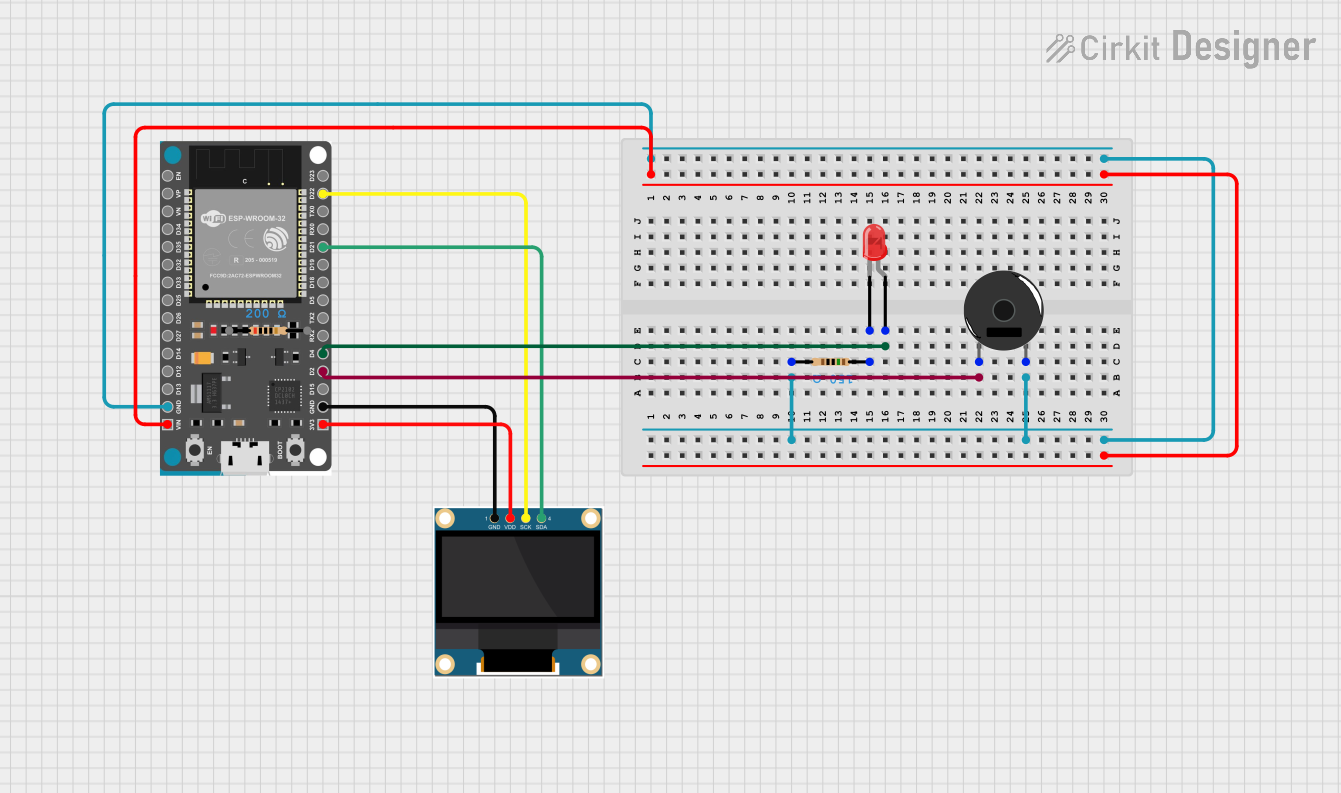 Open Project in Cirkit Designer
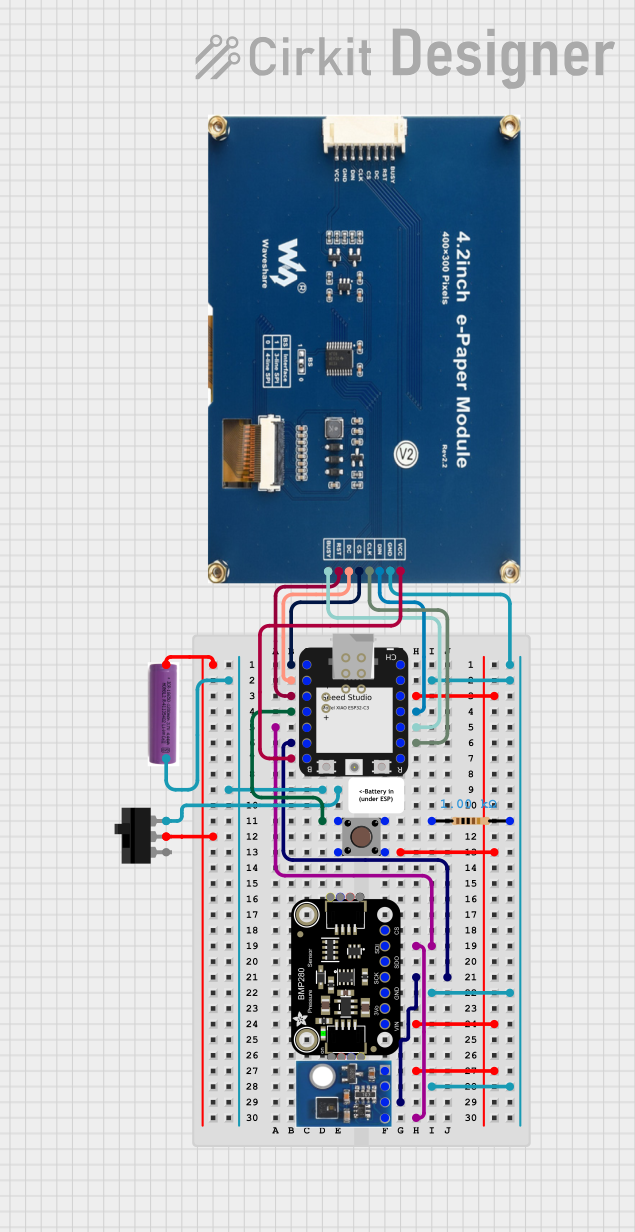 Open Project in Cirkit Designer
Explore Projects Built with Adafruit Circuit Playground E-Ink Gizmo
Open Project in Cirkit DesignerOpen Project in Cirkit DesignerOpen Project in Cirkit DesignerOpen Project in Cirkit DesignerCommon Applications and Use Cases
- Educational tools and interactive learning projects
- Low-power IoT displays
- Digital signage and name badges
- Prototyping with E-Ink technology
- Persistent data displays (e.g., clocks, weather updates, or to-do lists)
Technical Specifications
The following table outlines the key technical details of the Adafruit Circuit Playground E-Ink Gizmo:
| Specification | Details |
|---|---|
| Manufacturer | Adafruit |
| Part ID | 4428 |
| Display Type | E-Ink (Electronic Paper Display) |
| Display Size | 1.54 inches diagonal |
| Resolution | 200 x 200 pixels |
| Color | Black and White |
| Interface | SPI (Serial Peripheral Interface) |
| Power Supply Voltage | 3.3V (powered via Circuit Playground) |
| Current Consumption | ~15mA during updates, negligible when idle |
| Dimensions | 50mm x 50mm x 6mm |
| Weight | 10g |
Pin Configuration and Descriptions
The E-Ink Gizmo connects directly to the Circuit Playground via a 7-pin connector. Below is the pin configuration:
| Pin | Name | Description |
|---|---|---|
| 1 | 3.3V | Power supply pin (3.3V from Circuit Playground) |
| 2 | GND | Ground connection |
| 3 | MOSI | Master Out Slave In (SPI data line) |
| 4 | SCK | Serial Clock (SPI clock line) |
| 5 | EPD_CS | Chip Select for the E-Ink display |
| 6 | EPD_DC | Data/Command control for the E-Ink display |
| 7 | EPD_RESET | Reset pin for the E-Ink display |
Usage Instructions
How to Use the Component in a Circuit
- Attach the Gizmo to the Circuit Playground: Align the 7-pin connector on the E-Ink Gizmo with the matching connector on the Circuit Playground Express or Bluefruit. Ensure a secure connection.
- Power the Circuit Playground: Use a USB cable or battery pack to power the Circuit Playground. The E-Ink Gizmo will draw power directly from the Circuit Playground.
- Install Required Libraries: Download and install the following libraries in the Arduino IDE or CircuitPython environment:
Adafruit_GFXAdafruit_EPD
- Write and Upload Code: Use the provided example code or write your own to display text, images, or graphics on the E-Ink display.
Important Considerations and Best Practices
- Avoid Frequent Updates: E-Ink displays are designed for static images and text. Frequent updates can reduce the lifespan of the display.
- Handle with Care: The E-Ink display is fragile. Avoid applying pressure or bending the board.
- Power Consumption: The display consumes power only during updates. For battery-powered projects, minimize updates to conserve energy.
- Use Compatible Boards: The E-Ink Gizmo is designed specifically for Adafruit Circuit Playground Express and Bluefruit. It may not work with other boards.
Example Code for Arduino UNO
Below is an example code snippet to display "Hello, World!" on the E-Ink Gizmo using the Arduino IDE:
#include <Adafruit_GFX.h>    // Core graphics library
#include <Adafruit_EPD.h>    // E-Ink display library

// Define E-Ink display pins
#define EPD_CS    5          // Chip Select pin
#define EPD_DC    6          // Data/Command pin
#define EPD_RESET 7          // Reset pin
#define EPD_BUSY  8          // Busy pin

// Initialize the E-Ink display (1.54" 200x200 resolution)
Adafruit_SSD1681 display(200, 200, EPD_CS, EPD_DC, EPD_RESET, EPD_BUSY);

void setup() {
  // Initialize the display
  display.begin();
  display.clearBuffer();     // Clear the display buffer

  // Display "Hello, World!" on the screen
  display.setTextSize(2);    // Set text size
  display.setTextColor(EPD_BLACK); // Set text color
  display.setCursor(10, 10); // Set cursor position
  display.print("Hello, World!");

  display.display();         // Update the display with the buffer content
}

void loop() {
  // No actions needed in the loop for static content
}
Troubleshooting and FAQs
Common Issues Users Might Face
The display does not update:
- Ensure the E-Ink Gizmo is securely connected to the Circuit Playground.
- Verify that the required libraries (
Adafruit_GFXandAdafruit_EPD) are installed. - Check the pin definitions in your code to ensure they match the hardware setup.
The display shows artifacts or incomplete updates:
- Call
display.clearBuffer()before writing new content to the display. - Ensure the power supply is stable and sufficient.
- Call
The display is blank after uploading code:
- Verify that the
display.display()function is called after writing to the buffer. - Check for errors in the serial monitor for debugging information.
- Verify that the
Solutions and Tips for Troubleshooting
- Use Example Code: Start with the example sketches provided in the
Adafruit_EPDlibrary to verify hardware functionality. - Check Connections: Ensure the 7-pin connector is properly aligned and seated.
- Update Libraries: Ensure you are using the latest versions of the required libraries.
- Test Power Supply: If using a battery, ensure it is fully charged and capable of providing sufficient current.
By following this documentation, you can effectively integrate the Adafruit Circuit Playground E-Ink Gizmo into your projects and create stunning, low-power displays!