
How to Use Adafruit MAX44009 Lux Light Sensor: Examples, Pinouts, and Specs
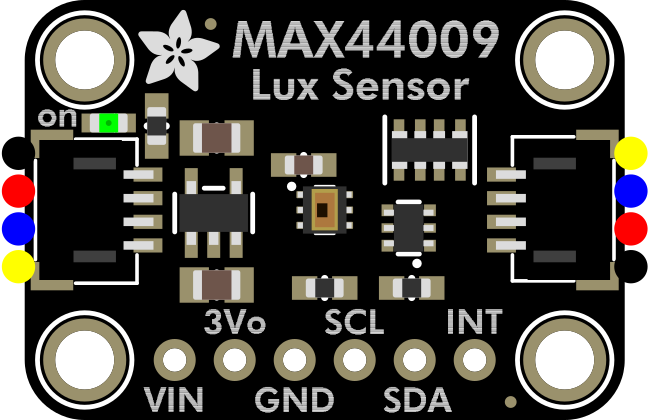
 Design with Adafruit MAX44009 Lux Light Sensor in Cirkit Designer
Introduction
The Adafruit MAX44009 Lux Light Sensor (Part ID: 6498) is a highly sensitive digital light sensor designed to measure ambient light levels in lux. It provides precise and reliable readings, making it ideal for applications such as automatic lighting control, energy-efficient designs, and environmental monitoring. The sensor is compact, low-power, and communicates via the I²C interface, making it easy to integrate into a wide range of projects.
Explore Projects Built with Adafruit MAX44009 Lux Light Sensor
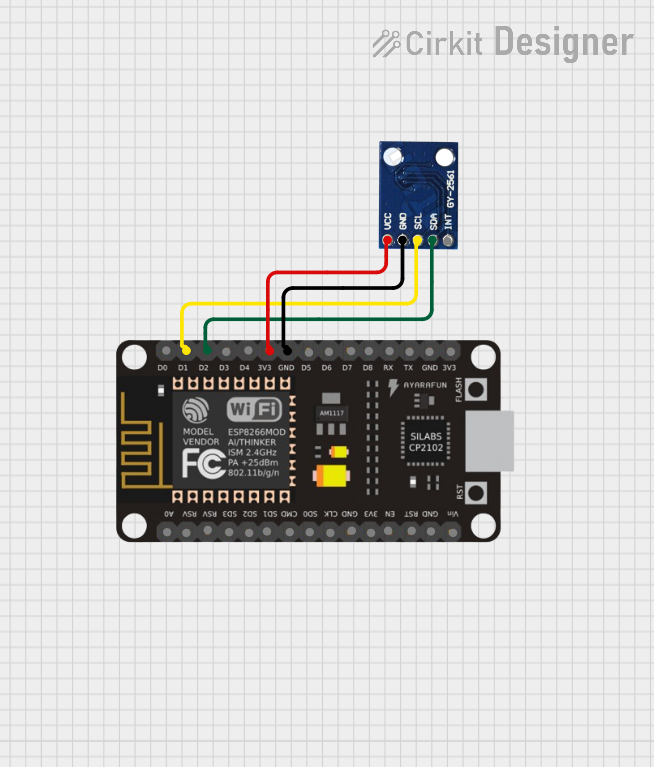 Open Project in Cirkit Designer
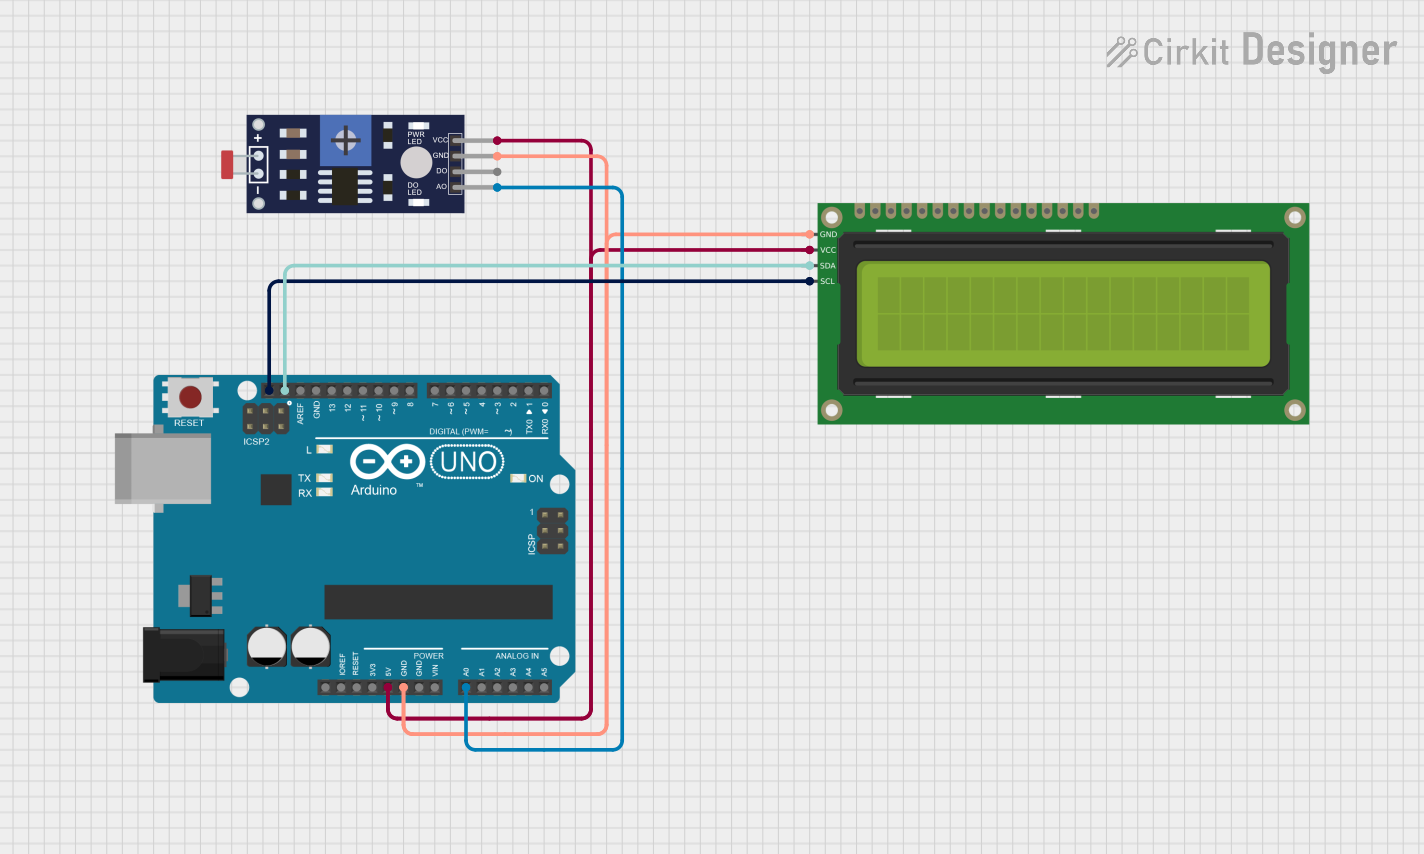 Open Project in Cirkit Designer
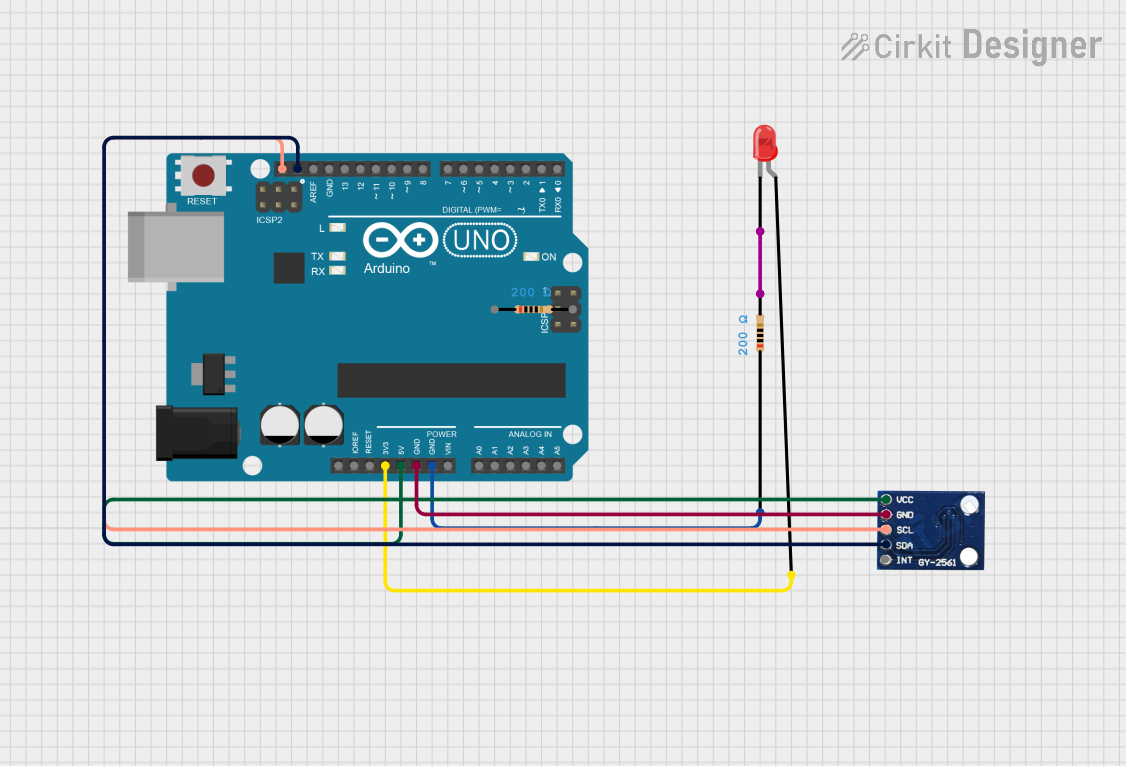 Open Project in Cirkit Designer
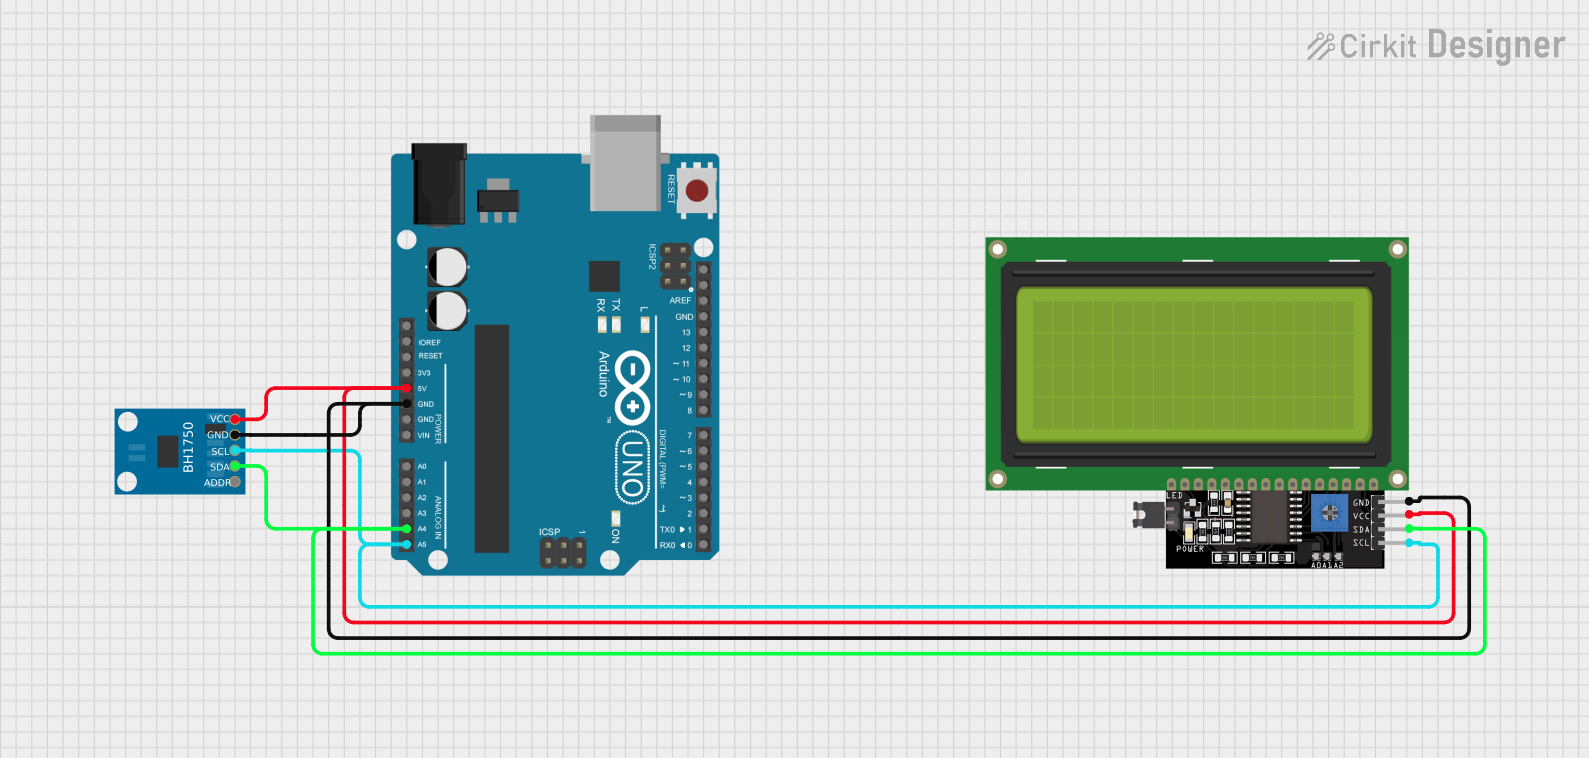 Open Project in Cirkit Designer
Explore Projects Built with Adafruit MAX44009 Lux Light Sensor
Open Project in Cirkit DesignerOpen Project in Cirkit DesignerOpen Project in Cirkit DesignerOpen Project in Cirkit DesignerCommon Applications
- Automatic brightness adjustment for displays
- Smart lighting systems
- Energy-efficient building designs
- Environmental monitoring and data logging
- Wearable devices and IoT applications
Technical Specifications
The Adafruit MAX44009 is designed for precision and ease of use. Below are its key technical details:
| Parameter | Value |
|---|---|
| Operating Voltage | 1.7V to 3.6V |
| Communication Interface | I²C |
| Lux Measurement Range | 0.045 lux to 188,000 lux |
| Operating Temperature | -40°C to +85°C |
| Power Consumption | 1 µA (typical) |
| Addressable I²C Address | 0x4A (default) or 0x4B (optional) |
Pin Configuration
The MAX44009 sensor module has the following pinout:
| Pin | Name | Description |
|---|---|---|
| 1 | VIN | Power supply input (1.7V to 3.6V) |
| 2 | GND | Ground connection |
| 3 | SDA | I²C data line |
| 4 | SCL | I²C clock line |
| 5 | ADDR | I²C address selection (connect to GND or VCC) |
| 6 | INT | Interrupt output (optional, for threshold alerts) |
Usage Instructions
Connecting the MAX44009 to an Arduino UNO
To use the MAX44009 with an Arduino UNO, follow these steps:
- Connect the VIN pin of the sensor to the 3.3V pin on the Arduino.
- Connect the GND pin of the sensor to the GND pin on the Arduino.
- Connect the SDA pin of the sensor to the A4 pin on the Arduino (I²C data line).
- Connect the SCL pin of the sensor to the A5 pin on the Arduino (I²C clock line).
- Optionally, connect the ADDR pin to GND (default address: 0x4A) or VCC (alternate address: 0x4B).
Arduino Code Example
Below is an example Arduino sketch to read lux values from the MAX44009 sensor using the Adafruit MAX44009 library:
#include <Wire.h>
#include <Adafruit_Sensor.h>
#include <Adafruit_MAX44009.h>

// Create an instance of the MAX44009 sensor
Adafruit_MAX44009 luxSensor = Adafruit_MAX44009();

void setup() {
  Serial.begin(9600); // Initialize serial communication at 9600 baud
  while (!Serial) {
    delay(10); // Wait for the serial monitor to open
  }

  // Initialize the MAX44009 sensor
  if (!luxSensor.begin()) {
    Serial.println("Failed to find MAX44009 sensor! Check wiring.");
    while (1) {
      delay(10); // Halt execution if sensor is not detected
    }
  }

  Serial.println("MAX44009 sensor initialized successfully!");
}

void loop() {
  // Read the ambient light level in lux
  float lux = luxSensor.getLux();

  // Print the lux value to the serial monitor
  Serial.print("Ambient Light Level: ");
  Serial.print(lux);
  Serial.println(" lux");

  delay(1000); // Wait 1 second before taking the next reading
}
Important Considerations
- Power Supply: Ensure the sensor is powered within its operating voltage range (1.7V to 3.6V). Using 5V may damage the sensor.
- I²C Pull-Up Resistors: The MAX44009 module typically includes onboard pull-up resistors for the I²C lines. If you experience communication issues, verify the pull-up resistor configuration.
- Interrupt Pin: The INT pin can be used for threshold-based alerts. This is optional and requires additional configuration.
Troubleshooting and FAQs
Common Issues
Sensor Not Detected
- Cause: Incorrect wiring or I²C address mismatch.
- Solution: Double-check the wiring and ensure the ADDR pin is configured correctly. Use an I²C scanner sketch to verify the sensor's address.
Incorrect Lux Readings
- Cause: Ambient light interference or incorrect placement.
- Solution: Ensure the sensor is not obstructed and is placed in an area with consistent lighting conditions.
Arduino Freezes or Crashes
- Cause: I²C communication issues.
- Solution: Verify the pull-up resistors on the I²C lines and ensure proper connections.
FAQs
Q: Can the MAX44009 measure light levels in complete darkness?
A: The sensor has a minimum detection limit of 0.045 lux, so it cannot measure absolute darkness but is highly sensitive to low light levels.
Q: Can I use the MAX44009 with a 5V microcontroller?
A: Yes, but you must use a logic level shifter to step down the I²C signals to 3.3V to avoid damaging the sensor.
Q: How do I change the I²C address of the sensor?
A: Connect the ADDR pin to GND for the default address (0x4A) or to VCC for the alternate address (0x4B).
By following this documentation, you can effectively integrate the Adafruit MAX44009 Lux Light Sensor into your projects for precise ambient light measurement.