How to Use 12V Battery: Examples, Pinouts, and Specs
Introduction
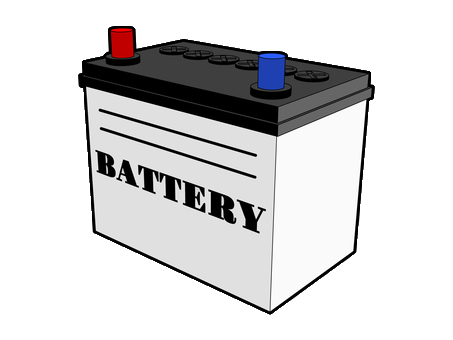
A 12V battery is an electrochemical device that provides electrical energy at 12 volts, which is commonly used to power a wide range of electronic circuits and devices. These batteries are essential in automotive applications, backup power systems, portable electronics, and as a power source for hobbyist projects, including those involving Arduino boards.
Explore Projects Built with 12V Battery


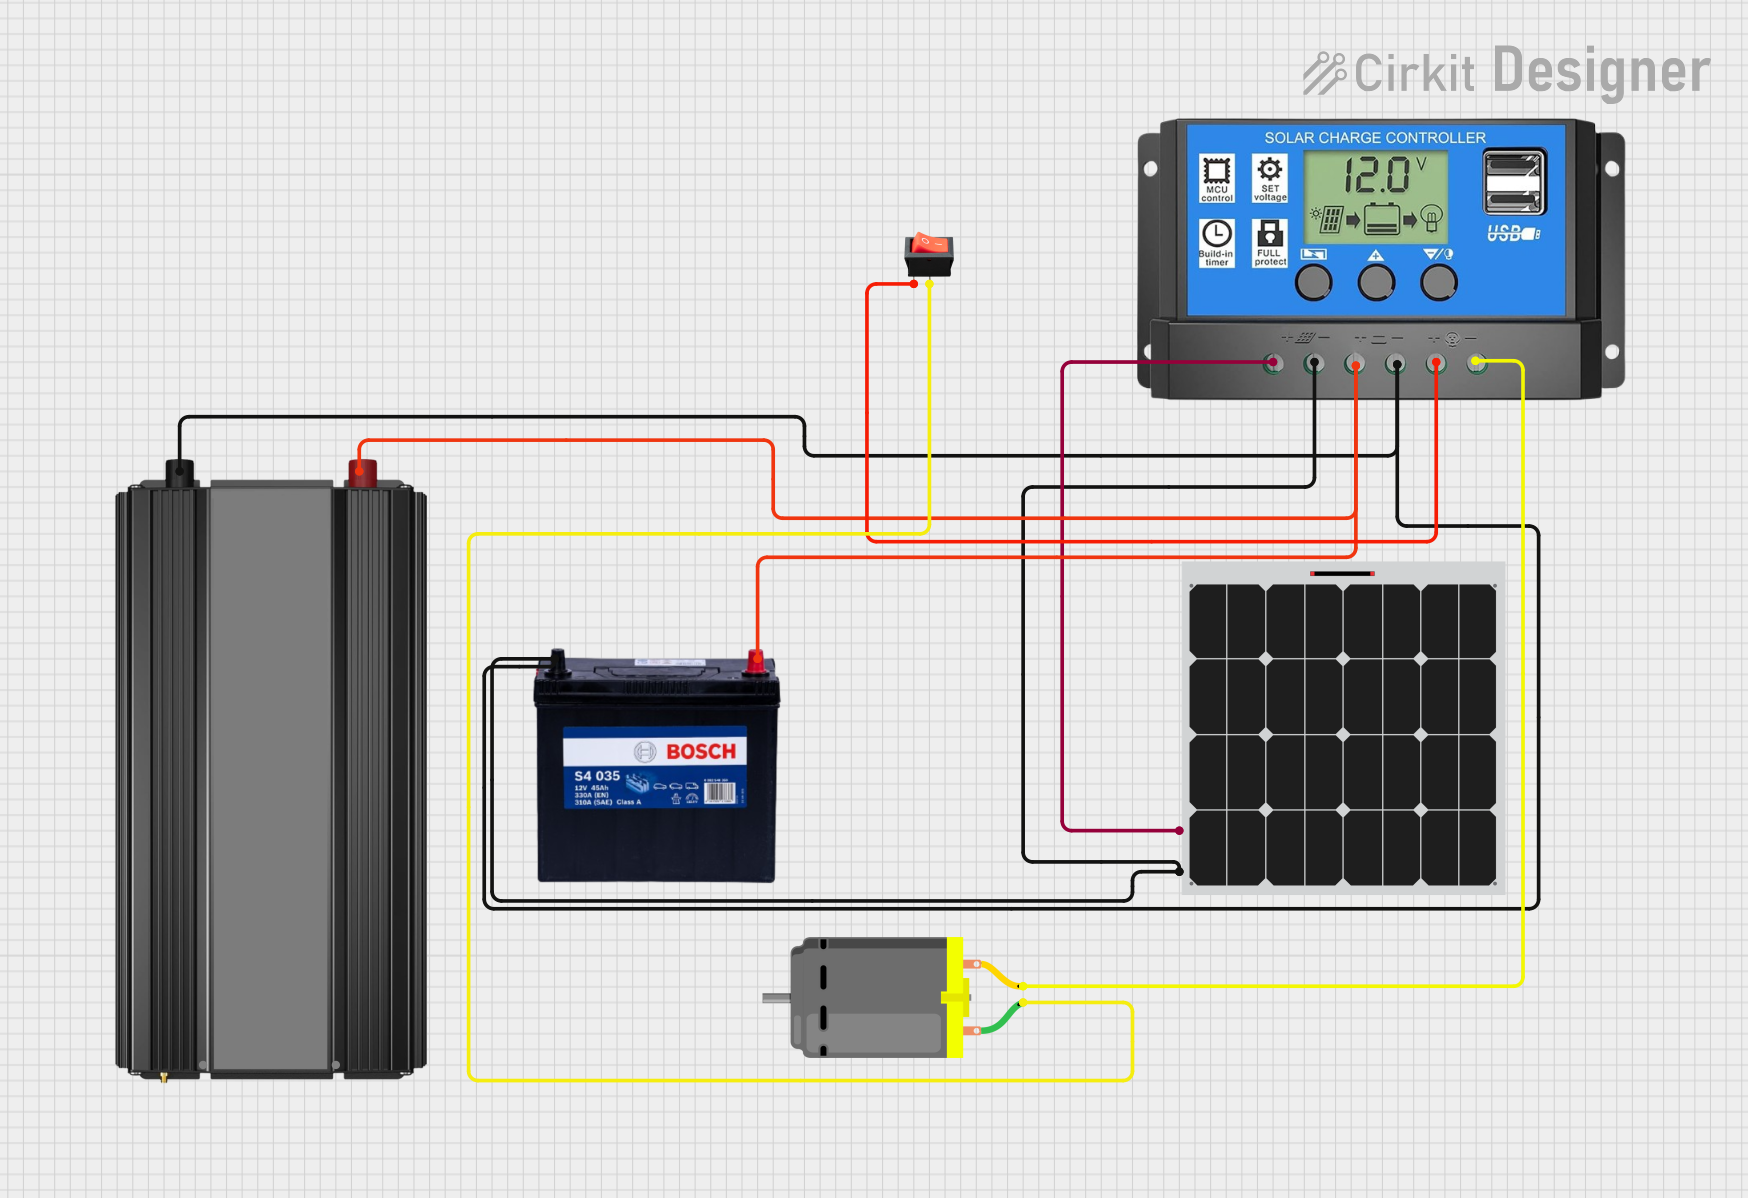
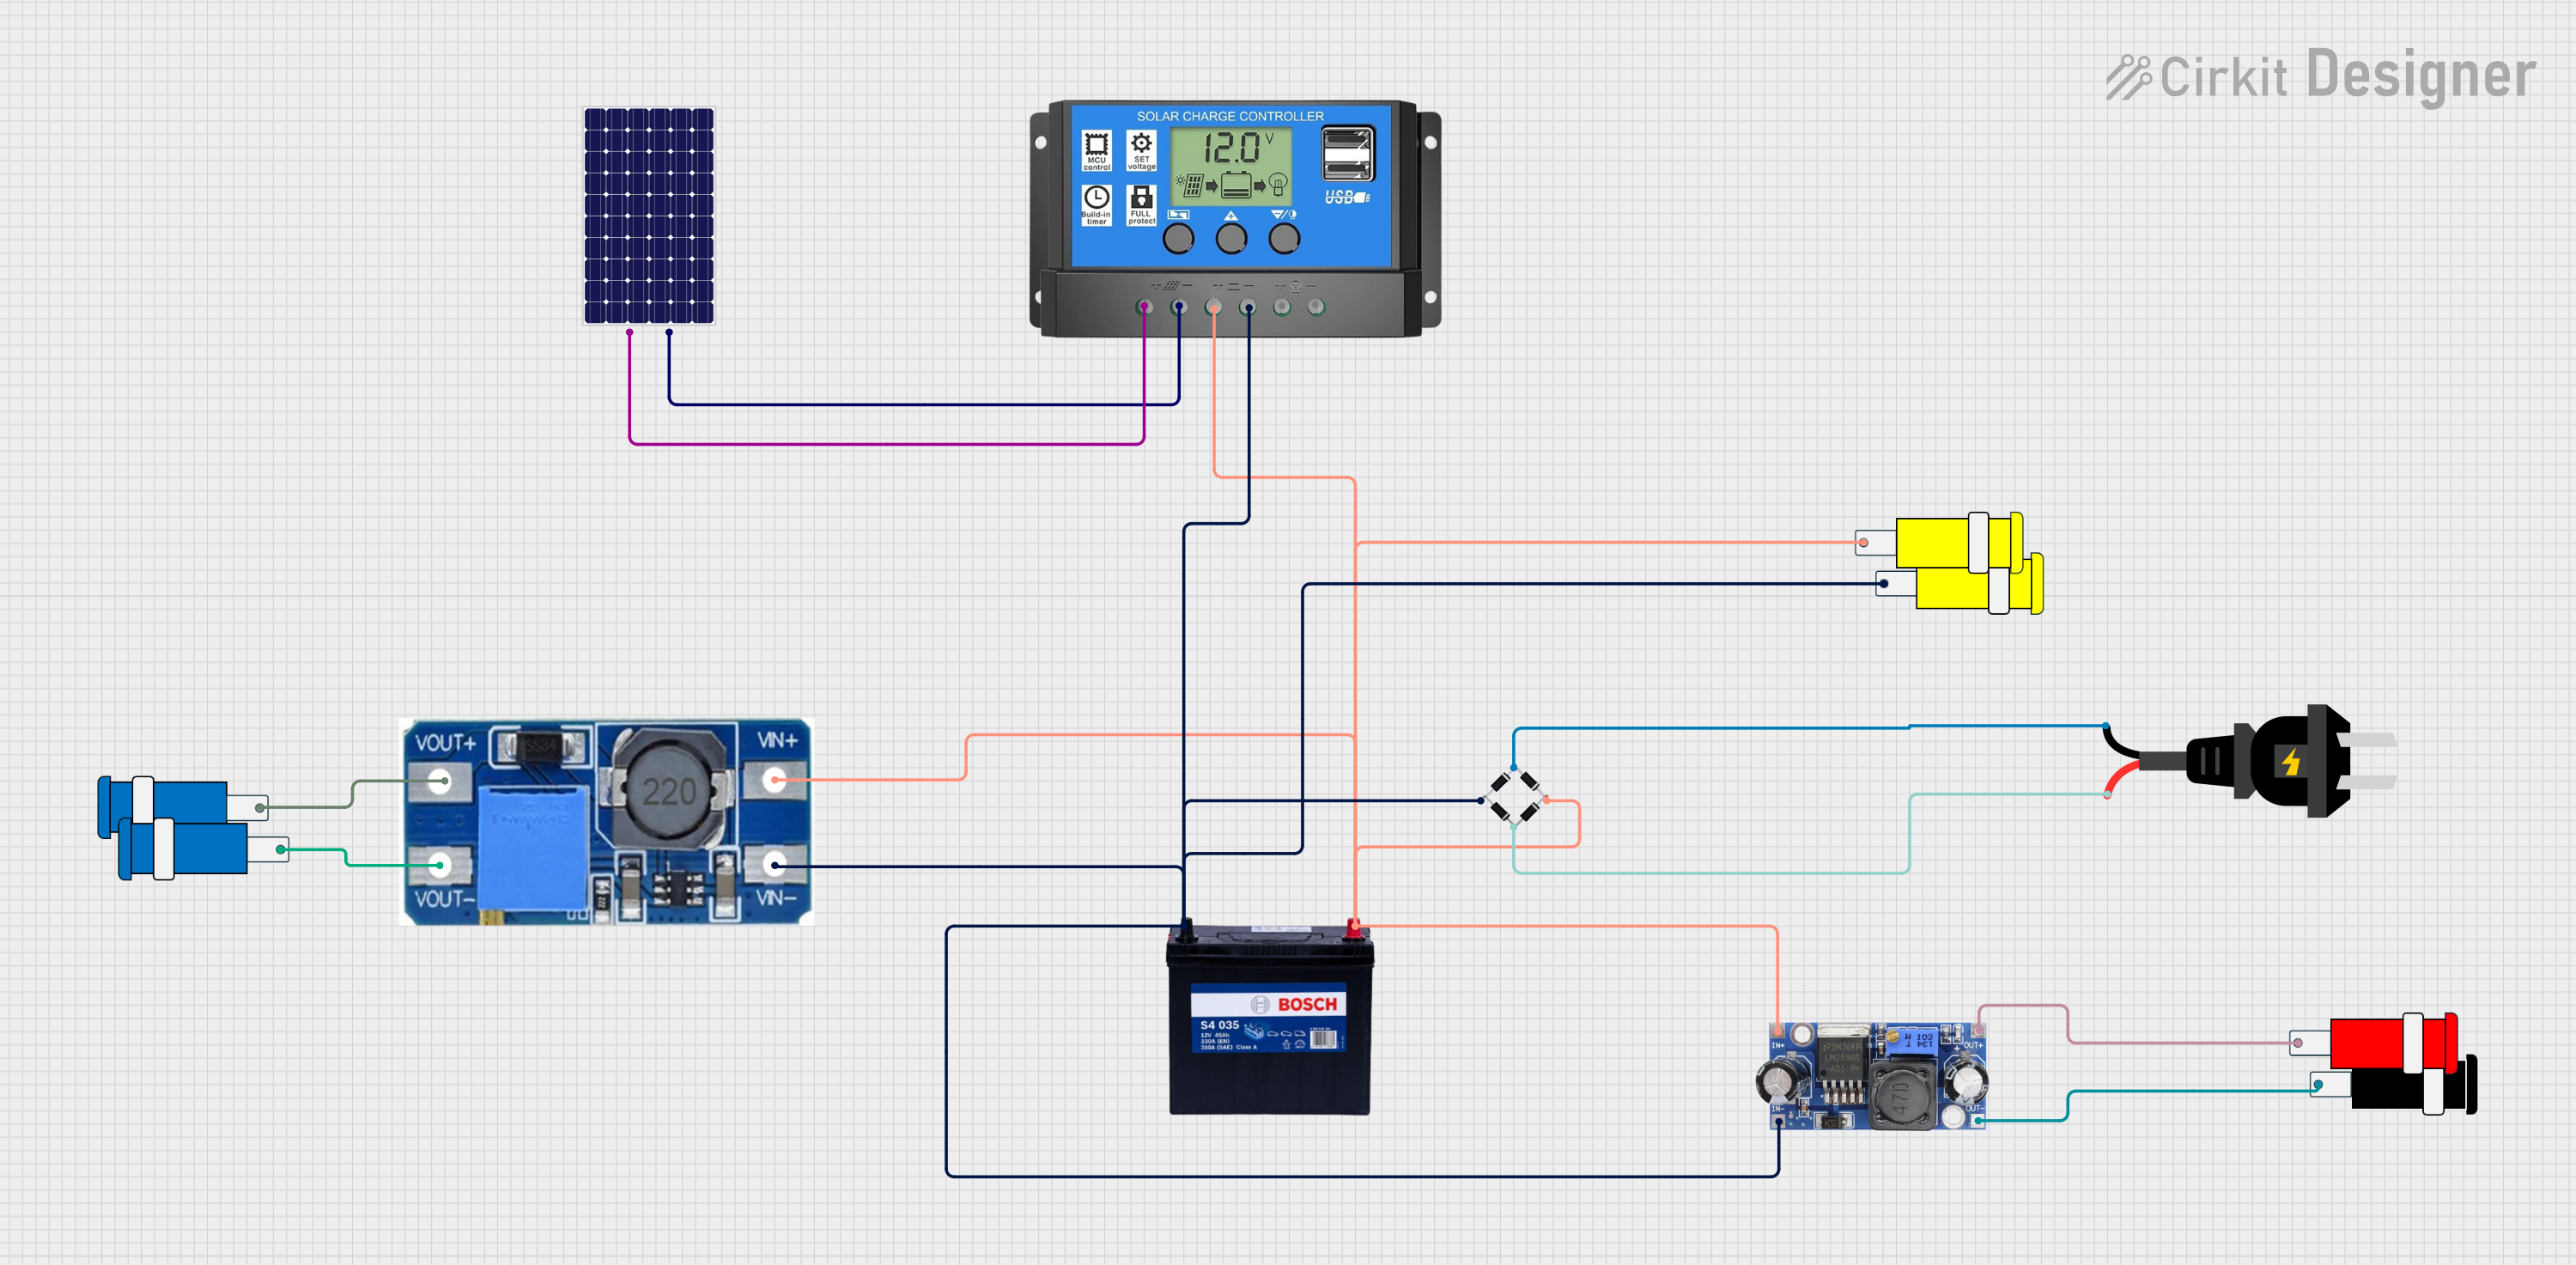
Explore Projects Built with 12V Battery
Technical Specifications
General Characteristics
- Nominal Voltage: 12V
- Chemistry Types: Lead-Acid, Li-Ion, NiMH, etc.
- Capacity Range: Varies (e.g., 1Ah to 200Ah)
- Maximum Charging Voltage: Typically 13.8V to 14.5V (for Lead-Acid)
- Maximum Discharge Current: Depends on the battery design and chemistry
- Cycle Life: Varies with chemistry and use (e.g., 500 - 1500 cycles for Lead-Acid)
Physical Attributes
- Dimensions: Varies with capacity and design
- Weight: Varies with capacity and design
- Terminal Types: Post, Tab, Cable, etc.
Pin Configuration and Descriptions
| Pin Number | Description | Note |
|---|---|---|
| 1 | Positive (+) | Connect to the circuit's positive rail |
| 2 | Negative (−) | Connect to the circuit's ground |
Usage Instructions
Integration into a Circuit
- Identify the Polarity: Ensure you correctly identify the positive and negative terminals of the battery.
- Connection: Use appropriate connectors to attach the battery to the circuit, ensuring secure and reliable contact.
- Voltage Regulation: If precise voltage is required, consider using a voltage regulator to maintain a stable output.
- Load Considerations: Ensure the total load does not exceed the battery's maximum discharge current.
Best Practices
- Charging: Use a charger compatible with the battery's chemistry and follow the manufacturer's charging guidelines.
- Storage: Store the battery in a cool, dry place and at a recommended state of charge to prolong its life.
- Maintenance: Regularly check the battery's voltage and physical condition.
- Safety: Use protective gear when handling batteries, especially Lead-Acid types, which can contain corrosive acid and produce explosive gases.
Troubleshooting and FAQs
Common Issues
- Battery Won't Charge: Check charger compatibility, battery terminals for corrosion, and ensure connections are secure.
- Reduced Capacity: Batteries degrade over time; reduced capacity may indicate it's time for a replacement.
- Voltage Drops Under Load: This may be a sign of an aged or damaged battery that cannot deliver the required current.
FAQs
Q: Can I use a 12V battery with an Arduino UNO? A: Yes, but you will need a voltage regulator as the Arduino UNO requires a regulated 5V supply.
Q: How do I know if my battery is fully charged? A: Measure the voltage. A fully charged 12V Lead-Acid battery, for example, will typically show around 12.6V to 12.8V at rest.
Q: Is it safe to leave the battery charging overnight? A: Only if using a smart charger designed to prevent overcharging. Otherwise, it's best to monitor the charging process.
Example Arduino UNO Connection
// This example demonstrates how to power an Arduino UNO with a 12V battery
// through the VIN pin, which accepts 7-12V input.

void setup() {
  // Initialize digital pin LED_BUILTIN as an output.
  pinMode(LED_BUILTIN, OUTPUT);
}

void loop() {
  // Turn the LED on (HIGH is the voltage level)
  digitalWrite(LED_BUILTIN, HIGH);
  // Wait for a second
  delay(1000);
  // Turn the LED off by making the voltage LOW
  digitalWrite(LED_BUILTIN, LOW);
  // Wait for a second
  delay(1000);
}

// Note: Always ensure that the battery voltage does not exceed 12V when
// connecting to the Arduino UNO to prevent damage to the board.
Remember to disconnect the battery when not in use to prevent draining it, and always follow the safety guidelines provided by the battery manufacturer.