
How to Use Arduino Micro Pro: Examples, Pinouts, and Specs
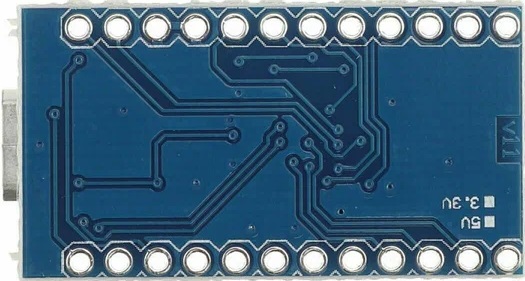
 Design with Arduino Micro Pro in Cirkit Designer
Introduction
The Arduino Pro Micro is a small, powerful microcontroller board based on the ATmega32U4. It is a compact version of the Arduino Leonardo, offering similar functionalities but in a smaller footprint, making it ideal for projects where space is at a premium. The Pro Micro is widely used in DIY electronics, hobbyist projects, and prototyping due to its versatility and ease of use.
Explore Projects Built with Arduino Micro Pro
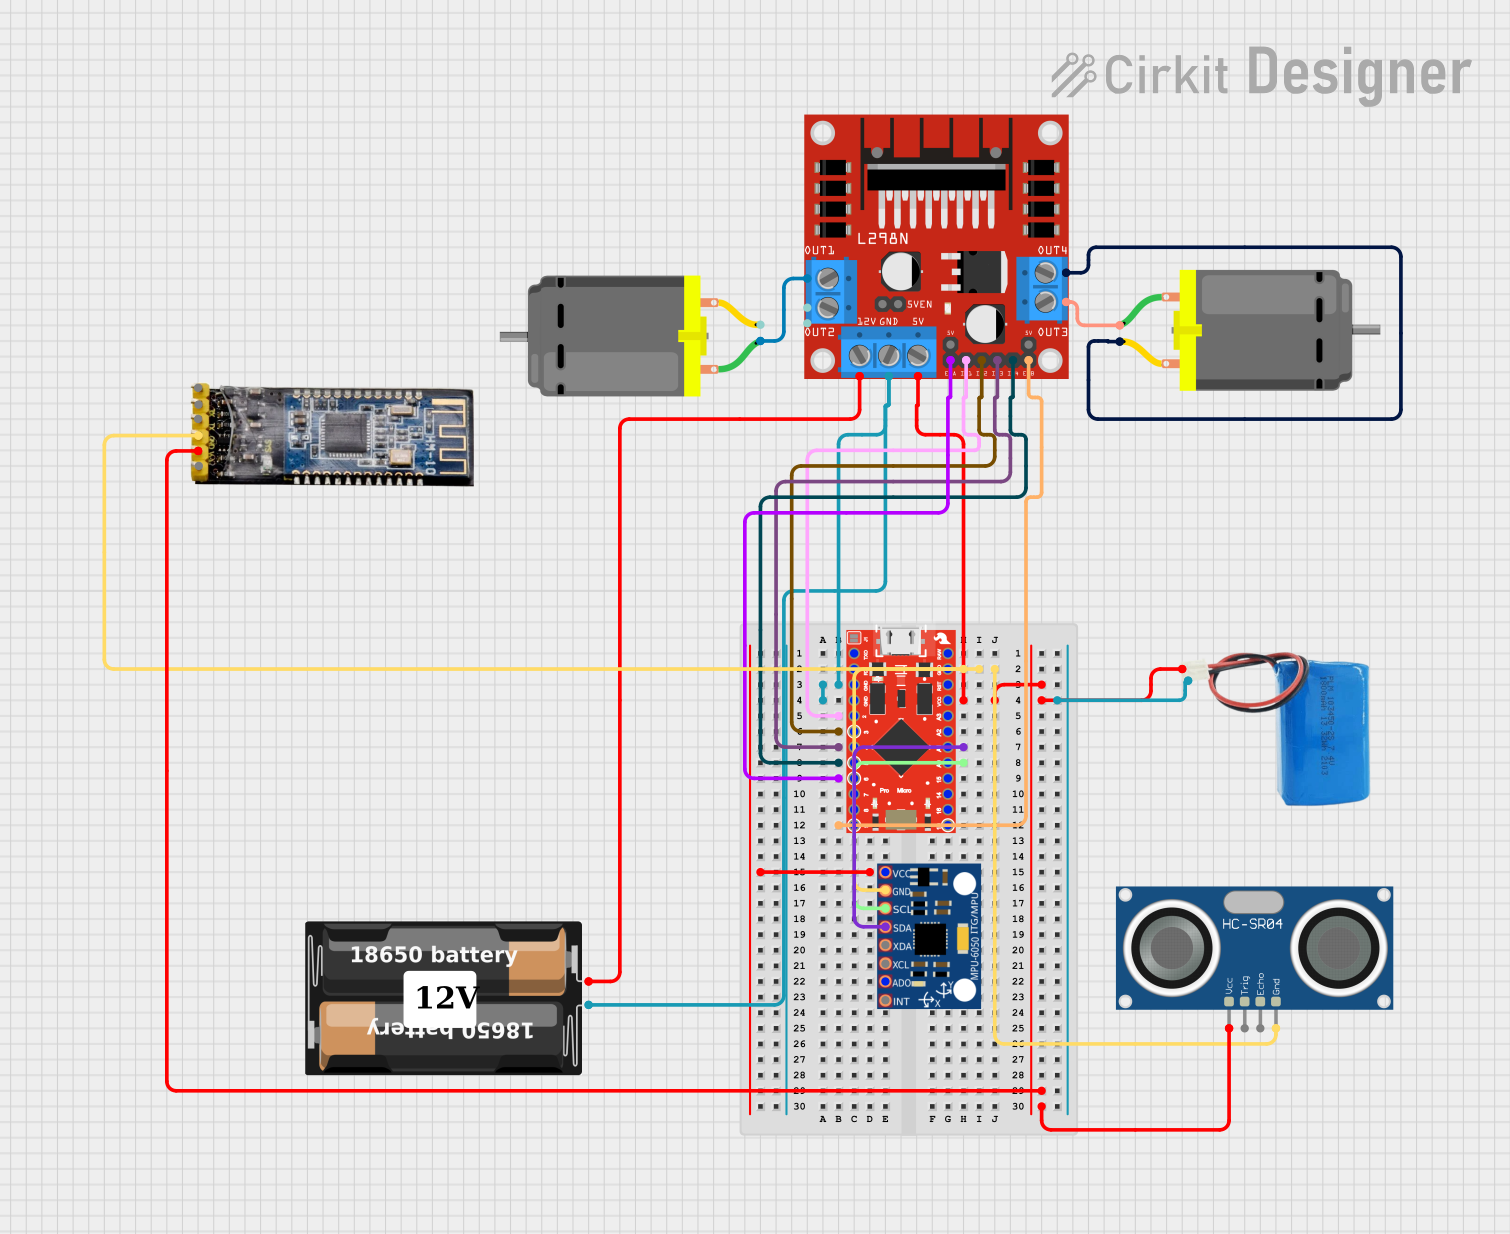
 Open Project in Cirkit Designer
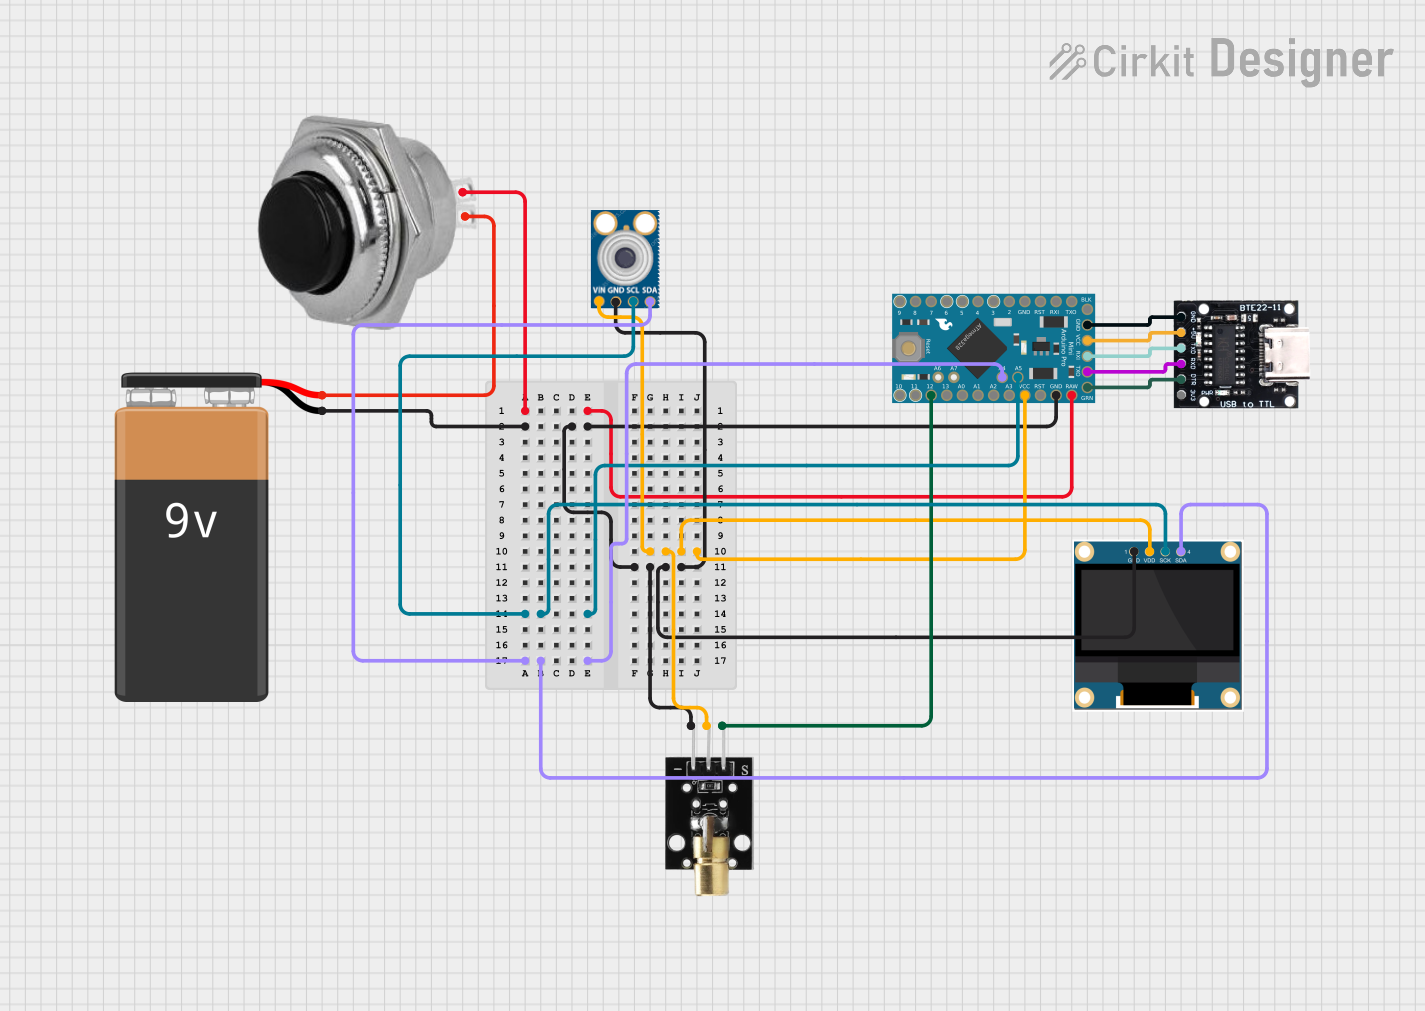
 Open Project in Cirkit Designer
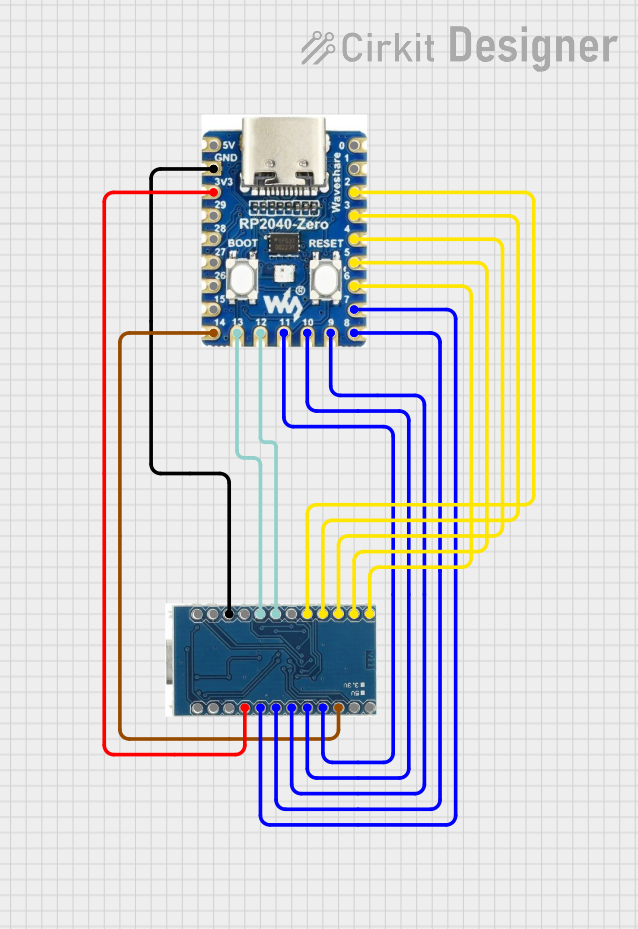
 Open Project in Cirkit Designer
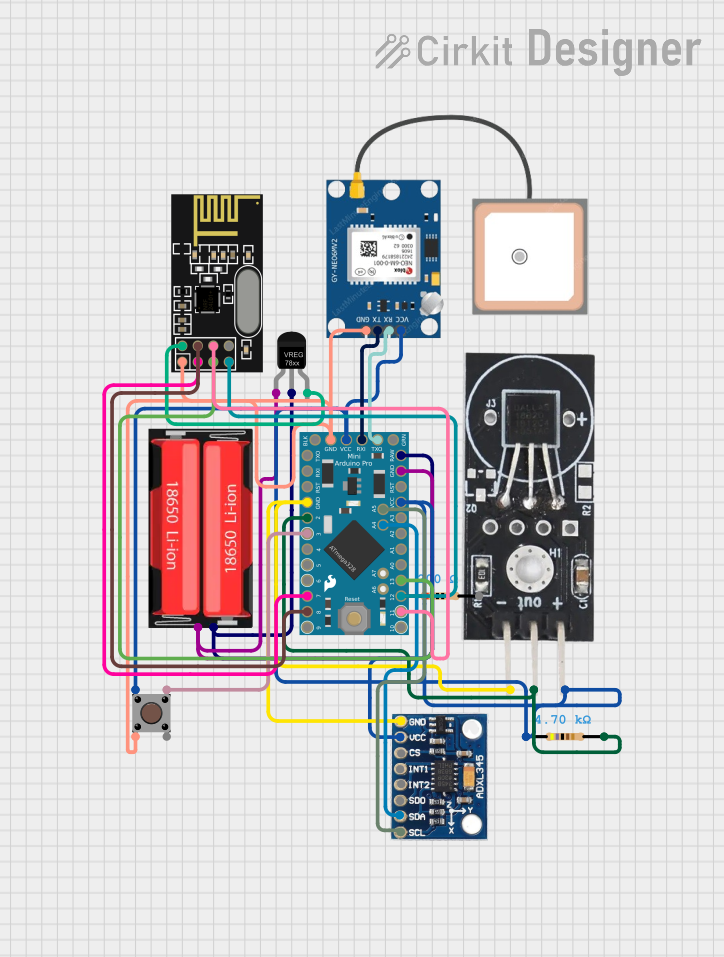
 Open Project in Cirkit Designer
Explore Projects Built with Arduino Micro Pro

 Open Project in Cirkit Designer
 Open Project in Cirkit Designer
 Open Project in Cirkit Designer
 Open Project in Cirkit Designer
Common Applications and Use Cases
- Wearable electronics
- USB devices
- Keyboard or mouse emulation
- Compact embedded systems
- Prototyping IoT devices
Technical Specifications
Key Technical Details
- Microcontroller: ATmega32U4
- Operating Voltage: 5V
- Input Voltage (recommended): 7-12V
- Input Voltage (limits): 6-20V
- Digital I/O Pins: 20
- PWM Channels: 7
- Analog Input Channels: 12
- DC Current per I/O Pin: 40 mA
- DC Current for 3.3V Pin: 50 mA
- Flash Memory: 32 KB (ATmega32U4) of which 4 KB used by bootloader
- SRAM: 2.5 KB (ATmega32U4)
- EEPROM: 1 KB (ATmega32U4)
- Clock Speed: 16 MHz
Pin Configuration and Descriptions
| Pin Number | Function | Description |
|---|---|---|
| 1 | TXD/SS | Transmit Data, Slave Select for SPI |
| 2 | RXD | Receive Data |
| 3 | SCK | SPI Clock |
| 4 | MOSI | SPI Master Out Slave In |
| 5 | MISO | SPI Master In Slave Out |
| 6 | D2 | General Purpose Digital I/O |
| ... | ... | ... |
| 20 | A6/D21 | Analog Input 6 or Digital I/O 21 |
Note: This table is not exhaustive and only shows a selection of pins.
Usage Instructions
How to Use the Component in a Circuit
- Powering the Board: Connect a 7-12V power supply to the RAW and GND pins, or plug a USB cable into the micro USB port for power and data.
- Connecting I/O: Use the digital and analog pins to connect sensors, actuators, and other components. Ensure that the connected devices are compatible with the operating voltage and current limitations.
- Programming: The Pro Micro can be programmed using the Arduino IDE. Select 'Arduino Leonardo' as the board type since the Pro Micro shares the same microcontroller.
Important Considerations and Best Practices
- Always disconnect the power source before making or altering connections.
- Use a current limiting resistor with LEDs to prevent damage.
- Avoid supplying voltage higher than the recommended limits to any I/O pin.
- Ensure that the total current drawn from all I/O pins does not exceed the specified limit.
Example Code for Arduino UNO
// Blink an LED connected to pin 9

void setup() {
  pinMode(9, OUTPUT); // Set pin 9 as an output
}

void loop() {
  digitalWrite(9, HIGH); // Turn the LED on
  delay(1000);           // Wait for a second
  digitalWrite(9, LOW);  // Turn the LED off
  delay(1000);           // Wait for a second
}
Note: The above code is a simple blink example. When using the Pro Micro, ensure that the correct pin is used in place of pin 9 if necessary.
Troubleshooting and FAQs
Common Issues
- Not Recognized by Computer: Ensure the micro USB cable is data-capable and the board's bootloader is functioning correctly.
- Sketch Upload Failure: Check the selected board type in the Arduino IDE and the COM port. Press the reset button on the board just before uploading if necessary.
- Unexpected Behavior: Verify the power supply is within the recommended range and that all connections are secure.
Solutions and Tips for Troubleshooting
- If the Pro Micro is not recognized, try using a different USB port or cable.
- For upload issues, double-check the board and port settings in the Arduino IDE.
- Use the onboard LED to test basic functionality with the blink sketch.
- Consult the Arduino forums and community for help with specific issues.
FAQs
Q: Can I use the Arduino Pro Micro as a USB device? A: Yes, the ATmega32U4 allows the Pro Micro to emulate a USB device such as a mouse or keyboard.
Q: What is the difference between the RAW and VCC pins? A: The RAW pin is for an unregulated input voltage, which will be regulated on-board to 5V. The VCC pin is for a regulated 5V input.
Q: How do I reset the Pro Micro? A: Briefly connect the RST pin to GND or press the reset button if available.
This documentation provides an overview of the Arduino Pro Micro, its specifications, usage, and troubleshooting tips. For more detailed information, refer to the official Arduino resources and community forums.