How to Use NO2: Examples, Pinouts, and Specs
Introduction
Nitrogen dioxide (NO2) is a reddish-brown gas with a sharp, biting odor. It is a significant air pollutant, primarily produced from combustion processes. In electronics, NO2 is commonly used in gas sensors to detect air quality and monitor pollution levels. These sensors are widely employed in environmental monitoring systems, industrial safety equipment, and smart home devices. Additionally, NO2 is used as a precursor in the production of certain semiconductor materials.
NO2 sensors are critical for applications such as:
- Air quality monitoring in urban environments
- Industrial safety systems to detect harmful gas leaks
- Smart home devices for indoor air quality assessment
- Automotive systems for emissions monitoring
Explore Projects Built with NO2

Explore Projects Built with NO2
Technical Specifications
Below are the general technical specifications for a typical NO2 gas sensor:
| Parameter | Value |
|---|---|
| Detection Range | 0.05 ppm to 10 ppm |
| Sensitivity | ±0.1 ppm |
| Operating Voltage | 3.3V to 5V |
| Operating Current | 10 mA to 50 mA |
| Response Time | < 30 seconds |
| Recovery Time | < 60 seconds |
| Operating Temperature | -20°C to 50°C |
| Humidity Range | 15% to 90% RH (non-condensing) |
| Output Signal | Analog voltage or I2C/SPI digital |
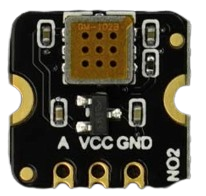
Pin Configuration
The pin configuration for a typical NO2 sensor module is as follows:
| Pin | Name | Description |
|---|---|---|
| 1 | VCC | Power supply input (3.3V to 5V) |
| 2 | GND | Ground connection |
| 3 | AOUT | Analog output signal proportional to NO2 levels |
| 4 | DOUT | Digital output signal (threshold-based detection) |
| 5 | SCL (optional) | I2C clock line (for digital communication modules) |
| 6 | SDA (optional) | I2C data line (for digital communication modules) |
Usage Instructions
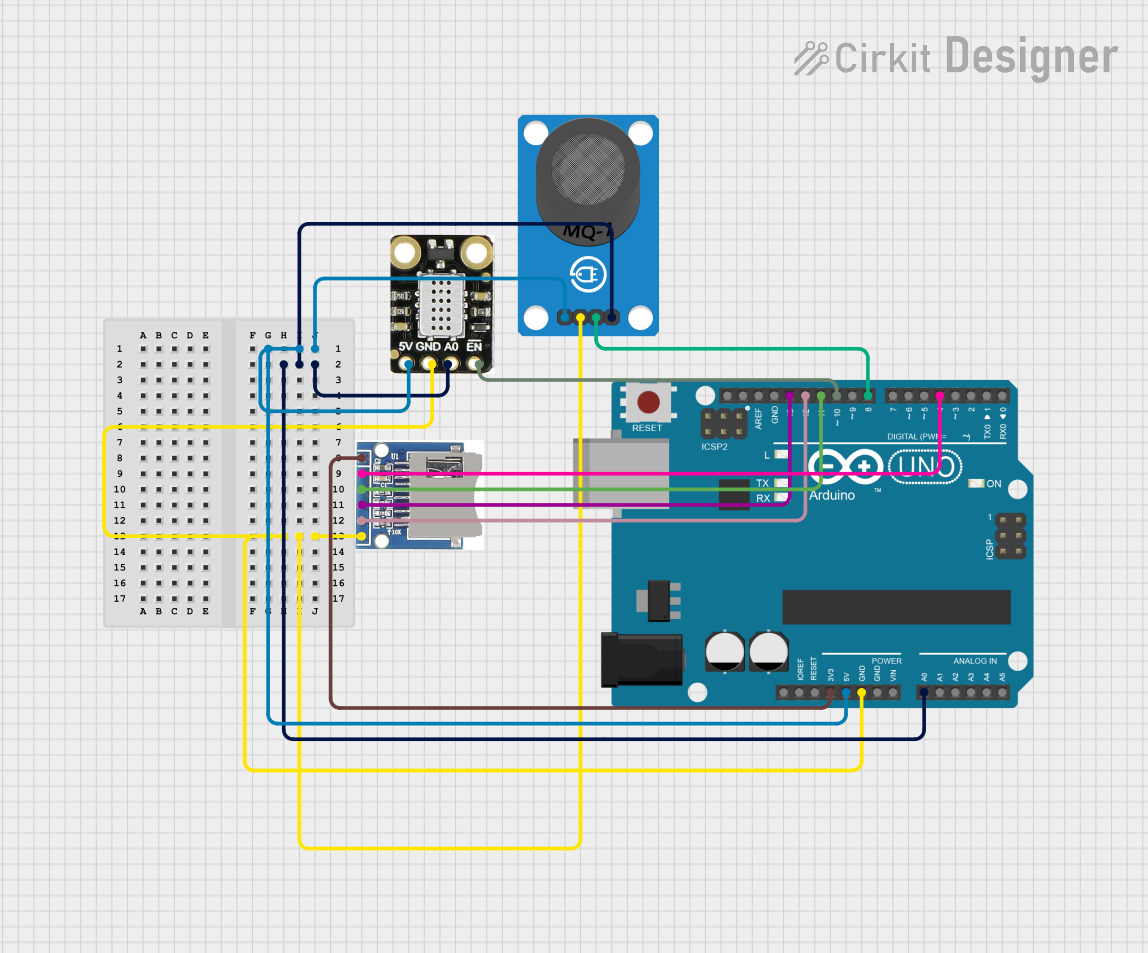
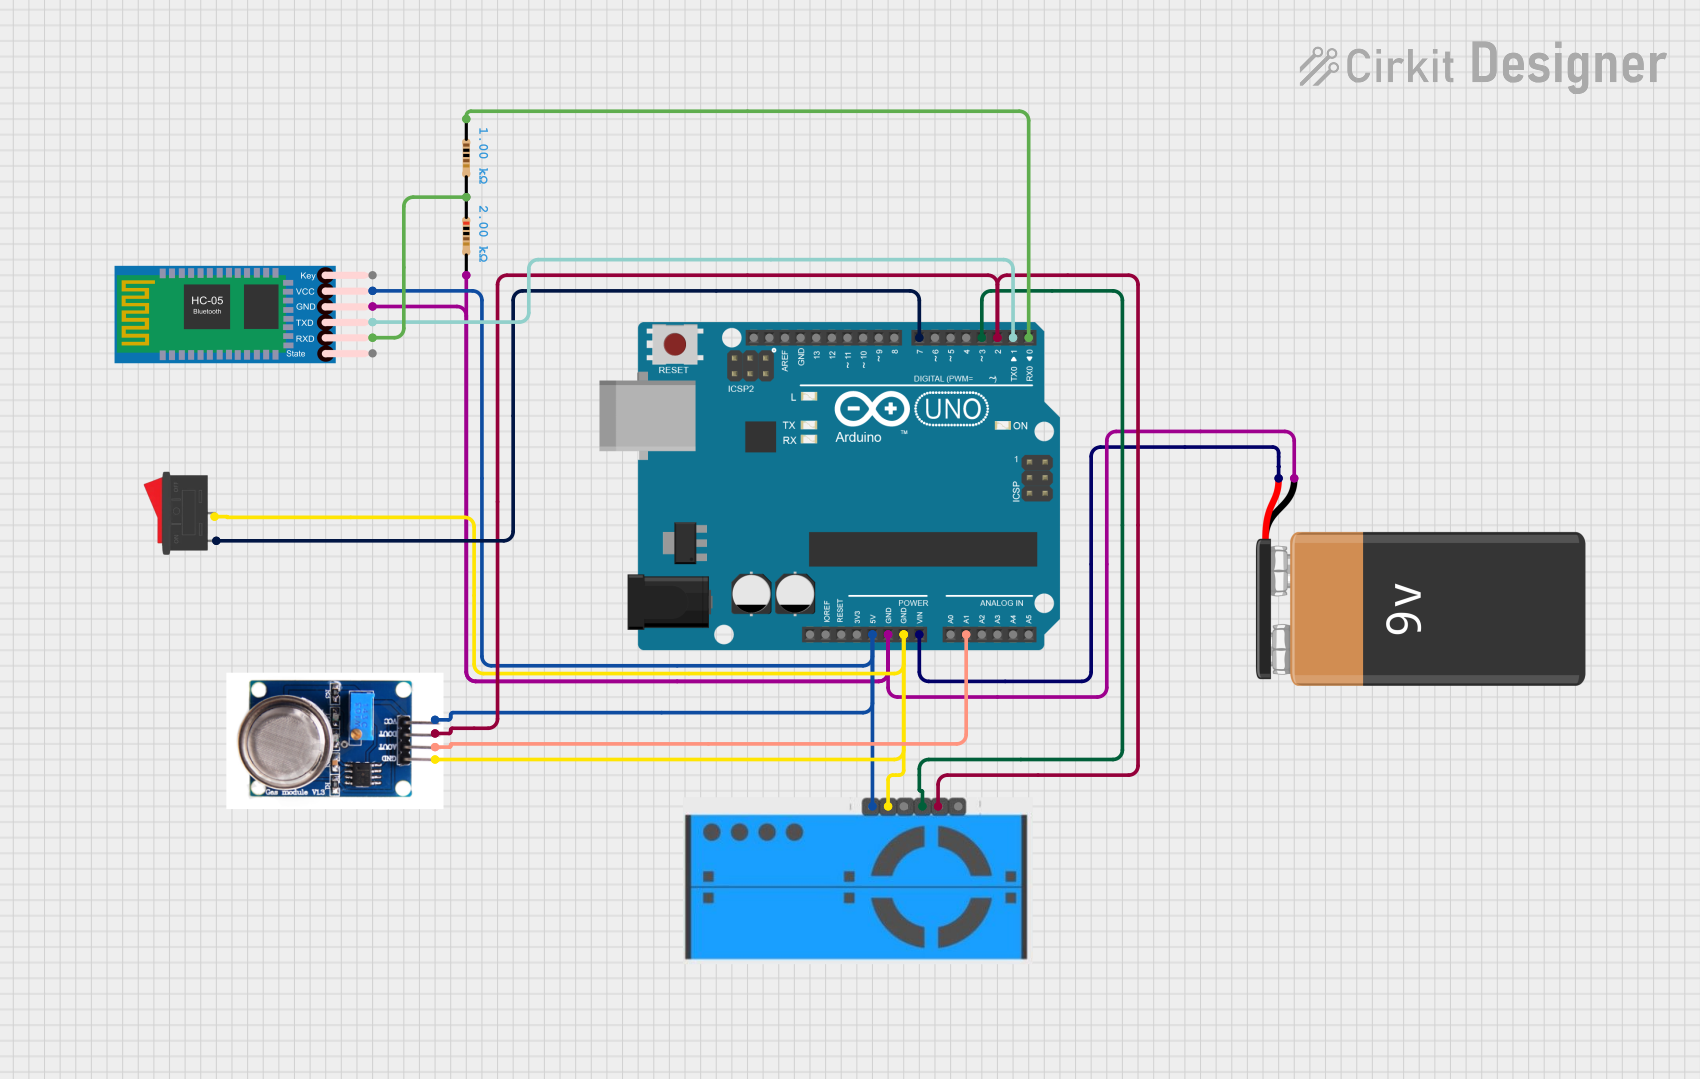
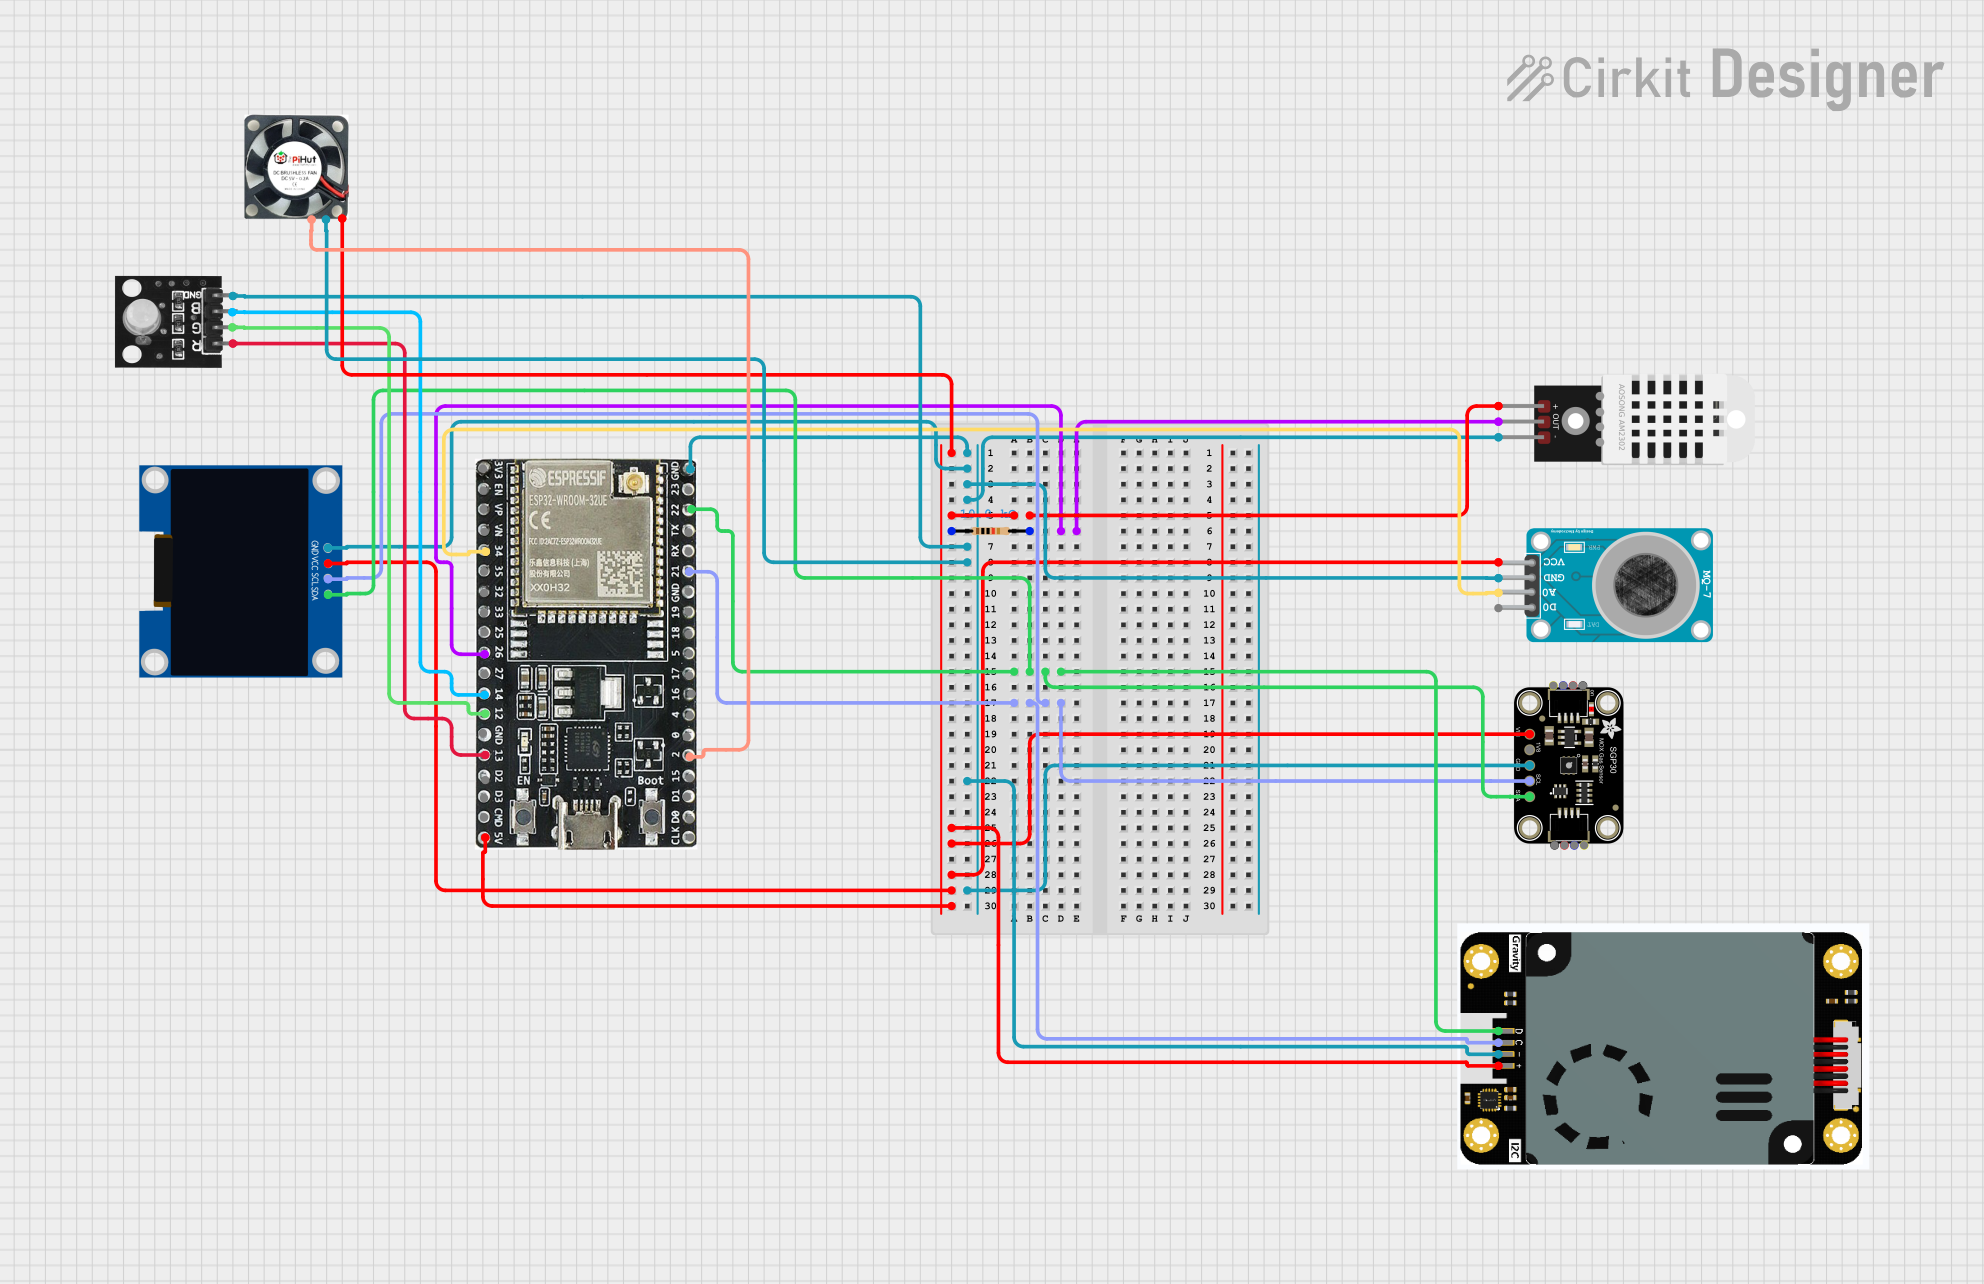
How to Use the NO2 Sensor in a Circuit
- Power the Sensor: Connect the VCC pin to a 3.3V or 5V power source and the GND pin to ground.
- Read the Output:
- For analog sensors, connect the AOUT pin to an analog input pin on your microcontroller.
- For digital sensors, connect the DOUT pin to a digital input pin. Optionally, use the I2C pins (SCL and SDA) for digital communication if supported.
- Calibrate the Sensor: Allow the sensor to warm up for 2-3 minutes after powering it on to stabilize its readings.
- Process the Data: Use the microcontroller to read and process the sensor's output signal. For analog sensors, convert the voltage to a corresponding NO2 concentration using the sensor's datasheet.
Important Considerations and Best Practices
- Avoid Contamination: Keep the sensor away from dust, oil, and other contaminants that may affect its accuracy.
- Ventilation: Ensure proper airflow around the sensor for accurate readings.
- Temperature and Humidity: Operate the sensor within its specified temperature and humidity range to prevent damage or inaccurate readings.
- Calibration: Periodically calibrate the sensor using a known NO2 concentration to maintain accuracy.
- Power Supply: Use a stable power supply to avoid noise in the sensor's output.
Example Code for Arduino UNO
Below is an example of how to interface an analog NO2 sensor with an Arduino UNO:
// Define the analog pin connected to the sensor's AOUT pin
const int sensorPin = A0;

// Variable to store the sensor reading
int sensorValue = 0;

void setup() {
  // Initialize serial communication for debugging
  Serial.begin(9600);
}

void loop() {
  // Read the analog value from the sensor
  sensorValue = analogRead(sensorPin);

  // Convert the analog value to a voltage (assuming 5V reference)
  float voltage = sensorValue * (5.0 / 1023.0);

  // Print the sensor value and voltage to the Serial Monitor
  Serial.print("Sensor Value: ");
  Serial.print(sensorValue);
  Serial.print(" | Voltage: ");
  Serial.println(voltage);

  // Add a delay for stability
  delay(1000);
}
Troubleshooting and FAQs
Common Issues and Solutions
No Output Signal:
- Cause: Incorrect wiring or insufficient power supply.
- Solution: Double-check the connections and ensure the power supply meets the sensor's requirements.
Inaccurate Readings:
- Cause: Sensor not calibrated or operating outside its specified range.
- Solution: Calibrate the sensor using a known NO2 concentration and ensure it is used within the specified temperature and humidity range.
Slow Response Time:
- Cause: Poor ventilation or sensor contamination.
- Solution: Ensure proper airflow around the sensor and clean it if necessary.
Fluctuating Readings:
- Cause: Electrical noise or unstable power supply.
- Solution: Use a decoupling capacitor near the sensor's power pins and ensure a stable power source.
FAQs
Q: Can the NO2 sensor detect other gases?
A: While the sensor is designed for NO2 detection, it may respond to other gases. Refer to the sensor's datasheet for cross-sensitivity information.
Q: How often should the sensor be calibrated?
A: Calibration frequency depends on the application. For critical applications, calibrate monthly or as recommended by the manufacturer.
Q: Can the sensor be used outdoors?
A: Yes, but ensure it is protected from extreme weather conditions and contaminants.
Q: What is the lifespan of an NO2 sensor?
A: The typical lifespan is 1-2 years, depending on usage and environmental conditions.