How to Use SparkFun LilyPad Protoboard Small: Examples, Pinouts, and Specs
Introduction
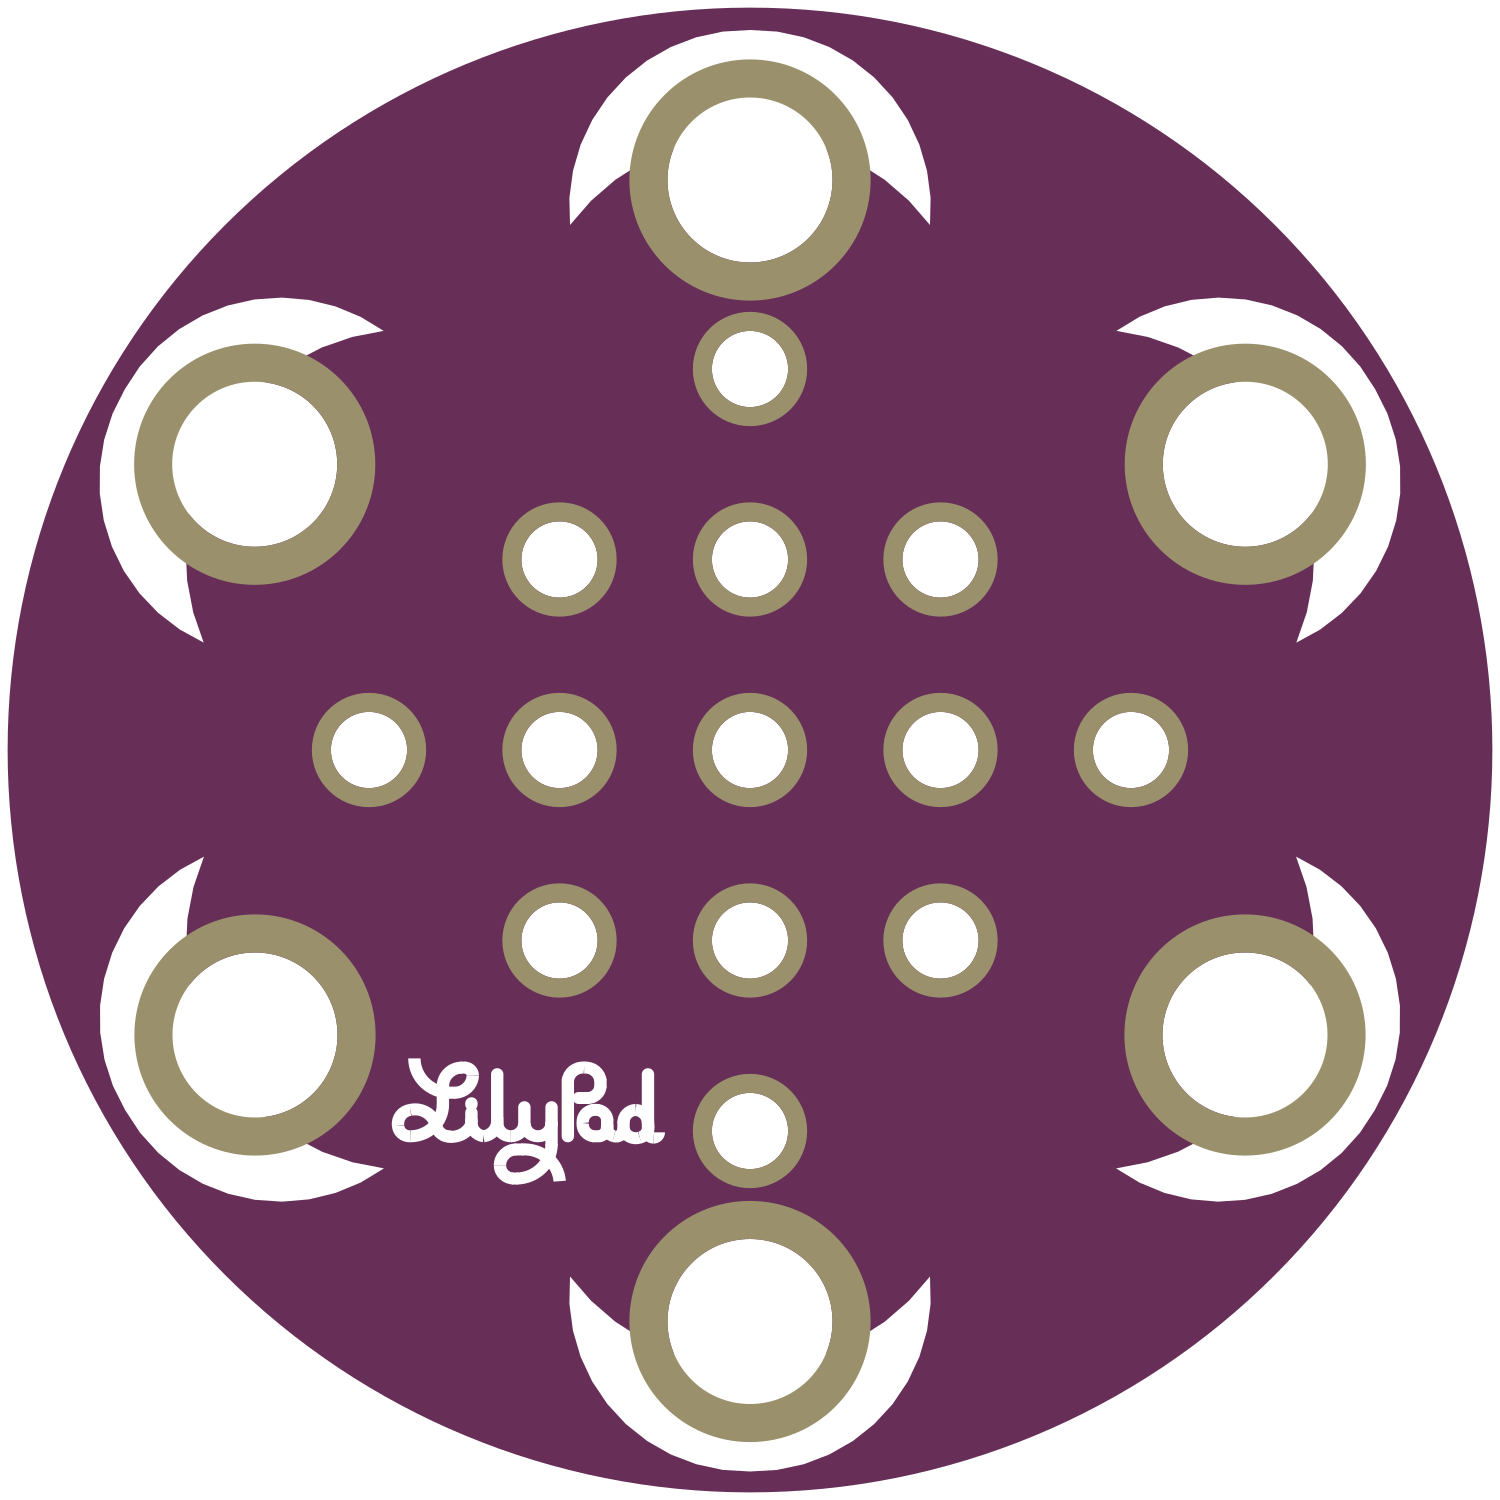
The SparkFun LilyPad Protoboard Small is a versatile and compact prototyping board tailored for wearable electronics projects. It is part of the LilyPad Arduino ecosystem, which is a set of sewable electronic pieces designed to help you build soft circuits in textiles. This protoboard is ideal for creating custom, flexible circuit designs that can easily integrate with LilyPad Arduino boards and various electronic components.
Explore Projects Built with SparkFun LilyPad Protoboard Small


Explore Projects Built with SparkFun LilyPad Protoboard Small
Common Applications and Use Cases
- Wearable technology projects
- E-textiles and smart garments
- Educational purposes for learning about electronics and circuit design
- Prototyping for interactive art installations
- DIY crafts that incorporate electronics
Technical Specifications
Key Technical Details
- Diameter: 45mm
- Maximum Voltage: 5.5V
- Maximum Current: Varies based on attached components
- Material: Flexible PCB
- Connection Points: Multiple sew tabs for components and power lines
Pin Configuration and Descriptions
| Pin Label | Description |
|---|---|
| VCC | Connection point for positive voltage supply |
| GND | Connection point for ground |
| A0-A5 | Analog input/output sew tabs |
| D2-D11 | Digital input/output sew tabs |
| SDA | Serial Data line for I2C communication |
| SCL | Serial Clock line for I2C communication |
Usage Instructions
How to Use the Component in a Circuit
Planning Your Design: Before sewing, plan your circuit layout. Ensure that the placement of the LilyPad Protoboard and other components allows for secure connections and functionality.
Attaching Components: Use conductive thread to sew electronic components onto the protoboard. Ensure that the connections are tight and secure.
Powering the Circuit: Connect a power supply to the VCC and GND tabs. The LilyPad Protoboard Small operates at a maximum of 5.5V.
Connecting to a LilyPad Arduino: Use conductive thread to connect the protoboard's sew tabs to corresponding pins on a LilyPad Arduino board.
Testing: After assembling the circuit, test it for functionality before integrating it into your project.
Important Considerations and Best Practices
- Conductive Thread: Ensure that the conductive thread does not fray or create short circuits.
- Insulation: Insulate the back of the protoboard if it will come into contact with conductive materials.
- Washability: If the project needs to be washable, consider using waterproof components and securing all connections.
- Durability: Reinforce connections with clear nail polish or fabric glue to prevent them from coming loose over time.
Troubleshooting and FAQs
Common Issues Users Might Face
- Loose Connections: If components are not responding, check for loose threads or poor connections.
- Short Circuits: Ensure that conductive threads have not crossed paths or frayed, creating unintended connections.
Solutions and Tips for Troubleshooting
- Testing Continuity: Use a multimeter to test the continuity of your sewn connections.
- Secure Knots: Make sure to tie secure knots when starting and finishing sewing with conductive thread.
- Isolation: Place a piece of fabric or electrical tape between overlapping conductive threads that are not meant to connect.
FAQs
Q: Can I wash my LilyPad Protoboard project? A: Yes, but ensure all components are washable, and the battery is removed. Hand wash gently and allow to air dry.
Q: How do I connect the LilyPad Protoboard to a standard Arduino UNO? A: While the LilyPad Protoboard is designed for use with the LilyPad Arduino, it can be connected to an Arduino UNO using jumper wires soldered to the protoboard's connection points.
Q: What is the maximum number of components I can attach to the protoboard? A: The number of components is limited by the number of connection points and the power requirements of your design. Ensure that the total current draw does not exceed the power supply's capabilities.
Example Code for Arduino UNO
Below is an example code snippet for blinking an LED attached to the LilyPad Protoboard Small, which is connected to an Arduino UNO. This assumes you have an LED sewn to pin D11 and a resistor if needed.
// Define the LED pin
const int ledPin = 11; // D11 on the LilyPad Protoboard

void setup() {
  // Set the LED pin as an output
  pinMode(ledPin, OUTPUT);
}

void loop() {
  // Turn the LED on
  digitalWrite(ledPin, HIGH);
  // Wait for one second
  delay(1000);
  // Turn the LED off
  digitalWrite(ledPin, LOW);
  // Wait for one second
  delay(1000);
}
Remember to adjust the ledPin variable to match the pin you have used on the LilyPad Protoboard.