How to Use jetson nano B01: Examples, Pinouts, and Specs

Introduction
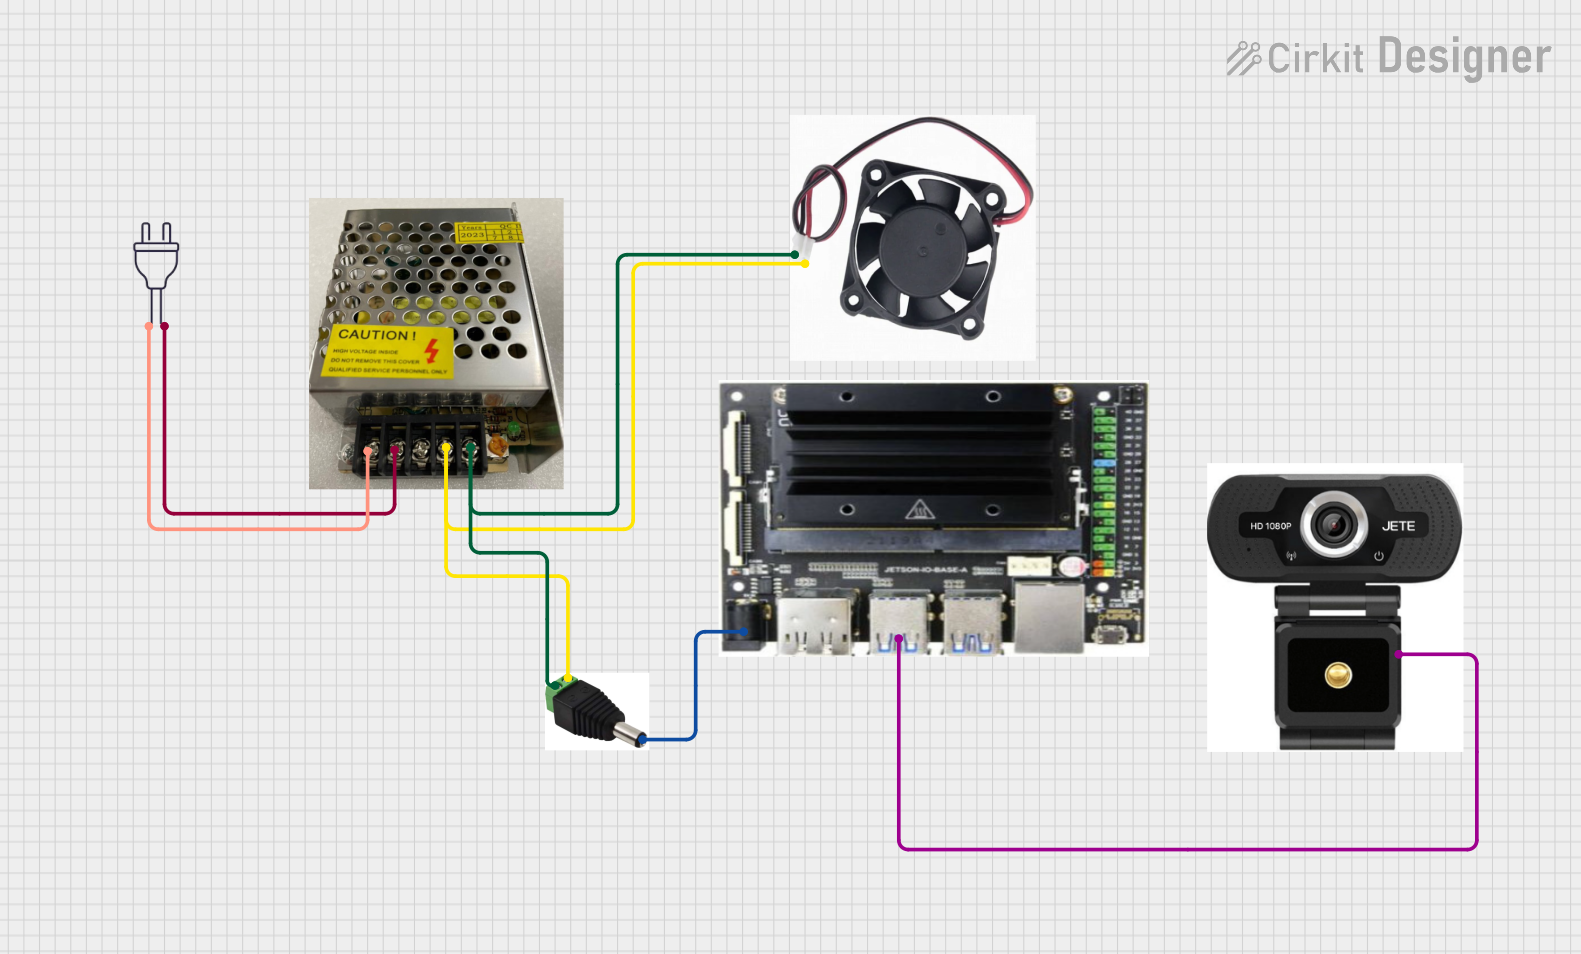
The Jetson Nano B01, manufactured by NVIDIA (Part ID: Nano B1 Board), is a compact yet powerful computer designed for artificial intelligence (AI) and machine learning (ML) applications. It features a 128-core NVIDIA Maxwell GPU, a quad-core ARM Cortex-A57 CPU, and supports a wide range of I/O interfaces. This makes it an excellent choice for robotics, drones, smart cameras, and other embedded systems requiring high computational power in a small form factor.
Explore Projects Built with jetson nano B01
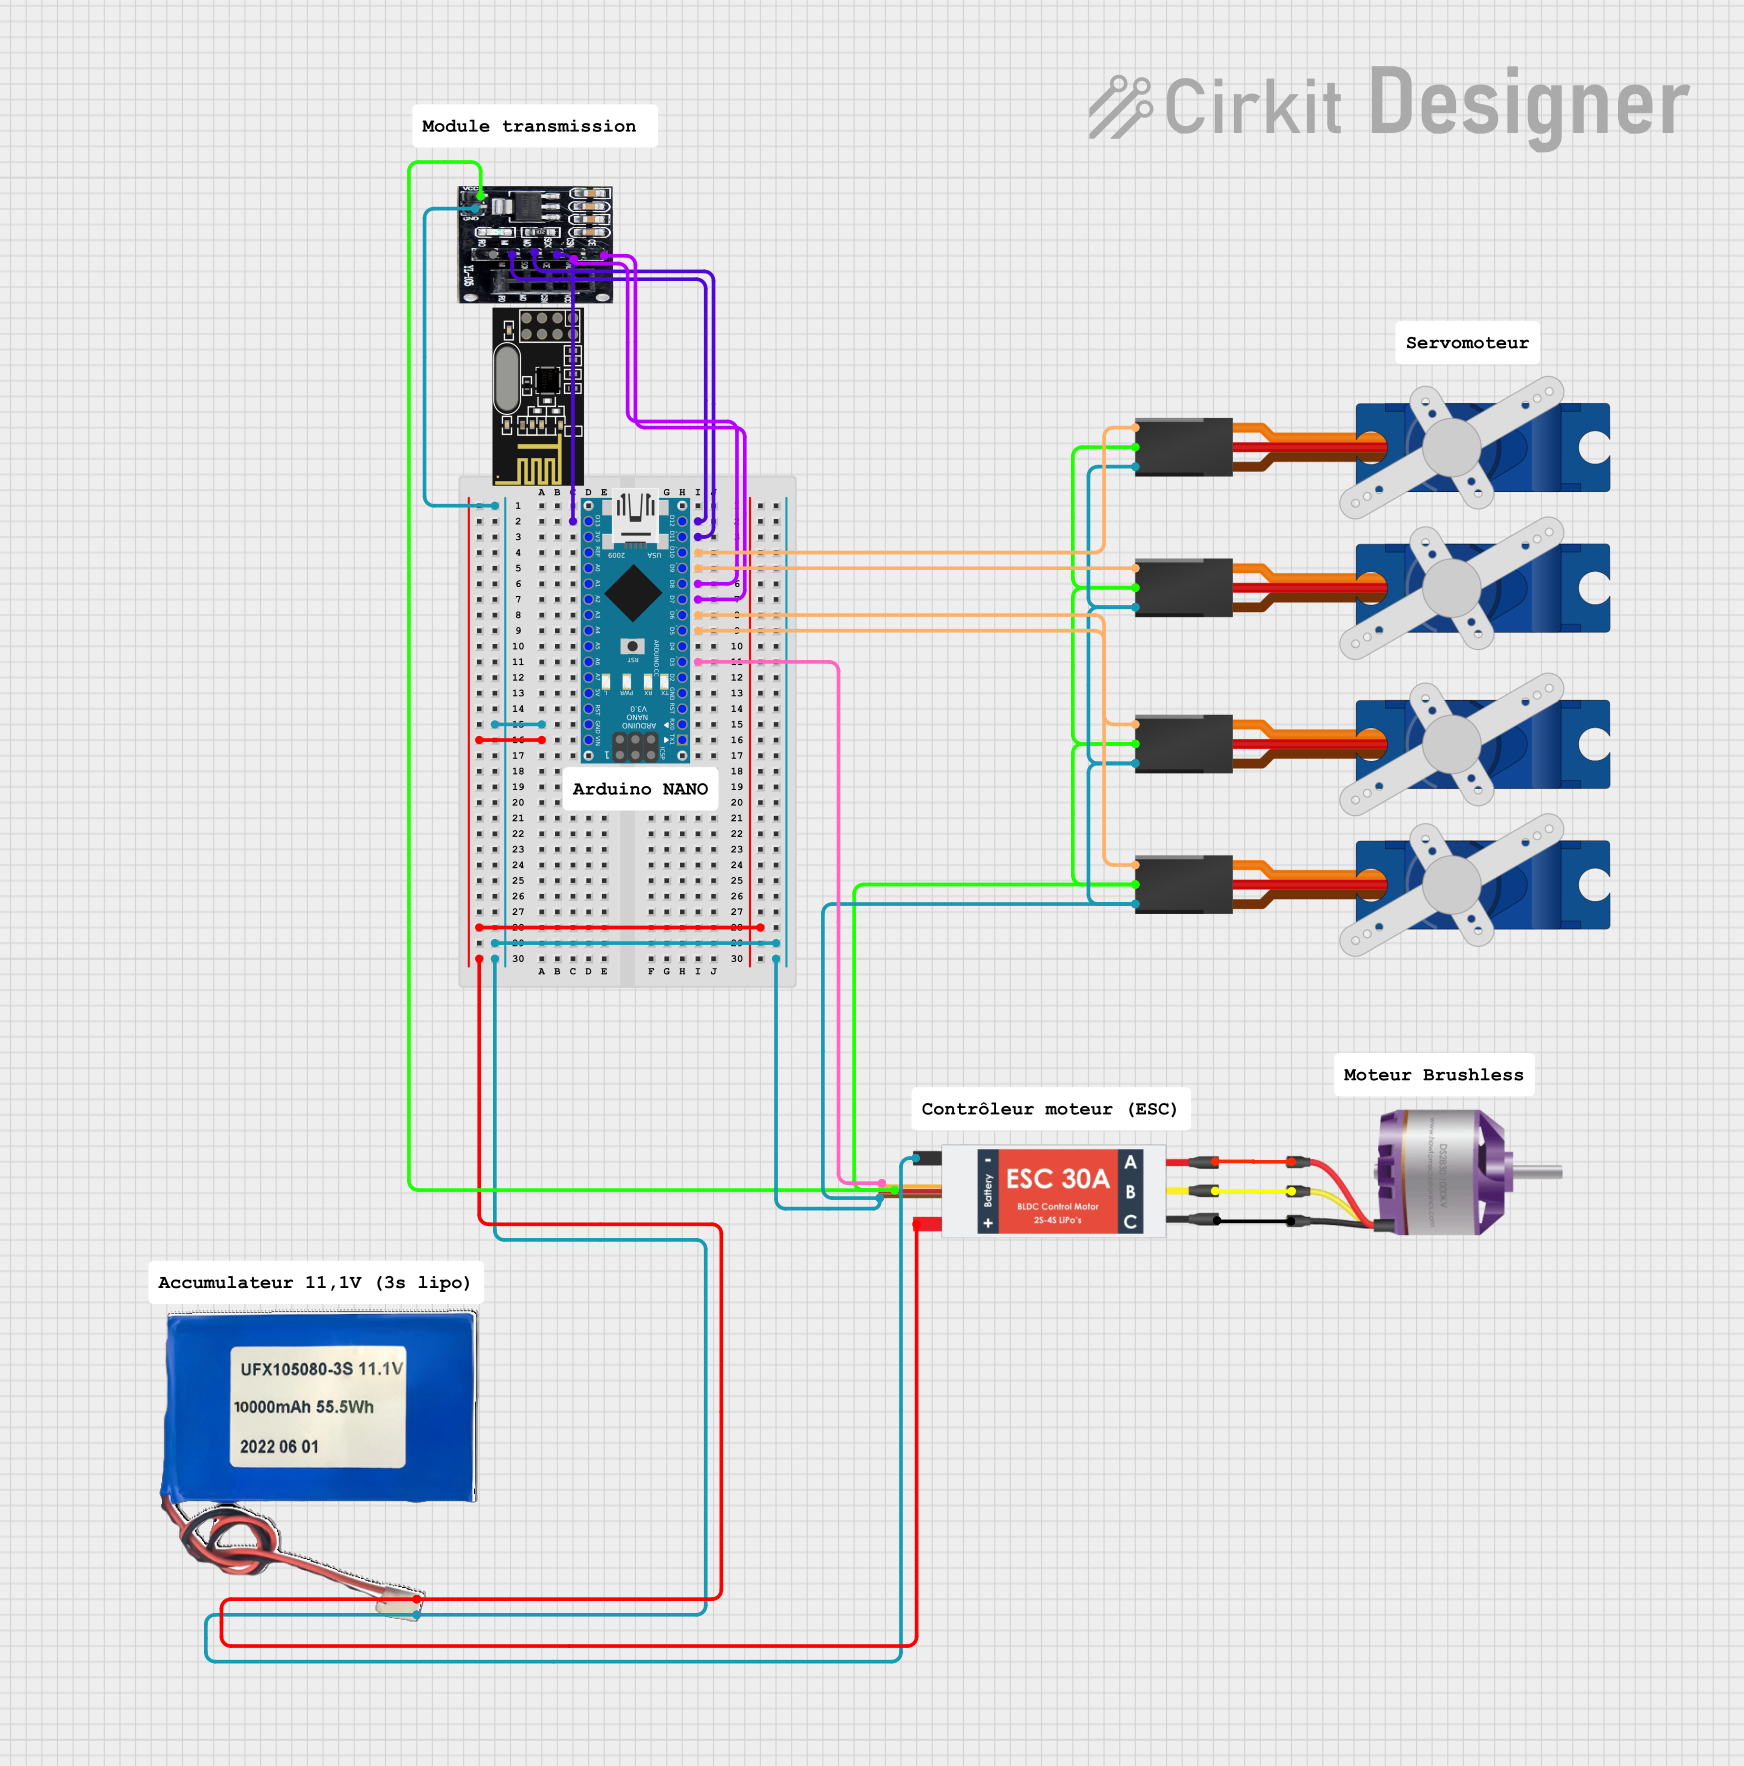
Explore Projects Built with jetson nano B01
Common Applications and Use Cases
- Robotics and autonomous systems
- Drones and UAVs
- Smart surveillance and security systems
- Edge AI applications
- IoT devices with AI capabilities
- AI-powered industrial automation
Technical Specifications
Key Technical Details
| Specification | Details |
|---|---|
| GPU | 128-core NVIDIA Maxwell GPU |
| CPU | Quad-core ARM Cortex-A57 |
| Memory | 4 GB LPDDR4 |
| Storage | microSD card slot (user-provided) |
| Connectivity | Gigabit Ethernet, Wi-Fi (via adapter) |
| Video Output | HDMI 2.0, DisplayPort 1.2 |
| Camera Interface | 2x MIPI CSI-2 lanes |
| USB Ports | 4x USB 3.0 Type-A |
| GPIO | 40-pin header (Raspberry Pi-compatible) |
| Power Input | 5V/4A (via barrel jack or micro-USB) |
| Dimensions | 100 mm x 80 mm |
| Operating System | Ubuntu-based NVIDIA JetPack SDK |
Pin Configuration and Descriptions
The Jetson Nano B01 features a 40-pin GPIO header, compatible with Raspberry Pi accessories. Below is the pinout:
| Pin Number | Pin Name | Functionality | Voltage Level |
|---|---|---|---|
| 1 | 3.3V | Power Output | 3.3V |
| 2 | 5V | Power Output | 5V |
| 3 | GPIO2 (SDA) | I2C Data | 3.3V |
| 4 | 5V | Power Output | 5V |
| 5 | GPIO3 (SCL) | I2C Clock | 3.3V |
| 6 | GND | Ground | 0V |
| 7 | GPIO4 | General Purpose I/O | 3.3V |
| 8 | GPIO14 (TXD) | UART Transmit | 3.3V |
| 9 | GND | Ground | 0V |
| 10 | GPIO15 (RXD) | UART Receive | 3.3V |
| ... | ... | ... | ... |
For the full pinout, refer to the official NVIDIA Jetson Nano B01 documentation.
Usage Instructions
How to Use the Jetson Nano B01 in a Circuit
Powering the Board:
- Use a 5V/4A power supply via the barrel jack for optimal performance.
- Alternatively, power the board via the micro-USB port (not recommended for high-power applications).
Connecting Peripherals:
- Insert a microSD card with the JetPack OS pre-installed.
- Connect a monitor via HDMI or DisplayPort.
- Attach a keyboard and mouse to the USB ports.
GPIO Usage:
- Use the 40-pin GPIO header for interfacing with external sensors, actuators, or other devices.
- Ensure proper voltage levels (3.3V) to avoid damaging the board.
Camera Setup:
- Connect compatible cameras to the MIPI CSI-2 lanes.
- Use the NVIDIA JetPack SDK to configure and access the camera feed.
Networking:
- Connect to the internet via the Gigabit Ethernet port or a USB Wi-Fi adapter.
Important Considerations and Best Practices
- Always use a high-quality power supply to prevent voltage drops.
- Avoid shorting GPIO pins or exceeding their voltage limits.
- Use a heatsink or fan for cooling during intensive workloads.
- Regularly update the JetPack SDK for the latest features and security patches.
Example: Using the Jetson Nano B01 with Arduino UNO
The Jetson Nano can communicate with an Arduino UNO via UART. Below is an example Python script to send data from the Jetson Nano to the Arduino:
import serial
import time
Initialize serial communication with Arduino
Replace '/dev/ttyUSB0' with the correct port for your setup
arduino = serial.Serial('/dev/ttyUSB0', 9600, timeout=1) time.sleep(2) # Wait for the connection to initialize
try: while True: # Send a message to the Arduino arduino.write(b'Hello from Jetson Nano!\n') print("Message sent to Arduino.") time.sleep(1) # Wait before sending the next message except KeyboardInterrupt: print("Exiting program.") finally: arduino.close() # Close the serial connection
**Note**: Ensure the Arduino is programmed to receive and process the data sent by the Jetson Nano.
Troubleshooting and FAQs
Common Issues and Solutions
The board does not power on:
- Ensure the power supply provides 5V/4A.
- Check the power cable and connections.
No display output:
- Verify the HDMI/DisplayPort cable is securely connected.
- Ensure the monitor is powered on and set to the correct input source.
GPIO pins not working:
- Confirm the correct pin numbers and voltage levels are used.
- Check for software configuration issues in your code.
Overheating during operation:
- Attach a heatsink or fan to the board.
- Avoid running intensive workloads for extended periods without proper cooling.
FAQs
Q: Can I use a USB Wi-Fi adapter with the Jetson Nano B01?
A: Yes, most USB Wi-Fi adapters are supported. Ensure the adapter is compatible with Linux.
Q: What is the maximum resolution supported by the Jetson Nano B01?
A: The board supports up to 4K resolution at 60Hz via HDMI or DisplayPort.
Q: Can I use the Jetson Nano B01 for real-time object detection?
A: Yes, the 128-core GPU and JetPack SDK make it ideal for real-time AI tasks like object detection.
Q: How do I update the JetPack SDK?
A: Use the NVIDIA SDK Manager to download and install the latest version of JetPack.
For additional support, refer to the official NVIDIA Jetson Nano documentation or community forums.