
How to Use oled display: Examples, Pinouts, and Specs
 Design with oled display in Cirkit Designer
Introduction
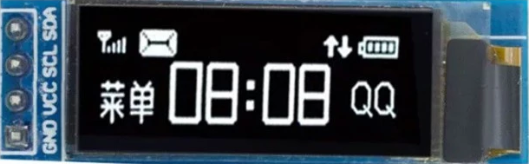
An OLED (Organic Light Emitting Diode) display is a screen technology that uses organic compounds to emit light when an electric current is applied. Unlike traditional LCDs, OLED displays do not require a backlight, resulting in deeper blacks, higher contrast ratios, and more vibrant colors. These displays are lightweight, energy-efficient, and offer wide viewing angles, making them suitable for a variety of applications.
Explore Projects Built with oled display
 Open Project in Cirkit Designer
 Open Project in Cirkit Designer
 Open Project in Cirkit Designer
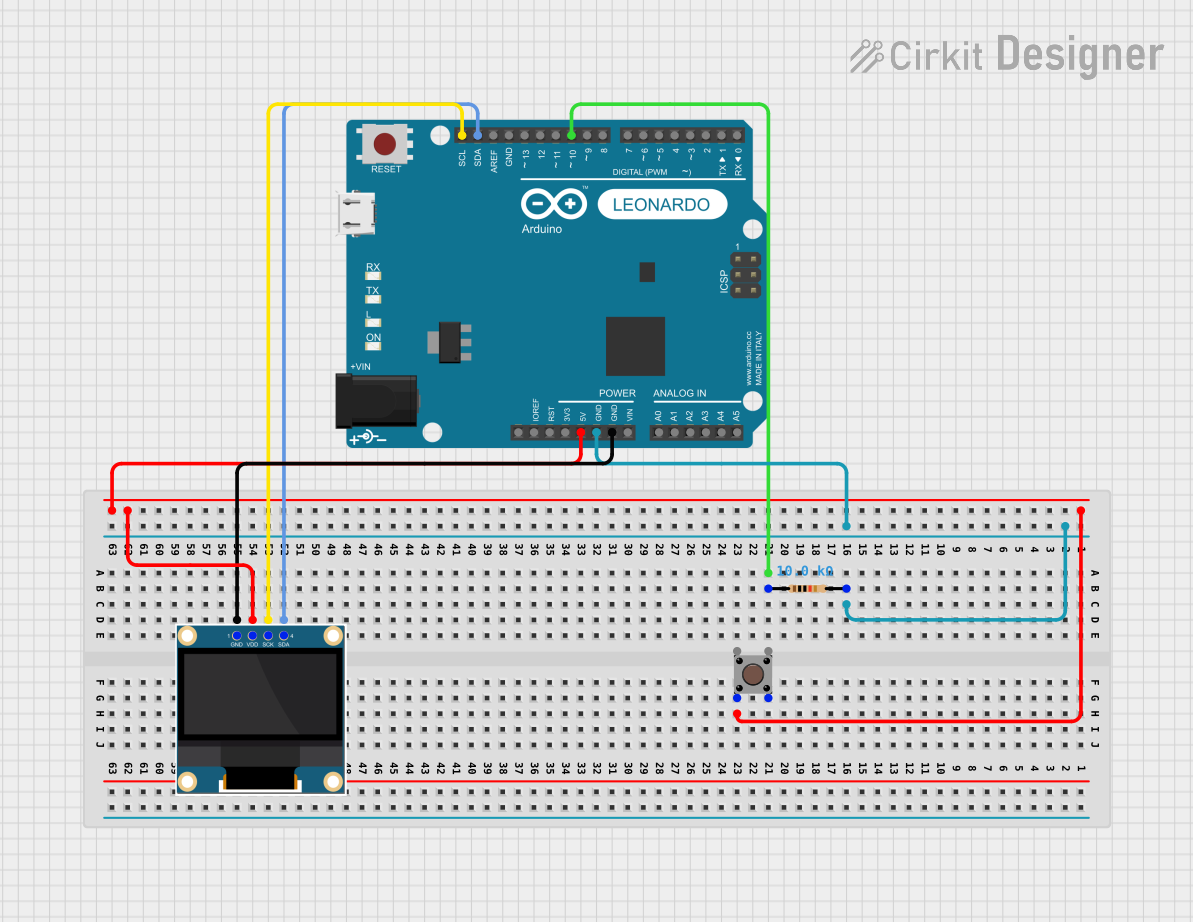 Open Project in Cirkit Designer
Explore Projects Built with oled display
Open Project in Cirkit DesignerOpen Project in Cirkit DesignerOpen Project in Cirkit DesignerOpen Project in Cirkit DesignerCommon Applications and Use Cases
- Wearable devices (e.g., smartwatches, fitness trackers)
- Consumer electronics (e.g., smartphones, tablets, televisions)
- Embedded systems and microcontroller projects
- Industrial equipment displays
- Automotive dashboards and heads-up displays (HUDs)
Technical Specifications
Below are the general technical specifications for a typical 0.96-inch OLED display module (commonly used in microcontroller projects):
| Parameter | Specification |
|---|---|
| Display Type | OLED (Organic Light Emitting Diode) |
| Resolution | 128 x 64 pixels |
| Interface | I2C or SPI |
| Operating Voltage | 3.3V - 5V |
| Current Consumption | ~20mA (varies with brightness) |
| Viewing Angle | >160° |
| Display Color | Monochrome (white, blue, or yellow) |
| Dimensions | 27mm x 27mm x 4mm (approx.) |
Pin Configuration and Descriptions
The pinout for a typical 4-pin I2C OLED display module is as follows:
| Pin | Name | Description |
|---|---|---|
| 1 | GND | Ground connection |
| 2 | VCC | Power supply (3.3V or 5V) |
| 3 | SCL | Serial Clock Line for I2C communication |
| 4 | SDA | Serial Data Line for I2C communication |
For SPI-based OLED modules, additional pins such as CS (Chip Select) and DC (Data/Command) may be present.
Usage Instructions
How to Use the OLED Display in a Circuit
- Power Connection: Connect the
VCCpin to a 3.3V or 5V power source and theGNDpin to the ground. - Communication Interface:
- For I2C: Connect the
SCLandSDApins to the corresponding I2C pins on your microcontroller (e.g., Arduino UNO: A5 for SCL, A4 for SDA). - For SPI: Connect the
CS,DC, and other required pins to the appropriate SPI pins on your microcontroller.
- For I2C: Connect the
- Pull-Up Resistors: If using I2C, ensure pull-up resistors (typically 4.7kΩ) are present on the
SCLandSDAlines. - Library Installation: Install an OLED library (e.g., Adafruit SSD1306 or U8g2) in your development environment.
Example Code for Arduino UNO
Below is an example of how to use a 128x64 I2C OLED display with an Arduino UNO using the Adafruit SSD1306 library:
#include <Wire.h>
#include <Adafruit_GFX.h>
#include <Adafruit_SSD1306.h>

// Define the OLED display width and height
#define SCREEN_WIDTH 128
#define SCREEN_HEIGHT 64

// Create an instance of the SSD1306 display object
Adafruit_SSD1306 display(SCREEN_WIDTH, SCREEN_HEIGHT, &Wire, -1);

void setup() {
  // Initialize serial communication for debugging
  Serial.begin(9600);

  // Initialize the OLED display
  if (!display.begin(SSD1306_I2C_ADDRESS, 0x3C)) {
    // If initialization fails, print an error message
    Serial.println(F("SSD1306 allocation failed"));
    for (;;); // Halt the program
  }

  // Clear the display buffer
  display.clearDisplay();

  // Set text size and color
  display.setTextSize(1); // Small text size
  display.setTextColor(SSD1306_WHITE);

  // Display a message
  display.setCursor(0, 0); // Set cursor to top-left corner
  display.println(F("Hello, OLED!"));
  display.display(); // Render the text on the screen
}

void loop() {
  // No actions in the loop for this example
}
Important Considerations and Best Practices
- Voltage Compatibility: Ensure the OLED module's operating voltage matches your microcontroller's logic level (3.3V or 5V).
- I2C Address: The default I2C address for most OLED modules is
0x3C. Verify this in the module's datasheet or by using an I2C scanner. - Brightness Control: Prolong the lifespan of the OLED by reducing brightness when full intensity is not required.
- Avoid Burn-In: Prevent static images from being displayed for extended periods to avoid burn-in effects.
Troubleshooting and FAQs
Common Issues and Solutions
Display Not Turning On:
- Verify the power connections (
VCCandGND). - Check if the I2C address in the code matches the module's address.
- Ensure the OLED library is correctly installed and included in the code.
- Verify the power connections (
Flickering or Unstable Display:
- Check for loose connections on the
SCLandSDAlines. - Use pull-up resistors on the I2C lines if not already present.
- Check for loose connections on the
Incorrect or Garbled Output:
- Confirm the resolution (e.g., 128x64) matches the display's specifications.
- Ensure the correct communication protocol (I2C or SPI) is selected in the code.
Burn-In or Image Retention:
- Use screen savers or periodically refresh the display content.
- Reduce brightness to minimize wear on the OLED pixels.
FAQs
Q: Can I use the OLED display with a Raspberry Pi?
A: Yes, OLED displays can be used with Raspberry Pi via I2C or SPI. Ensure the appropriate libraries (e.g., Adafruit_SSD1306) are installed.
Q: What is the lifespan of an OLED display?
A: The typical lifespan of an OLED display is around 10,000 to 50,000 hours, depending on usage and brightness settings.
Q: Can I display graphics on the OLED?
A: Yes, libraries like Adafruit GFX allow you to draw shapes, images, and animations on the OLED.
Q: How do I find the I2C address of my OLED module?
A: Use an I2C scanner sketch to detect the address of your OLED module.
By following this documentation, you can effectively integrate and troubleshoot an OLED display in your projects.